Razer Tarantula Keyboard
Installation |
|
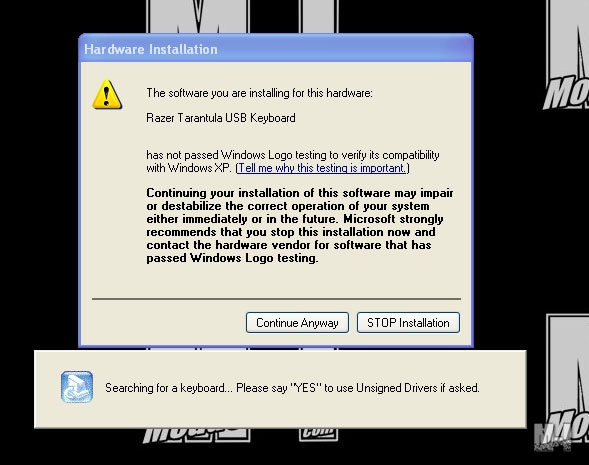
To begin the install of the drivers and software for the Tarantula make sure that the two USB plugs from keyboard are plugged into the PC. When you put the install disk and the autoplay begins it will ask you this question.
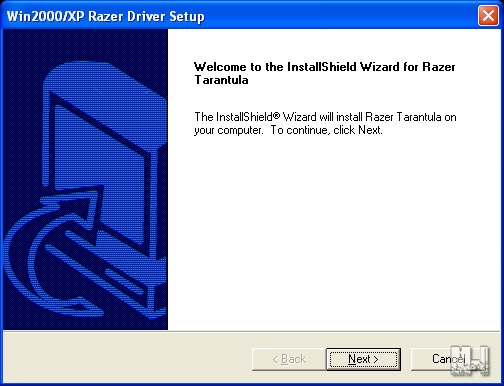
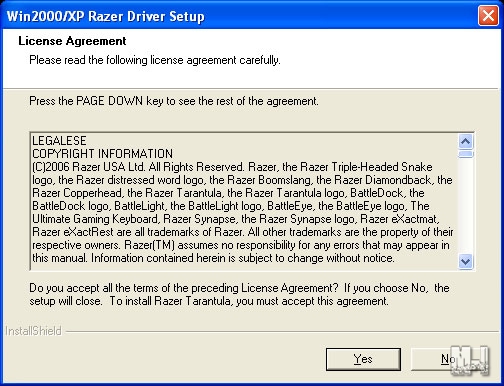
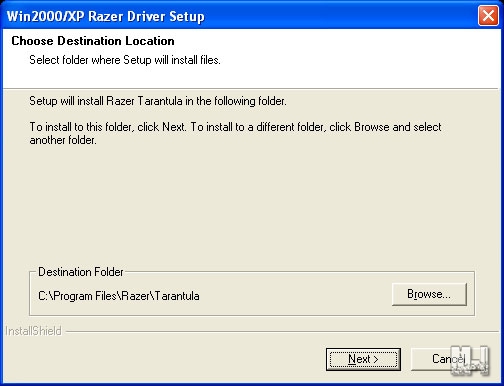
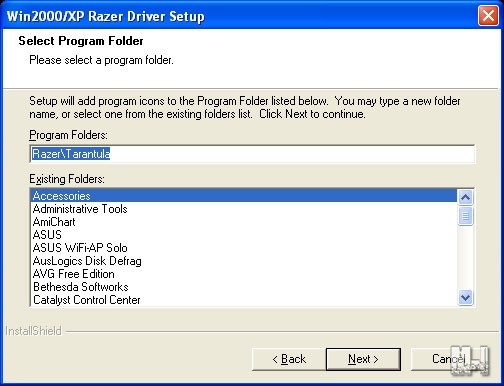
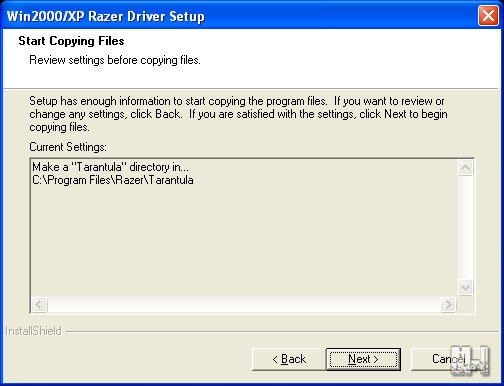
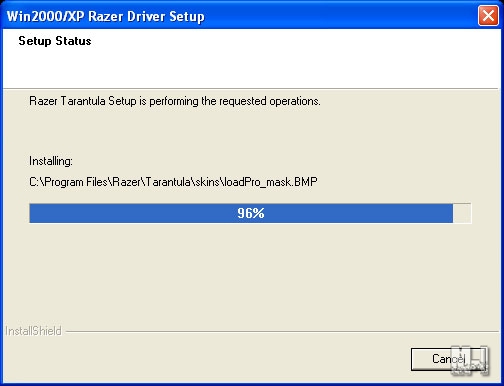
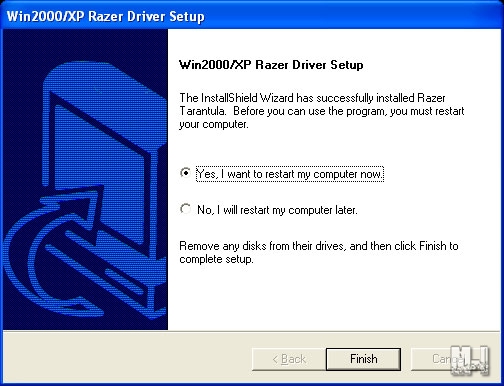
When this screen appears just click the “Continue Anyway” button and you will start the install of the software. A series of screens will appear directing you through the install process. After you reboot you will have an icon in the system tray that gives you access to the Razer Tarantula configuration software.
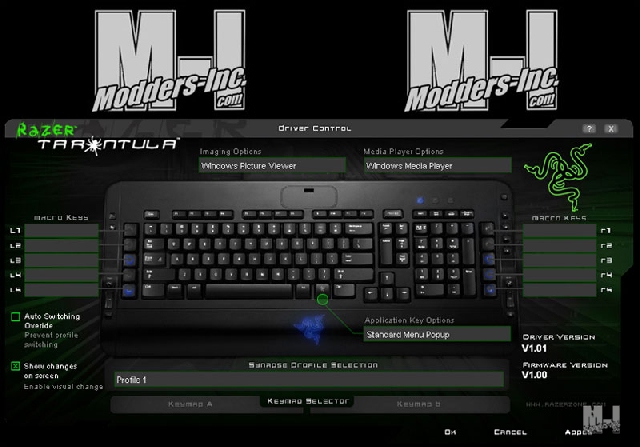
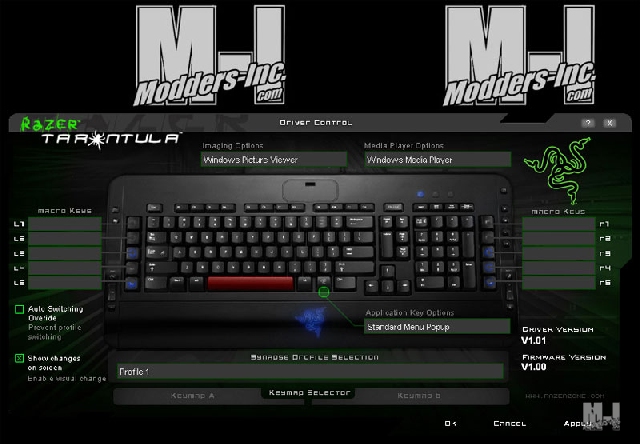
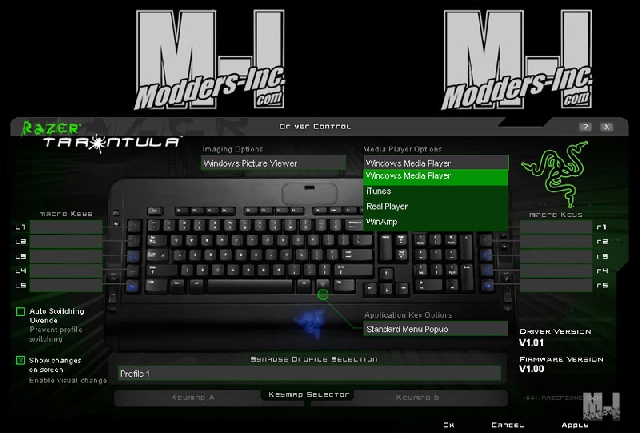
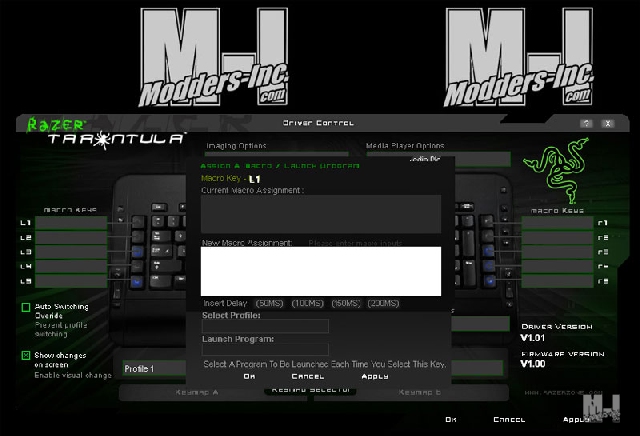
With this piece of software you can edit each keys function, create macros for the L/R series keys, and change which programs you use for media files or image viewing/editing. The graphical keyboard interface makes the task very easy to use since you are looking at the same keyboard that you have. Moving your pointer over any key turns it to a green color. Once you select a button, it turns red in the interface, you can then manipulate how it works. The imaging and multi-media controls can be changed to other programs through drop down menus. This is nice, as everyone has their own preferences on programs they like to use.
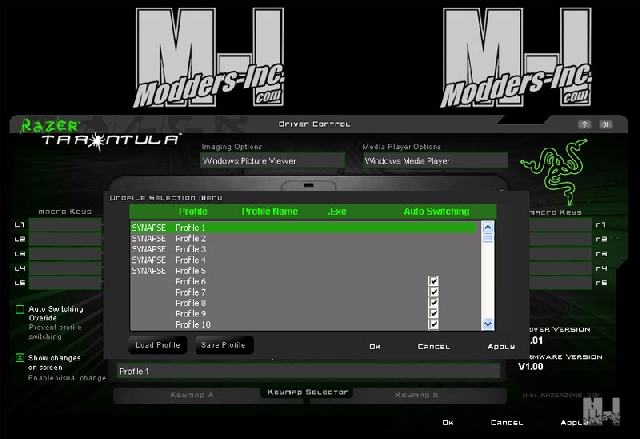
You can also create up to 100 different profiles for usage with the Tarantula. Giving you tons of options that you can create for each game or program.
Clicking on one of the L/R series keys opens a menu screen. Here you can create a macro to do multiple key strokes for the games or actions that would require a lot of time. |

