Razer Tarantula Keyboard
A Closer Look |
|
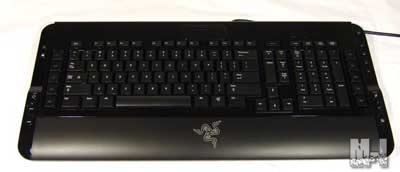
The Razer Tarantula Keyboard is a fairly large in size (20 inches wide by 8.5 inches deep), but is loaded with features and a docking port for future items. The keyboard is made of strong plastic with a highly polished look to it. Giving it a much different look than the normal keyboard you may have seen or used. The lower section of the keyboard extends down 2.5 inches, thus creating a built in wrist support rather than a snap-on one. The wrist support area does not taper all the way down to the desktop and this gave me my first concern since I was used to having my hands in a certain position. It did take a few days to get used too, but once that hurtle was cleared the wrist support felt more natural than the others I have used.
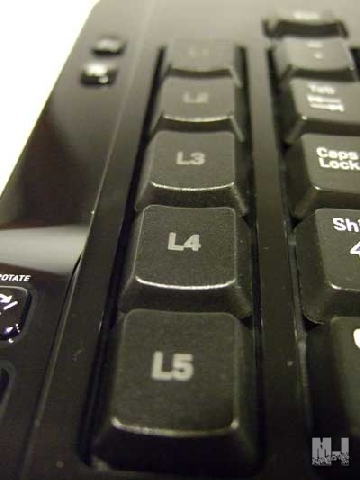
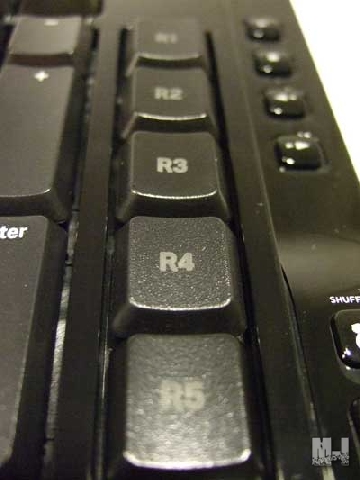
Located to the left and right side of the normal sized keys on the Tarantula are a total of 10 keys, five on the left (L1-L5) and five on the right (R1-R5). These keys are your programmable option keys. They can be setup to perform any action you want for games, launching program, or a macro for multiple keystrokes.
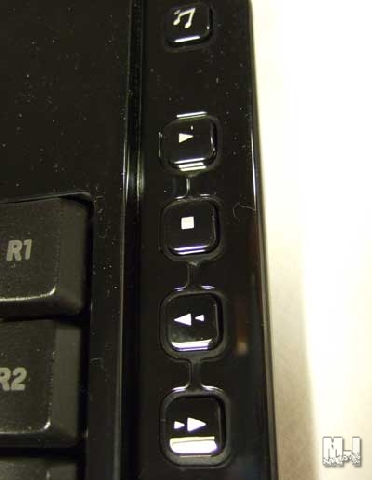
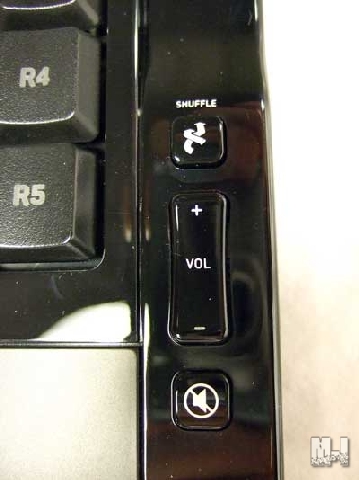
Placed to the right of the R-Keys are the multi-media controls. By pressing the Musical Note symbol you can launch your favorite media player (can be selected from a drop down menu) to enjoy your music or movies. All the controls that you need are available with the Tarantula to play, pause, stop and so on. No need to switch back and forth from your player and your work to manipulate your media.
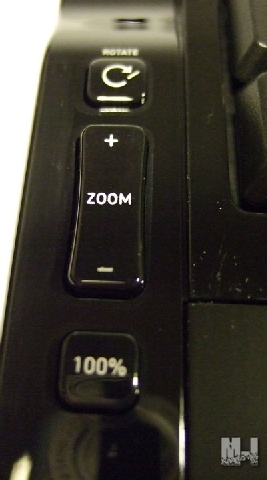
Shifting over to the left side we have another set of control buttons for us to use. The set located towards the lower part of the keyboard are to control how you view pictures or documents. By setting your preference of which software you would like to control such as Windows Picture Viewer, Adobe Acrobat, Adobe Photoshop/Illustrator and ACDsee, you can zoom in or out, rotate it, or display it at 100%. The two buttons at the top of the left side do two simple things. The house button will launch your favorite browser and take you to your homepage, while the Zzz button will put the PC into Standby mode.
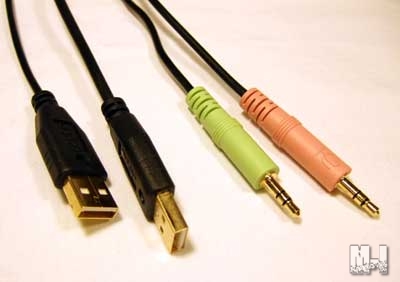
Four points of connection, to your PC, can be used by the keyboard to enable all the options. The two audio connection, mic and headphones, are only needed it you would like to plug in your equipment into the jacks on the keyboard. The two USB plugs must be used for the keyboard to work. The thinner cable is for the normal keyboard connection plus two built in USB ports while the thicker cable is used to power the Tarantula and the docking station.
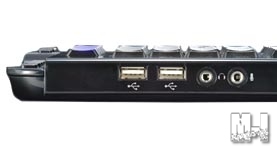
Here we see where you can plug in your audio cable and extra USB devices. The ports are positioned at the top right of the keyboard. This makes it very handy to have your ports available to you without having to go behind the computer every time you want to switch devices. Regrettably the USB ports are only 1.1 making them insignificant for any large file transfers.
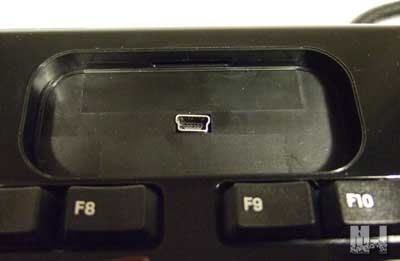
One of the most interesting aspects of this keyboard is the built-in docking port. Right now there are not any accessories available to purchase, but Razer will have a couple in the near future. The talk at CES 2006 was that there maybe a few different models available to choose from depending on your taste, wants, or needs. I had heard everything from one model being able to accept your portable MP3 player to a full color LCD display. This still might be in the works as the port could be adapted to handle many different configurations. It might have just been the keyboard that I got, but the plug that goes into the BattleDock when not in use did not snap into place and could be lost during transport to events.
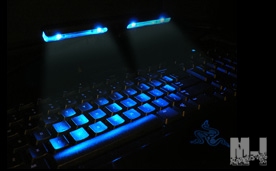
Right now on the Razer site they speak of two items coming soon. One of them being the BattleLight. This light will put a glow over your keys for better play in a darken room. “Let there be light! Illuminate your keyboard with an iridescent glow to enhance your gaming experience. Equip your Razer Tarantula™ with the BattleLight™ and gain that unfair advantage over your rivals in low light conditions…Razer“
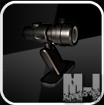
A webcam will be able to be used with the docking port as well. Razer calls it the BattleEye and will also be ready for sale soon. “Eyeball your enemy! Perfect your gameplay with the BattleEye™, a webcam that docks with your Razer Tarantula™ to provide real time visual feedback with your opponents. Let them witness your triumphs and feast on their anguish as they get fragged…Razer”
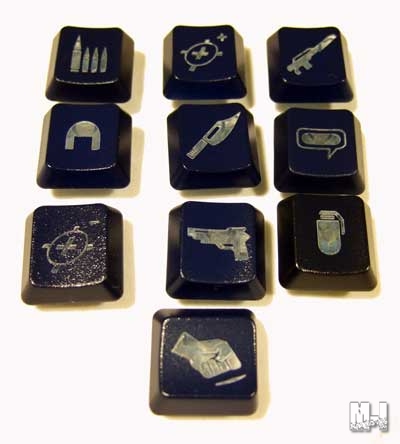
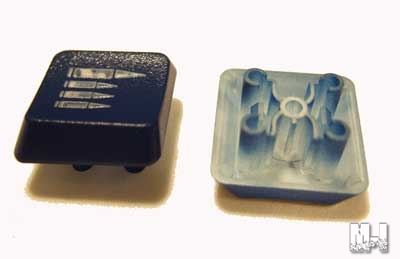
Hopefully we will be able to check these out once they become available and give you a full review on them. Another feature Razer incorporated in to the Tarantula is removable/replaceable keys. The keyboard comes with keys, which are a dark blue with transparent icons that have some of the common symbols that represent the items used in games. Theses key buttons can be inserted on the Tarantula in place of the “letter keys” located there now. This is nice for the new gamer or that new game you just got that you are trying to learn the button locations. A quick look down and you can find the needed key.
These keys are the first in a series of keys to be released for games. So in the future you may be able to buy the keys you want for your favorite RPG or FPS.
Supplied with the keys is a tool to help remove the current key from the keyboard. Simply push the tool over the key and rock left to right and the key will come loose. One question that did enter my mind was what do you do with the extra keys and tool when not in use? There was no pouch for storage provided for them. My suggestion to Razer would be to make the wrist support with a door that could be opened to provide a storage place.
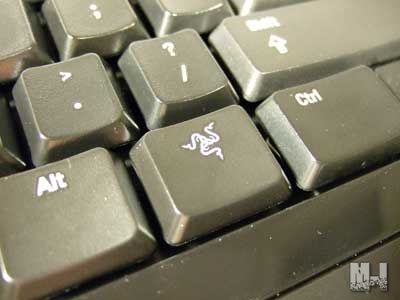
If Microsoft can put there own key on a keyboard then why can’t Razer? The logo rest on the right side of the keyboard between the Alt and Ctrl key. The Razer key gives you instant access to the Tarantula control panel with a single press when set to do so in the keyboard control panel.
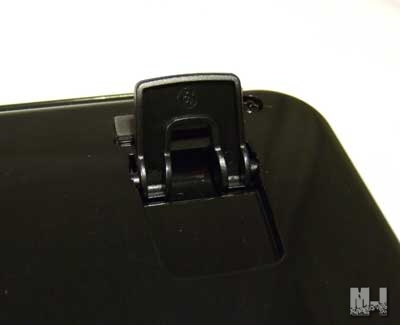
Any keyboard would not be complete with the legs that tilt it up. The legs on the Razer Tarantula are located towards the top outer edge of the keyboard for better stability during heavy game play. It raises the top of the keyboard up .5 of an inch.
|
