Razer Piranha – Gaming Communicator Headphones
A Closer Look |
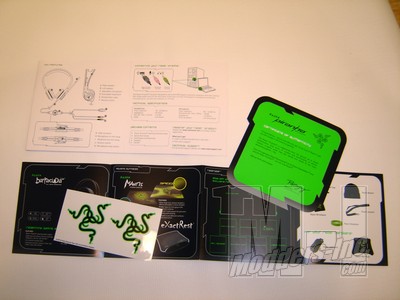 Opening up the packaging and looking inside you will find several things included with the headset itself. Inside you will find Razer’s Certificate of Authenticity, a catalog showing all of the other products Razer offers, Two stickers and of course a digram outlining the specifications of the headset itself. Out of all of the things included inside I found the certificate of authenticity the most interesting. Not so much that there is one just the wording that is printed on it. The first sentence just struck me as I read it. “Congratulations – You’re now officially part of the Cult of Razor and you own a page in the history of gaming.” I know it’s really just the hype that is marketing but for some reason I felt that to be awfully dramatic and it just cracked me up. 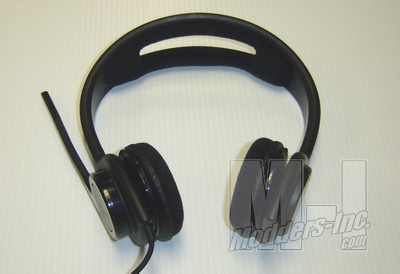 Taking a look at the headset itself you will note that design of the Piranha is mostly a thick plastic material. The whole thing is colored in a matte black and only has a few polished areas around the earpieces and the mic. Though the plastic itself is rather thick there is no added weight to headset and it still feels very light. At the top inside of the head band is padding for the top of your head. The padding is a 1/2″ thick soft foam material covered in a soft black felt. The same sort of material covers the earpieces as well. 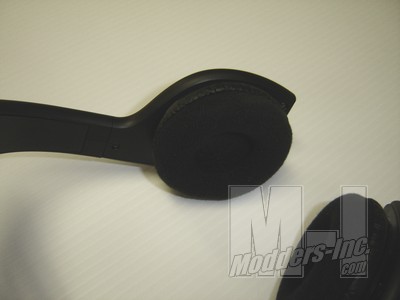 Looking at the ear pieces I am a bit anxious about trying them out. They look a bit small and although padded I have had bad experiences with long term use of ear pieces that sit on my ear. Normally I prefer the large can style that cup over the ears because they shut out all outside noise as well as let my ears alone. I’m hoping the soft and spongy material will provide my ears with relief while gaming. Aside from the smallish size there is really nothing more that sets these apart visually from any other gaming ear pieces. The headband and the earpieces are separated by a thin piece of plastic that goes up inside the headband. A quick pull will allow you to adjust to larger head sizes. 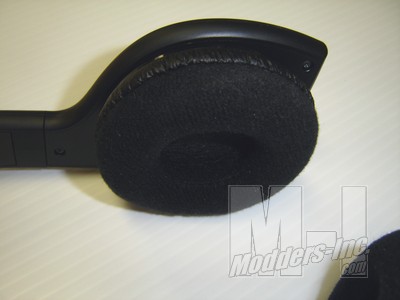 Included on the outside of the left ear piece is the mic. The mic consist of a long piece of stiff rubber that can bend and move closer to your mouth. At the tip of it is about a 1″ piece of black polished plastic that houses the microphone itself. The mic is fully adjustable and can swing up next to the headband and out of the way when not in use. During gaming you can just swing it down and give it a little pull toward your lips until you feel it is close enough. I personally feel like it really needs no adjustment and is in a perfect position where it is. Sometimes mic’s are too rounded and sit virtually in front of the face so you always have some guy who sounds like the is breathing directly into the mic. With this mic sitting more off to the side of the face with only a slight curve inward I think you will have less heavy breathers while you game. 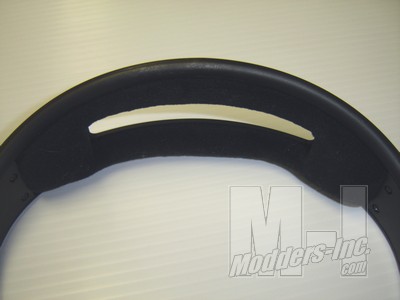 A closer look at the padding on the inside of the headband. 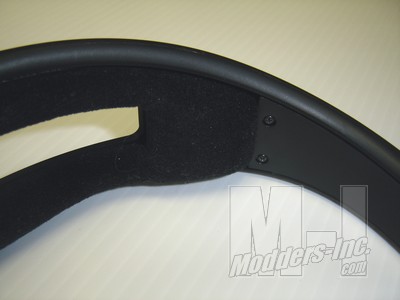 Another feature that I found to be a major plus is the cabling. There is only one cable that goes into the left ear piece that powers both sides. This isn’t uncommon on better headsets but I though it was worth mentioning. Also the cable is very nice and consist of a braided material that is a good 8 foot in length. This give you plenty of room to move about if you need to, or route around objects in your gaming environment. Also you only have one cable so you don’t need to worry about a tangled mess. About 3 foot down from the headphones is an inline controller that allows you to adjust the volume and turn the mic on an off. There is a clip on the back of it so you can attach it to your shirt or belt or whatever it is you attach it too. At the very end of the cable is the Audio and Mic Jacks and a USB plug to power the LED’s in the headset. Here Razer also give you enough room with the split about 2 foot from the end. This way you can plug things into the front and back of the case if you have need too. 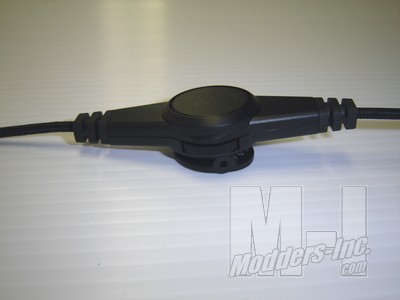 Above you see the volume slider and below you see the mic switch. 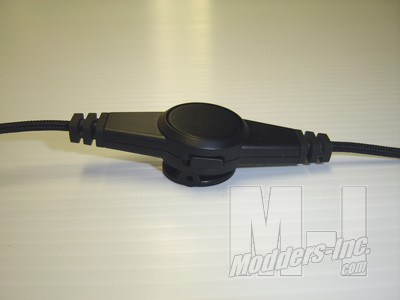 Lastly one of my favorite part about the Piranha is the use of LED’s to accent the ear pieces and also the in line controller. Each of the ear pieces and also the controller have three blue LED’s that lite up with the Razer logo. They get the power from the USB port and it adds something that I find to be a really cool touch. I’m not quite sure why they went with blue instead of green but I won’t give the too much of a hard time over it. It’s nice to see these extra little details thrown in that aren’t really functional but add personality to a product. To add even more personality you could make a project of it and take apart the Piranha and put in LED’s that match your modded cases color scheme. 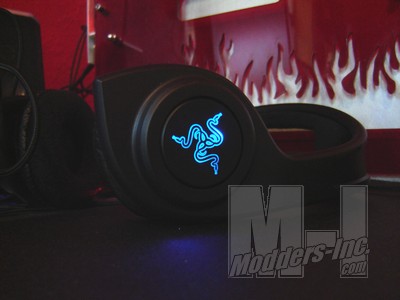 Here you can see the Outside Ear light and below the In line Controller. 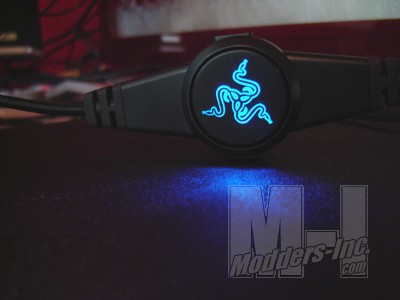 |
