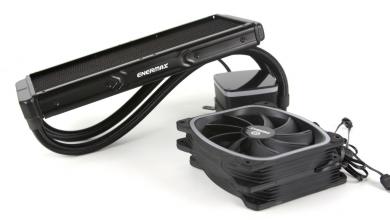
Raijintek Triton Review: A Bold Alternative
Installation of the Raijintek Triton
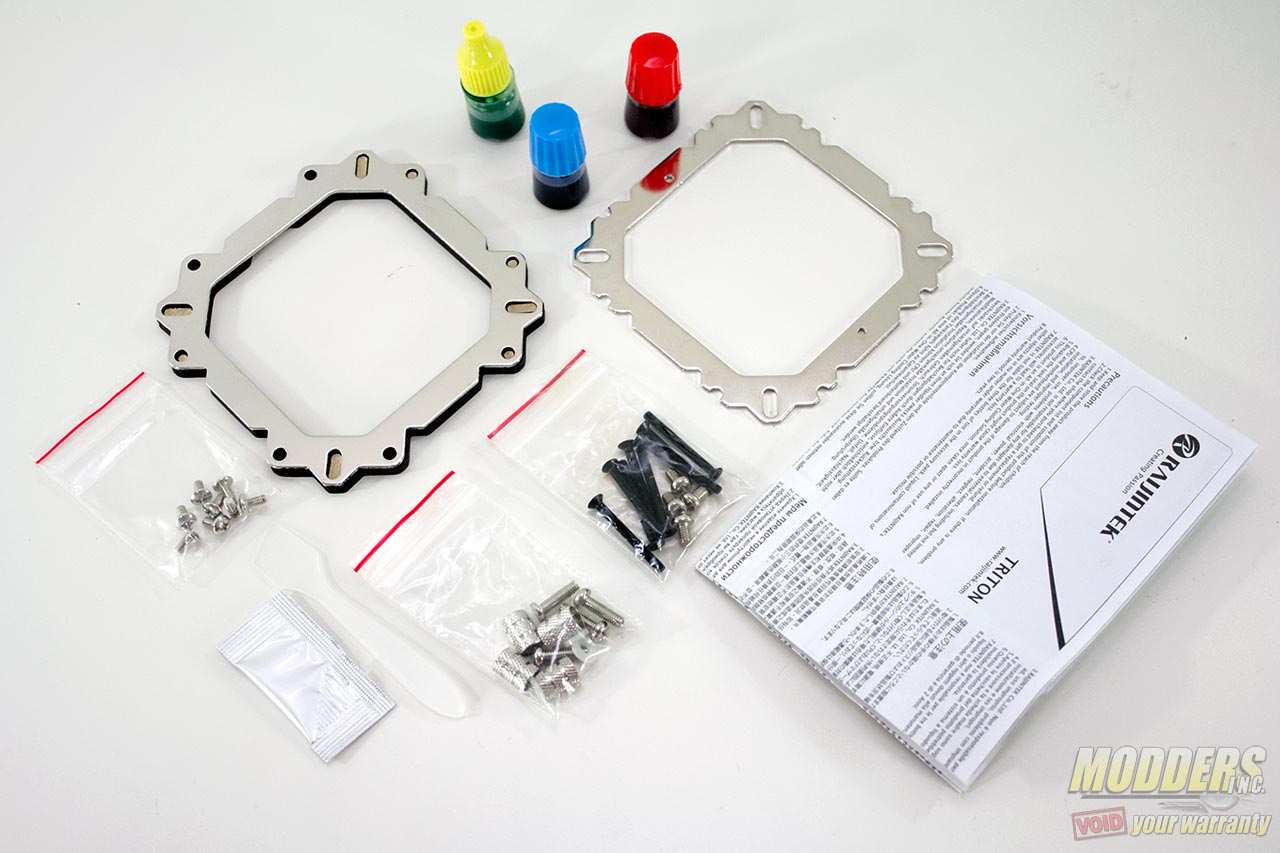
Before proceeding with installation, lay out all accessories and cross reference the package content with the illustrated user’s guide.
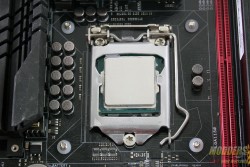
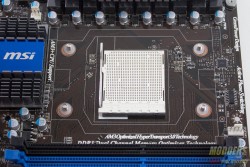
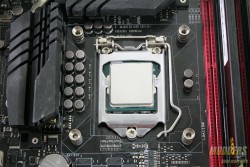
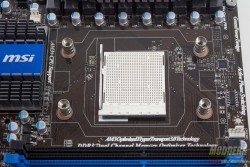
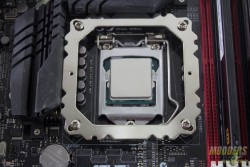
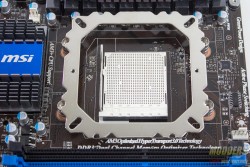
With the exception of Intel LGA2011 mounting, both AMD and Intel installation requires the use of the universal backplate provided. Intel mounting holes are square and equidistant from each other while the AMD mounting is more rectangular.
To connect the backplate with the mounting bracket, the two sets of M4 screws must be used. The longer 13mm M4 are threaded through the backplate then on the other side, place the plastic mylar washers to insulate the motherboard from the metal nuts which are then screwed into the protruding remainder of the 13mm screws to secure in place.
Once the posts and backplate are assembled, the next step is the same for all motherboards with a slight modification to LGA2011 motherboards. When mounting on an LGA2011 motherboard that does not use the provided backplate, use the longer 13mm M4s to secure the bracket on top, otherwise on AMD and LGA115x motherboards, use the shorter 6mm M4s. Also, on LGA2011 motherboards, the metal nuts have to be positioned with the wide opening facing down instead of up.
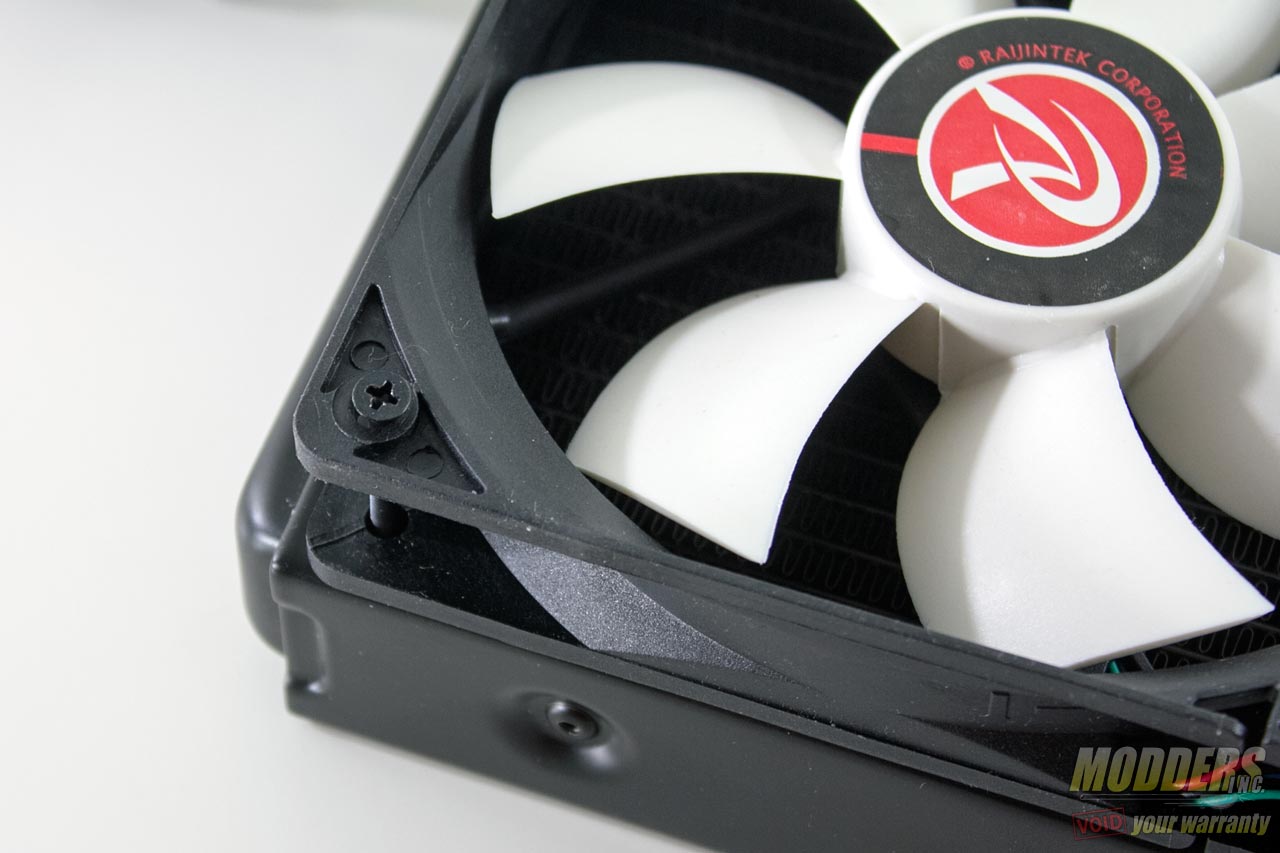
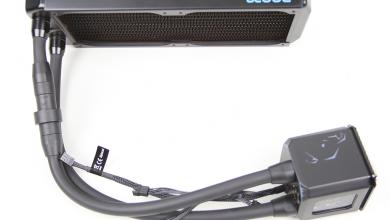
Apply thermal compound then place the pump block unit into the assembled bracket and secure with two screws on each side, then plug-in the pump unit to an available header. Also, secure the fans on the radiator with the use of the 30mm M3 screws and install it on the case before plugging in.
Compatibility and Clearance Issues
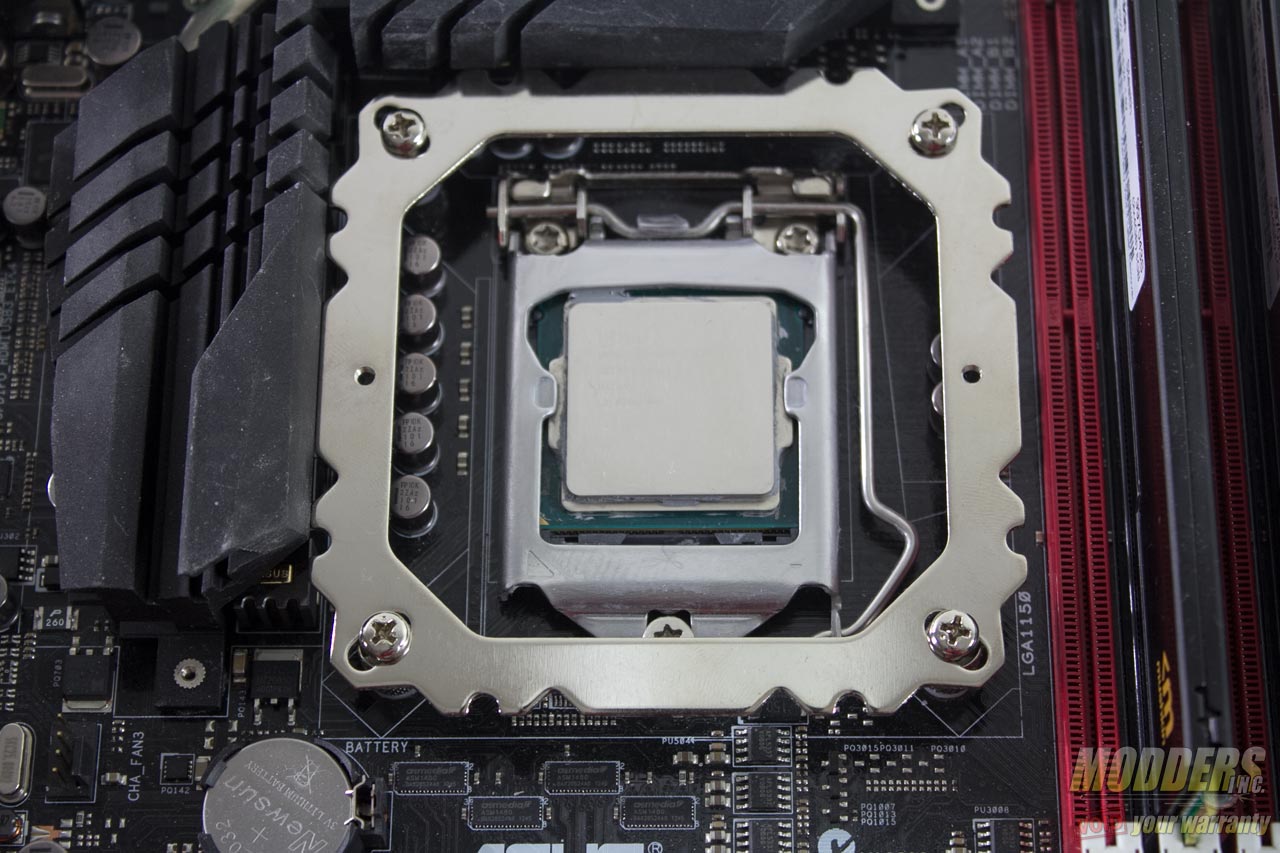
As with most self-contained liquid coolers, the Raijintek Triton poses no direct clearance issue for RAM or PCI-E device installation and is well within the range of the keep-out zone outlined by Intel and AMD for their motherboards. Total pump unit height is 56mm, and total pump width and diameter is 38x39mm.The mounting bracket is directly touching the MOSFET heatsink on my ASUS Maximus VI Gene motherboard but there is no problem installing the pump and making proper contact with the CPU in the middle. Most other clearance issue will most likely come from case compatibility as there are some cases with no support for 240mm radiator mounting on top or front. In fact, compared to most AiO’s the Triton will be more compatible than most 240mm coolers because the hose is much longer and can install to the front which most AiO’s do not support.
