A Closer Look at the Raijintek PAEAN
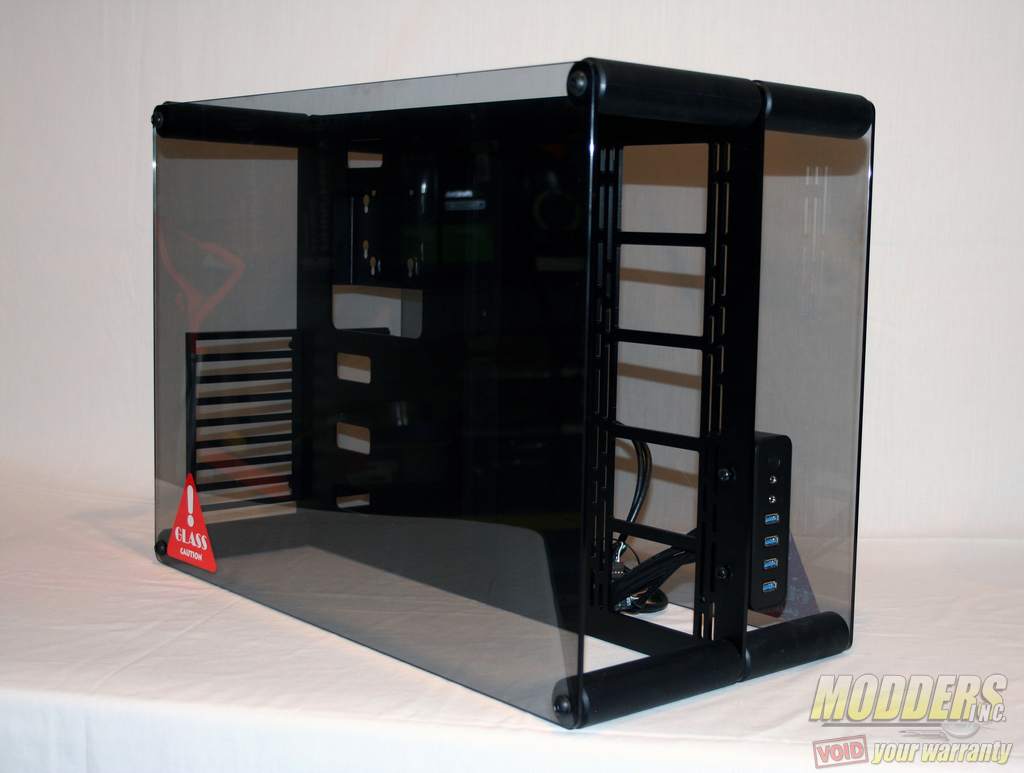
As this case has no pre-defined exterior, we will simply delve into the actual assembly of this open-frame chassis.
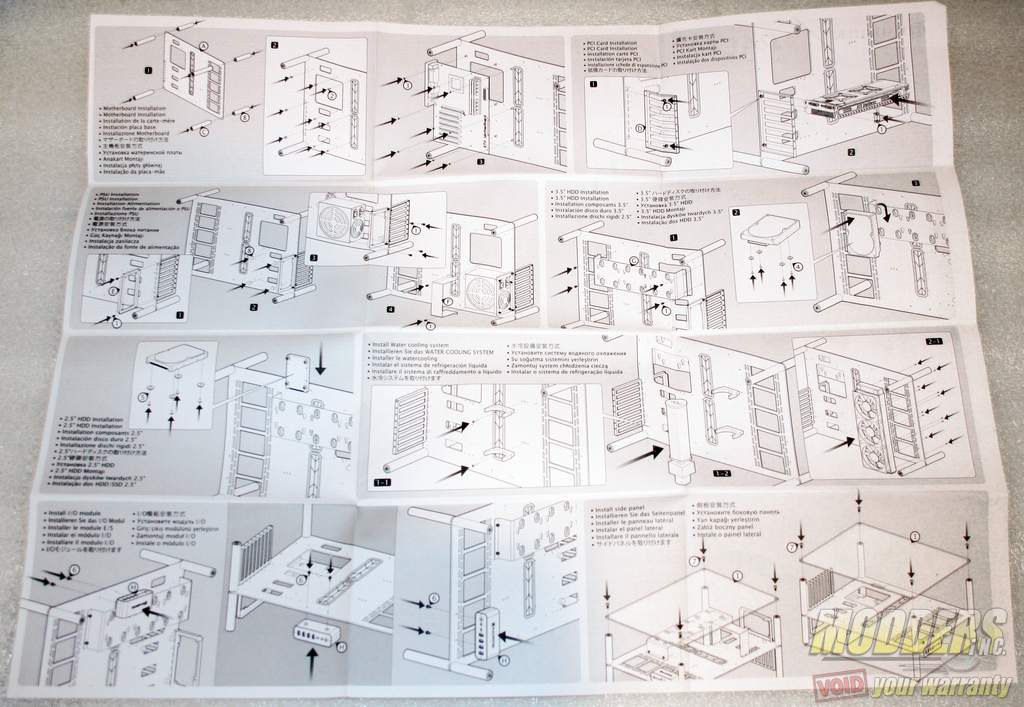
If you have ever assembled some furniture from IKEA or built a Lego set, then you will feel right at home with the supplied instruction sheet. Although it is short on written instructions, it does provide a good visual representation of how the different components fit together. The instruction sheet is a single-page folded layout with diagrams to guide the user in assembling the chassis.
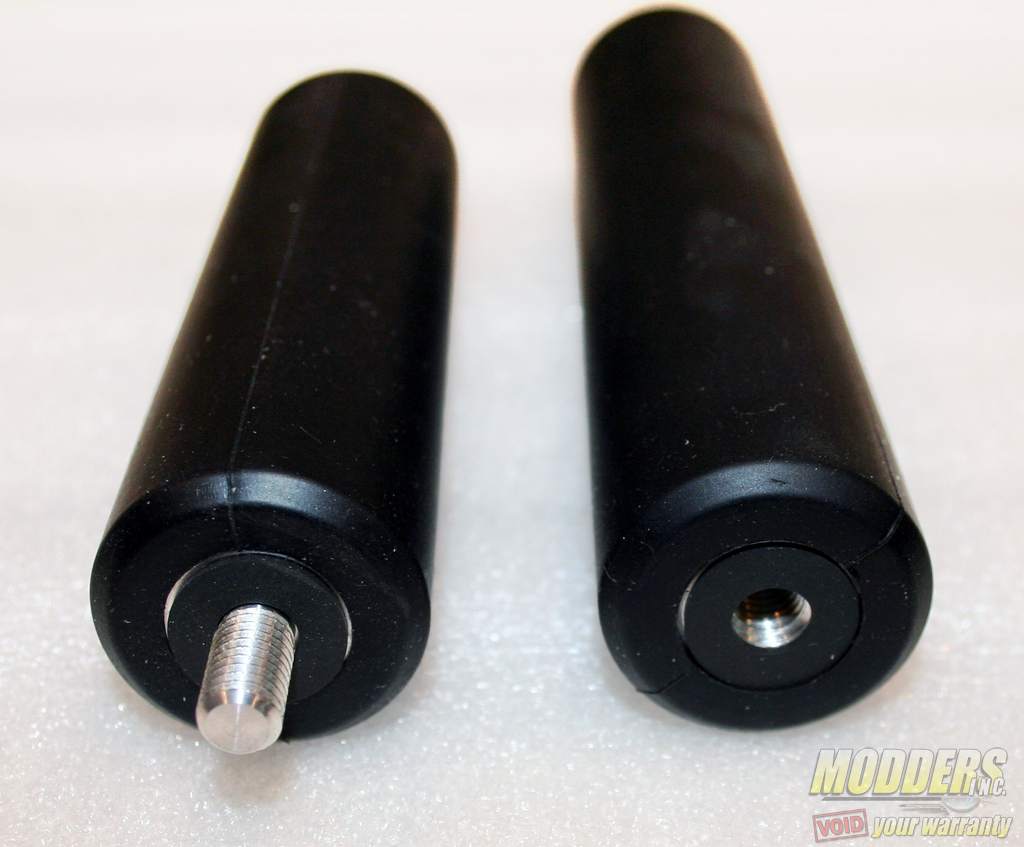
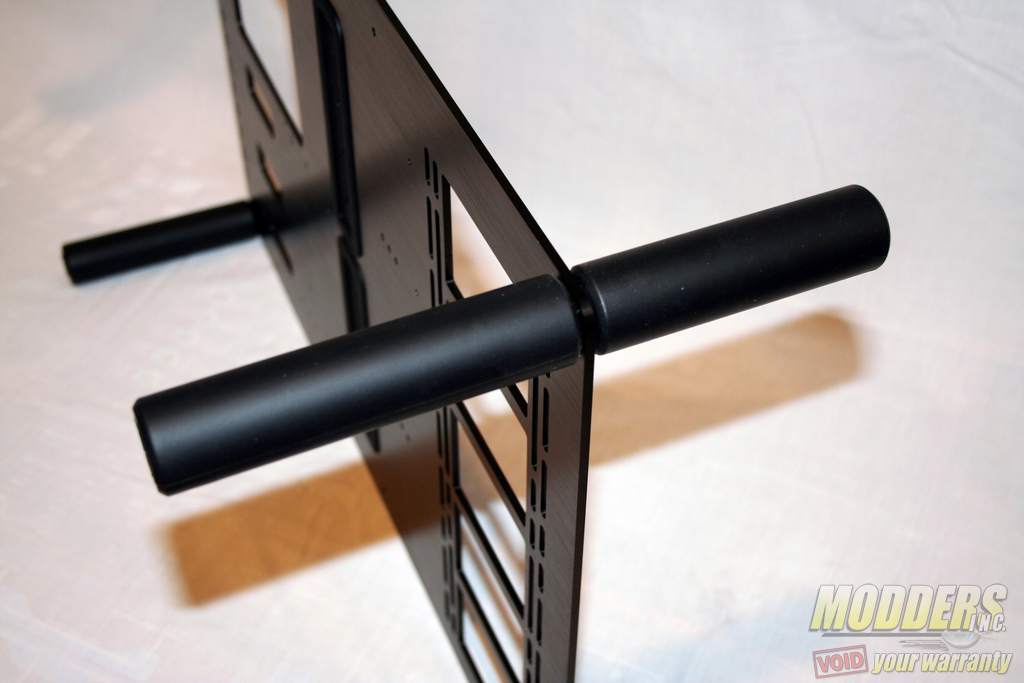
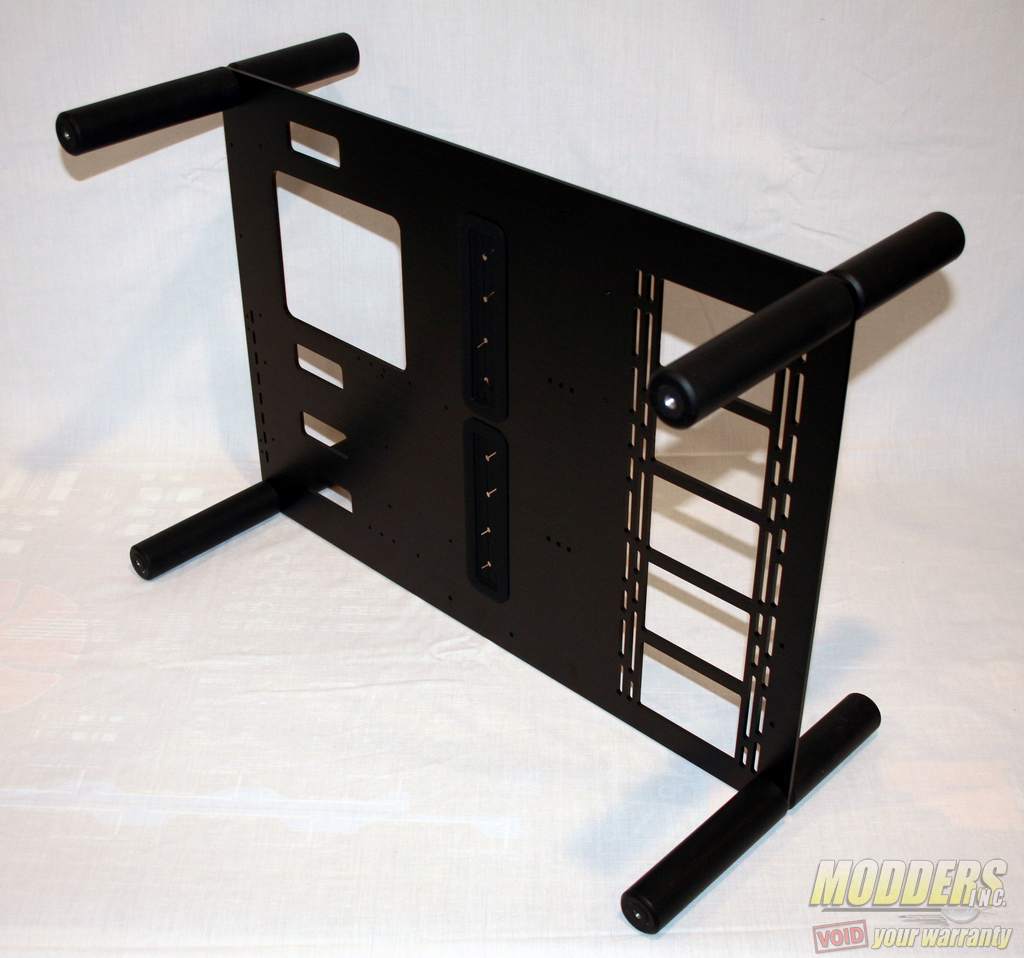
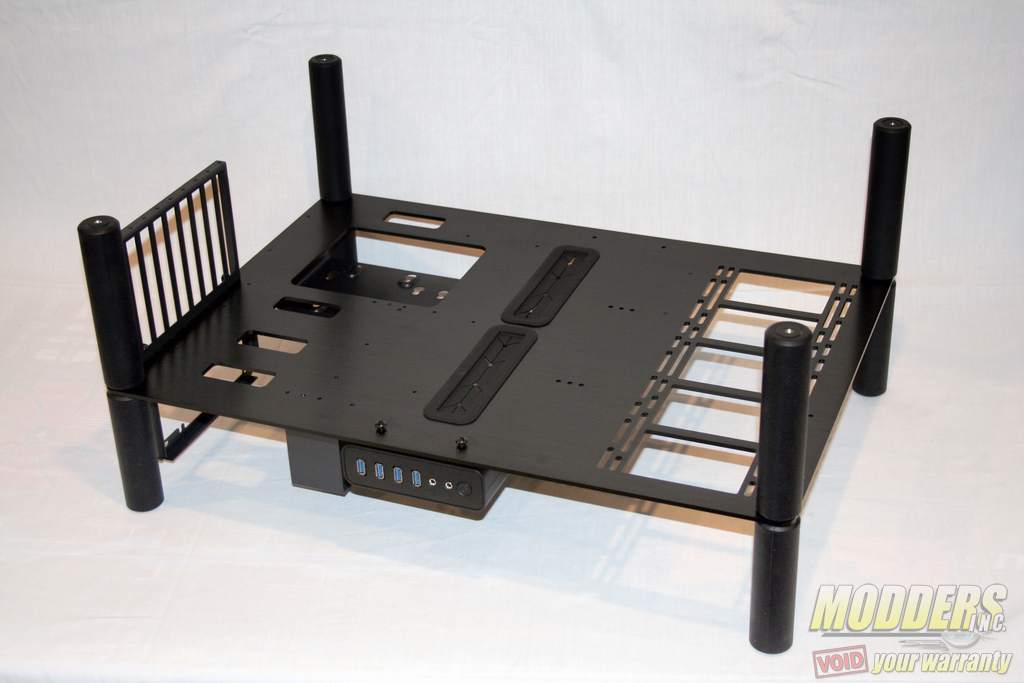
The first items to be assembled are the main 4 mm center plate and the tempered glass support bars. The support bars are well crafted with an aluminum core and a solid rubber coating that is several millimeters in thickness. These bars not only hold the tempered glass panels, but also act as support feet since they provide a stable foundation for the chassis when upright. Each set of bars simply screw together with the center plate sandwiched between them. You don’t really have to worry about over-tightening the bars since the rubber will begin slipping once the threads are securely seated.
The center plate has cutouts that any normal motherboard tray would have (cable pass-through areas and CPU cutout). The two center cable pass-through areas have rubber grommets to hold the cables and provide a clean appearance. There are also four smaller cable pass-through areas on the left side and the radiator cutout area on the right side.
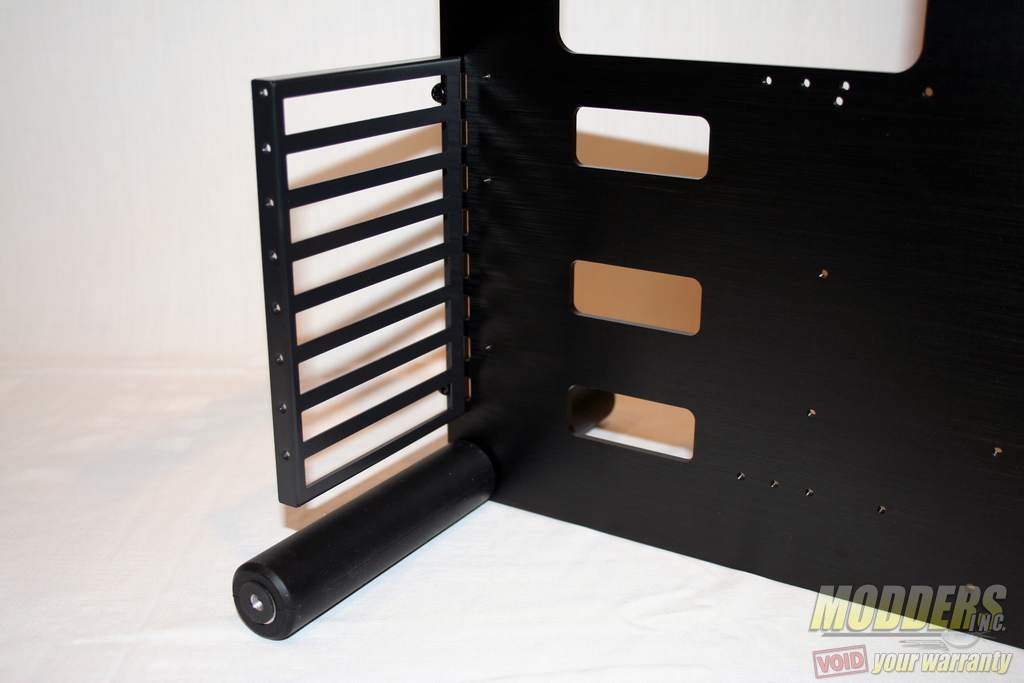
Once the chassis is upright and stable, the next component to install is the PCI bracket. This is fairly straightforward with only two thumb screws for installation. This is the only component to be mounted on the front side of the motherboard tray. I did notice that the instructions wanted the inner set of screw holes to be used, but only the outer set would fit perfectly.
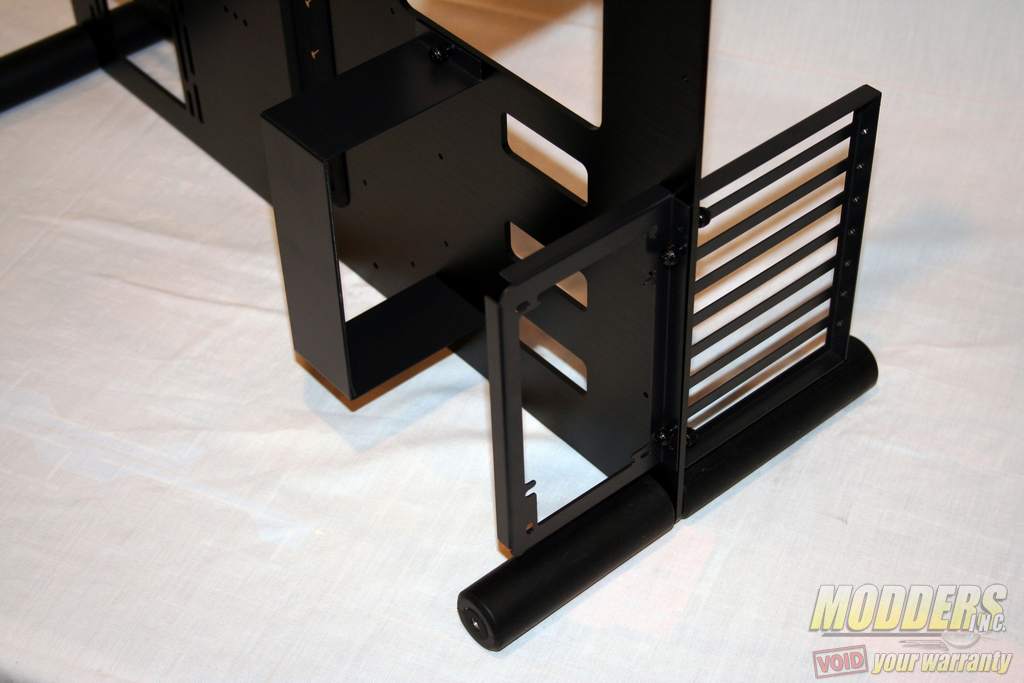
Now for the backside of the motherboard tray for the PAEAN. First up is the PSU rear bracket. This bracket is used to secure the rear of the power supply to the chassis. On the review unit I received the lower screw holes for the PSU bracket were not tapped all the way through at the factory, so the screws would not get started in their respective holes. Luckily I had a 6-32 self-aligning tap set available and was able to complete the fix in about 5 minutes. The instruction sheet wanted the outer set of screw holes to be used, but the inner set was the only one available since the PCI bracket used the outer set.
After the PSU rear bracket is installed, now the PSU forward bracket is mounted. This bracket is used to hold the bulk of the power supply securely against the chassis center panel.
The HDD cage is where all of the hard disk drives are mounted. This cage has mounting locations for three 2.5″ HDD and three 3.5″ HDD. Before mounting, ensure you have the correct alignment of the assembly as shown in the installation instructions.
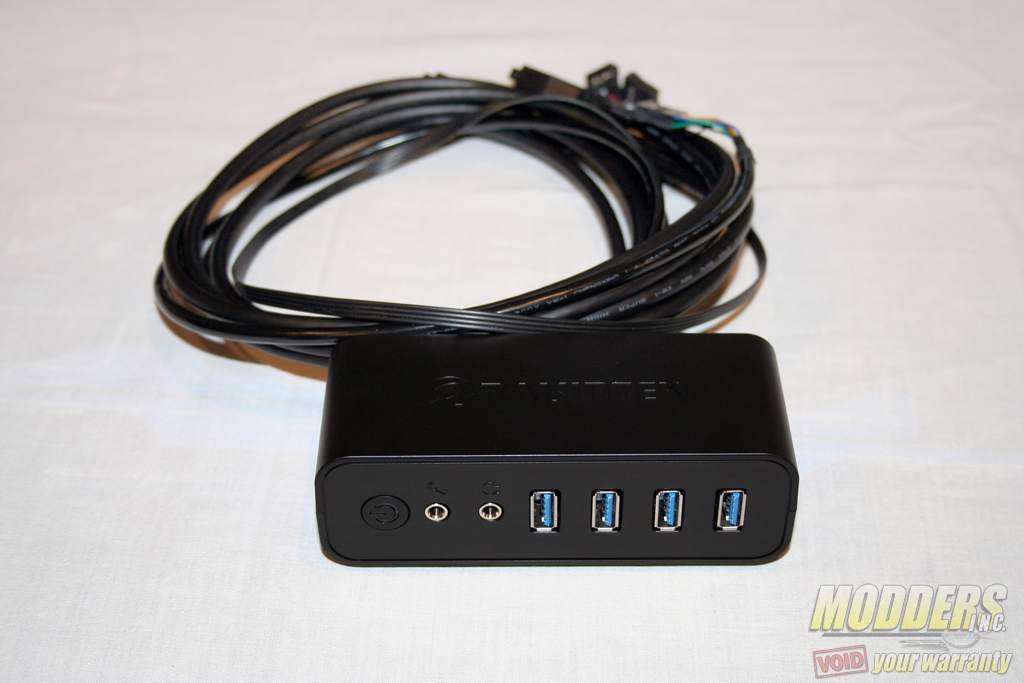
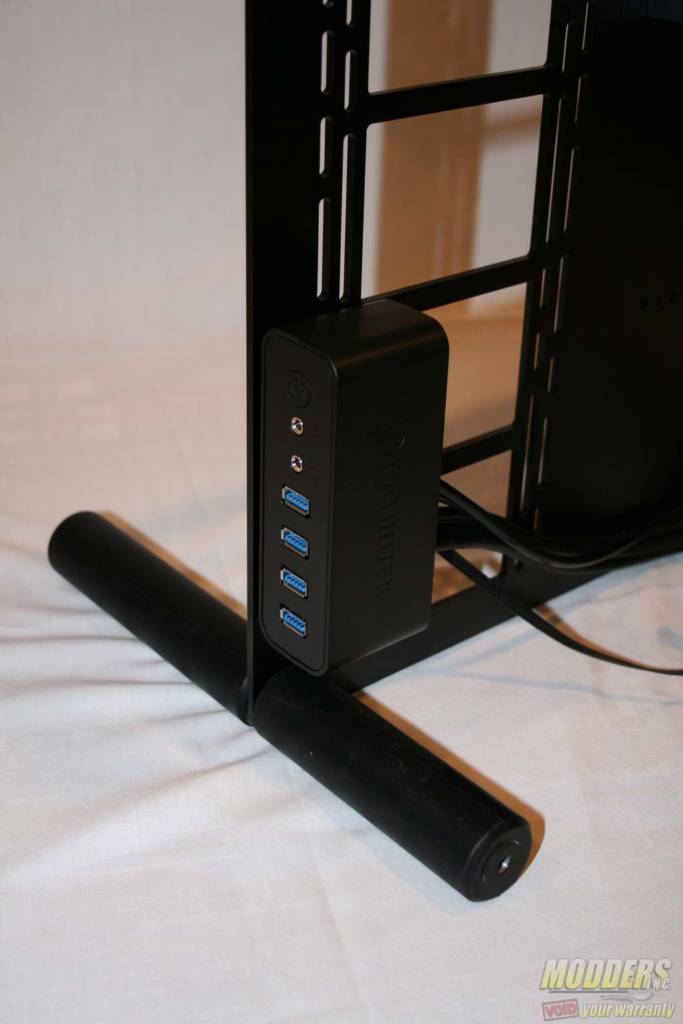
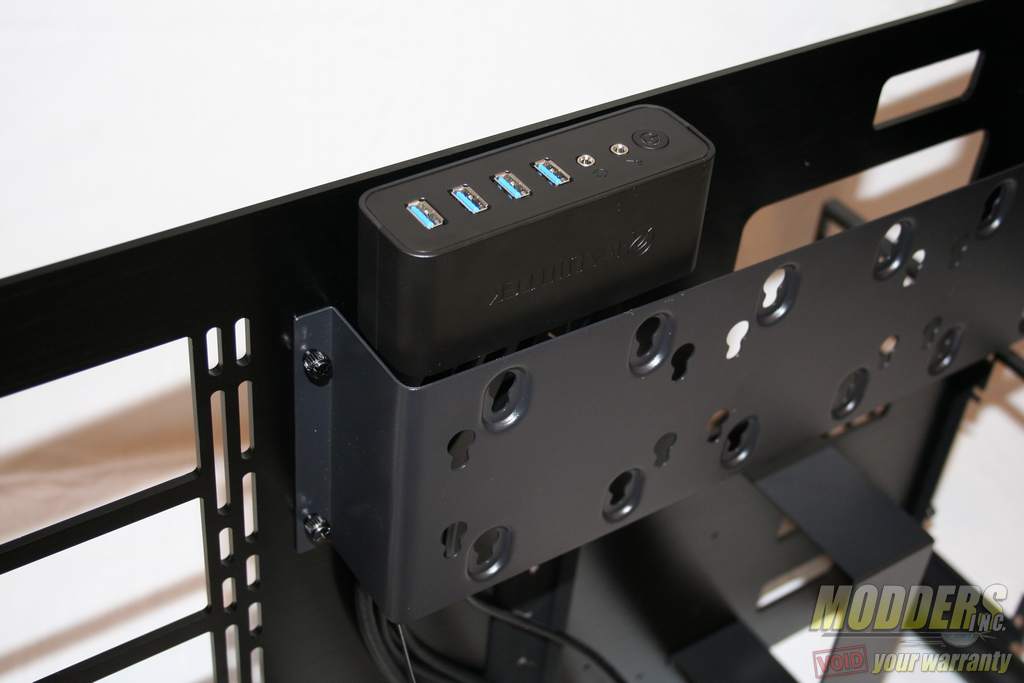
The last chassis assembly piece to be mounted is the I/O module. Compared to the rest of the chassis, this module is perhaps the most disappointing. While the chassis is constructed of thick aluminum and rubber coated components, the I/O module is fabricated from plastic. Due to this plastic housing, the power button makes a sharp clicking sound when depressed.
There are three mounting locations for the I/O module. Depending on how you want to utilize the case, you can select the mounting location most appropriate for you. Two mounting locations are for when the chassis is standing in the upright position, while the third mounting location is for when the chassis is used in the bench table configuration.
The last step in the chassis assembly process is mounting both of the 5 mm tempered glass panels. The supplied M8-L16 screws are a breeze to thread and the Allen wrench is only used to ensure they are snug. There are rubber washers on the screws and mounting poles to cushion the tempered glass. Do not over-tighten these screws as it may shatter the tempered glass.
