RAIJINTEK Asterion Classic Aluminum Chassis
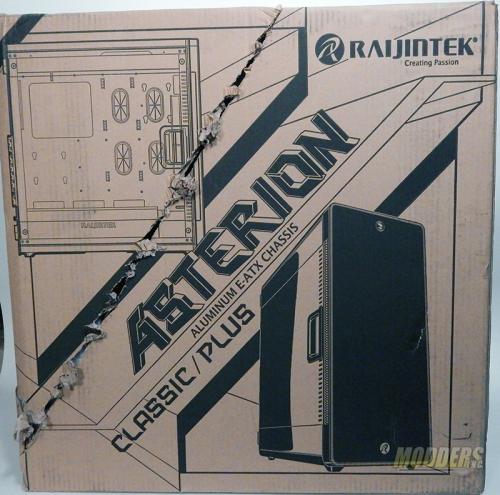
The Raijintek Asterion Classic Aluminum chassis comes well packaged in a sturdy cardboard box with lots of padding. As you can see from these pictures, this box took quite a beating. Yet the product inside is totally unscathed.
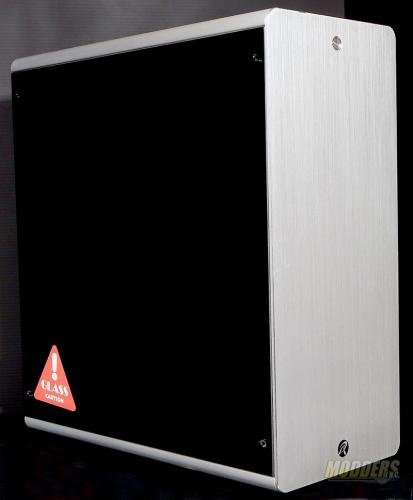
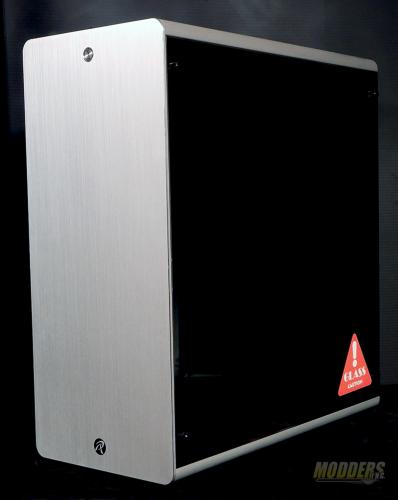
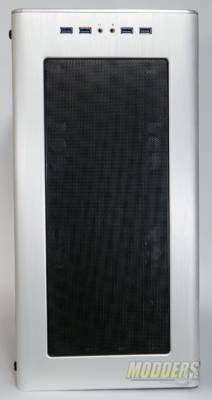
Here is our first look out of the box at the Raijintek Asterion Classic Aluminum chassis. Isn’t this just a nice clean looking case? We have tempered glass on both sides and a clean front aluminum panel with the power button front and center. The front panel is a brushed aluminum “hair-silk anodized” design. There are four thumb screws that hold each of the two tempered glass panels on the Raijintek Asterion Classic. The panels are mounted on a rubber mount and each of the thumb screws has a rubber pad to prevent scratching the panel when secured.
Here we have a great view of the top panel on the Raijintek Asterion Classic. The top screen is open for ventilation. All the front I/O ports are top mounted.
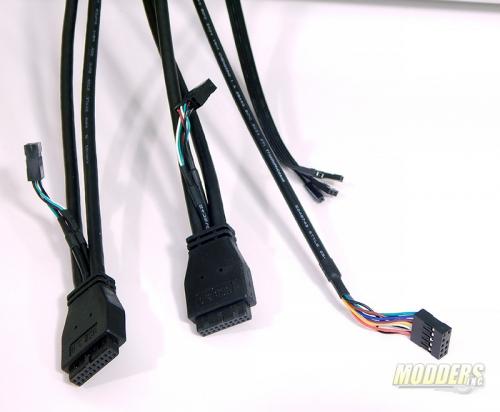
The I/O jacks include 4 USB 3.0 and both headphone and mic jacks. The USB cables are equipped with both USB 3.0 and 2.0 connectors. There is the Digital headphone and mic connector and front panel button cable.
(insert io and cables)
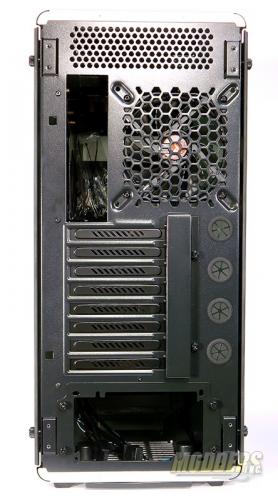
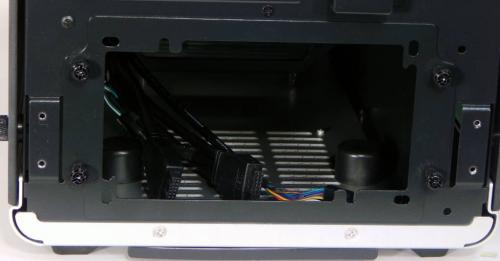
On the back of the Raijintek Asterion Classic Aluminum chassis we have a 120mm LED fan, MB I/O opening, 4 grommet pass-through for water-cooling, 8 PCI slots, and a bottom mounted power supply opening. Notice the two thumb screws to the right of the PCI slots. You remove these and the boxy plate they are holding to access the screws for the PCI slots. The power supply is attached to this removable plate which is held with 4 thumb screws. It is very easy to install and remove the PSU from the Asterion Classic case.
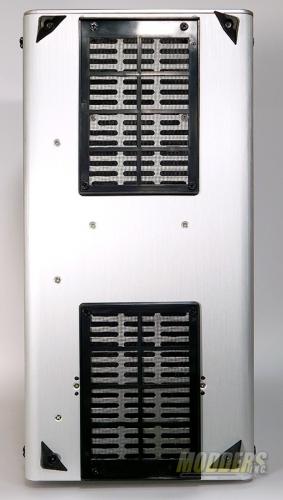
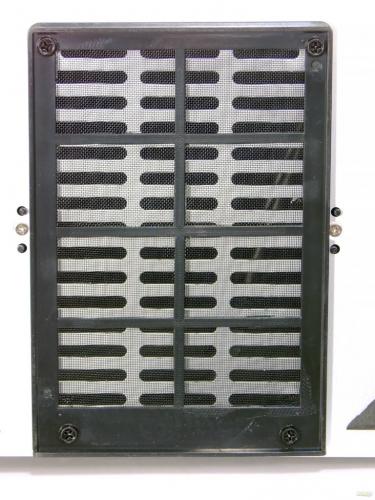
A view of the bottom shows the first item I am not crazy about. There are two filter screens here. One for the PSU and one for the case itself. As you can see from the close up, it isn’t easily removed. You must lay your case over and remove 4 screws to remove and clean the screen.
That’s it for the outside. Lets take a closer look inside and see what the Raijintek Asterion Classic Aluminum chassis really has going for it, shall we?
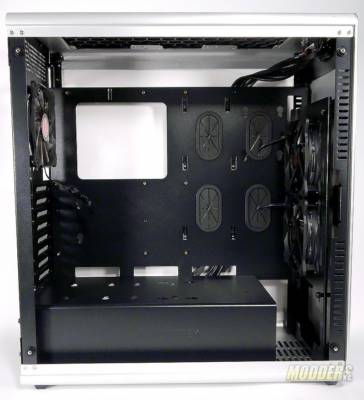
Our first look inside shows us a very spacious layout. This clean open look is a common theme with Raijintek’s Aluminum cases. The Asterion Classic can support motherboards from an E-ATX down to the Mini ITX.
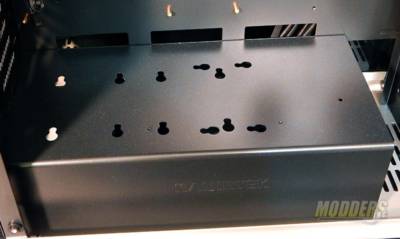
The wide open feeling here gives all kinds of thoughts to what can I put inside! The Raijintek Asterion Classic Aluminum chassis is perfect for builders who want to release their passion and create a work of art. You may also see the keyhole type slots in both the top of the PSU box and on the back panel. The Asterion Classic comes with SSD/HDD screws that allow you to slot your SSD/HDD right into these keyholes for easy installation and removal of your SSDs/HDDs
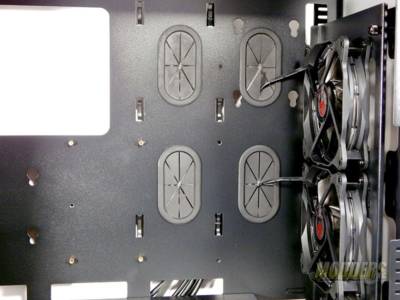
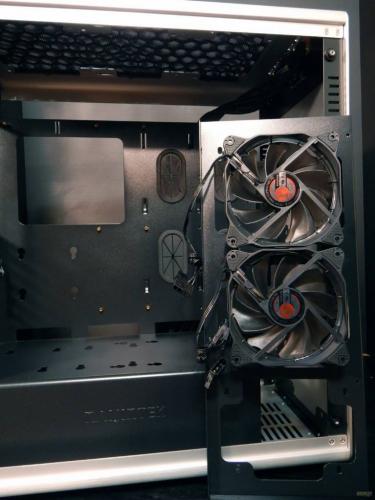
With a closer look inside we can see the 4 cable routing pass-throughs and the two removable front 120mm LED fans. There is room here for a 3rd 120mm fan or 2 140mm fans can be mounted. There are also other cooling options available with internally mounted radiators of up to 360mm for liquid cooling.
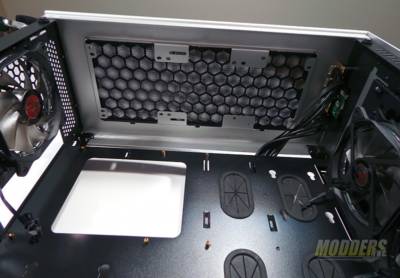
Looking up inside the Raijintek Asterion Classic Aluminum chassis, we see the underside of that huge ventilation screen we saw on the outside pictures. 2 140mm or three 120mm or up to a 360mm radiator can be mounted here. For those of you who may be thinking the solid front panel may prevent suitable cooling, think again. With the cooling options available in the Raijintek Asterion Classic, your build should remain nice and cold.
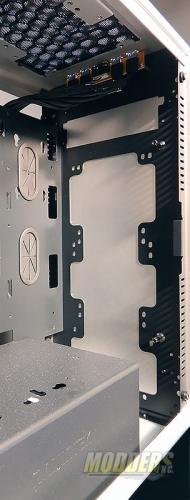
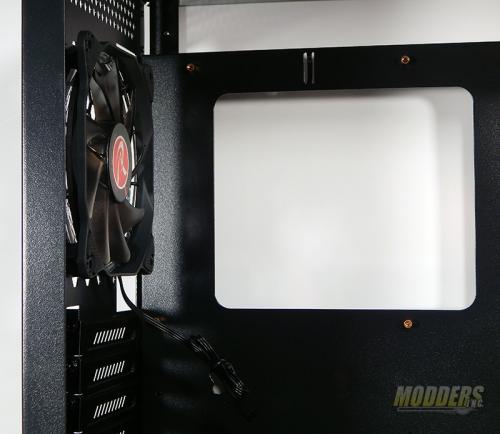
Here at the front of the Raijintek Asterion Classic I have removed the two front fans, which are mounted to nice easy to remove bracket. In this spot can be mounted an internal radiator up to 360mm. As you can see from the bracket itself, which comes with two LED lit 120mm fans, a third fan can be added or both can be replaced with 2 140mm fans. You will also notice that the front panel is solid aluminum plate. The Raijintek Asterion Classic Aluminum chassis is assembled with screws and can be easily disassembled if you desired to enhance the front of this case with your own CNC work or etching or designs you can come up with. And also here is the included 120mm LED fan. Even though the front of this case is sealed, there appears to be plenty of air flow from both the top and bottom screens and from around the edges of the tempered glass panels.
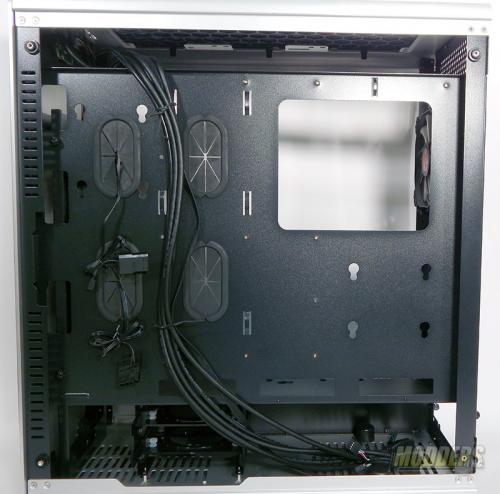
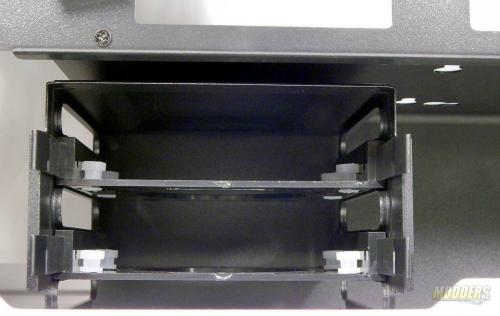
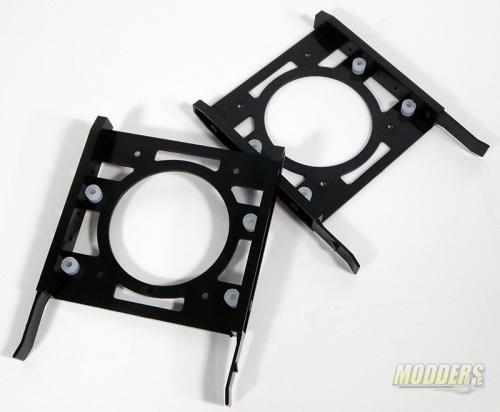
Our final three shots of inside the Raijintek Asterion Classic Aluminum chassis we can see the back plate with its multiple cable runs. Four grommets protect the edges of the massive cable runs. You can also run cables over the panel or through one of the four slots at the bottom. Also you can clearly see the keyhole mounts for your SSD/HHDs. At the bottom of the Asterion Classic in front of the PSU space are mounts for two additional HDDs. The slide mounts have rubber standoffs for your 3.5″ drives. If you want to install 2.5 or SSDs here, you will have to screw them directly to the bracket.
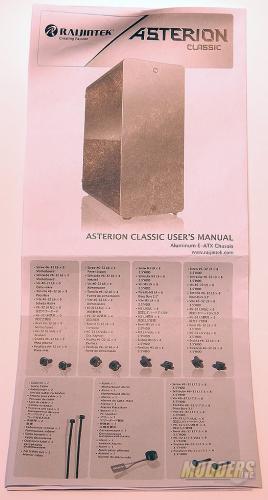
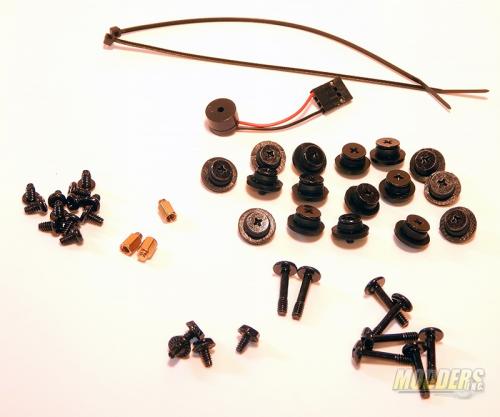
The Raijintek Asterion Classic Aluminum chassis includes a well thought out instruction manual with a complete description of each screw on the front and detailed pictures inside of how to assemble this case. The parts kit was complete and had everything needed for building a great case.
)insert manual and parts)
