RAIDMAX Vampire Tower Computer Case Review
Closer Look Inside the RAIDMAX Vampire
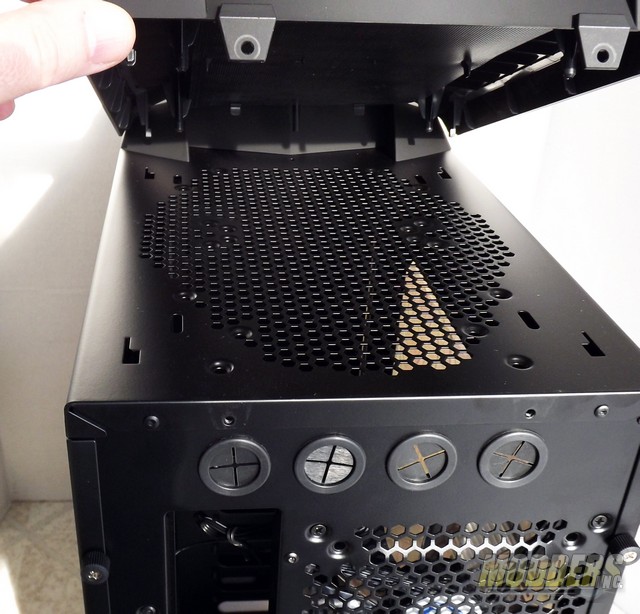
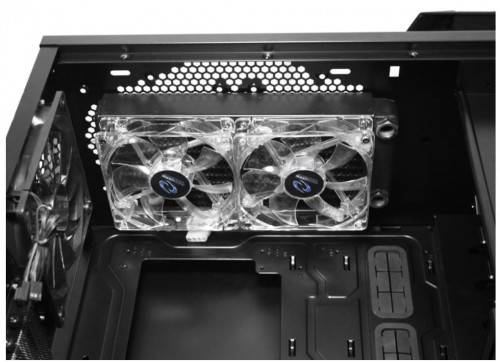
After removing two thumb screws we can examine the Vampire’s top rear section. A grilled area for two 120mm, two 140mm or one 200mm can be installed, but not on top of the metal section of the case. The fans have to be mounted from the inside/under of the case. If RAIDMAX would have added just another 1/8th inch of clearance, fans or a radiator set-up could of been mounted above and allow more room inside of the case.
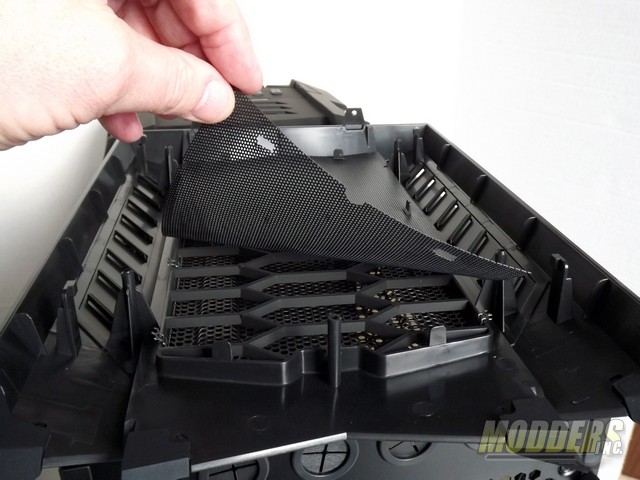
On the underside of the top panel is a flexible removable grill screen. To get access to the filter you do have to remove the upper cover.
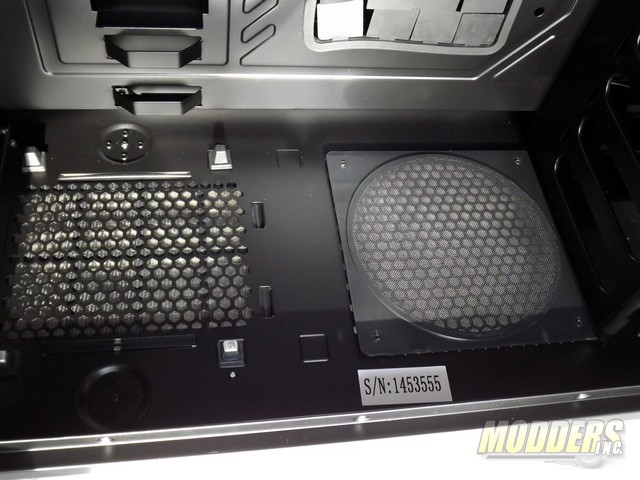
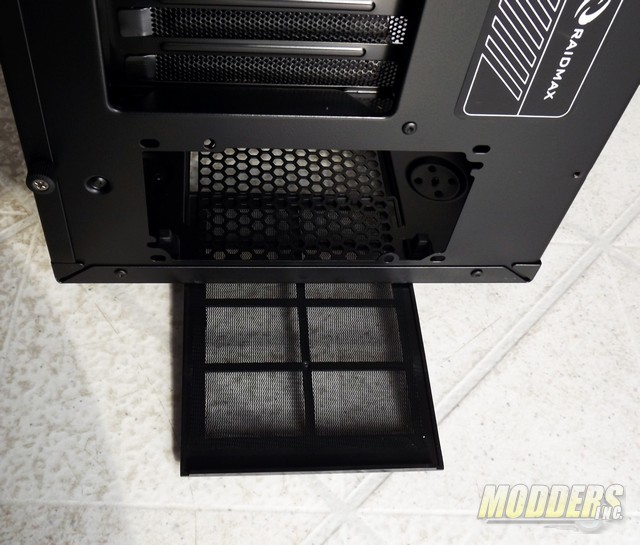
The power supply mounting section is filtered using a slide out screen from the bottom of the case and the forward floor fan has a 140mm screen grill you can remove and use as you like. If you use a fan here I suggest that you mount the filter under the case. As long as your not sliding the case around it will stay in place and will present easier cleaning of the filter. If your going to be using the floor fan mount for exhausting the air you can use the 140mm screen for another intake fan elsewhere.
Here is a shot of the east to use pull out power supply screen filter. The screen frame is made of plastic with the screen attached to it.
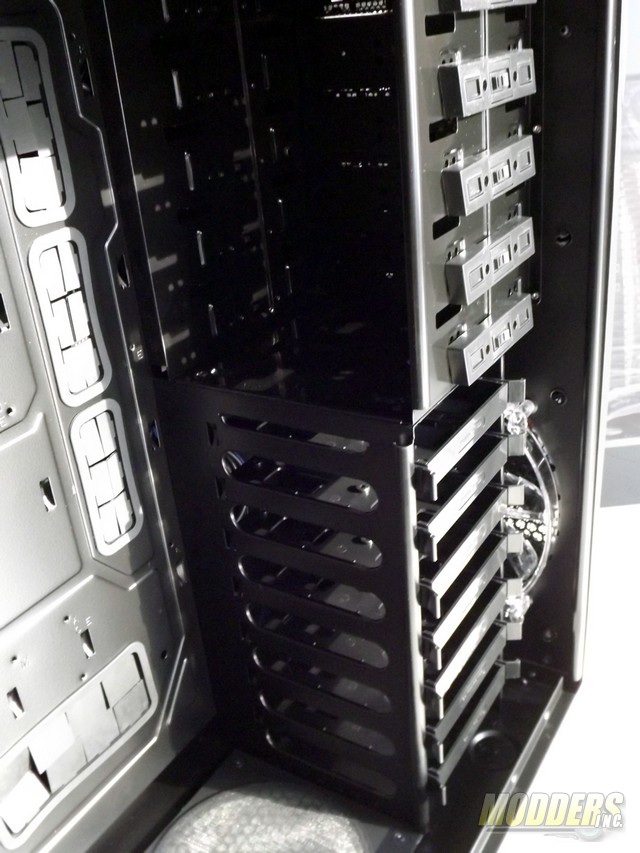
How much hard drive space do you need, well the RAIDMAX Vampire has plenty of it. With five 5.25″ external bay’s in the upper section and seven internal HDD/SSD bays -all are tool less- you should have plenty of space. The HDD drive cages have oblong access pass through holes in the side panels that would allow for air flow cooing, tubing, cabling and other devices to be used in the internal section like a reservoir or pump. A front 200mm Blue LED fan is included with the case.
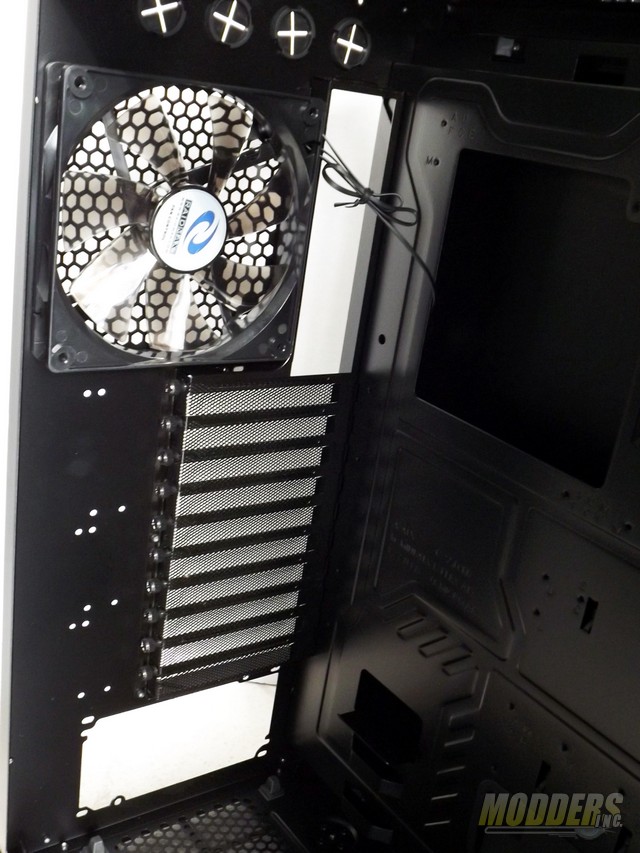
The rear panel has PSU bay, ten mesh slot ports held in by phillips head thumb screws so that you can make sure that your hardware is secure. The edge to the slots could house and support a reservoir. It’s a perfect place for a reservoir or pump but the access to the card slot mesh inserts thumb screws would be compromised. If they were tool less or single lock brace would be better. I tried something and with most cards it would work. You could screw the slots mesh inserts from the outside/back of the case if you mount a reservoir or pump in that area. Moving upward the rear fan is set for either a 120mm or a 140mm fan. Above the I/O plate access near the top is four 1″ holes with grommets allowing water cooling devices on the rear ported thru to the inner case. A 140mm LED fan is included with the case.
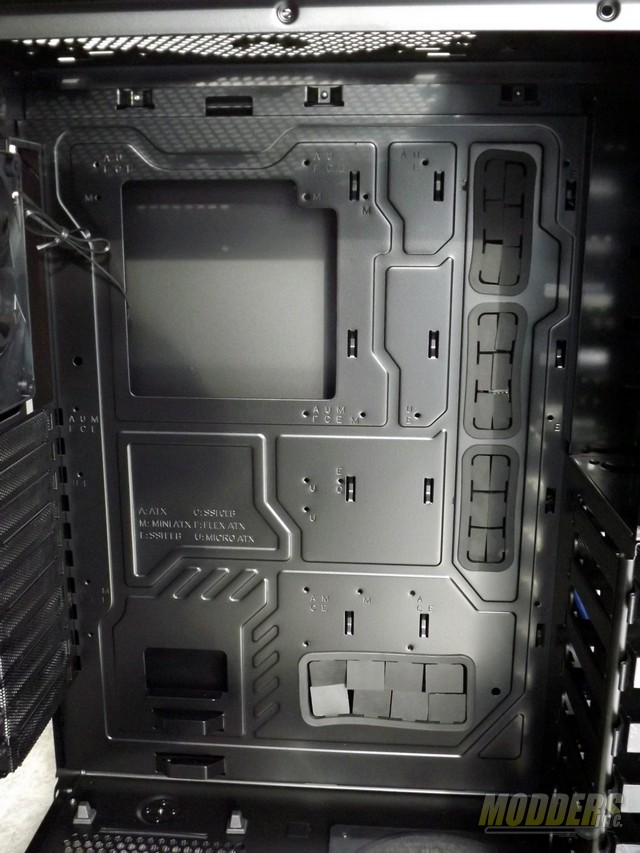
The motherboard area can house SSI-CEB, E-ATX, XL-ATX, ATX, Micro-ATX and mini-ATX layouts. A very nice large access to the rear of the CPU for CPU cooling mounts, maintenance and changing without removing the motherboard. Plenty of cable pass through access and they are all grommeted for cable protection and stealth.
The inside top can support 2 x 120mm, 1 x 140mm or 1 x 200mm Fan/Radiator combo.
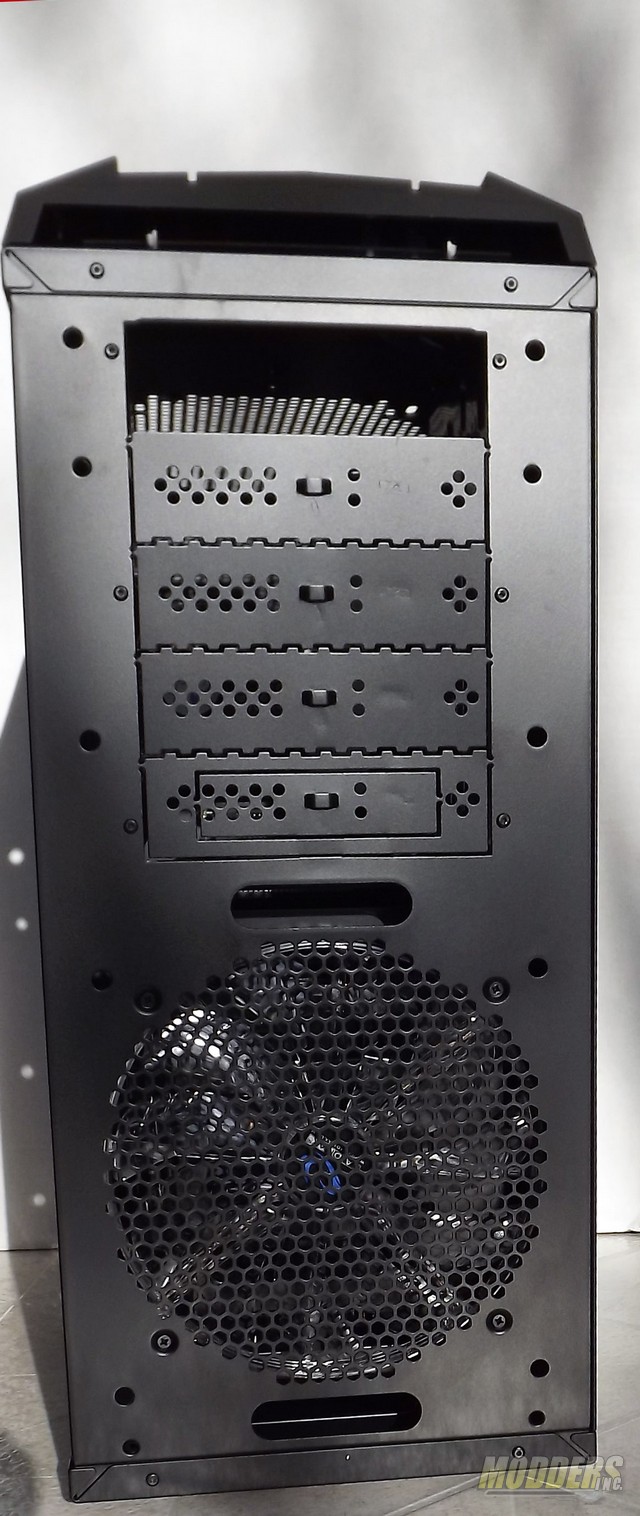
The front bezel is a snap-out style and easily removed. Punch-out plates cover the 5.25″ external bays and one bay has a punch-out for 3.5″ external device but no matching 3.5″ filtered bay cover or mounting brackets. Also shown here is the 200mm case fan, mounted on the inside of the case, that comes standard.
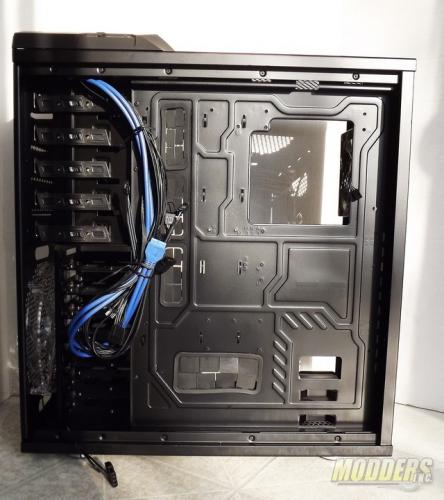
Back side panel shows the four grommeted cable pass through holes and the large motherboard rear access. One thing owners of this case will appreciate is the 1.5 inch (40mm) space here for cable management. Many cases suffer to allow space enough for standard cabling let alone adding extensions and tucking the excess away without crushing them to close the back side panel.





I have one of these cases – they’re great … my only problem is that I’ve had it for 5 years and need another hard drive tray and can’t find them anywhere. Does anyone out there have an extra one they’d part with?