Raidmax Scorpio V Mid-Tower Case Review
Looking at the inside of the Scorpio V
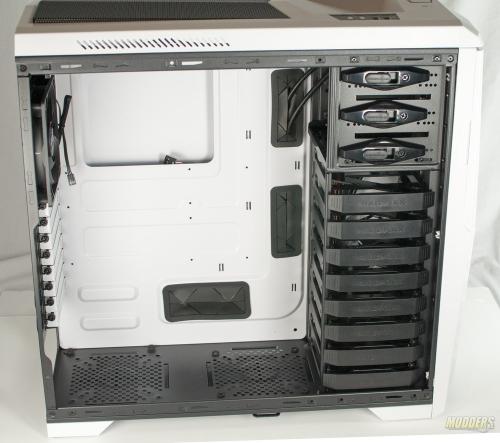
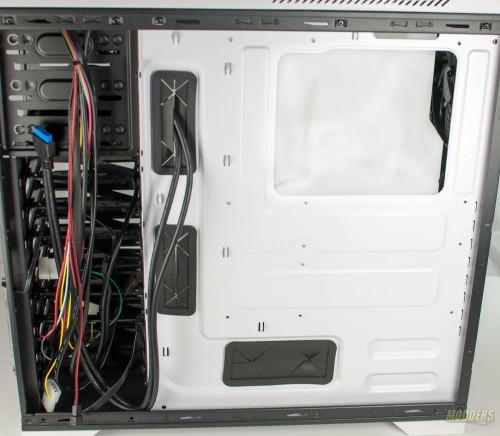
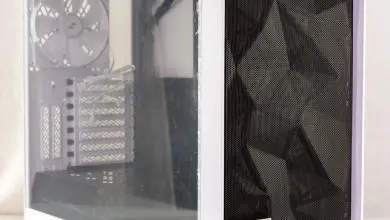
With the side panel off we can fully see what’s going on inside the Scorpio V. There are three grommetted cable management holes, which are in exactly the correct locations. Down at the bottom are two ventilation ports, one for your power supply and one for an optional 120mm fan. The CPU backplate cutout is nice and large, and should accommodate most motherboards and CPU sockets. On the right side are all of your drive bays. Up top you’ll find three tool-less external 5.25″ bays, and down at the bottom are eight 3.5″/2.5″ drive bays.
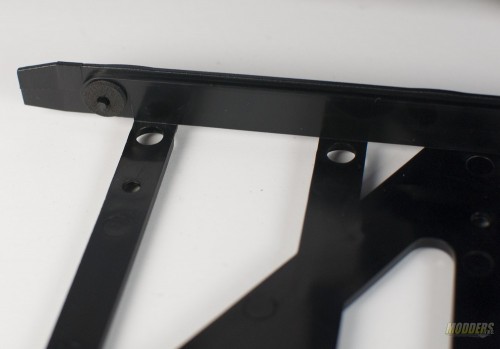
The hard drive sleds are tool-less for 3.5″ drives, however 2.5″ drives have to be screwed in into the sleds. For a 3.5″ drive all you have to do is flex the open a bit and pop the drive in.
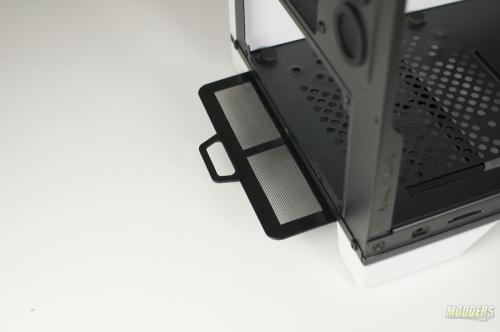
The power supply mounting location features the case only easy to remove filter screen. To remove it you simply pull it straight back from the rear of the case and install it in the opposite process.
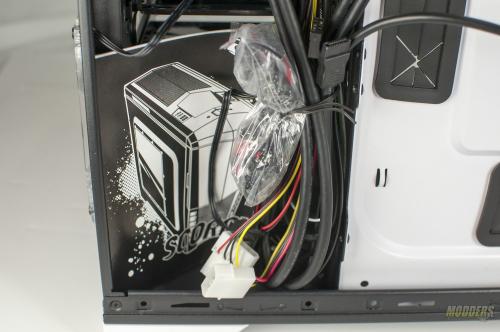
After pulling the other side panel off we immediately noticed that there was a package of screws as well as an installation manual tucked behind the hard drive cages.
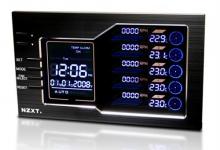
With the back of the motherboard tray exposed, there are a multitude of cables behind the hard drive cages. These are all of the front panel connectors, as well as a couple molex connectors for your SATA hard drive connector and the fan controller.
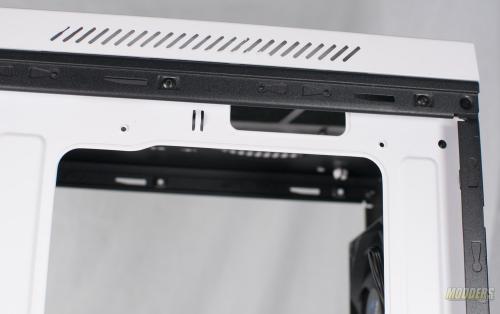
Up top above the CPU backplate cutout is a large hole for routing a CPU 8-pin power connector.
