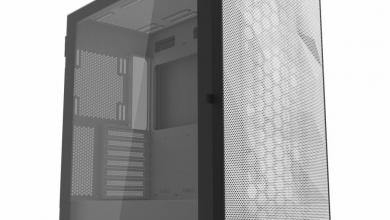
Raidmax Monster Mid-Tower Computer Case
A Closer Look
|
Exterior:
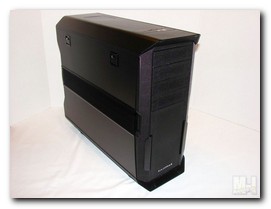
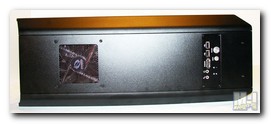
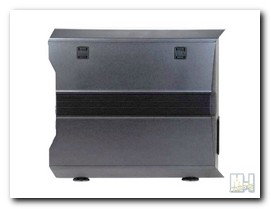
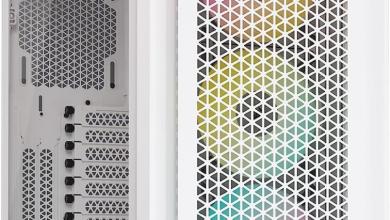
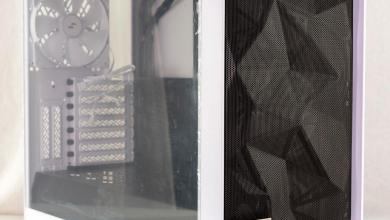
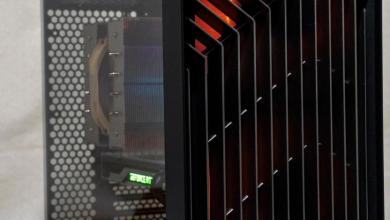
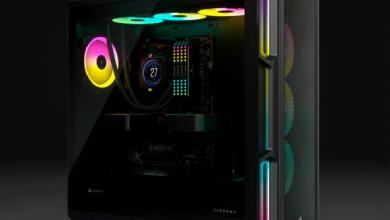
The Raidmax Monster has a rather aggressive style to it, with it’s angular corners, full meshed front panel, ribbed side panel section and protruding ribbed front edges. The exterior finish of the Raidmax Monster is all matte black and has a slight texture to it, which can be found throughout the interior as well. In fact the only parts of the case that are not black are the Raidmax logo and the power/reset switches and of course the fans.
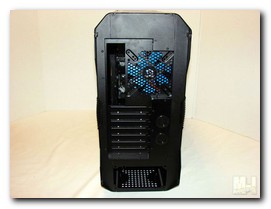 
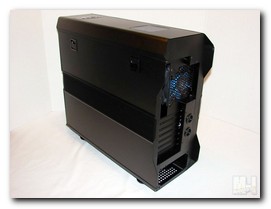
Looking at the back of the Monster, we can see that Raidmax has carried over the Matte black color. We can also see that it has two liquid cooling holes pre-cut with grommets installed, a punch-out type I/O shield, seven punch-out pci expansion slots, a pre-installed 120mm fan and it is setup for a bottom mounted psu.
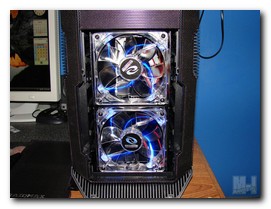
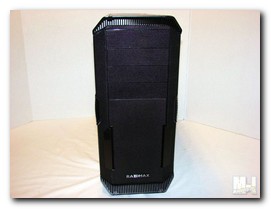
The all mesh front of the Monster contains four 5.25″ drive bay covers and a removable mesh cover that conceals two 120mm Blue LED fans. The Raidmax logo, being one of the only non-black items on the case, can also be found on the front panel near the bottom.
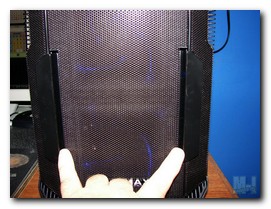
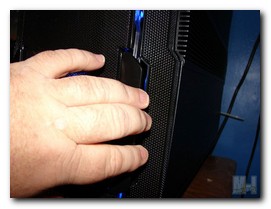
Speaking of the lower portion of the all mesh front panel, I’d like to point out that it can be removed easily. Simply press the two large plastic tabs towards the other and gently pull outward.
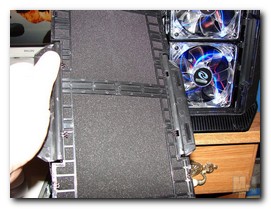
The advantage of this is of course to gain access to the two 120mm fans, while also allowing access to clean the dust filters in the front cover. Yes, even the drive bay covers have removeable filters in them.
*** Note: I do not recommend removing the fan cover with the machine powered on, the potential for sticking a finger in one of the fan blades (causing personal injury or damage to the fan).
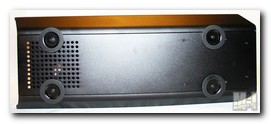
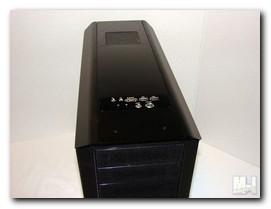
The above images show the top and bottom of the Raidmax Monster case. Starting with the bottom, we can see that Raidmax included a decent set of rubber padded feet to help stabilize the case and prevent vibration and slippage. We can also see that the psu section of the case is vented with large diameter holes. This will allow your psu to breath in fresh air and help keep it cool.
Editors Note: Looking at the PSU vent, you will want to make sure that your PSU has its intake fan mounted toward the rear of the PSU. Using some of the larger PSU’s with the forward mounted fan might result in air flow restriction causing the PSU to overheat and potentially fail. Moving to the top of the case we can see that Raidmax has included a 120mm Blue LED exhaust fan to aide in removing the hot air from the Monster and increasing air flow. Towards the front we see the header panel. Note the angular edges along the top and bottom of the Monster, it sort of reminds me of the rear of a Lamborghini Countach which also has similar angular design, especially noticeable in the rear taillight area.
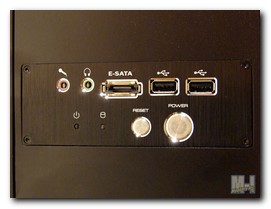
The front header does not have the textured finish the rest of the case has, but rather a black anodized brushed aluminum plate. The header contains the audio ports, 1 x E-SATA, 2 x USB and the power and reset switches. This setup seems to be the standard of the day as we are seeing less and less of the fire wire ports since the arrival of E-SATA.
Interior:
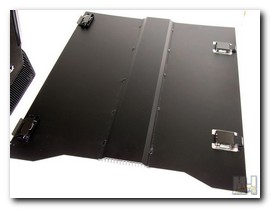
The latch system on the Raidmax Monster is very easy to use. It consists of two latches, that you push down to release the locking mechanism. They are made of metal and seem to be very sturdy. Note that the center section of the panel is beveled and that the panel will flush mount to the sides of the chassis, with the beveled section fitting flush into a an inward beveled area on the chassis. I did notice that the panels could be bowed rather easily inward or outward.
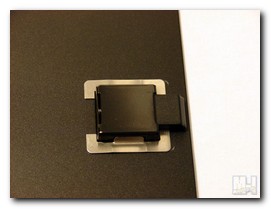 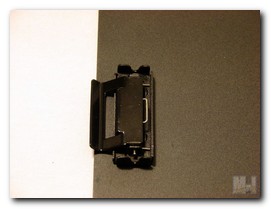
The locking mechanism the side panel uses is basically a slide latch. It is a spring loaded plunger type slide mechanism, that slides up behind the chassis inside lip to lock the panel into place. Depress the outside latch and the inner plunger slides down to release the panel.
The bottom of the panel is held on by a spring loaded clamp style holder. Simply slide the panel onto the chassis so that the bottom edge of the chassis goes up into the clamp. Then all you have to do is make sure it is all lined up and lock the panel down with the upper latch. Very simple, yet it works like charm.
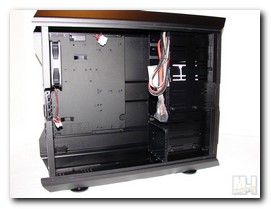
As we first look inside the Raidmax Monster, we see that the chassis is indeed completely black and interior space seems plentiful. We can now also see the accessory box included by Raidmax, as well as, the mass of wires hanging from the header. The wires consist of the E-SATA cable, USB cable, power connections, and the audio cable. The audio cable has dual connectors so that it can be connected to either AC 97 or the HD audio header on your motherboard. We also see the two pre-installed exhaust fans.
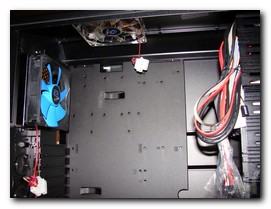
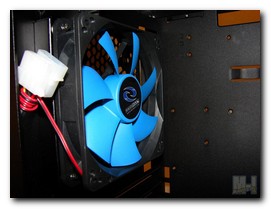 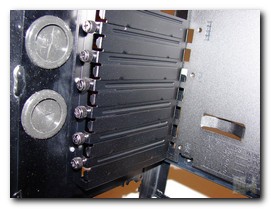 The top one being in the blow hole position is 120mm Blue LED fan, while the back fan in the exhaust position is a Raidmax non-LED black 120mm fan with blue blade. Both connect via 4 pin molex connectors. Below the rear fan we have the seven punch out expansion slots. Not being a fan of the punch-outs, I find it interesting that even though they went with the cheaper punch-outs, they added black anodized thumb screws to tighten down the expansion cards. If you were going to go to the expense of adding the thumb screws, why not use the much nicer slotted expansion covers? Here is a closer view of the pre-installed liquid cooling holes, pre-grommeted of course. It is always nice touch to a company think of the customer and add the grommets to any pre-cut holes.
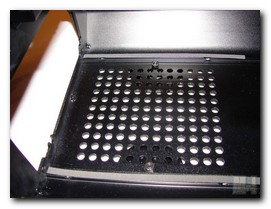 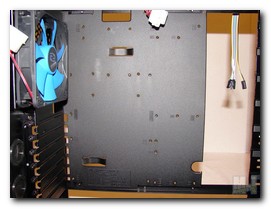
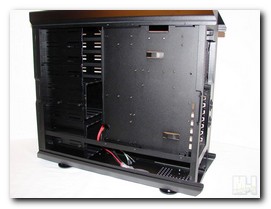 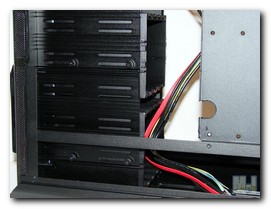
While we’re on the subject, let’s move to the rear of the case. Even though there is a large open area between the motherboard tray and chassis floor, wires and cables can not be threaded up behind the tray due to the stabilization bar / lower motherboard tray support bar. There is just not enough room between the bar and the side panel to run any cabling, if you wish to attach the side panel. However, you can hide some of the smaller wiring behind the tray, just beware of the required space for the side panel, especially since the large finned section of the side panel is recessed into this space also.
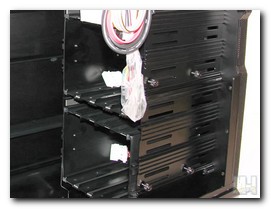 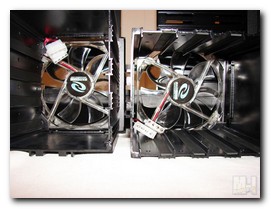
Moving to the front we find two removable 3.5″ hard drive cages. Each capable of holding up to four hard drives, for a total of eight hard drives. Now, with the new high capacity hard drives of the day reaching up to 2TB, one could very easily have 16TB of hard drive space if they so desired. Geesh, well the Raidmax Monster indeed has the ability to hold a Monster amount of storage. Note also that the cages use thumb screws to retain them and have rubber strips in each hdd slot for vibration dampening. Now these hard drive cages have a dual purpose, not only do they hold the hard drives, but each one has a 120mm Blue LED intake fan attached to them. Yes, that is correct, the Raidmax Monster’s front intake fans can be accessed by simply removing a hard drive cage if need be, as well as removing the front panel, like in the example shown in the exterior view several paragraphs earlier.
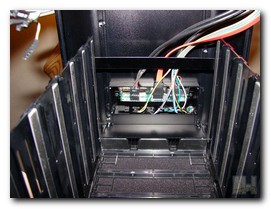 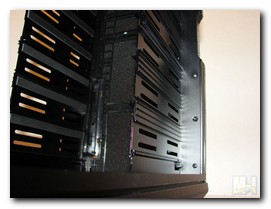
Looking above the hard drive cages we see the four 5.25″ optical drive slots. They also have rubber strips running the length of each slot to reduce any vibrations. They have shelf like rests for the drives to slide in on and to keep them from laying on each other. Note: You will not find any form of tool-less locking devices here, instead you are greeted by the old school style screw slots on each side. Personally, I’d rather see this than some sort of tool-less locking mechanism that may leave a drive sitting loose in the bay.
The accessory header can be accessed from the inside as well, just in case one wanted to change out an audio, usb or E-SATA cable without pulling the accessory header out of the case. Note: The front panel/bezel itself can be removed by removing the four screws on each side of the drive cages. Once you do this the entire drive cage area is open to you, for cleaning/blowing out dust etc. |
