Raidmax Hyperion Case Review: Different but Familiar
Hardware Installation and Clearance Issues
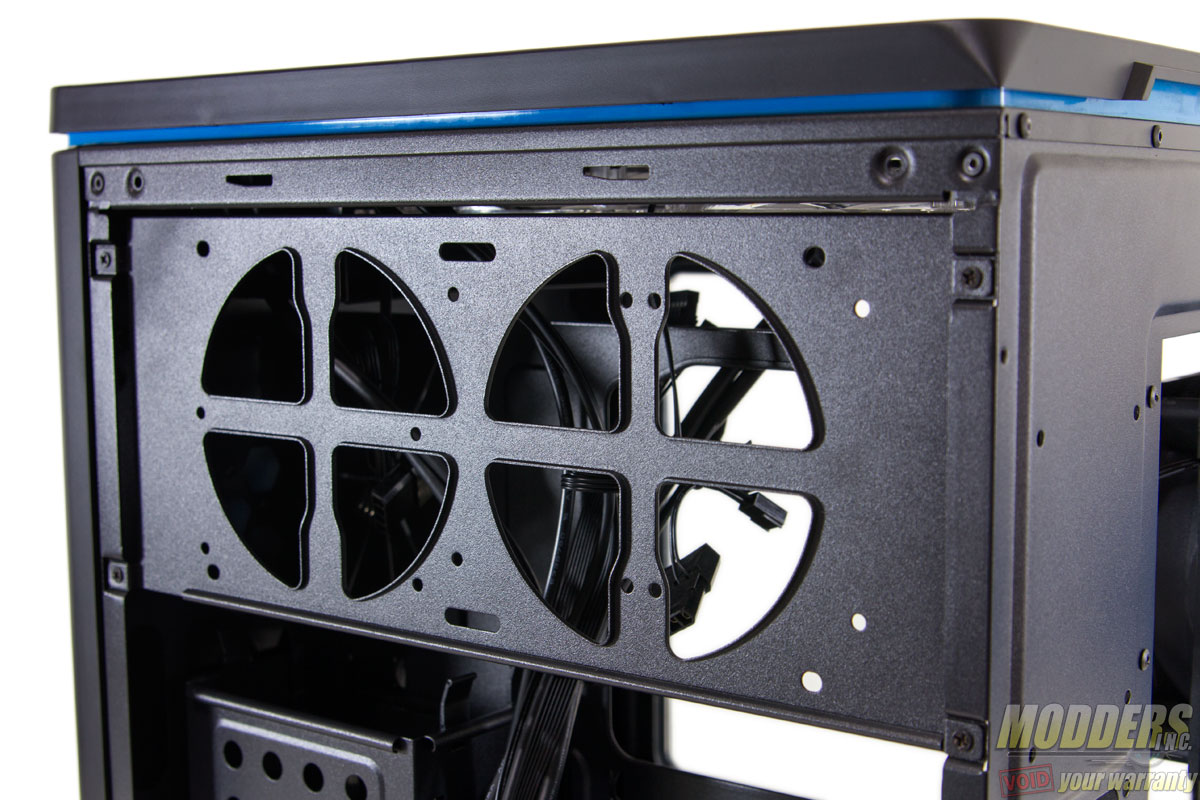
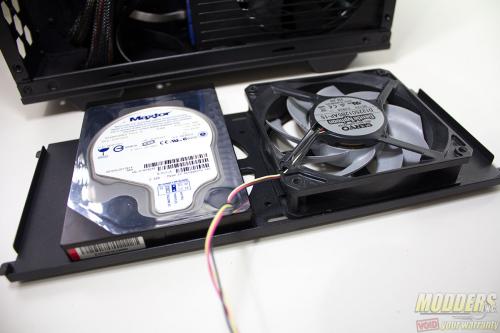
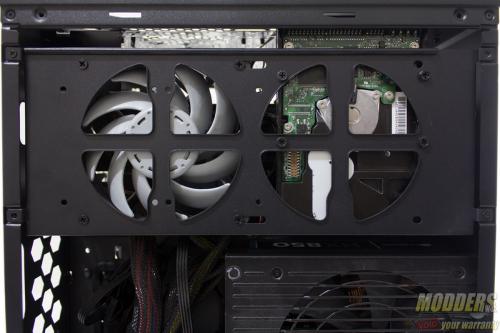
The RAIDMAX Hyperion has room for fan/radiator mounting at the top or front but this versatile plate on the right chamber provides that option as well. It is unique in that it can also be used for mounting drives.
It comes off completely from the case instead of just swinging out, making installation reasonably easy. Keep in mind that space is tight at the top if a 3.5″ drive is installed however so users can only use 90 degree SATA power and data cables to plug-in.
Radiator width is also limited by the folded up edge, which helps distribute some of the weight to the rest of the plate should users mount a weighty 3.5″ drive in there (so that the stress on the screws are lessened).
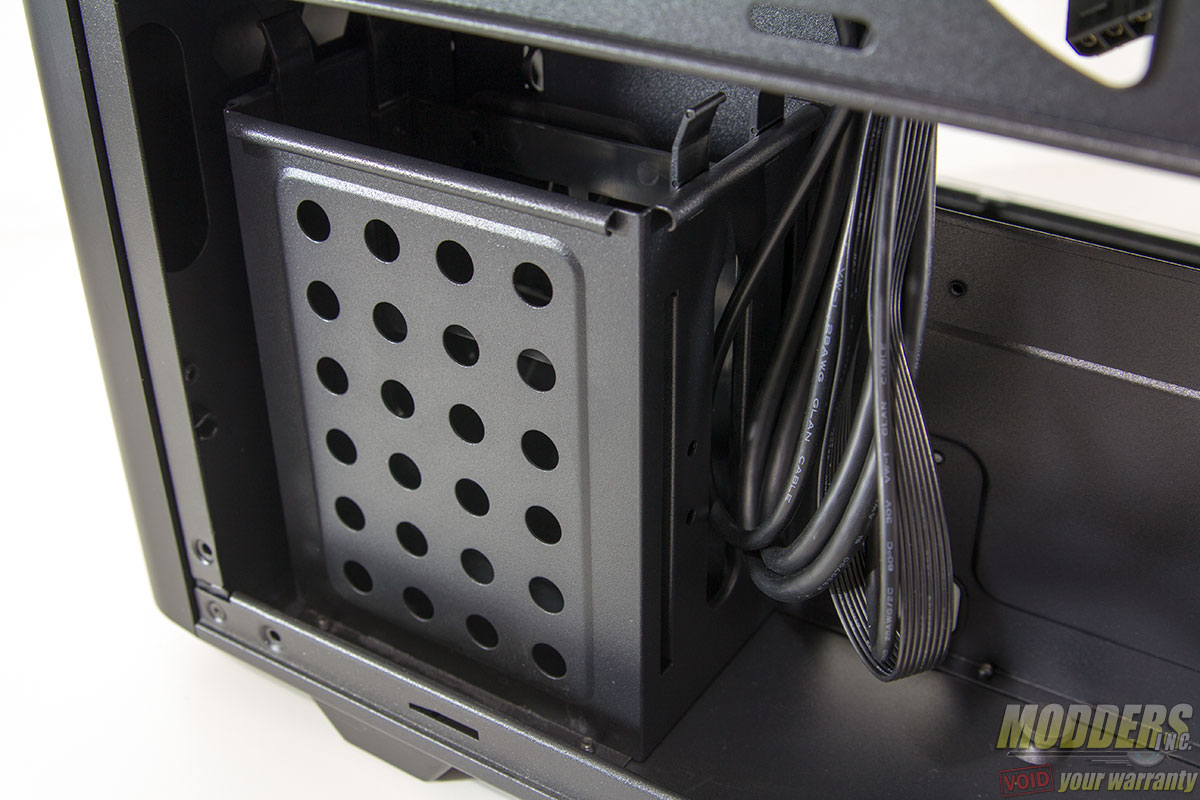
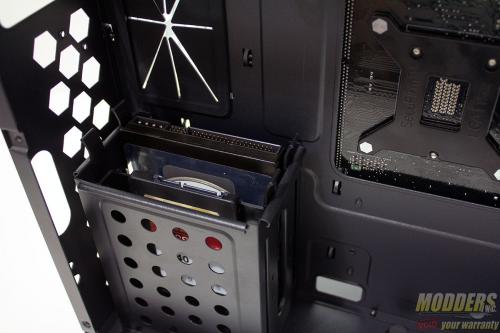
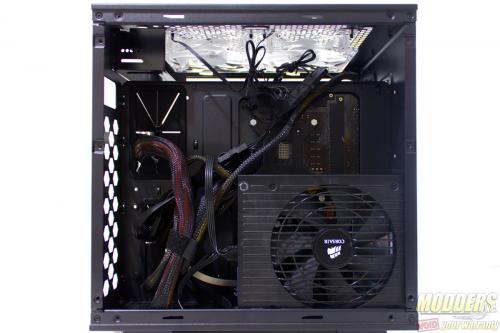
This optional plate is almost necessary for those using 3.5″ drives since the hard drive cage limits the power supply length, making it challenging to plug-in modular cables.
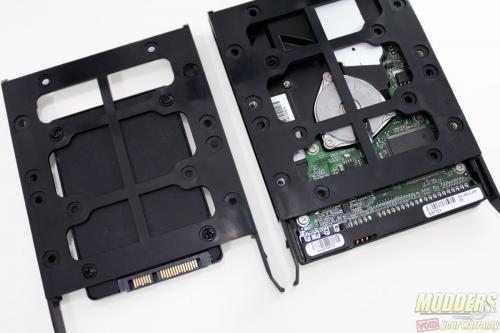
Installing drives on the caddies require a screw driver but mounting the caddies into the cage itself is just a matter of sliding them down.
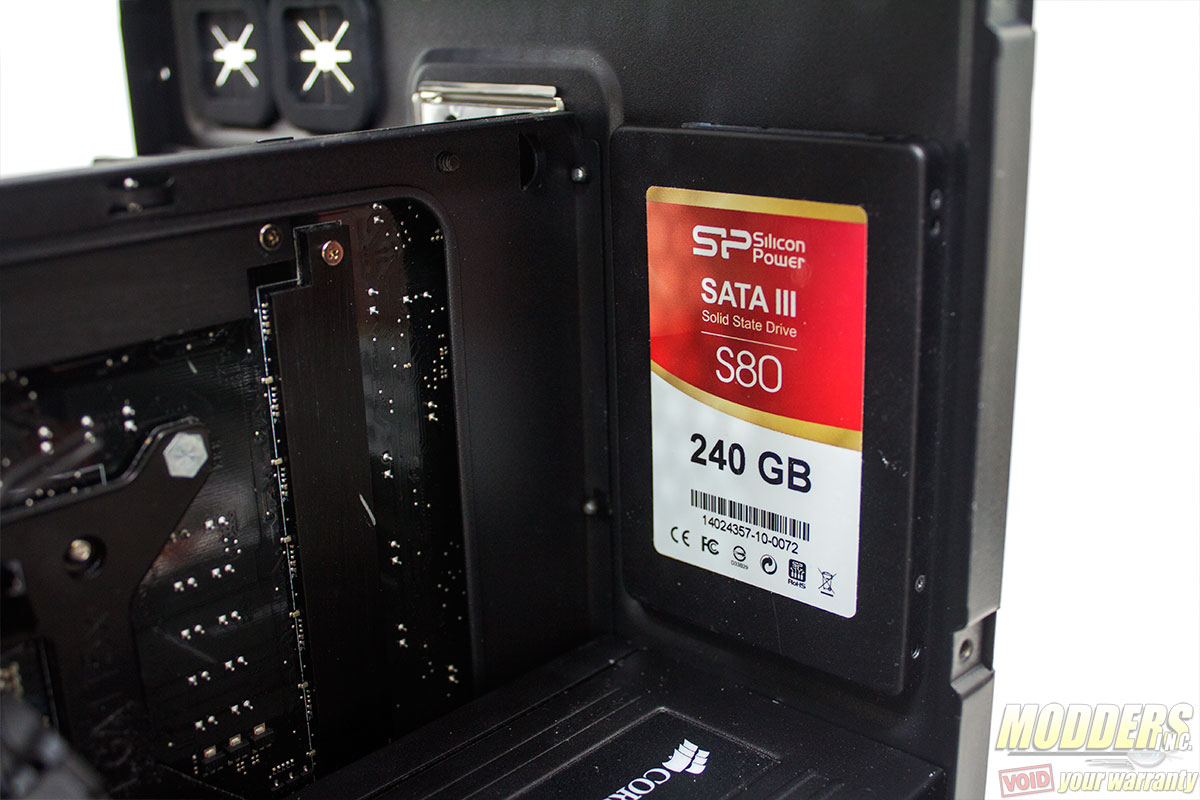
Additional SSD mounting is also available at the back of the right chamber, with the screws holding it in place from the back. Since it is sitting on the back wall however, plugging in a standard power or 90 degree SATA cable is impossible unless it is a single end-piece/slim power cable and a straight SATA cable connector.
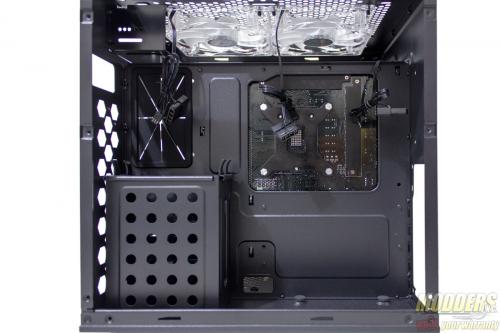
The cutout is sufficiently large and the cable routing area is generous. The right chamber is pretty much designed to store the rest of the cables so that the main chamber is completely clear of it. The gap at the top also makes it extremely easy to route fan/radiator cables/hoses as well as plug in that pesky EPS12V PSU connector at the top corner.
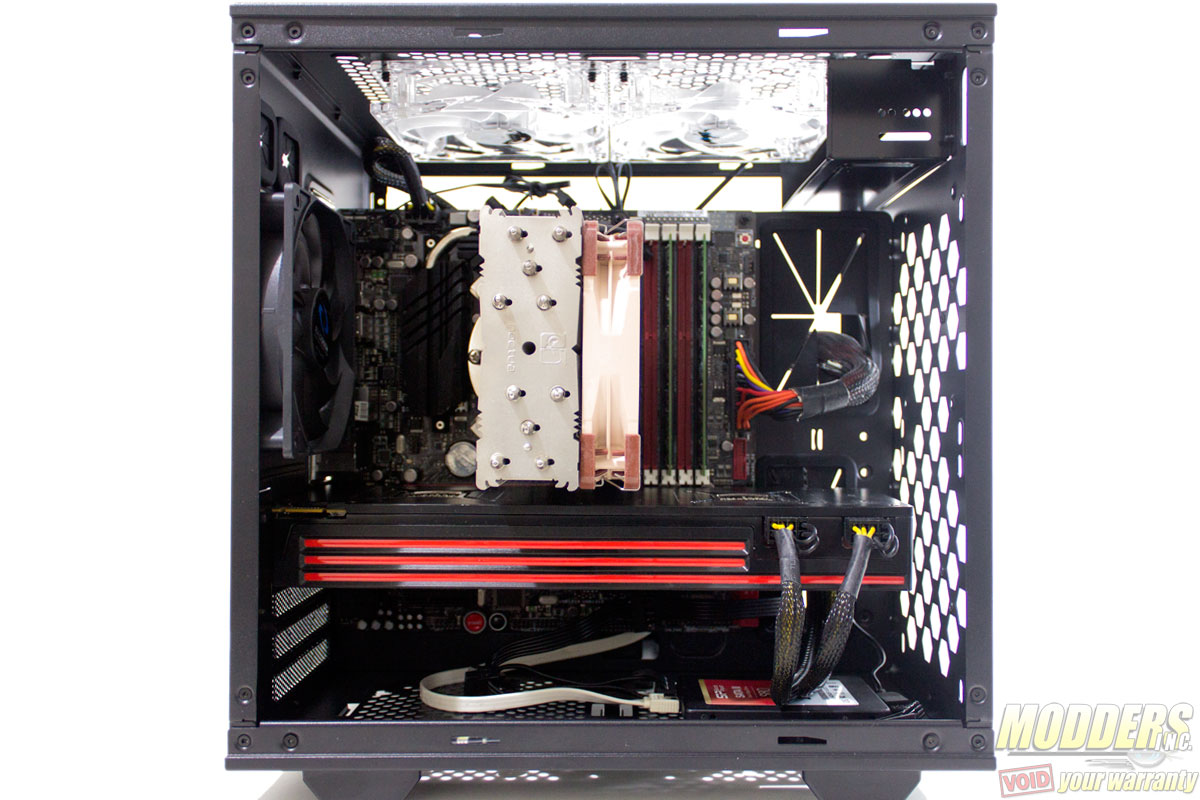
Graphics card support is up to 325mm long, provided there is no radiator or fan installed on the inside chamber front. RAIDMAX states an official CPU height clearance of 155mm but a 158mm Noctua NH-U12S fits with the acrylic side-panel window able to be secured comfortably.
A pair of 3.5″ or 2.5″ drives can be installed on the bottom floor, similar to the 2.5″ mounting at the back of the right chamber but similarly, users can only plug it in with straight angle SATA connectors.
Space at the top ceiling provides 58mm of clearance before it reaches the motherboard. If only the 2x120mm mounting area at the top is offset to the left side, additional clearance would have been available for thicker 240mm radiator mounting.
