be quiet! Silent Base 600 Review: A Product of German Ninja-neering
A Closer Look at the be quiet! Silent Base 600
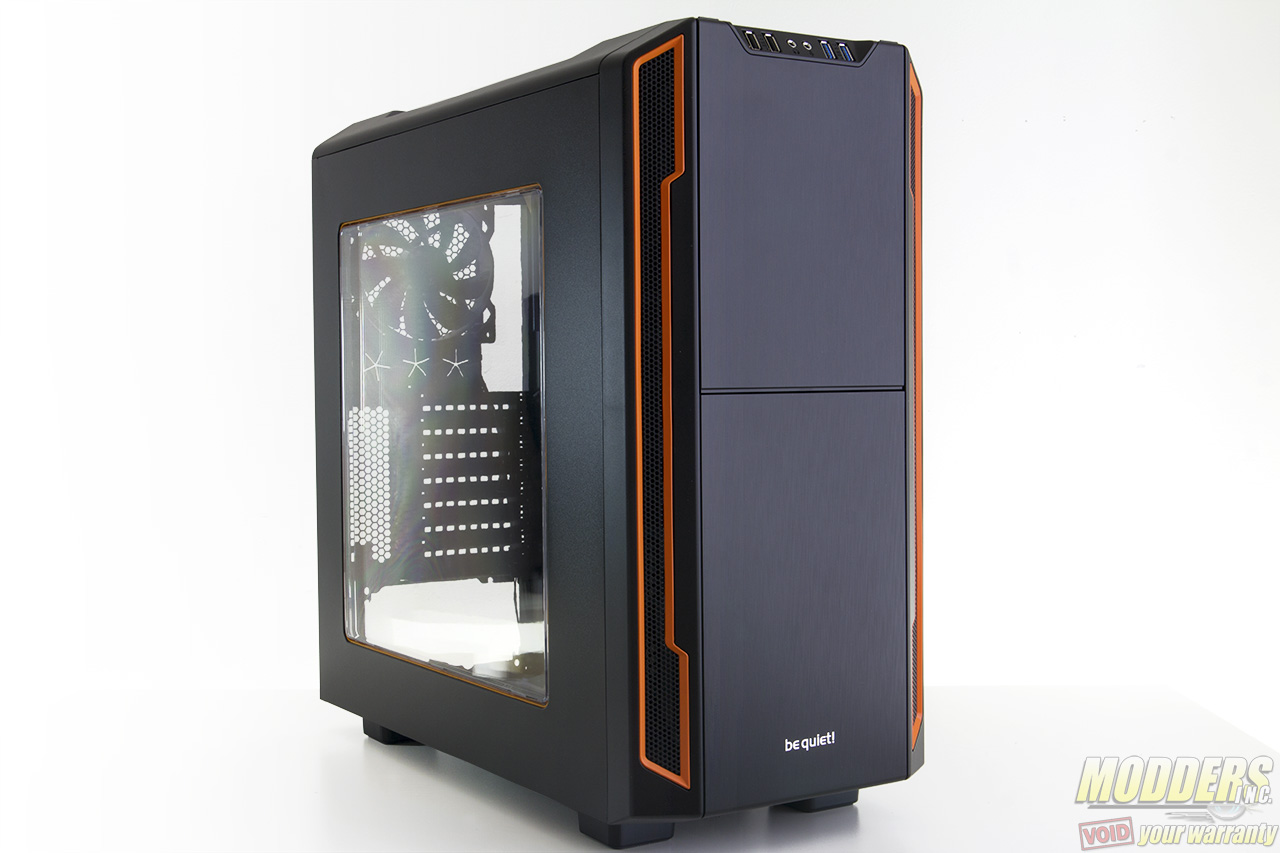
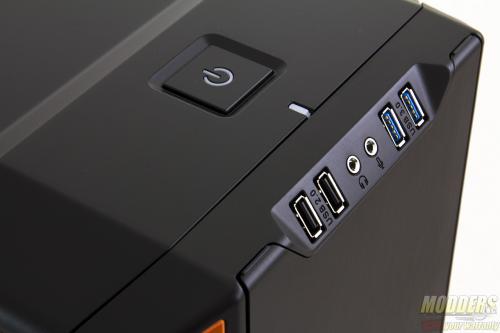
Using a mid-tower ATX frame, the be quiet! Silent Base 600 measures 495 (L) x 230 (W) x 493 (H) mm, which is slightly wider than typical mid-tower cases. The main aesthetic is very similar to the Silent Base 800 with a front door and sloping edges. The drive activity LED doubles as the reset switch and the power LED above it cannot be missed due to its size. The reset switch/LED is recessed to prevent any accidental pressing. The rest of the front IO panel includes a pair of USB 2.0 ports and a pair of USB 3.0 ports with the headphone and microphone jack between them. The IO is positioned at the top front center at an angle so that there is clearance to open the door when a drive or cable is plugged into the ports.
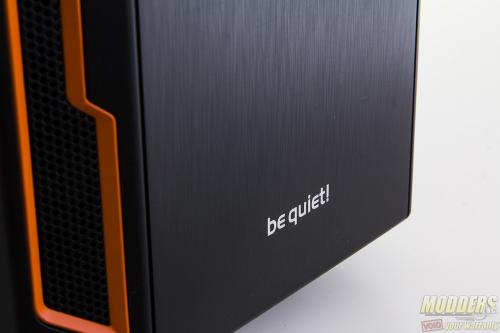
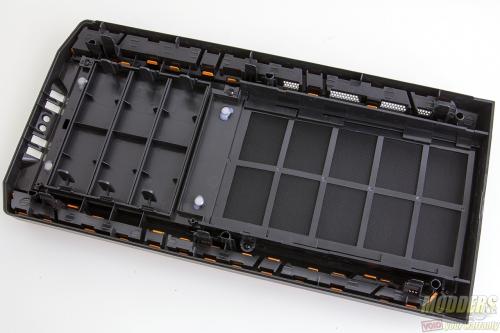
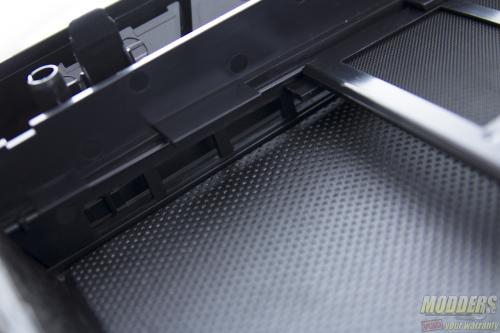
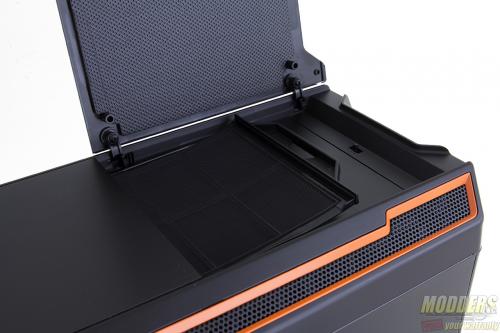
The entire front face is made of ABS plastic with a simulated brushed aluminum texture. Air intake runs along the sides accented with an orange trim in this particular case. There is a front filter that is easily accessible when the door is opened. Intake is funnelled toward the center by a series of 12.7mm by 20mm rectangular openings and the entire expanse of the middle that is covered with the dust filter is lined with noise dampening material as well. The ABS front and top panels are held in place by 3×3 latches that need to be pushed to the side to un-latch similar to 5.25” drive bay covers. The orange trim is also easily removable from the front bezel assembly by moving similar latches. Almost everything in this case that is not screwed or riveted is held in place by latches.
Inside the door above the three 5.25” external drive bays is a 3-speed fan controller. This fan controller supports 3x 3-pin fans and can set RPM speed via voltage control to 5V, 7V and 12V. The door is lined with noise-dampening material.
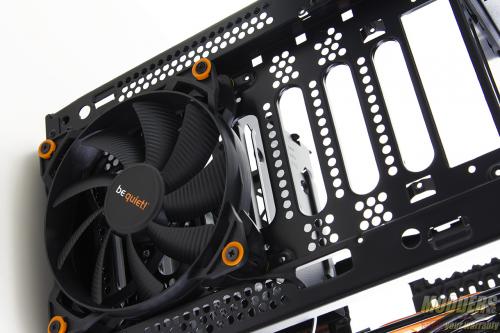
On the plus side, the front panel IO is not attached to the front panel so modding and servicing the case is easy. With the front panel removed, a 140mm Silent Wings 2 fan can be found pre-installed at the bottom for intake. This fan is mounted with orange rubberized tips on both sides so that any vibration is absorbed and minimized. Very nice attention to detail here with the color coordination even though nobody is going to see it. An additional 140mm fan can be added here or a pair of 120mm fans can also be installed.
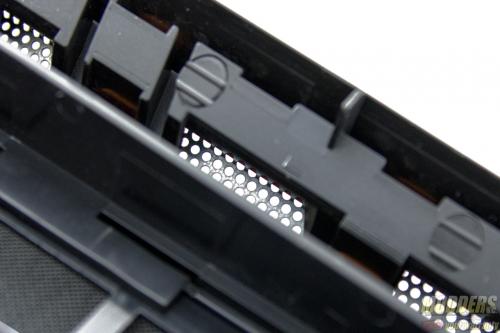
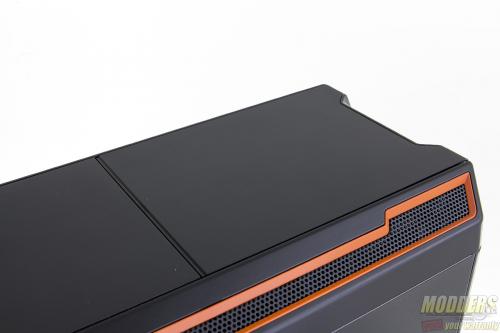
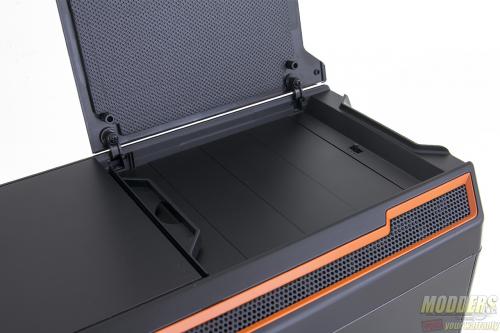
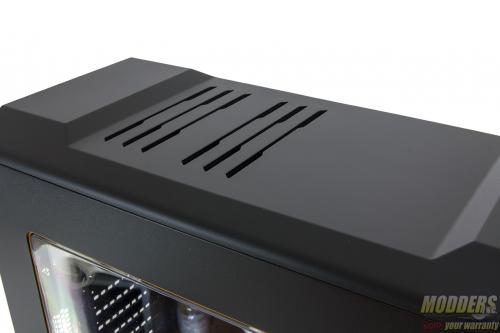
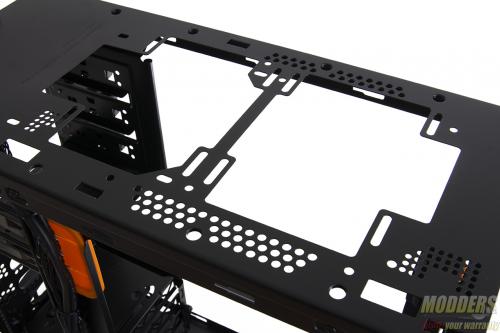
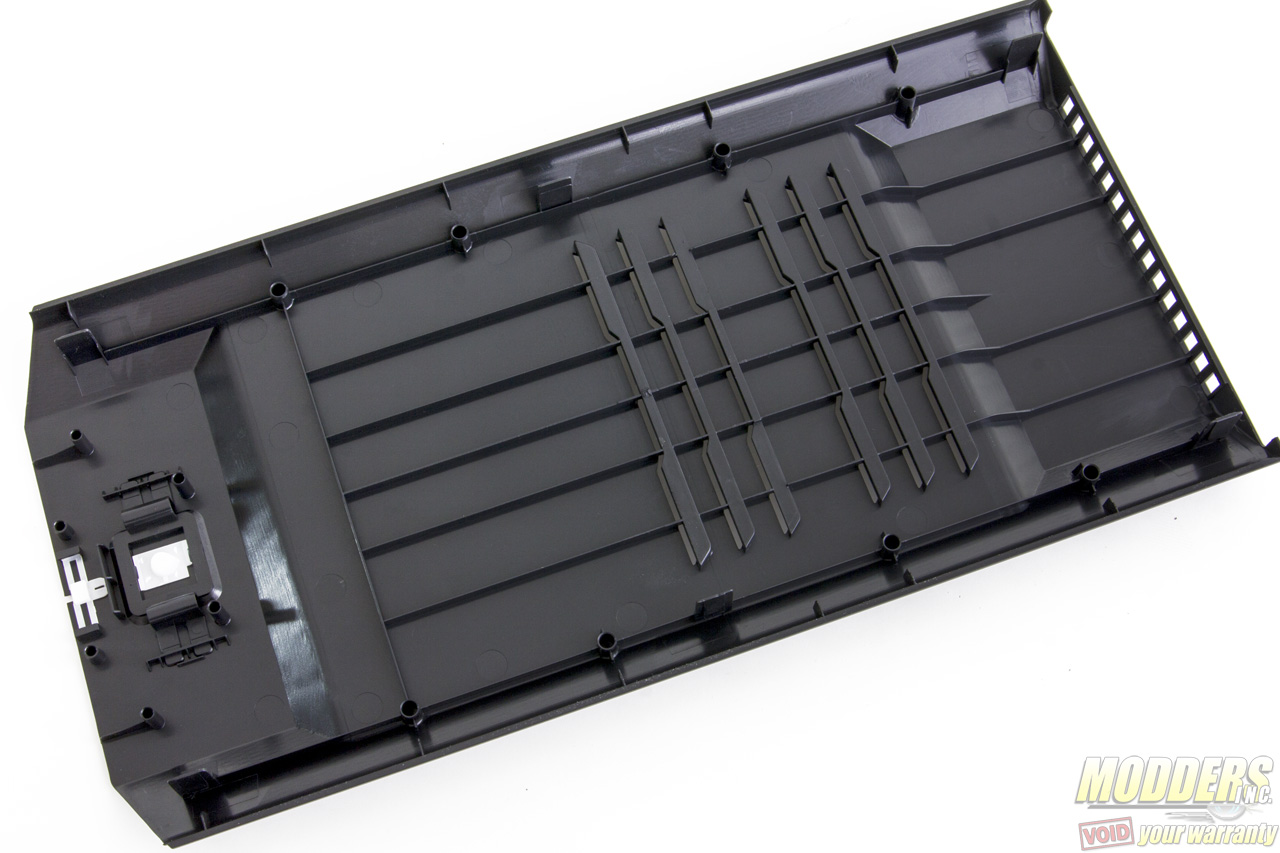
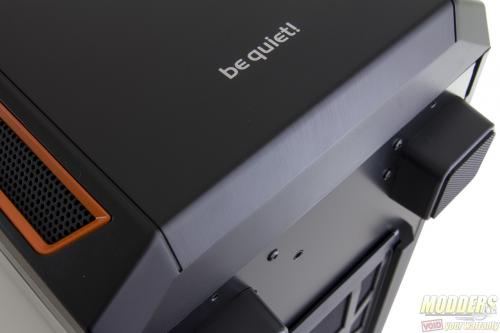
Instead of having a full mesh area at the top, be quiet! opted for six ventilation slits. With the top panel removed, the be quiet! Silent Base 600 is actually capable of mounting 2x 140mm or 2x120mm fans here. There isn’t room to mount fans between the top panel and the case but there are plenty of room in the case ceiling. The gap between the top panel and the actual chassis top serves as a sort of air pocket compensating for the minimal ventilation directly on top. This air pocket gap is important because looking at where the exhaust slits for the panel lines up, the center fan mounting is partly obscured. The slits are actually designed so that airflow comes in or exhaust at an angle pointing toward the rear.
There is more ventilation towards the back end of the top panel. Depending on the fan/radiators used for liquid coolers here, it is most likely preferable to have the fans exhaust air than intake air from the top. Add the fact that there are no dust filters so it is most likely be quiet! had exhaust in mind designing the top as well. The good news is that the fan mounting at the ceiling is very accommodating with variable position mounting so that a radiator/fan can clear some motherboards with components encroaching towards the top.
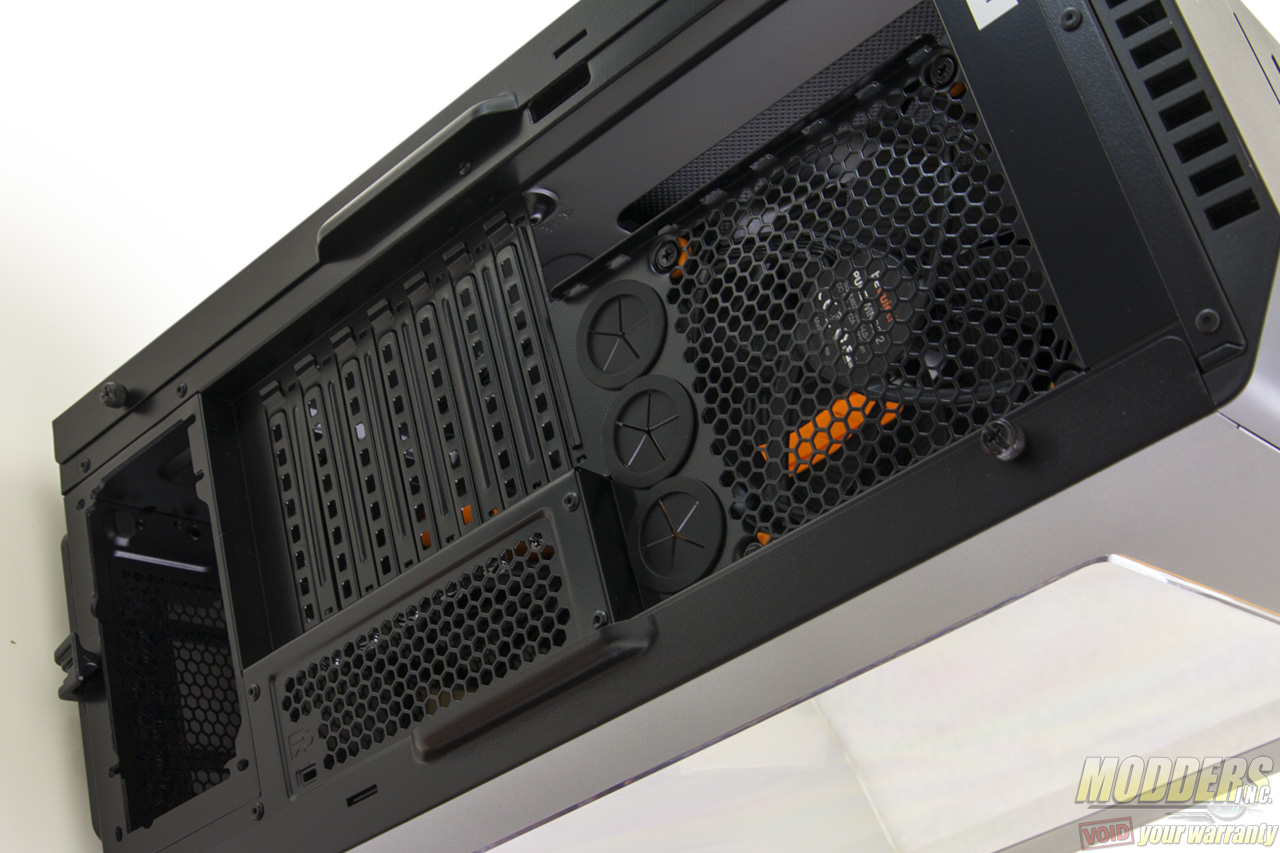
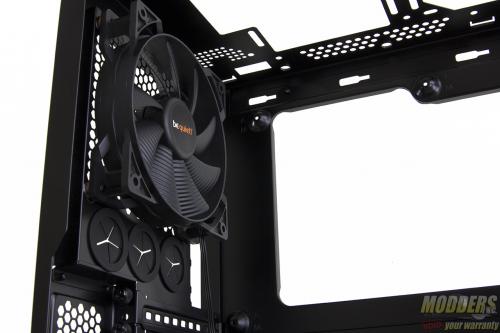
At the back, a 120mm fan handles the exhaust duties and this fan sits flush to the rest of the panel unlike typical designs where it is recessed compared to the rear IO and expansion slots. In this case, the fan area, rear IO and expansion slots are all recessed relative to the PSU exhaust and side exhaust area. Three grommetted holes are provided for external water-cooling mount or just running any cables to the outside. These are not color matched as these things are pretty much remnants of early watercooling features incorporated in cases from the early 2000s. Almost every case still has it even though very few mount watercooling outside anymore as there are plenty of room inside cases now.
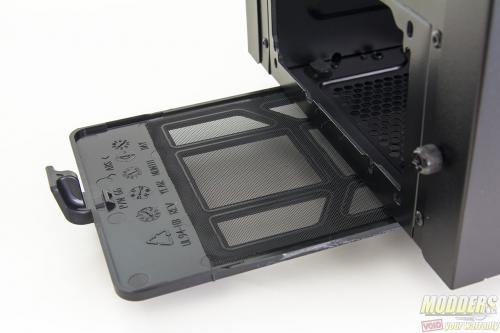
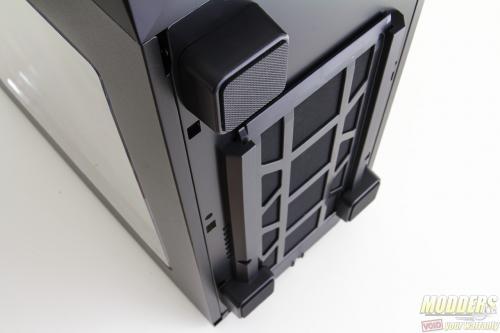
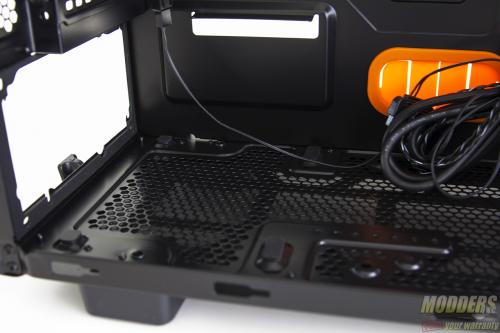
The filter for the power supply is accessed at the rear with a very convenient handle. This dust filter is quite big and extends until the HDD cage area. Be quiet! included very sturdy and substantial feet for the Silent Base 600, clearing a height of 25mm and having a large rubber soled area for sturdy grip.
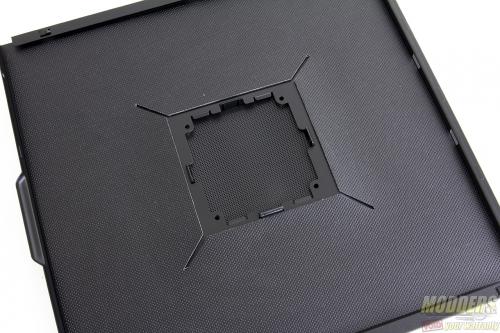
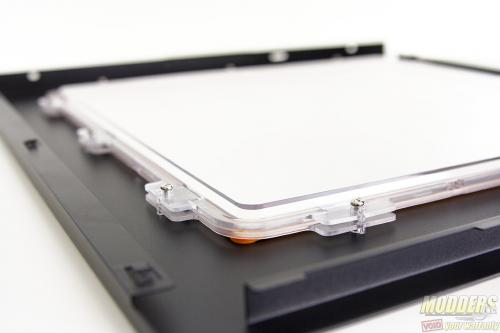
Instead of having a plain side-panel on the right side, be quiet! has a center filtered exhaust where a 120mm fan can be mounted. On the non-windowed version the left and right side panels have this feature and have a 2.75mm-thick sound dampening material. On the windowed version, be quiet! uses a double layered window with color-matched rubberized gasket for sound dampening. The side panels are not reinforced by rolled edges but instead have raised areas folded except for the part towards the front which are raised and rolled, so there is a bit of flex compared to other 0.7mm SECC steel side panels that are fully-rolled on three of the four sides.
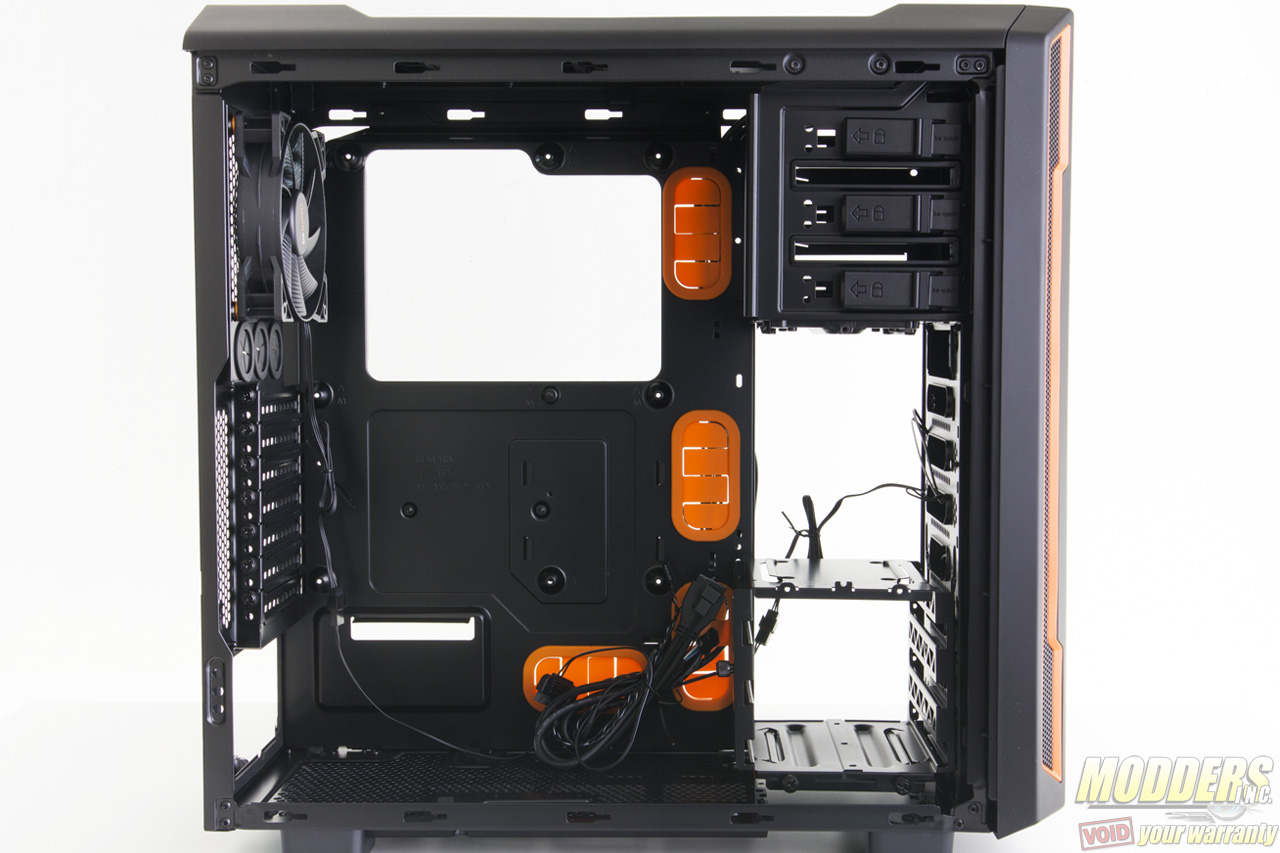
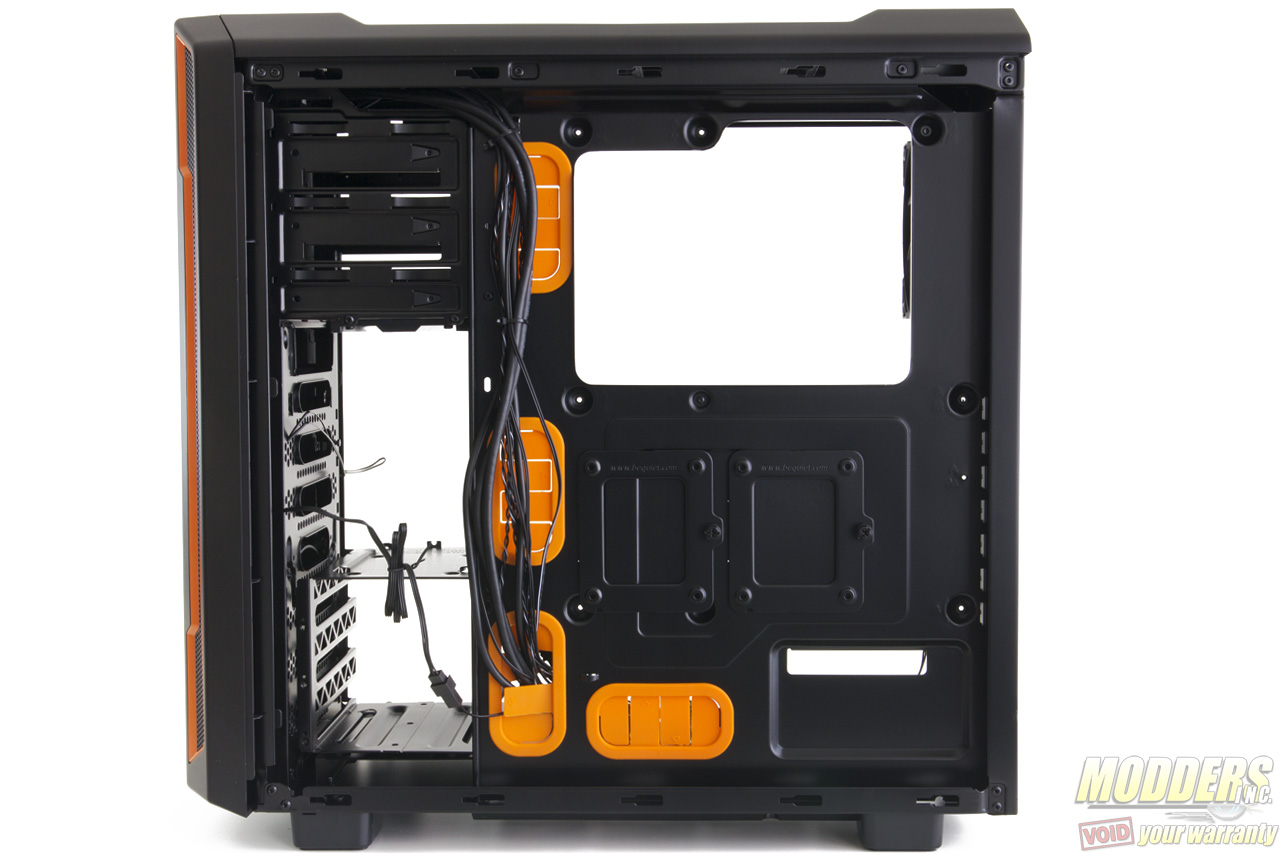
With the panels removed, the view shows a spacious interior that provides VGA clearance for long cards in the middle and headroom at the top for radiators/fans. The cable management routing grommets are also color matched orange with the trim. Most of the motherboard mounts are raised and built into the tray with a pilot guiding mount at the center. All expansion slot covers are reusable and are held in place by thumb screws.
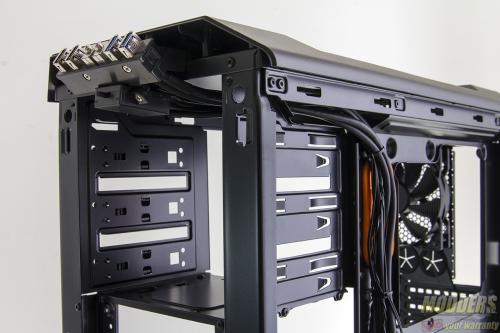
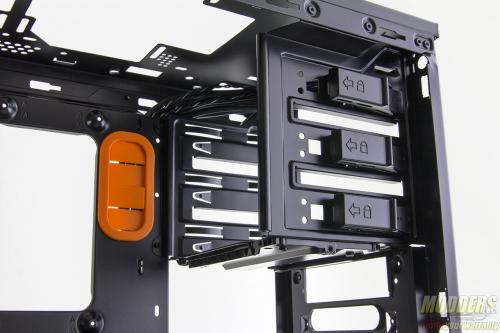
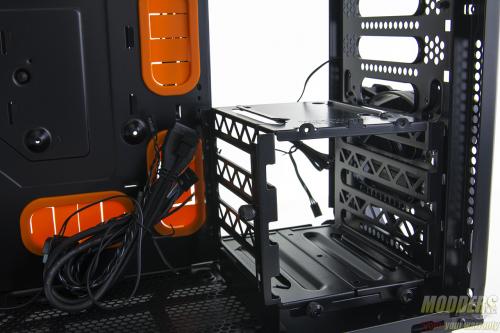
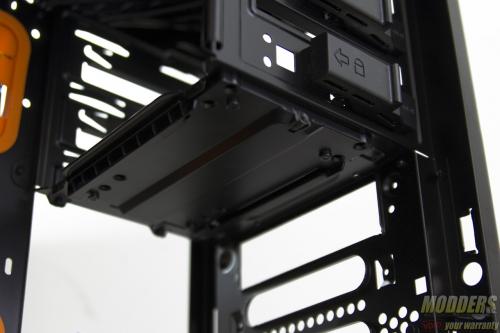
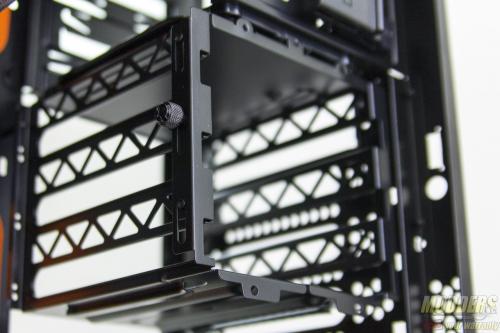
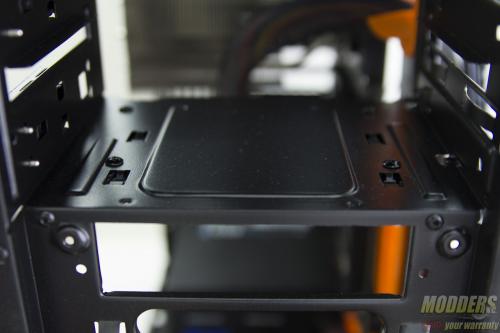
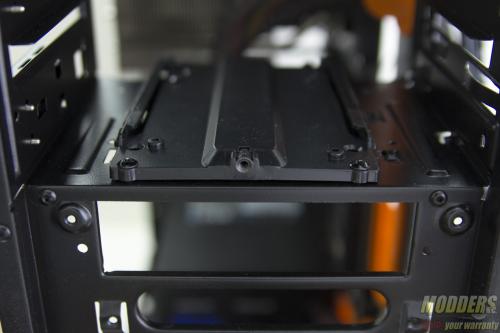
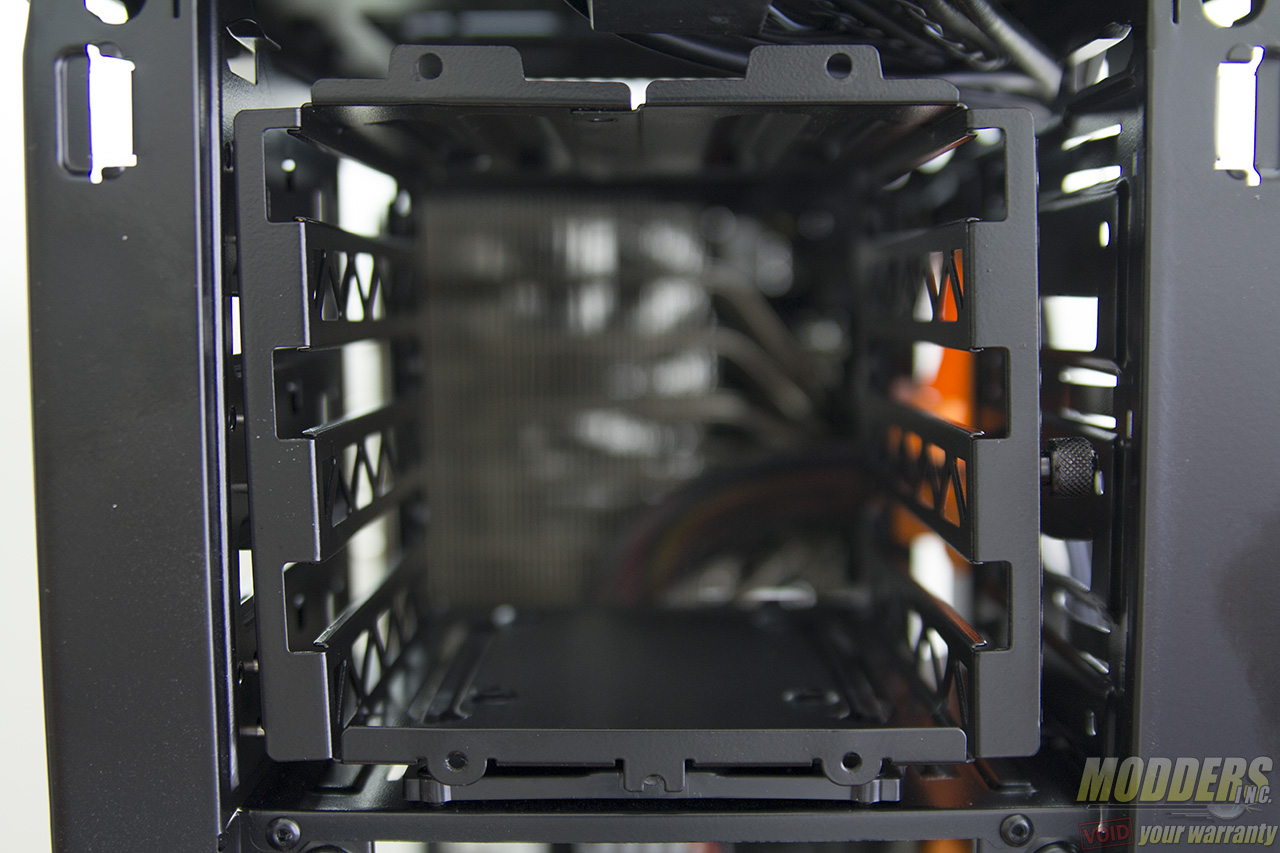
A HDD cage is mounted at the bottom by default which supports 3x 3.5” HDDs while the 5.25” external drive bays have tool-less mounting and supports up to three devices. A 2.5” drive can also be installed on the top of the 3.5” HDD cage but the cage must be removed first (via thumb screws securing it) because the screws have to be installed on the underside or simply install the SSD on the ceiling of the HDD cage which is a lot more convenient.
5.25″ devices can be tool-lessly installed simply by sliding them in place and pressing the locking mechanism. Optional reinforcement screws are provided as well. The entire HDD cage can be moved to the 5.25″ drive bays by moving the mount directly below the 5.25″ are to the top.
Behind the motherboard tray are two addition 2.5” drive mounting. The tray itself has additional convenient cable routing holes that are not grometted including a corner cut-out for the 8-pin EPS12V cable and a tight area right beside the PSU for the HD audio cable although the front panel HD audio cable is long enough that it can be routed via the orange grommet slots. The entire HDD area is also wide open for storing extra cables.
