It is time to start showing off the cases that have entered the Modders Inc Case Mod Contest. As we get more entries in the contest we will add then, so make sure that you bookmark this page and check back often. We have also let the modders talk about their case, which is normally the interesting part, so they can tell you what makes their build special. What we are going to do is post them into the Division they have entered. This way you can judge who your competition is. I think EVERYONE should enter as it looks like we will be having a few “Custom Entry Prizes” to give away!
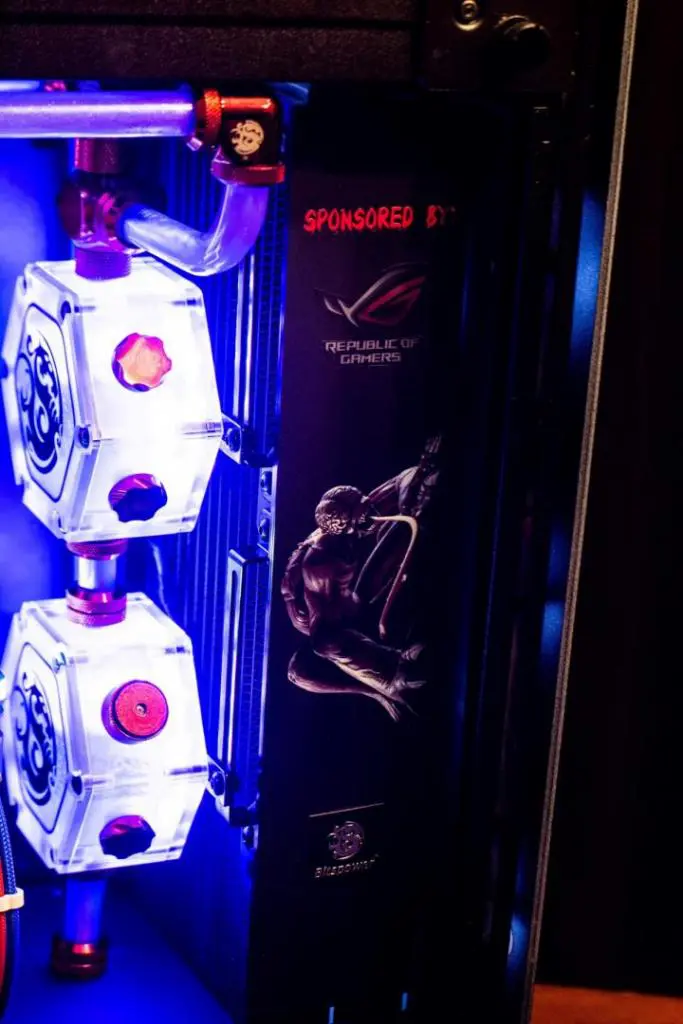
Special thanks go out to our Sponsors! 
Classic PC Case Mod: consists of any mod that is built from an existing retail PC Case. We do require at least 80% of the original case be used. If we deem that less than 80% of the original case was not used you will we moved to the Scratch-Build style.
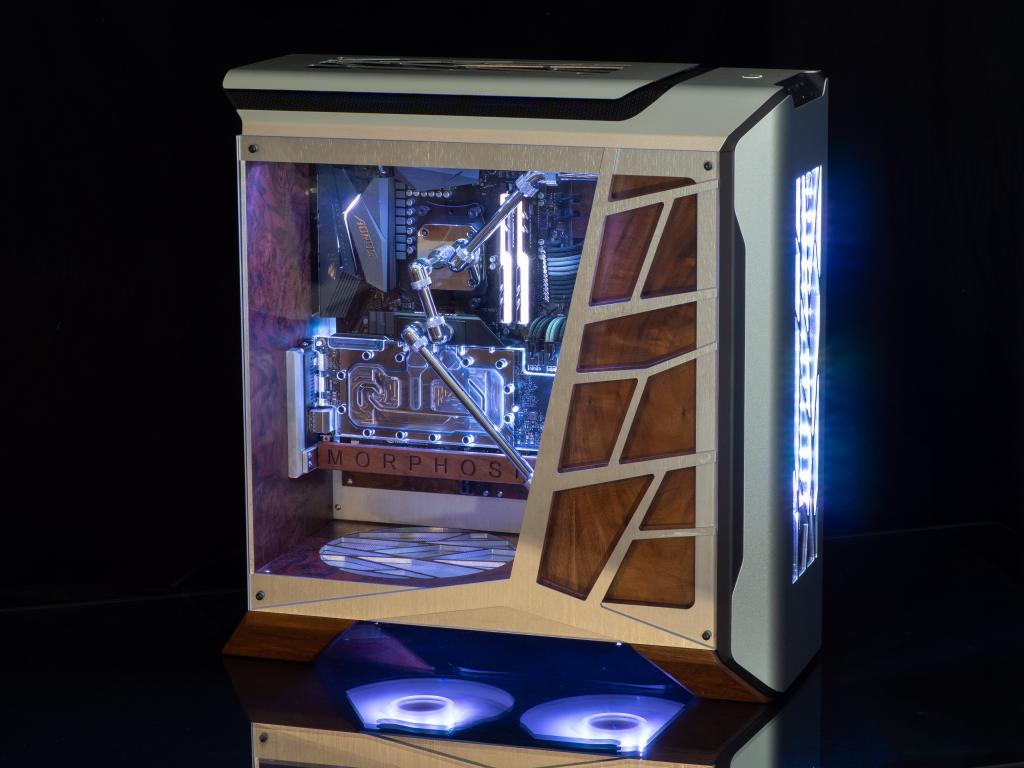
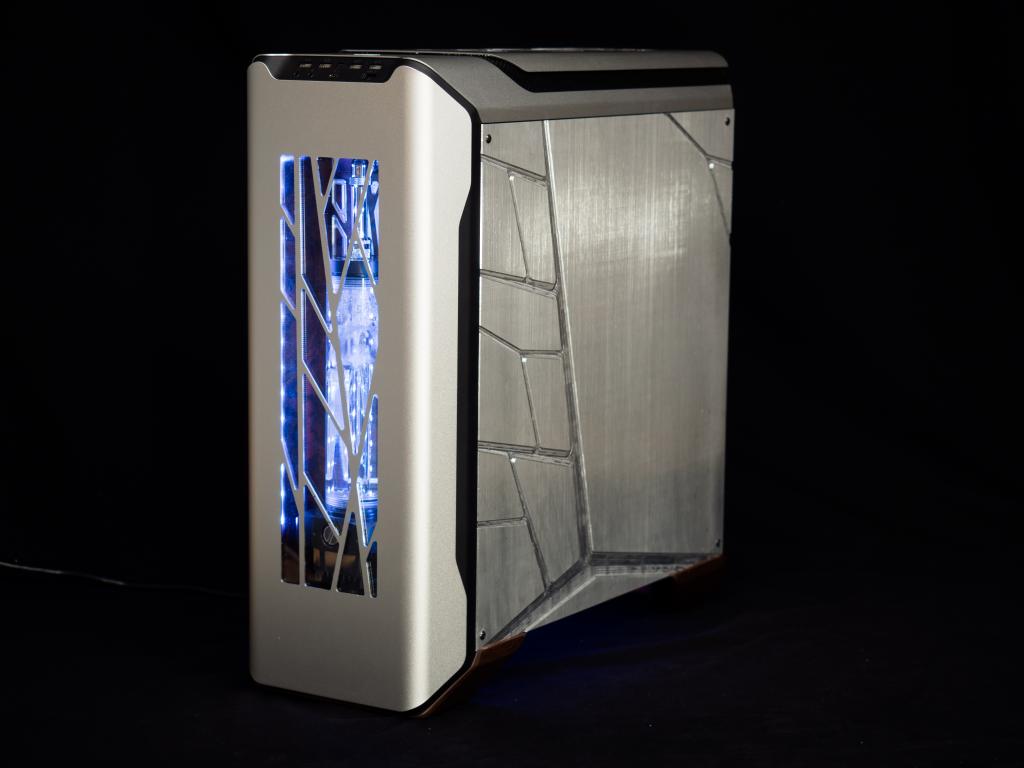
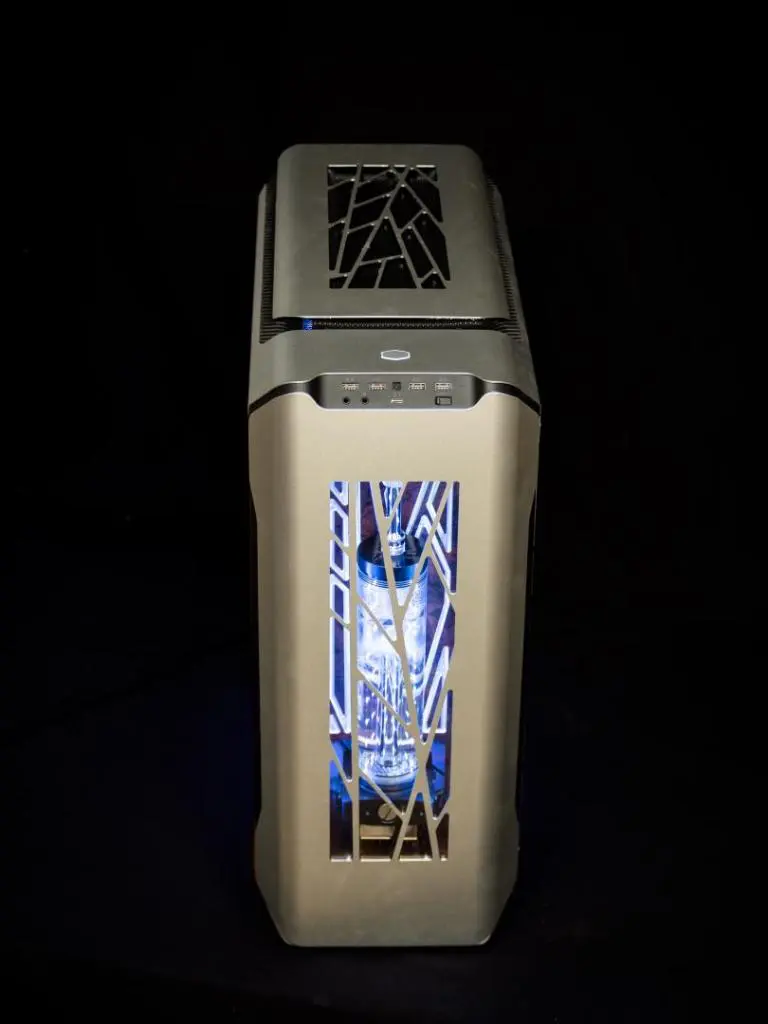
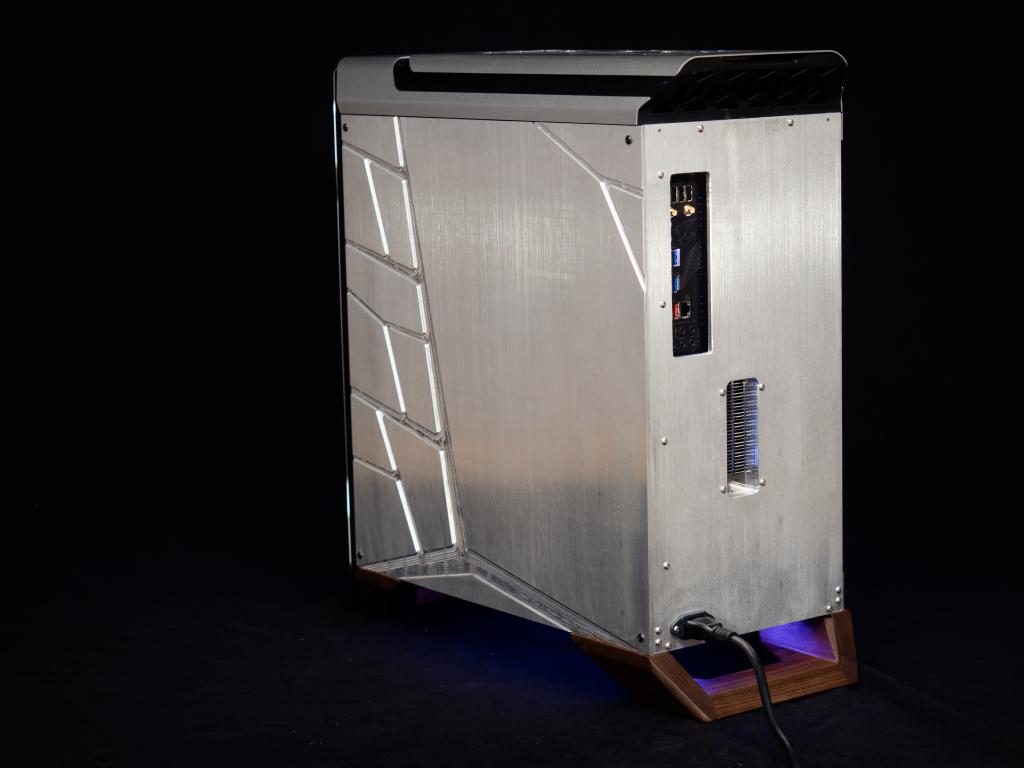
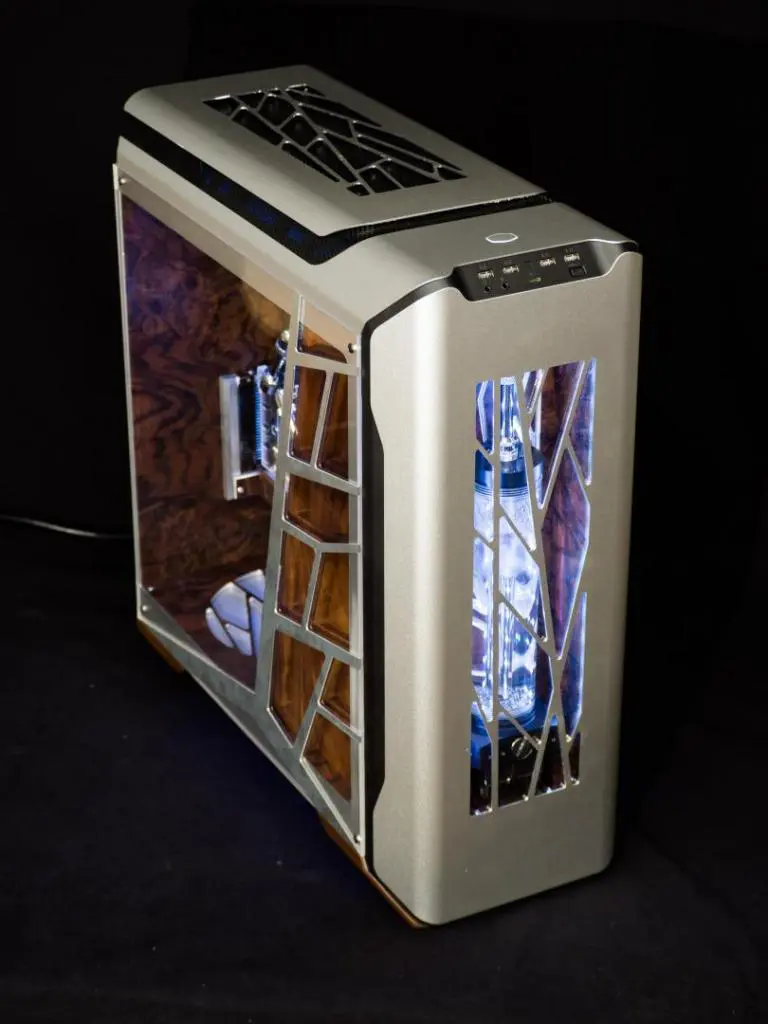
Nicholas Falzone tell us a little about your case…
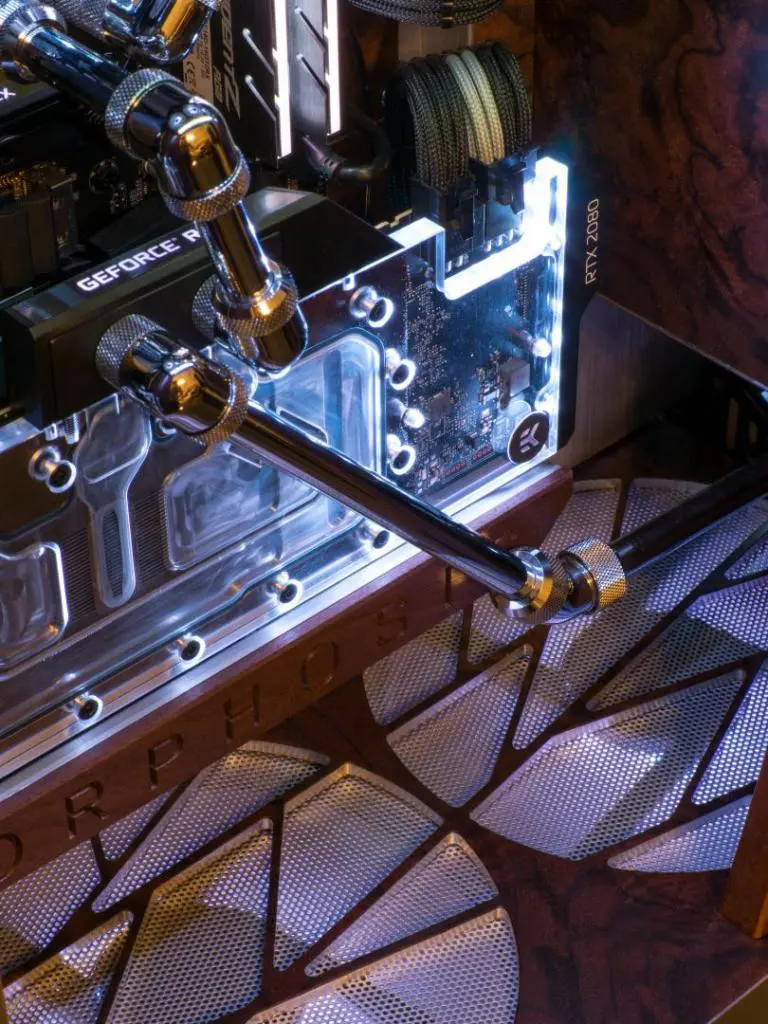
Hello! Here is my entry for the Case Mod Contest. My case, titled “Morphosis” started as a Cooler Master SL600M. I was inspired by nature in architectural designs, specifically Zaha Hadid. I covered aluminum sheets with wood veneer and machined these to make the case panels with. I machined fan grille designs along with the front and top panels of the case to fit the theme. I put a pump/reservoir in the front of the case and put in a chrome hardline water cooling loop. I also rebuilt the back panel to put the GPU in a vertical position closer to the motherboard. I sleeved all of the cables myself and added tasteful RGB lighting throughout. Lastly, I rebuilt the feet in solid walnut wood to match the rest of the case.
About My Case from Andrew Leibman
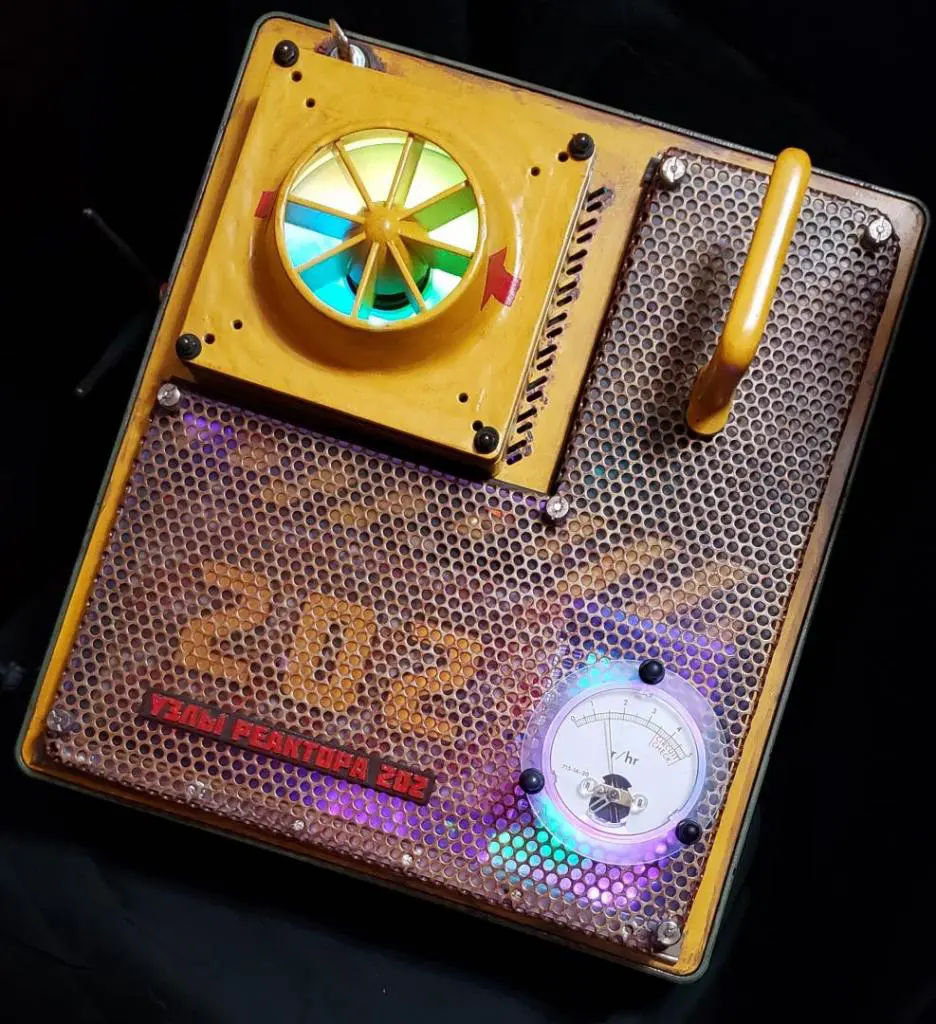
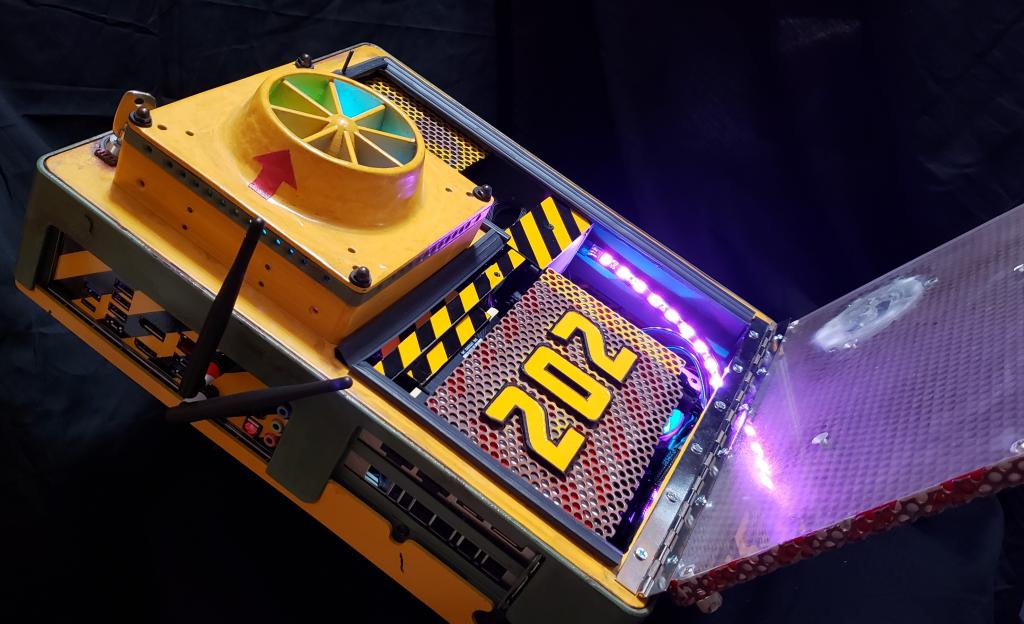
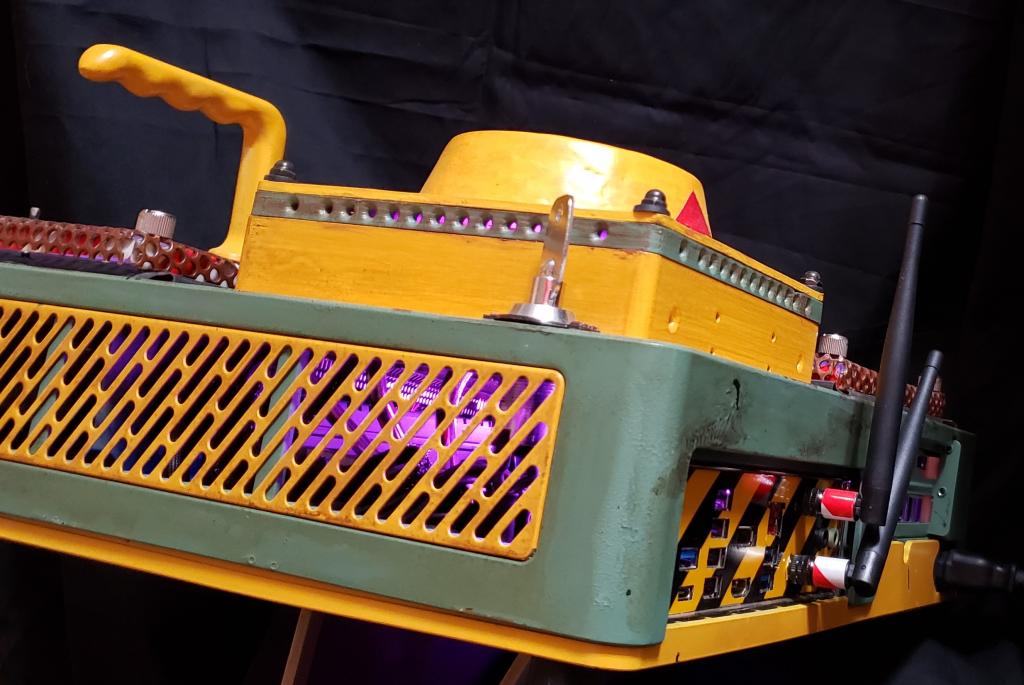
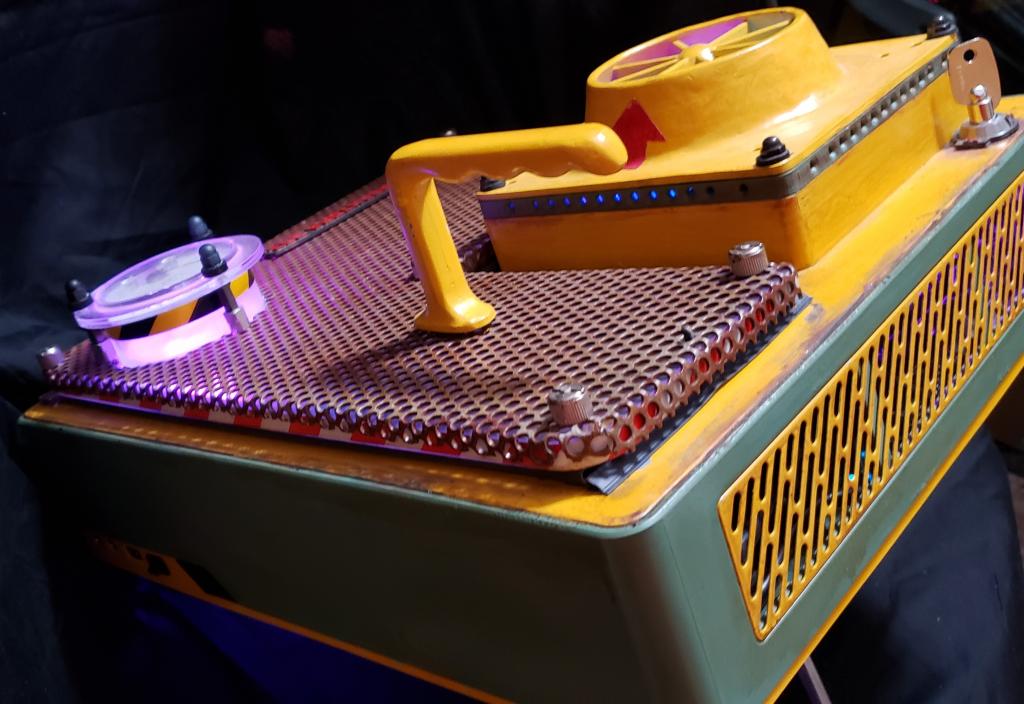
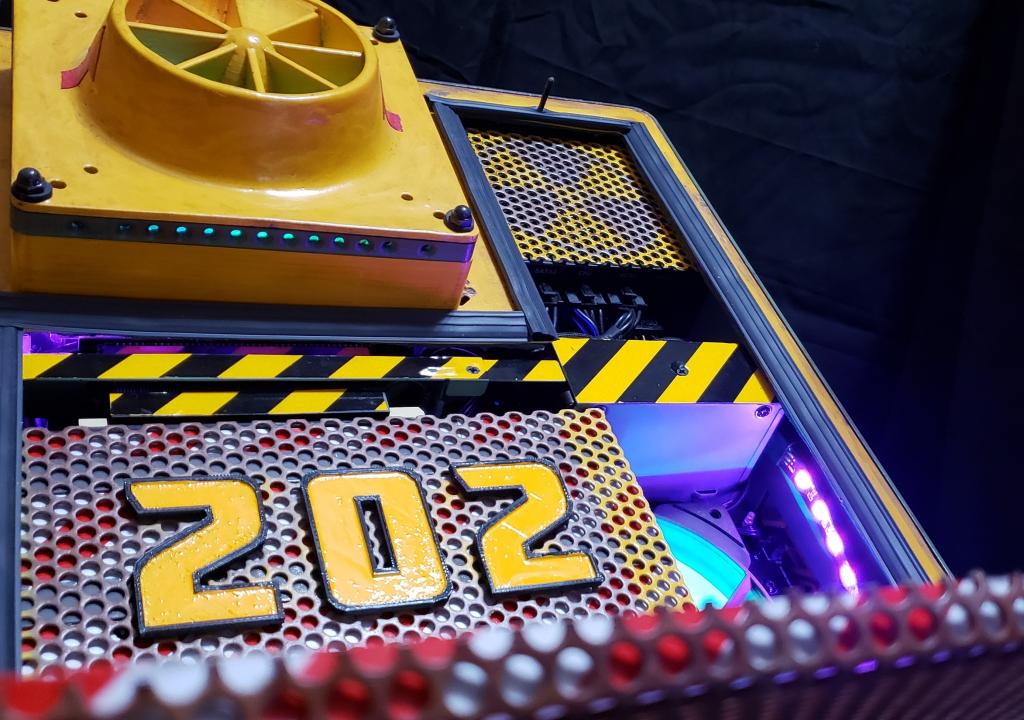
My case is called Reactor Node 202. It was inspired by several of my favorite games, including the Metro Series & S.T.A.L.K.E.R.. I have always been fascinated with the Chernobyl disaster and historical fiction that uses a post-nuclear setting. The project started when I was chatting with a coworker (full disclosure- I work for Fractal Design) who mentioned that there was a damaged Node 202 case that they were going to recycle. I’ve always been a fan of SFF builds, so I asked him to send it to me instead. I had just finished the Chernobyl series on HBO, and was really excited to make this case a reality, so I just started by taking the case apart, stripping the paint, and cutting apart the panels. I’m a bit of a hoarder when it comes to screws and materials like plexiglass, mesh, etc., so I just kind of went to town.
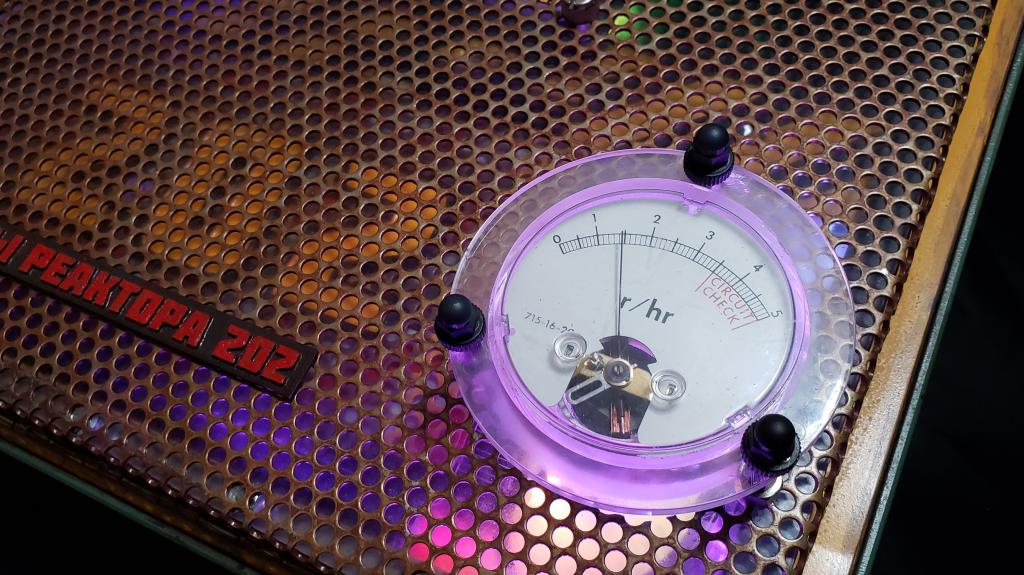
One of the main features of the case was the fan shroud, but it wasn’t part of the original design. I had bought a low-profile Noctua CPU cooler for the Core i7-9700K installed in the system, but the processor was running hot even at idle, so I decided to cut the vent off the panel, create a vented box, and slapped on a 3D printed fan shroud on top so that I could fit a full-size Noctua NH-L12S cooler on the system. Another part of the original design was the thick plexiglass window. I installed components from an old civil defense dosimeter, model CD V-750. I installed the dial on the face of the window, and also the handle, which I was using as a headset holder when the case is mounted upright. When I was showing the case to people, one of the first things they said was, “Oh, can you open the window with this handle?” Of course, I had to go back and make this an option, and I’m so glad I did. Other features include custom shrouds for the PSU and graphics card. I used some RGB lighting to give the system an eerie purple and green glow, which goes nicely with the institutional green and yellow of the case exterior. I also took the case’s power LED and bent it straight up so that it shines on the translucent back of the dosimeter dial, and then wired it to the HDD activity header, so it looks like something might be malfunctioning inside.
I also translated “Reactor Node 202” to Ukrainian for the 3D printed nameplate, created a silly on/off switch frame that reads “Da” and “Nyet…” Maybe that’s only funny to me? You need a key to turn it on. I built a kickstand into the back so you can stand it up, and hidden behind the pack panel (attached with velcro) is a spare key just in case I lose the original.
I also coated the interior of the case with glow in the dark paint, but you basically can’t tell. I did have a lot of fun getting the metal mesh sufficiently rusty, and painting on grime here and there
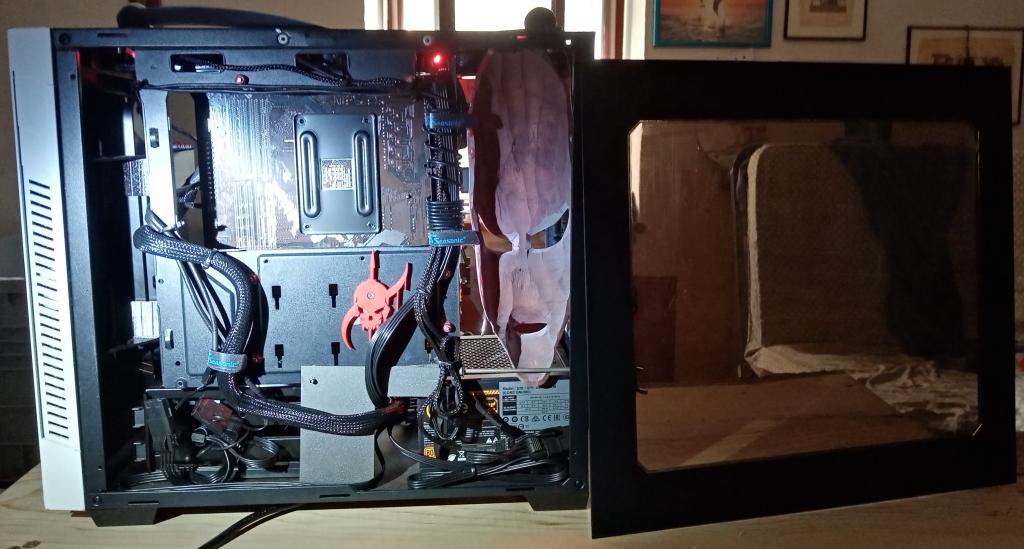
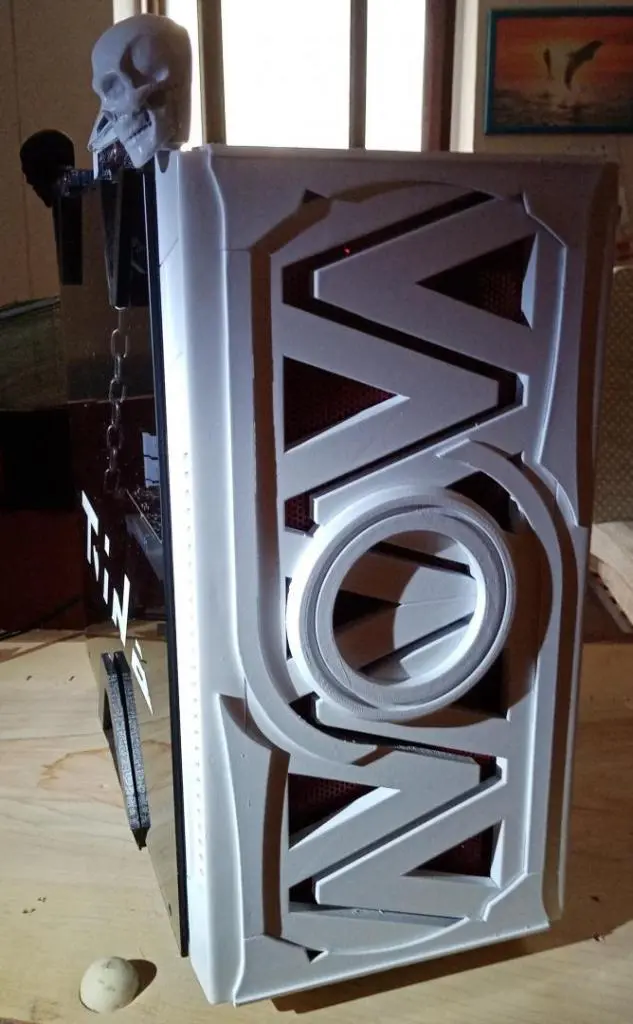
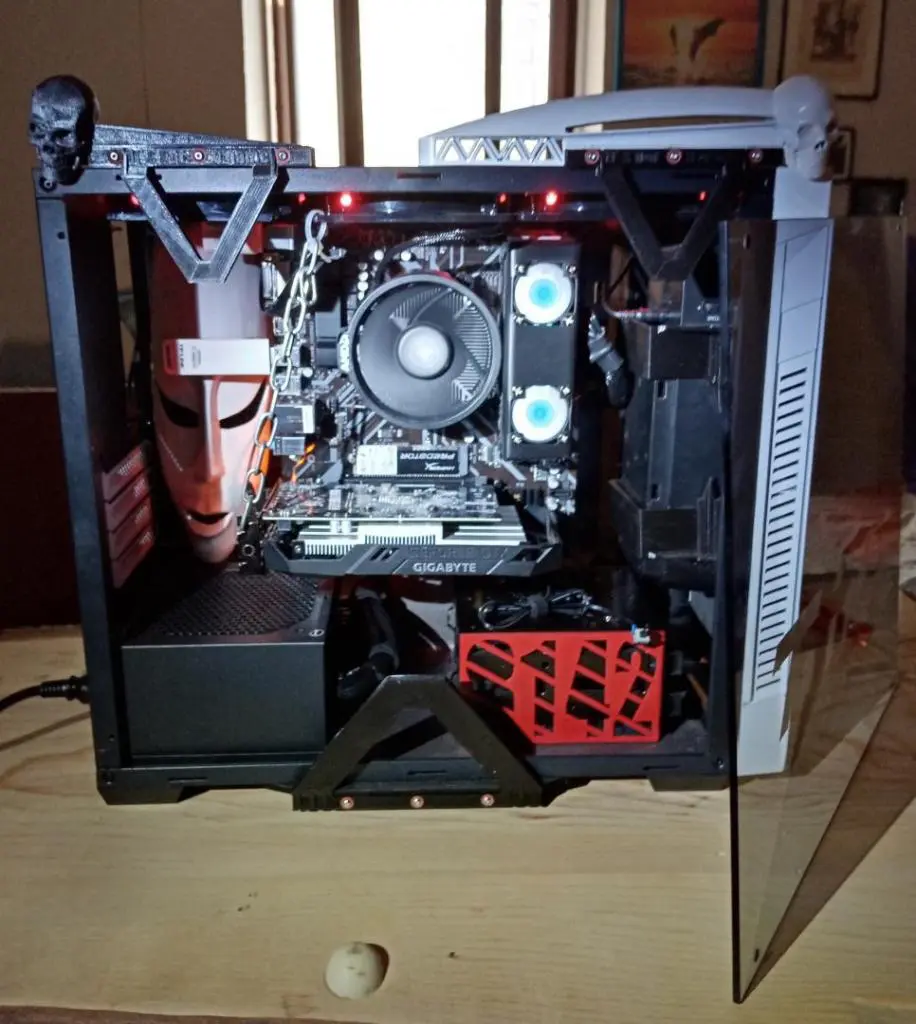
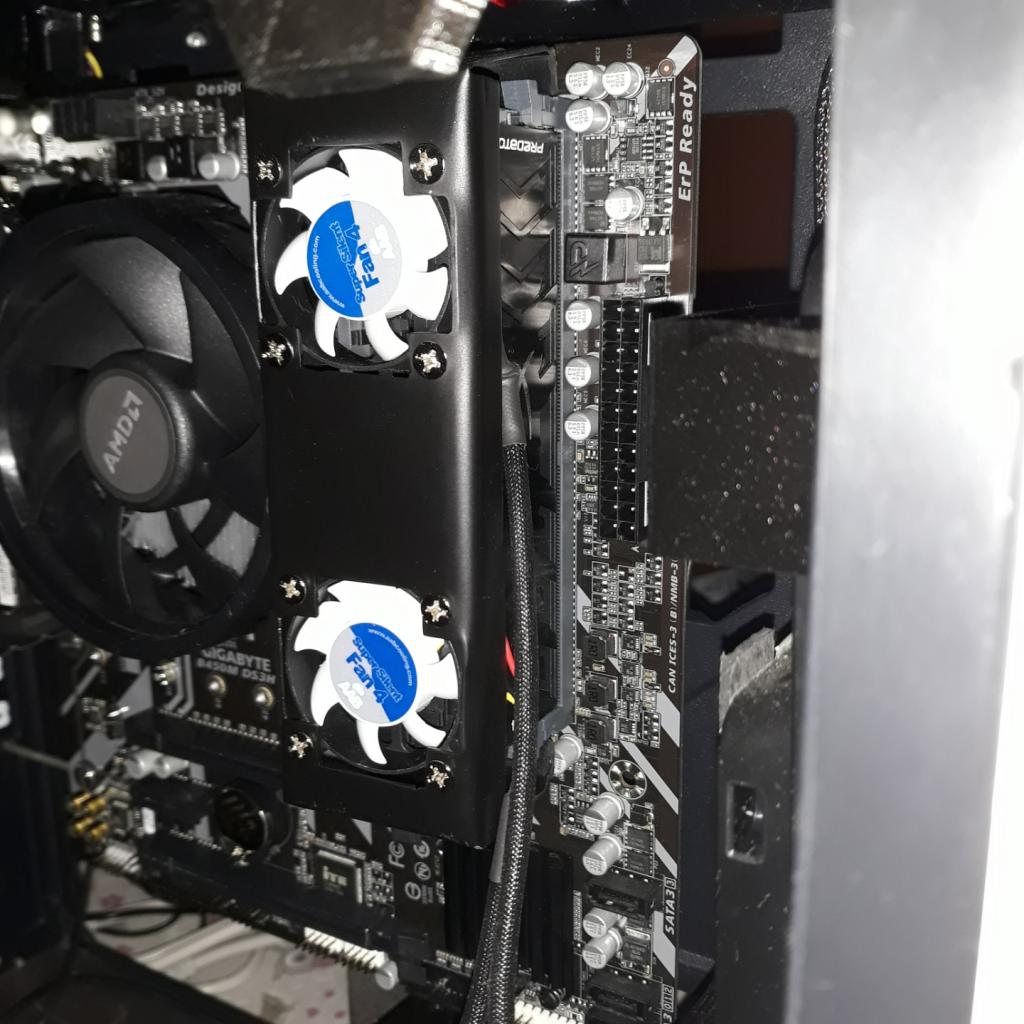
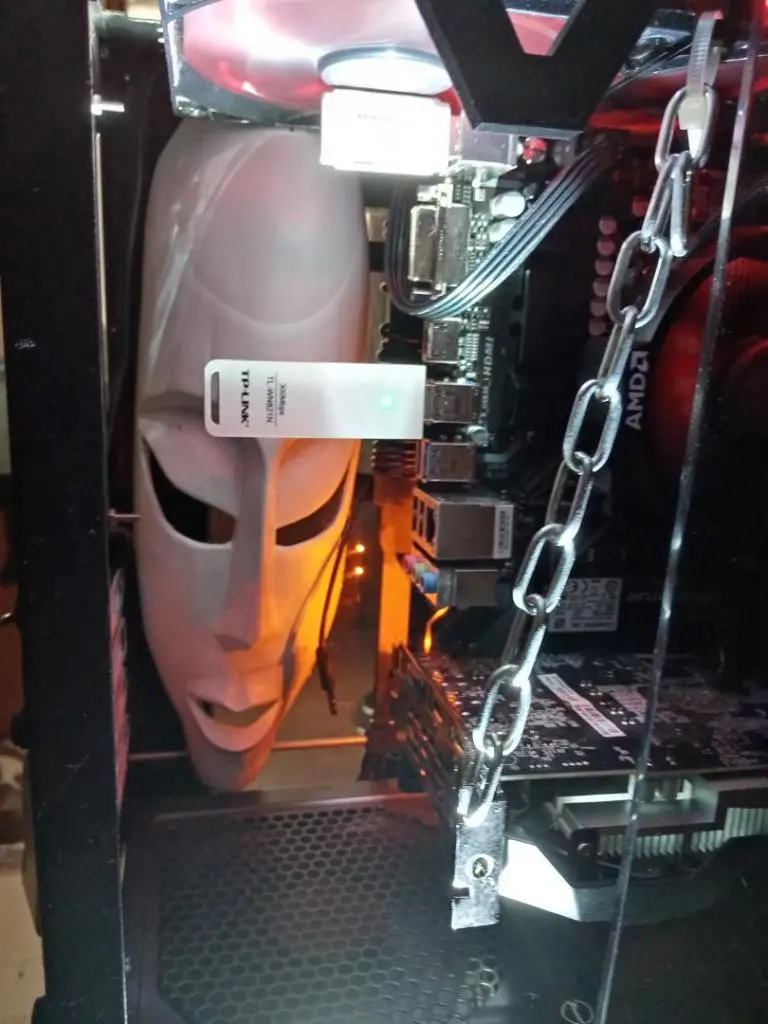
My Name Borgonovi Gianluca and I changed this Sharkoon s1000 in the last two months thinking of my dog, Tina, who died a few months ago, with the duty to do something that has meaning. The purpose of this PC is to control a 3D printer and a CNC machine. I installed on the front a Logitech speaker modified to stereo. I built with galvanized iron cooling for the ram, 32 gb Hyper X Predator Kingston, the two fans are AAB cooling by 40mm, there are 3 120mm Phobya fans on the top wall, we have a 16 GB Toshiba stick and a Tp-link wifi stick. I moved the motherboard to the center of the case, a B450M DS3H Gigabyte, the rear bulk has been cut and placed in the center, behind the motherboard there are 9 spacers of 40 mm steel, the bulk that holds the motherboard is fixed below and above and stretched to the side with a screw of about 130 mm, we have a good airflow even behind the motherboard; the processor is a Ryzen 3 3200G with its original premium cooler, we have a 240 gb Hyper X Predator Kingston SSD m.2, we then have a Seasonic Core GM-500 power supply, a GTX 1650 Nvidia I graphics card used finally a chain to hold the graphics card. I created 3 decorated supports for the front panel that I replaced with a 4mm glass, the original front panel is moved to the back of the case, I added a panel at the bottom of the case so as not to let the powder in; there are two slots per HDD, I cut the front panel and replaced the middle part with a steel perforated panel and decorated with 3D FlashForge Dreamer double nozzle printer. The designs are all made with Sketchup that I love deeply. I have spent a lot of time, in this case, I felt motivated in the thought that my dogs can be proud of me, that they can feel the satisfaction on my face, and be happy with this.
Ali Abbas tells us this about his case… THE IRON MAIDEN
If you don’t look closely you can’t realize that this one actually has a case or rather more than a case in it. As usual, 100% handmade, no automation, just hand-guided tools were used.
This project all started off as a Thermaltake Invitational last year, but I retreated as I saw I won’t be finished as I would like to. It is all about the Spanish inquisition, their plunders and acquisition of gold in that era, and of course amongst all the tools of terror they used and interrogated the mostly innocent folk with. The Iron Maiden was the most prominent. I actually used more than just the full case, I also used the second side panel instead of slag from another Case. The Ram cooler looks like a golden ingot, the GPU cover is a Spanish church door decoration, the cables can be accessed by the metal rung hatch door beneath and the whole case is turned on with none the less as that a bloody spike.
A monitor can be flipped out via a spike switch too. It all rests on the four Spanish Inquisitor Torquemada lanterns made of beer bottles. The cages enshrouding the whole case were made open so as to see the PC case and its treasures inside. They are made of wood, worbla cladding, and gemstones to depict the Spanish treasures they won from the colonies. One of the highlights is the candle at the altar in the front. If you blow out the candle, then the whole array of yellow fire flickering LEDs all over the case extinguish too. If you light the candle again, they flicker back on and react to the music it plays over its internal loudspeakers. The open side reveals the hardware and the back panel the evil pentagram and a deadly message of doom.
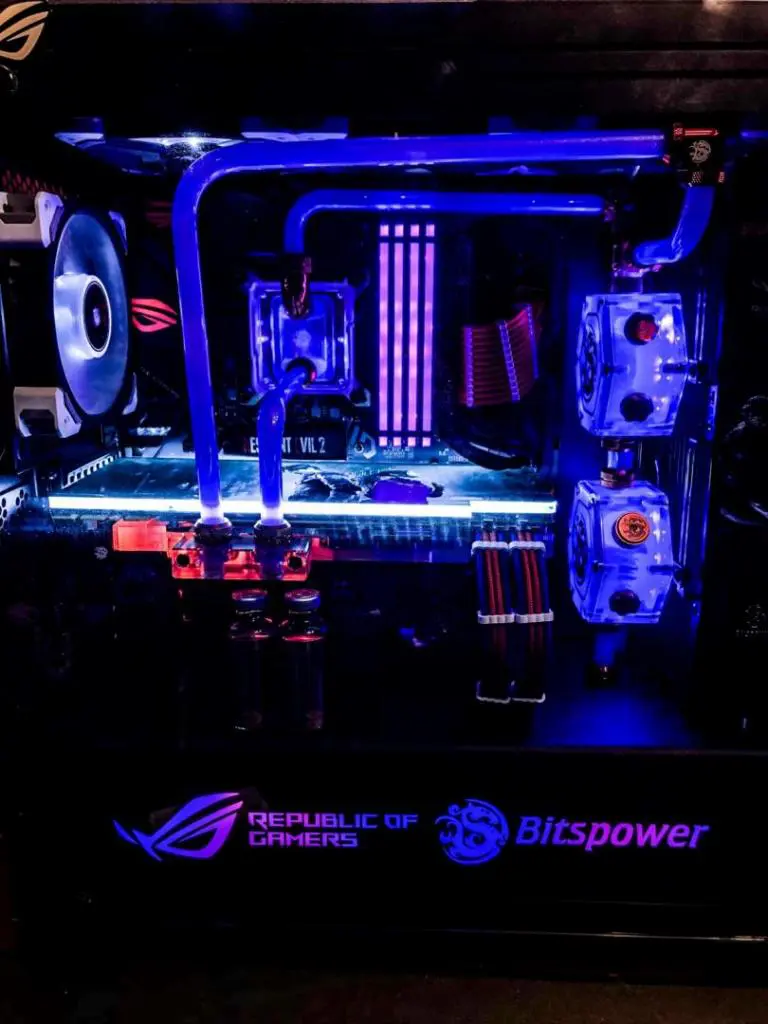
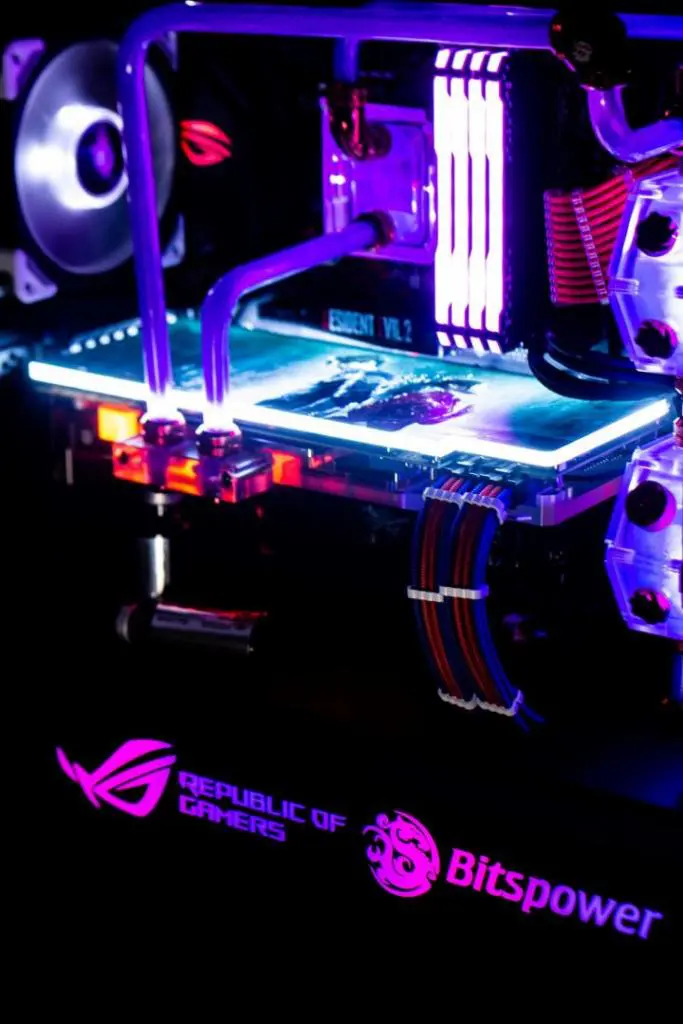
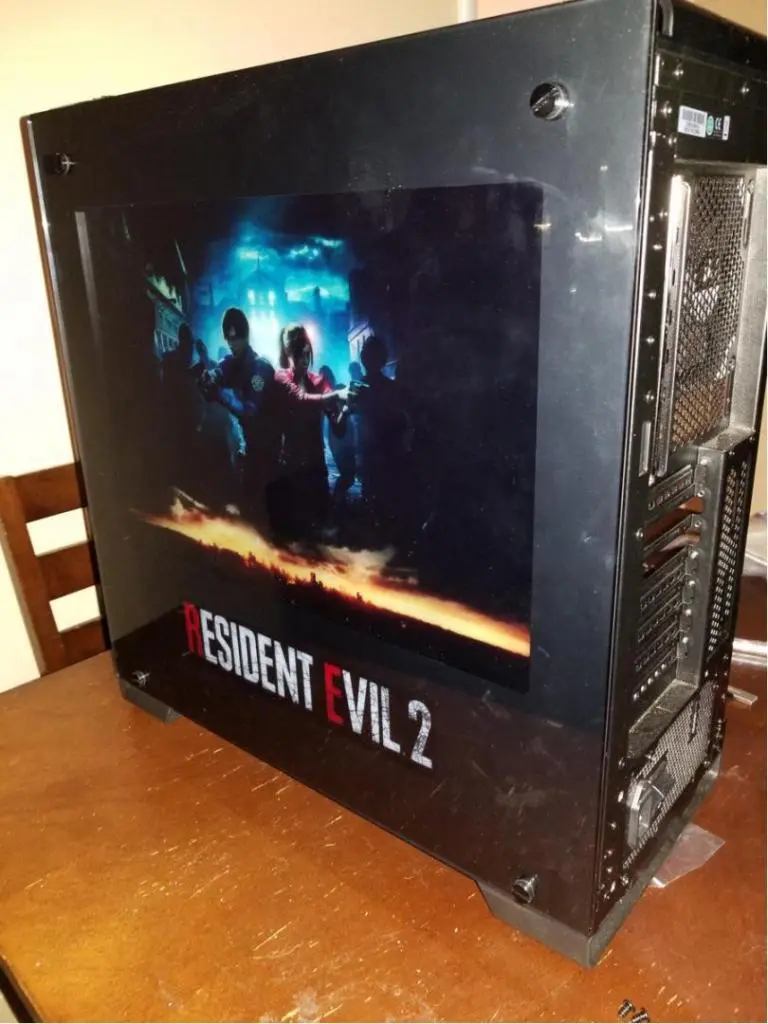
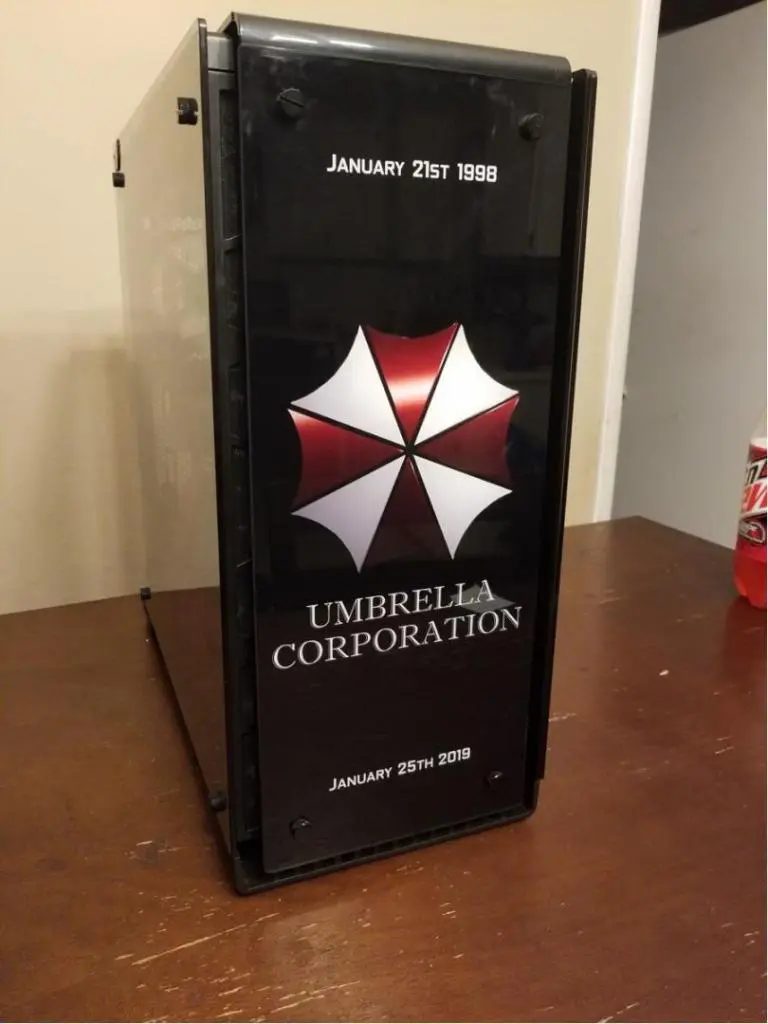
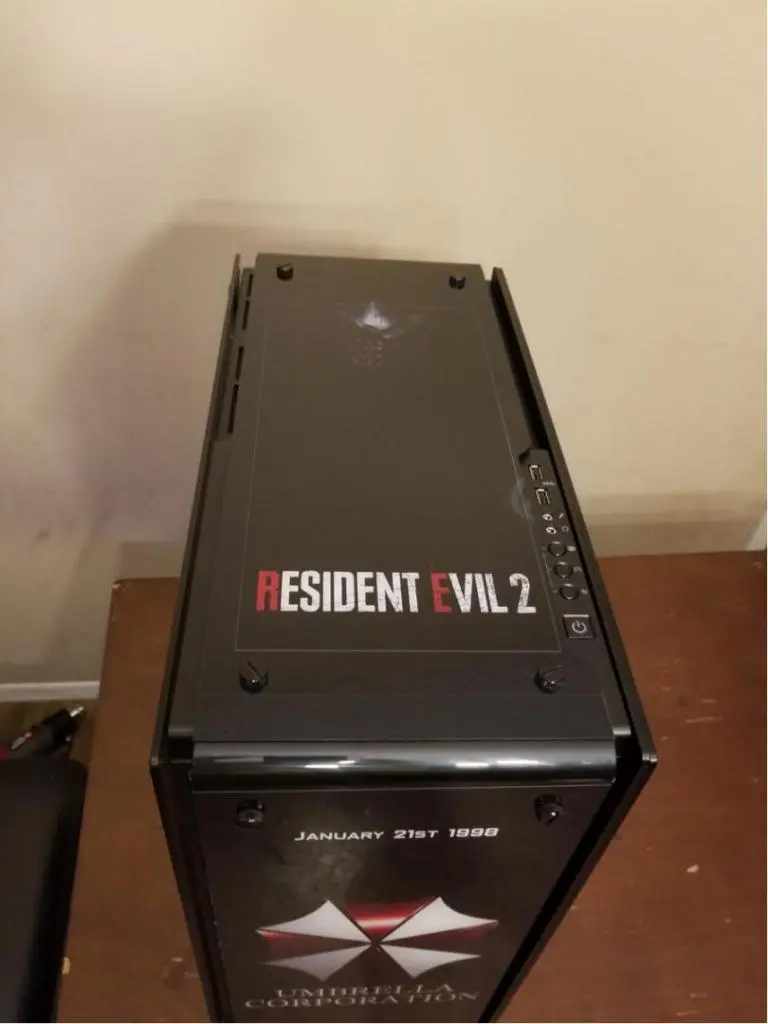
My name is James Nickell and this is my computer case mod. I built a Resident Evil 2 Remake in the Corsair 570x. Resident Evil was one of my favorite games growing up so when RE2 Remake was announced I started planning a build around it so I could play it on PC. Specs Asus Z390 Gaming H, Intel 9700k, 32gigs Corsair memory, Asus Strix 1080ti.
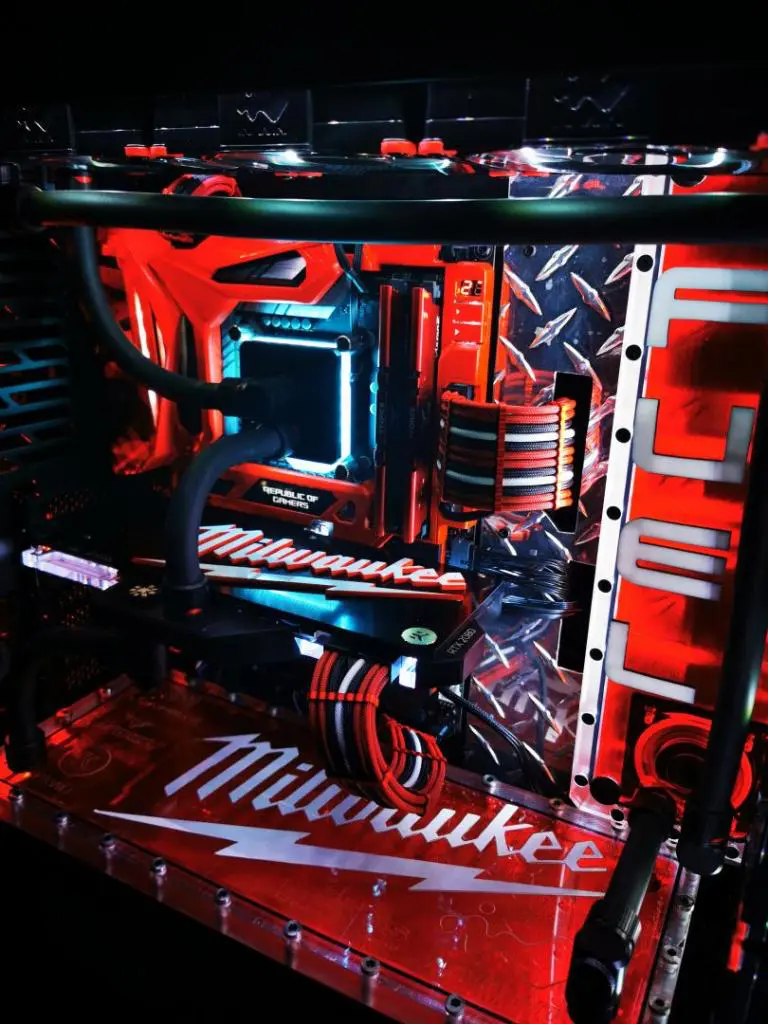
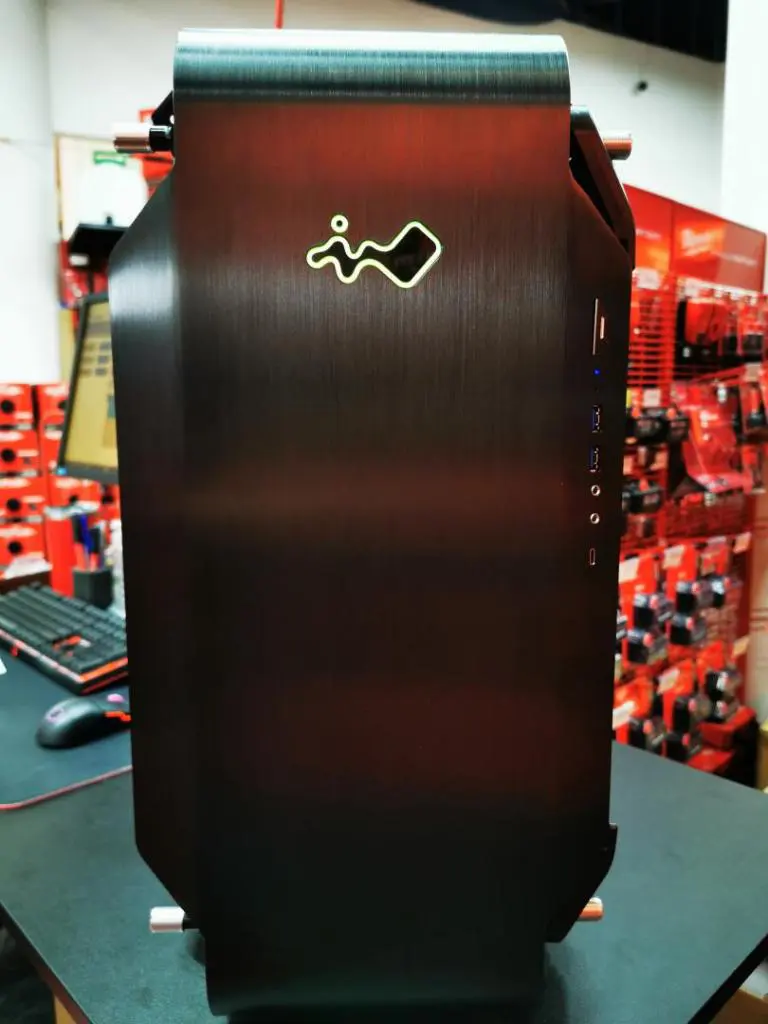
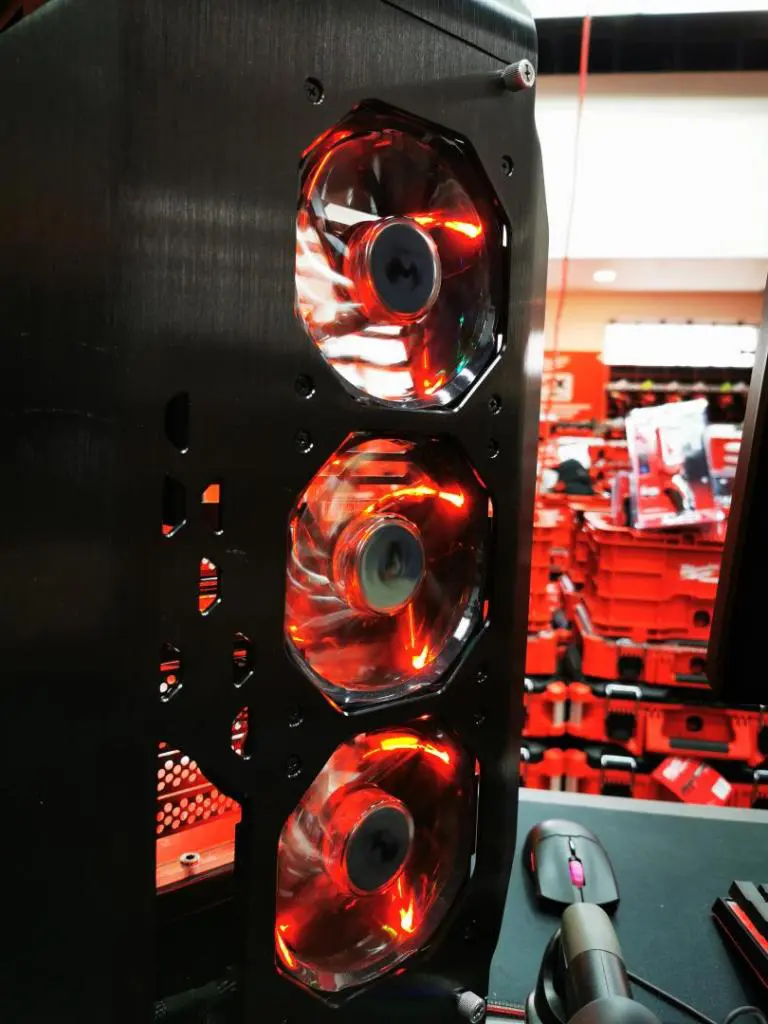
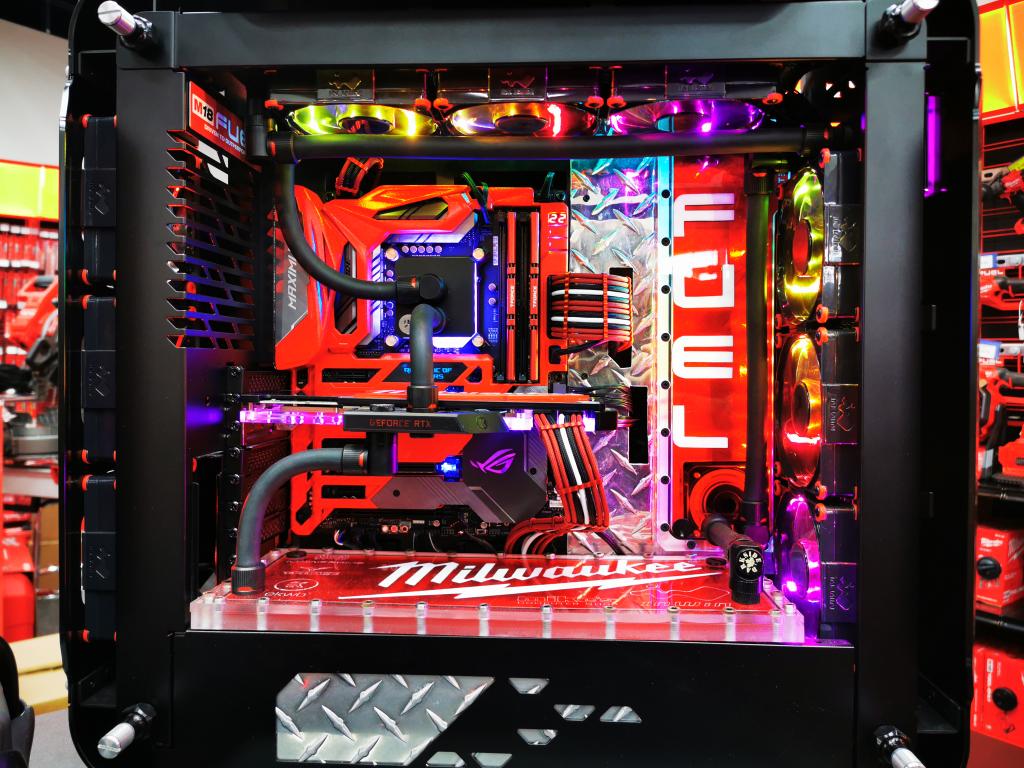
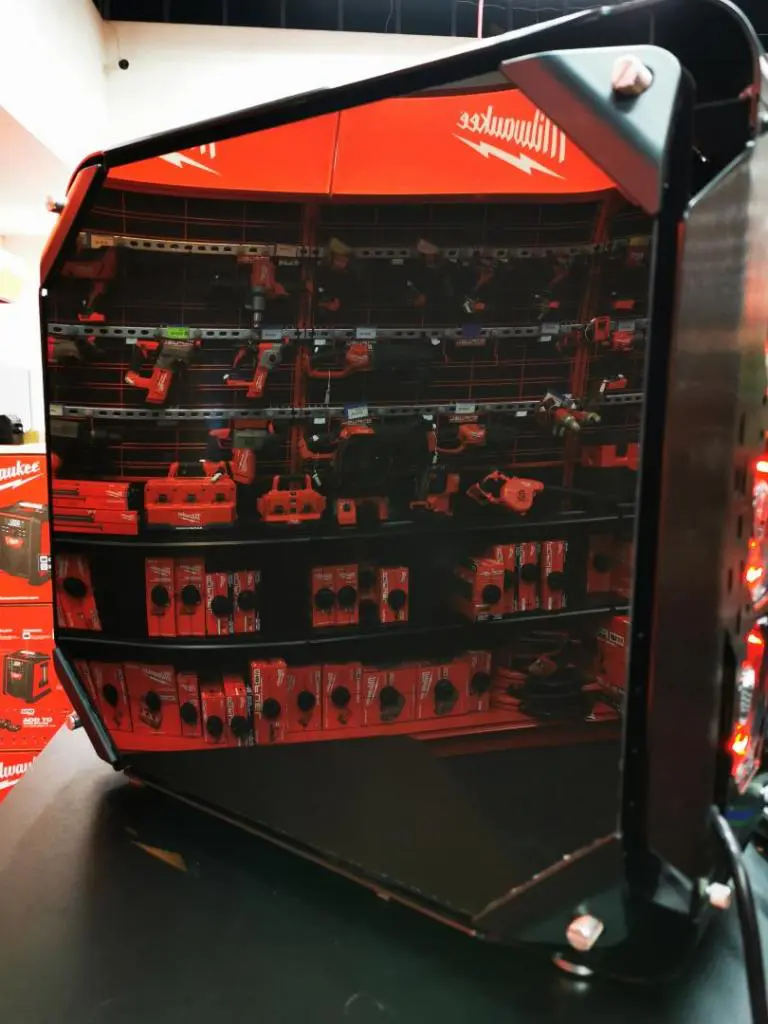
Kevin Daley says… A little about my project. Project Fuel was built for the sole purpose of being used as my personal work computer in the Milwaukee Tool Room, which was a project all on its own. The room was created at my work(HNT Tools) to be Canada’s very first Milwaukee tools showroom, and the largest in North America. I wanted to build a system that would be as wild as the location its in and garner the attention of our customers, which has been quite the conversation starter! It is amazing to see kids and adults alike just swoon over the creativity and craftsmanship that went into this truly one of a kind work system.
All the aluminum and acrylic accents were hand cut using a Dremel rotary or Dremel moto saw and finished with files. Handcrafted cables as per usual! And I needed to lighten the case up, so I actually replaced the tempered glass with 4mm thick cast acrylic; the rear panel was painted black from the inside to give a black mirror finish! Lots of fine-tuning fitment went into this case, it’s hard to tell without build log photos so I will have to let the shots speak for themselves.
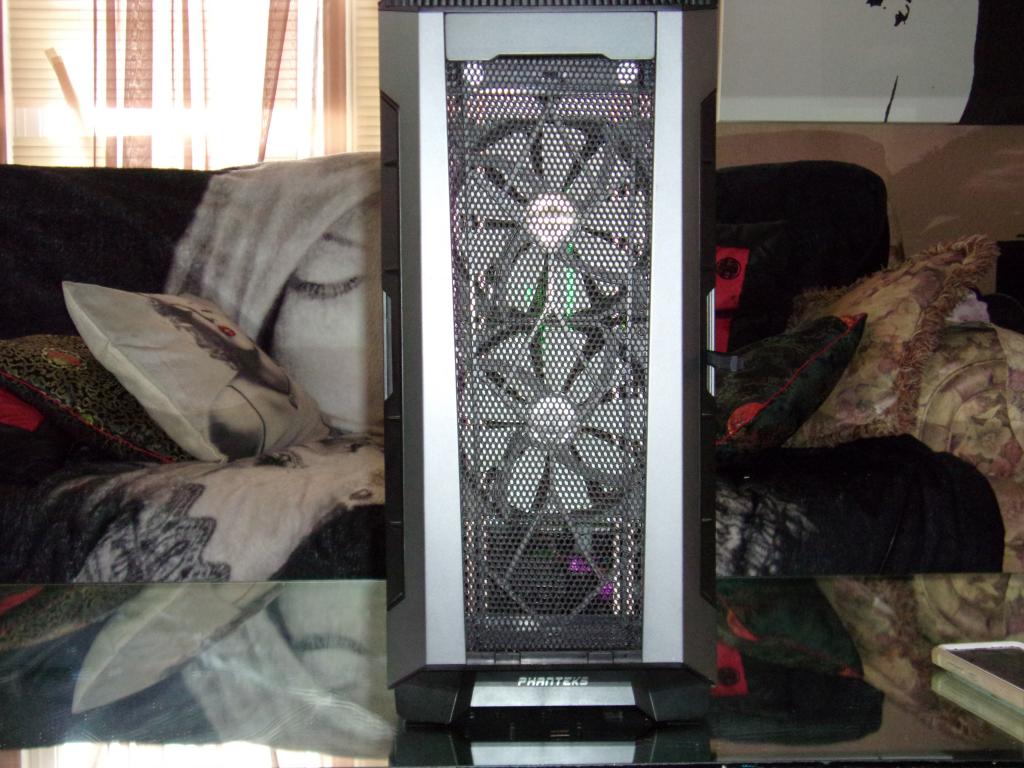
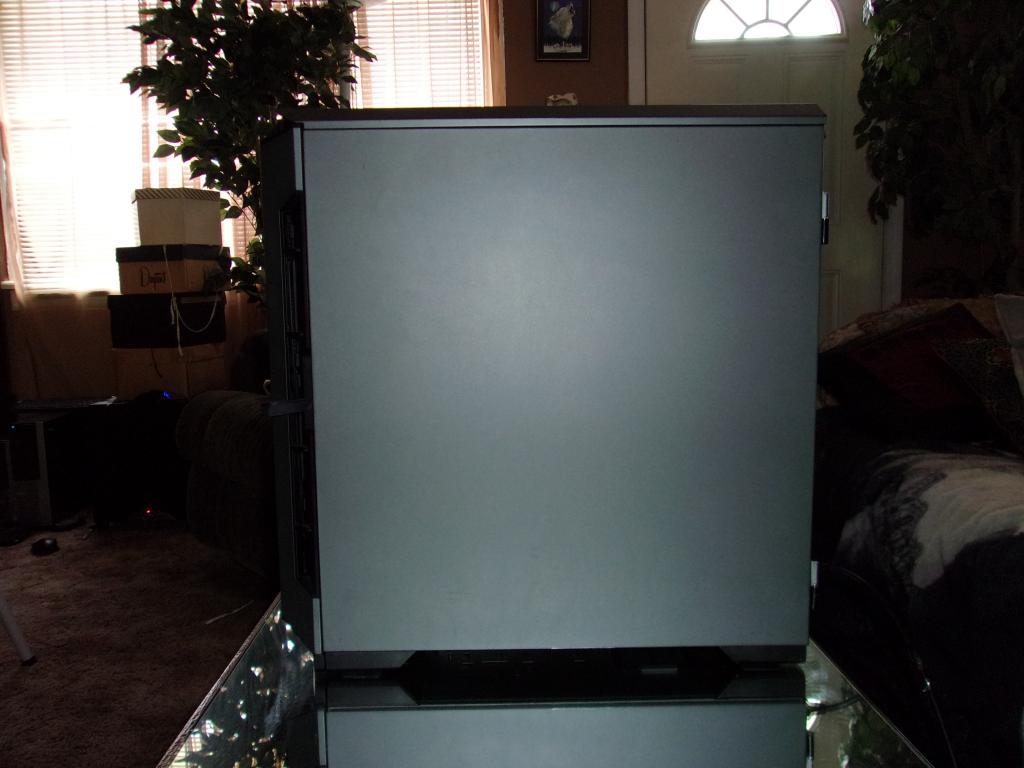
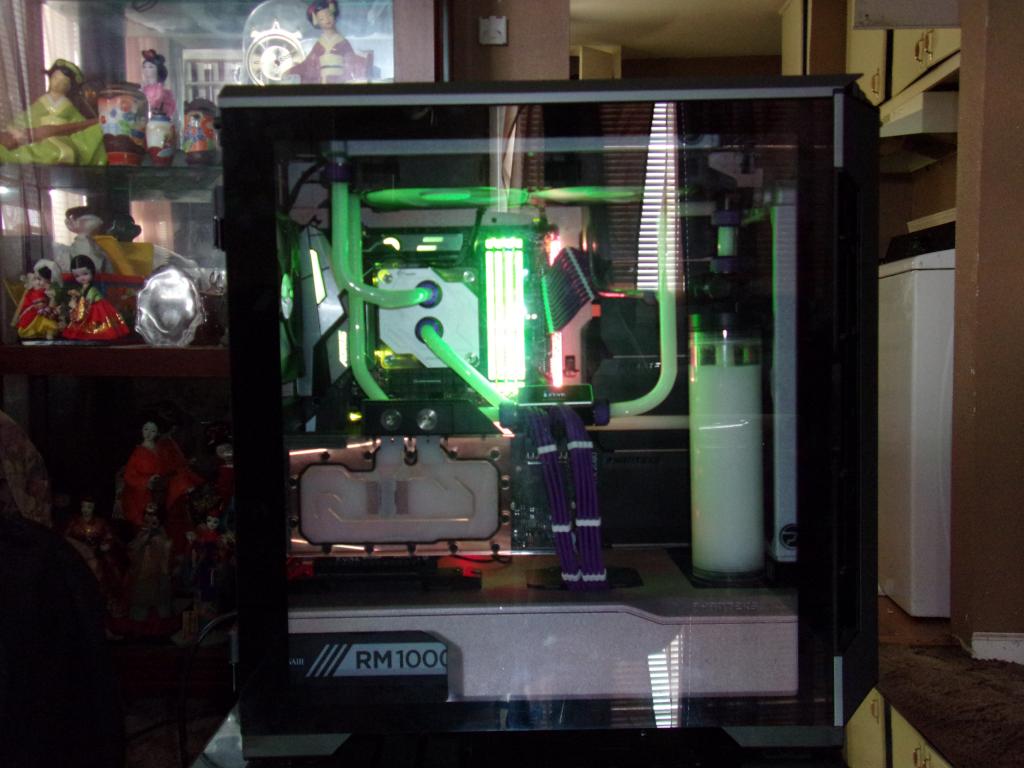
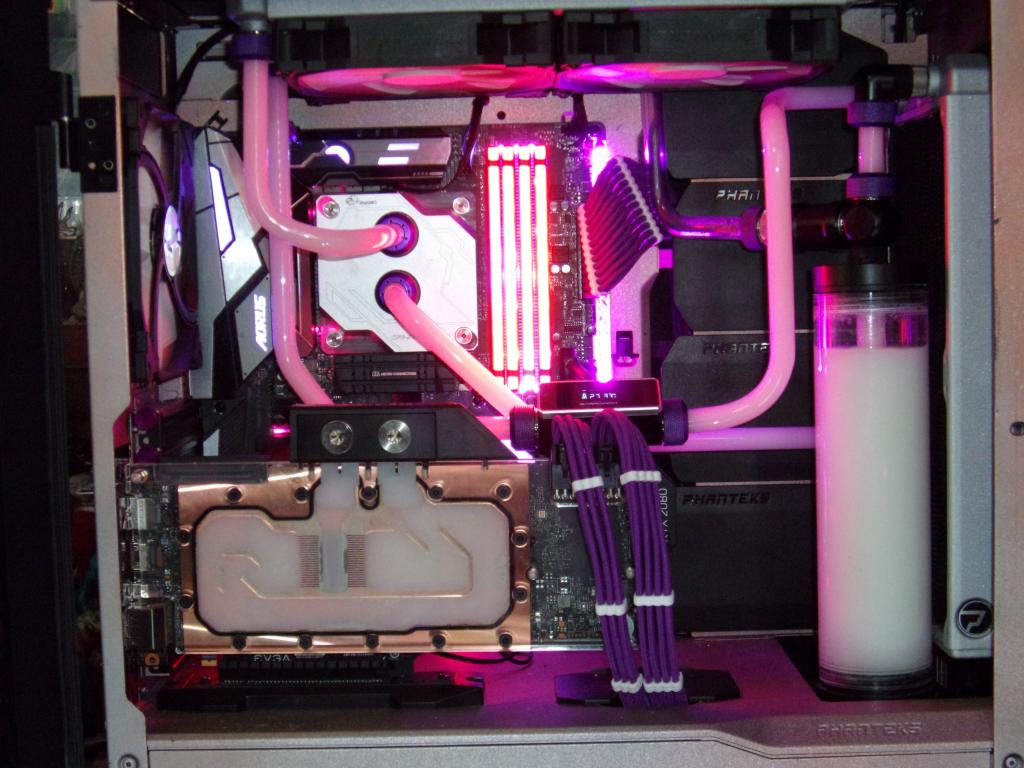
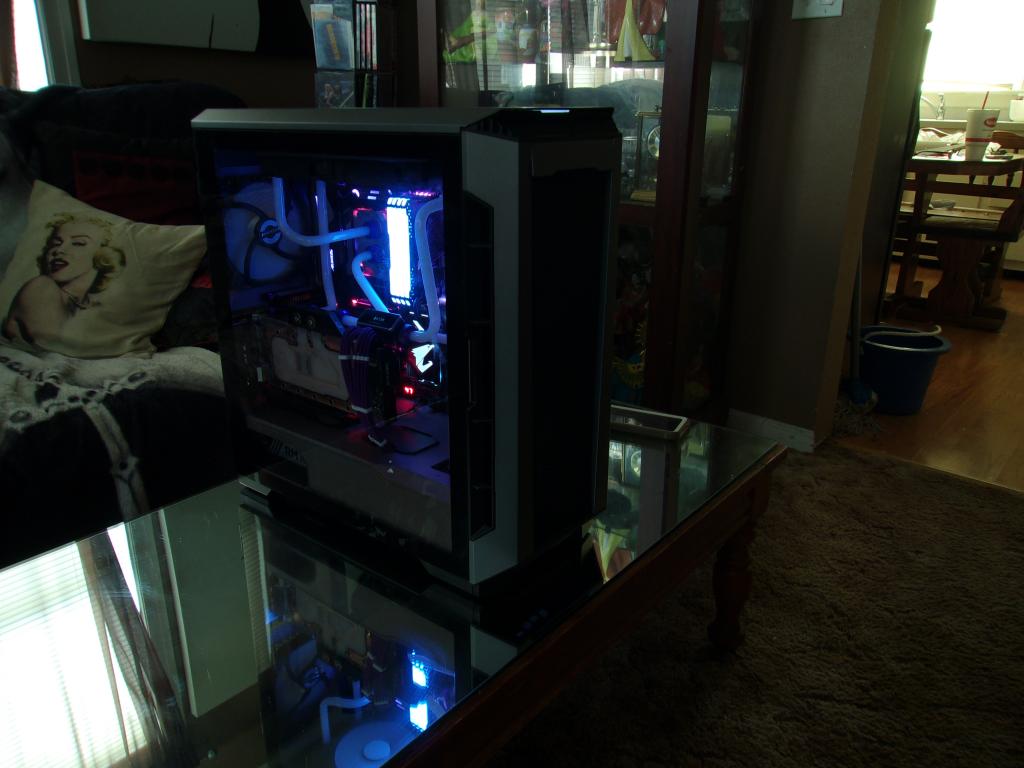
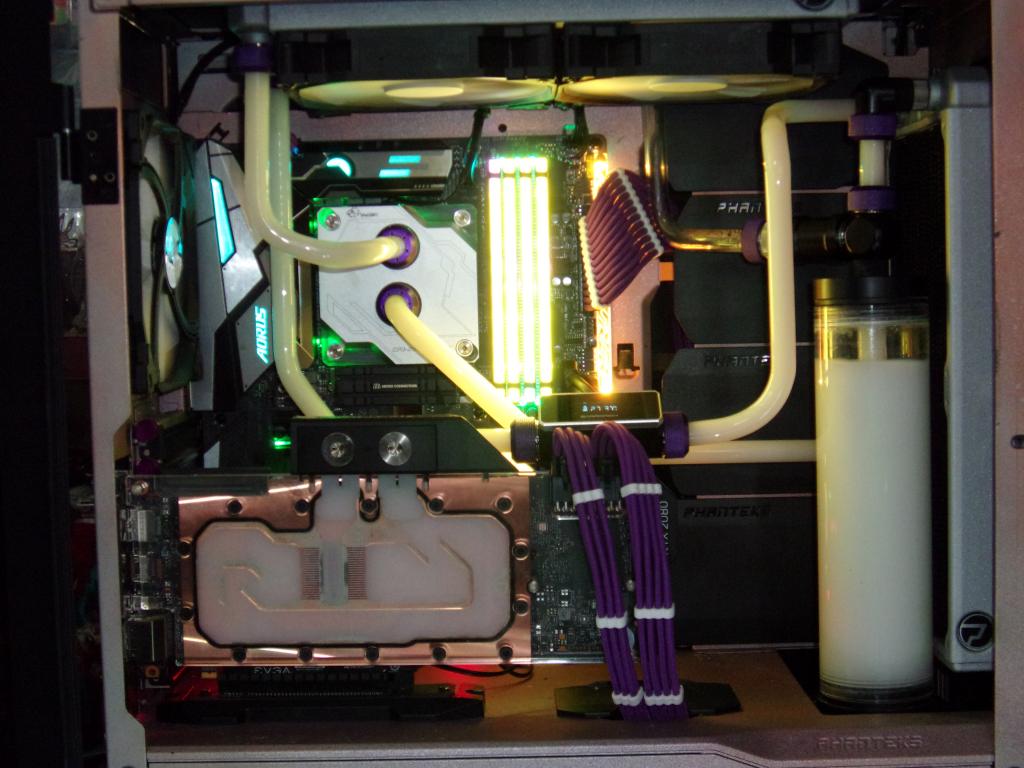
Joe Fry about his case mod… How to explain this. I got myself a Phanteks Eclipse p600s about a year ago. Well, one day I was thinking this would make a cool mod so one day I started to play with spray paint and came up with this really neat color and I don’t even know what to call it. I took the case apart and then start to paint it started with a true copper coat paint. when it was good and dry. I splatter painted it with silver. and the 3rd coat I used purple glitter blast . and it took me two Cameras before I could get a picture that showed what the color is like but still doesn’t show the sparkles very well. another thing I wanted to do is try to keep it dark as possible and used white fluid and white fans. I did this for the reason of trying to get the fluid to look like it changing color with the LED lights worked out great. well, I wanted to give it a bit of charter so I decide to put more 45 and 90 in the tubbing. it was a lot of fun. but I think the biggest part of it all was the wiring. I think it was the hardest part of any build . is the wiring. man, it sucks. but I got it done. I sent extra pictures to show you how it changes color in the tubbing.
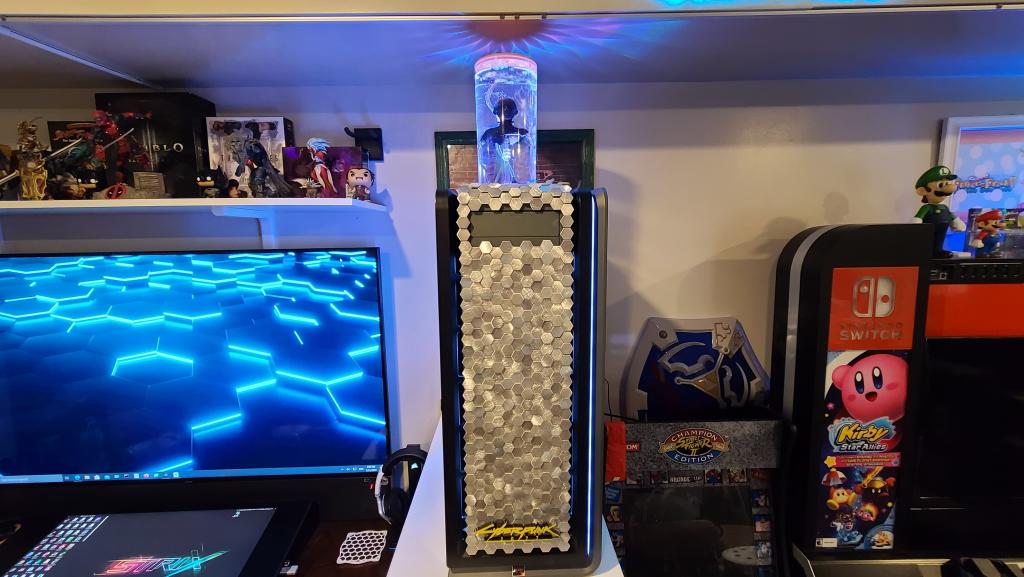
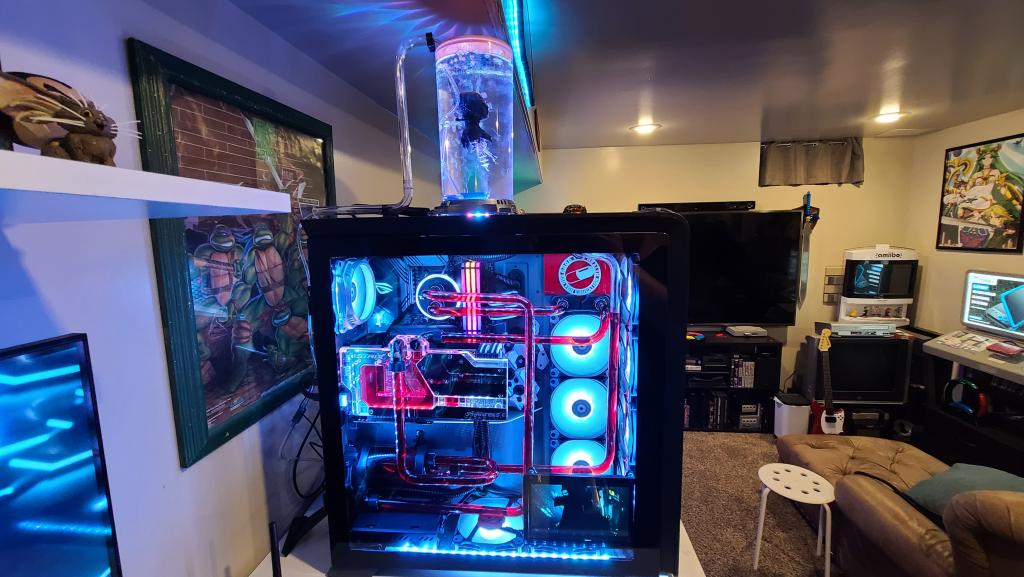
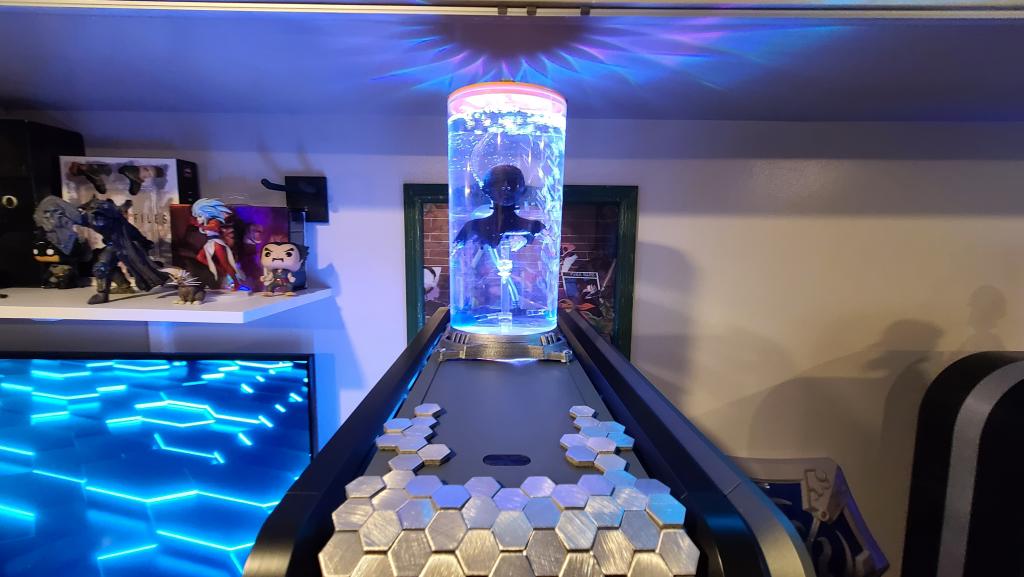
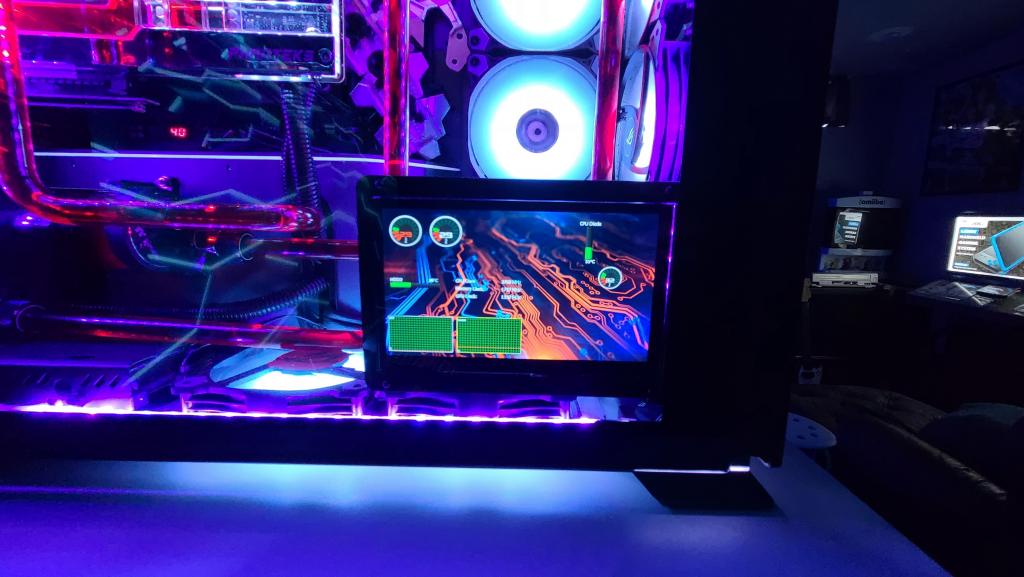
Adam Prentice says…I needed a more powerful PC for the design work and line art that I do, and I wanted a different look. I make and design a lot of things, and I’ve built PCs for over 20 years, so why not try my hand at combining the two. Cyberpunk builds are a dime a dozen currently, but how many have a destroyed cyborg floating in a bubbling vat of liquid? it had to be water-cooled, with no experience, I think it turned out rather well. No leaks, 42 degrees average on 2080ti under load!
My vision for the Enthoo 719 was already pretty Cyberpunk when I unpacked it and took a good look. I instantly thought of how cool it would look if there were a healing cyborg, as a replicant from Bladerunner, inside of a bubbling tank, with its blood running through the system tubes sustaining its life. like the sci-fi movie cliche was swimming in goo replaces all hospital beds, but I really only had a week to get all of this done in my spare time. Old school methods were preferred, like spray paint, heavy-duty mounting tape and neodymium magnets used to hold most of the 3d designed parts in place, in case I ever get an idea in the future and want to change something, or build something else entirely, and use the Enthoo as a dual system later on.
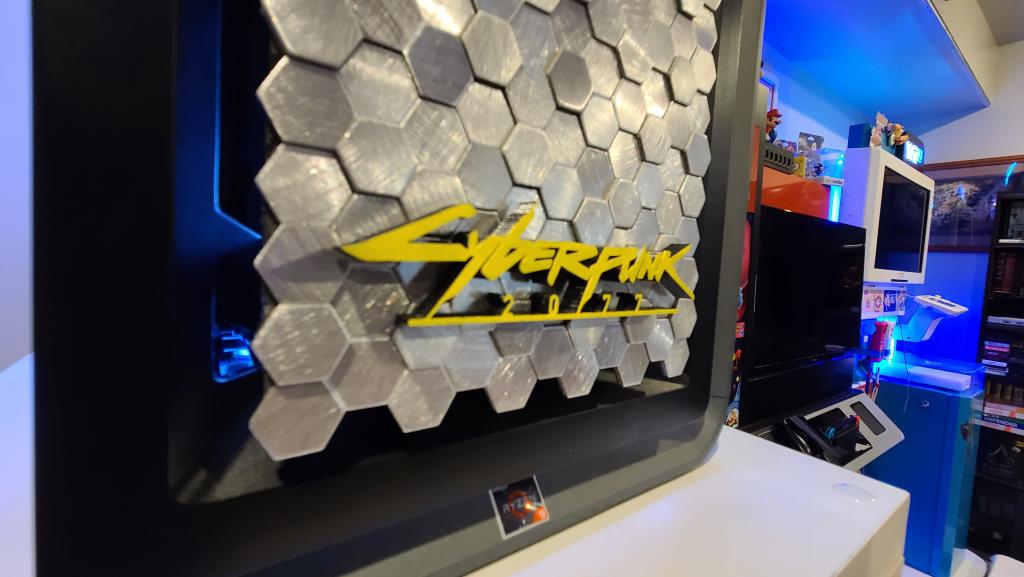
A more modular approach makes this possible, since this a daily workhorse, and not just a showpiece. This approach was overall, very cost-effective, considering the price of the components, and made it a much safer and fun modding project that I could complete with my bored 10-year-old daughter during the lockdown. The future is also shaped like a hexagon, so I had to add an aluminum hexagon pattern to the case with a 3d printed cyberpunk logo on the front, painted with model paints, and spent 40 caliber shell casings magnetized to the back panel, to add a little post-apocalyptic danger.


