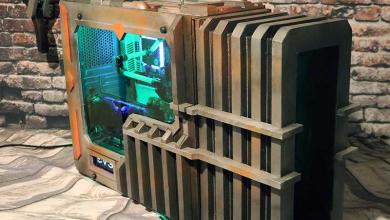
Scratch-Build PC Case Mod: consists of any mod built from anything else than a retail PC Case.
Brian Moench what is the name of your case mod?
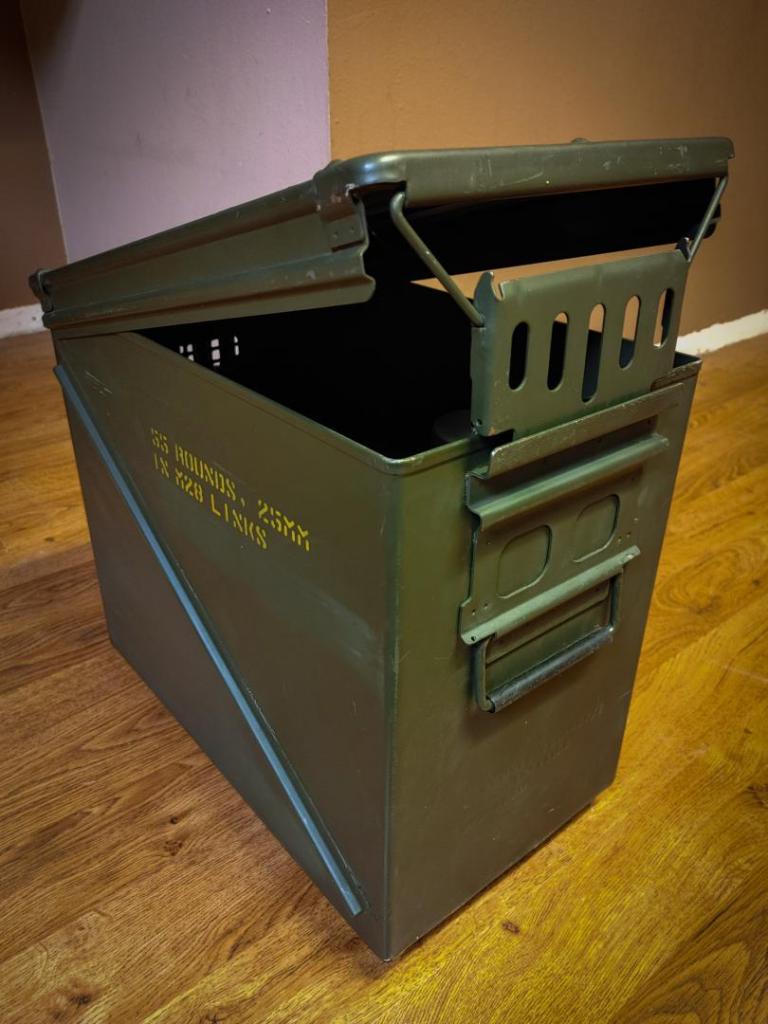
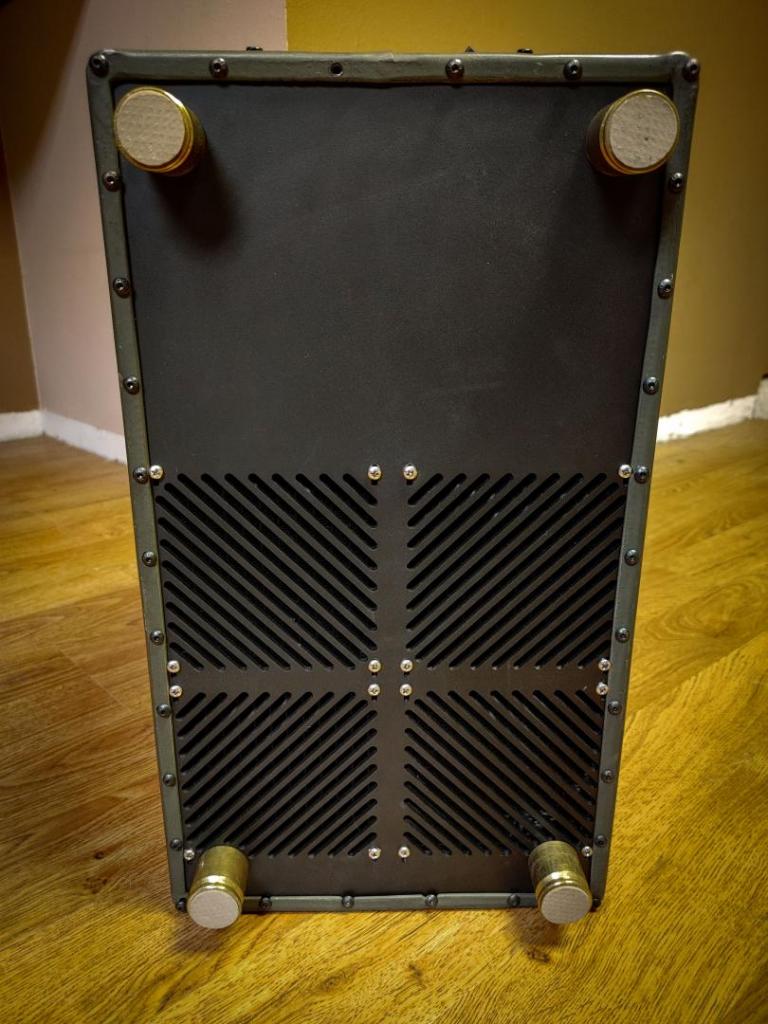
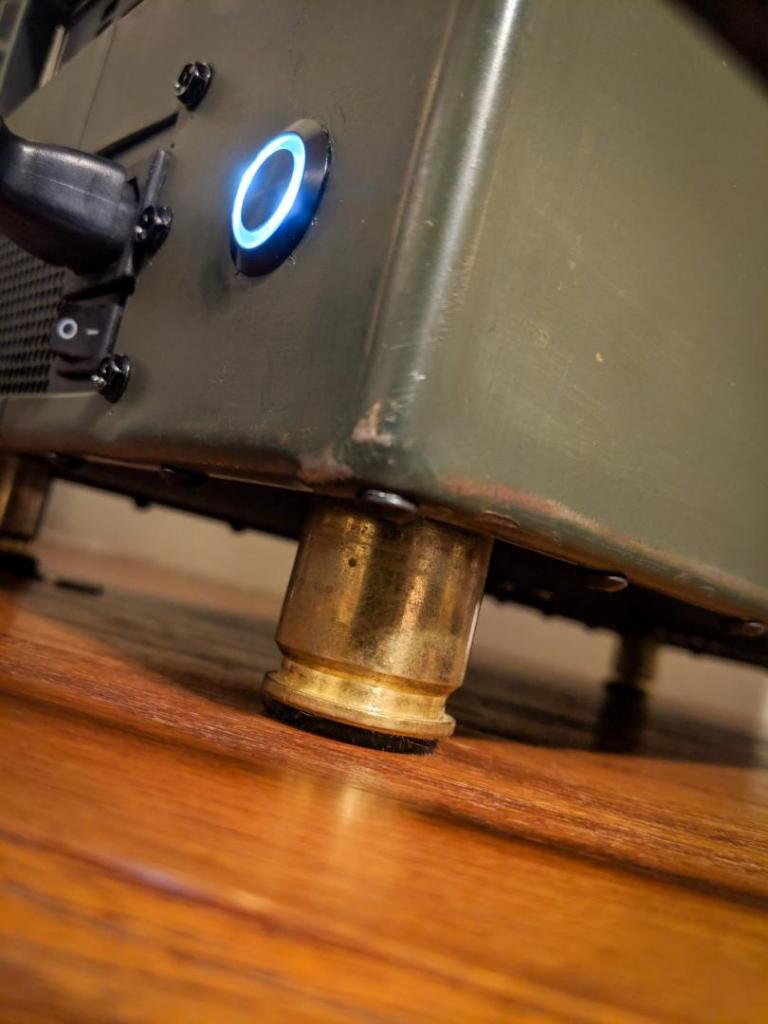
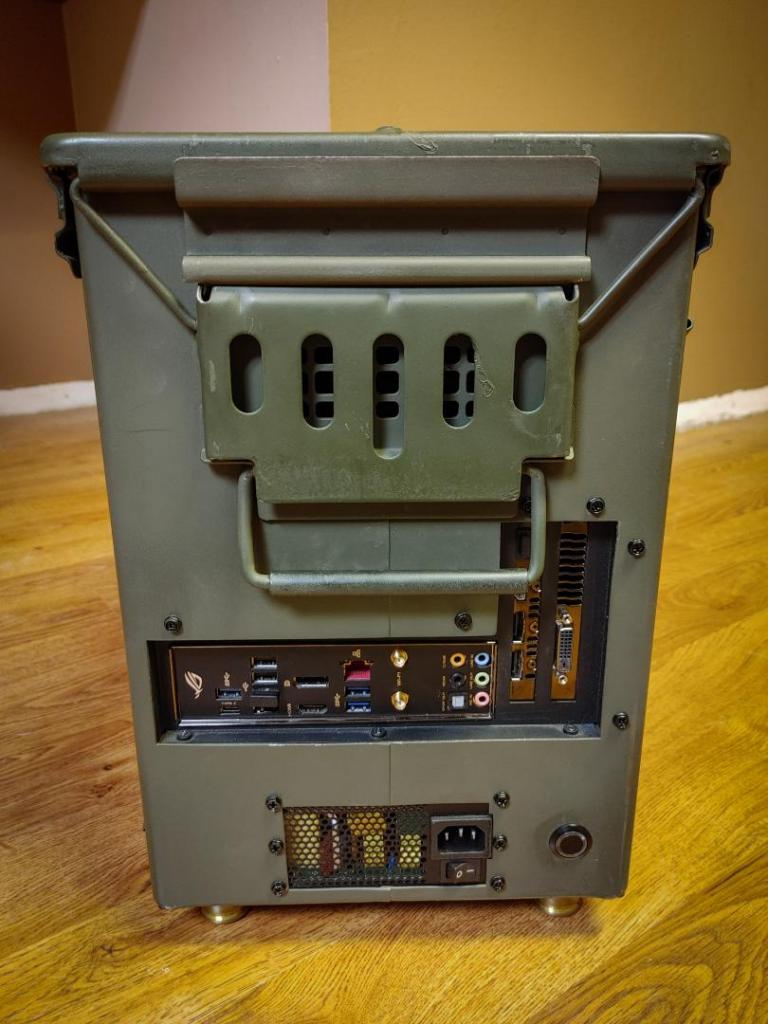
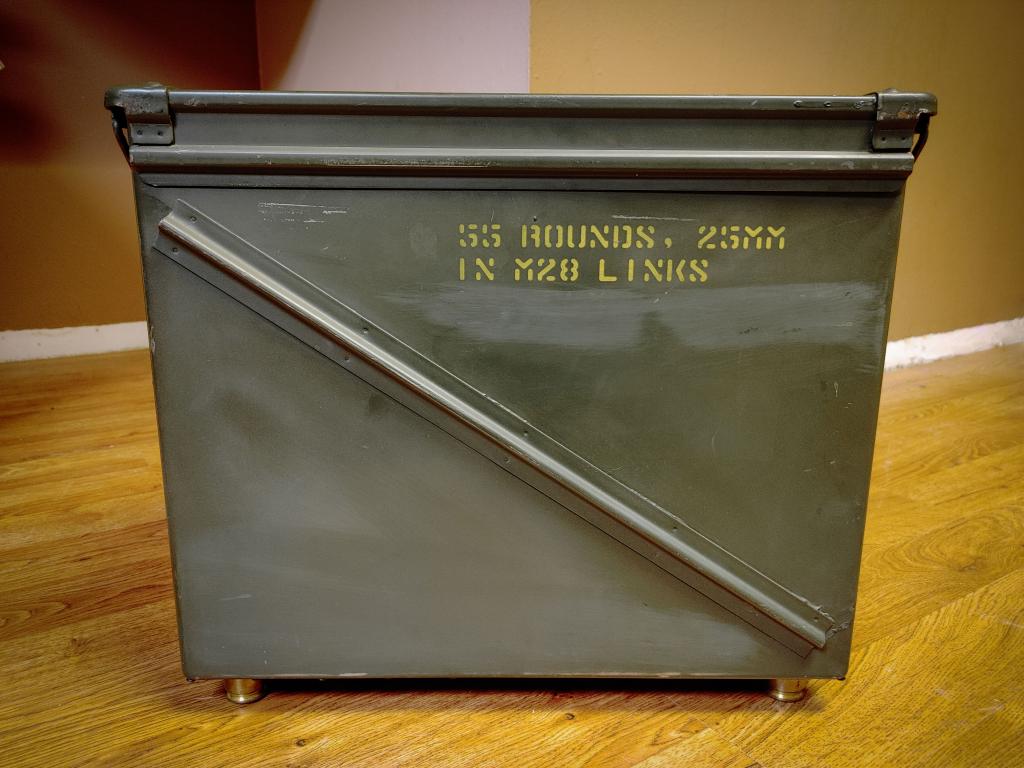
I call it the Lan Can. I built it about a year ago with the intent of bringing it to Quakecon but was unable to make it. It is built in a 25mm ammo can and was intended to be a build that could be taken anywhere with ease and without fear of damaging it. I got the idea years ago and was finally able to make it a reality.
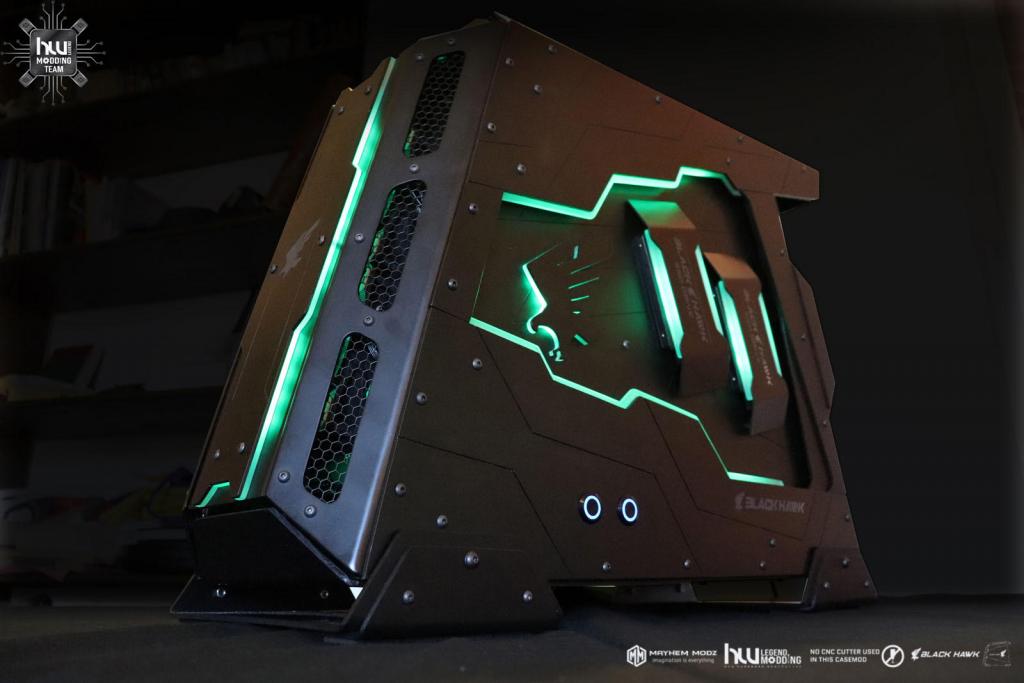
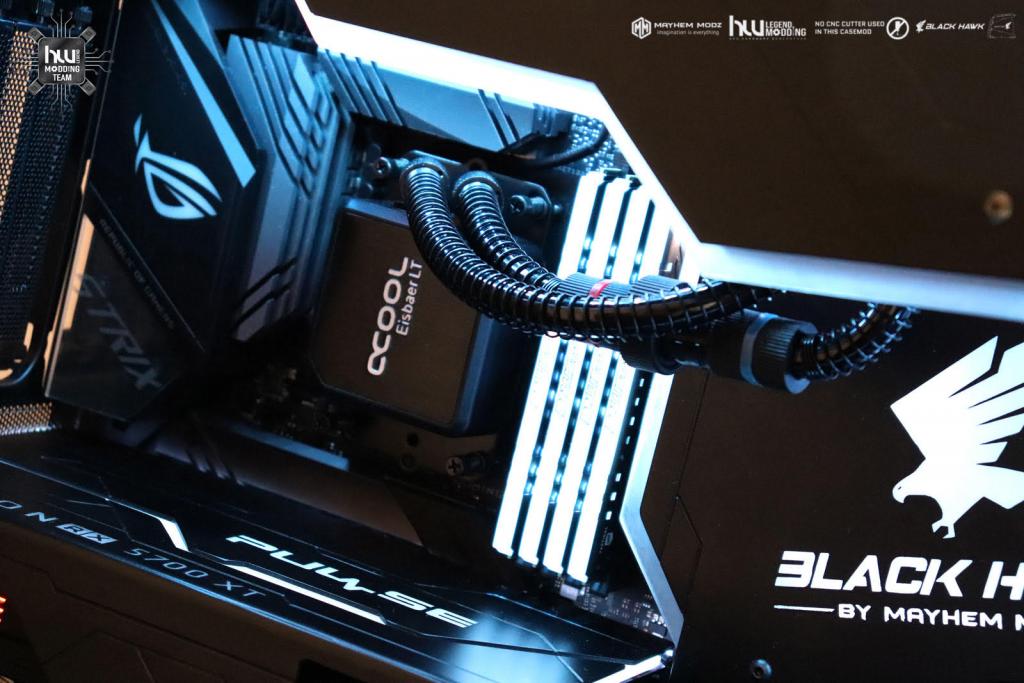
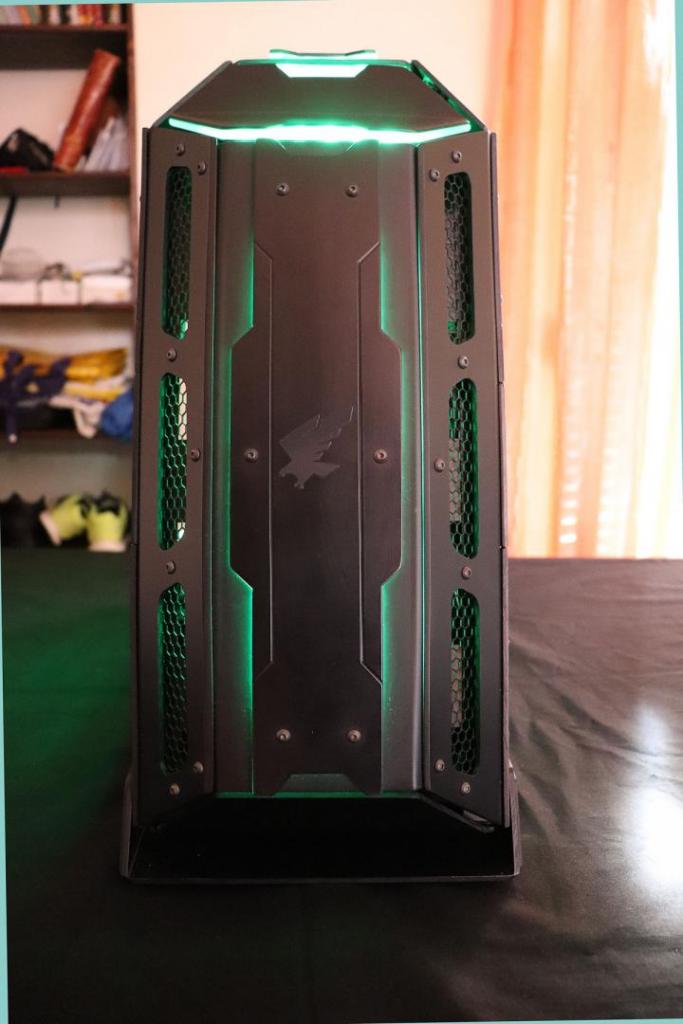
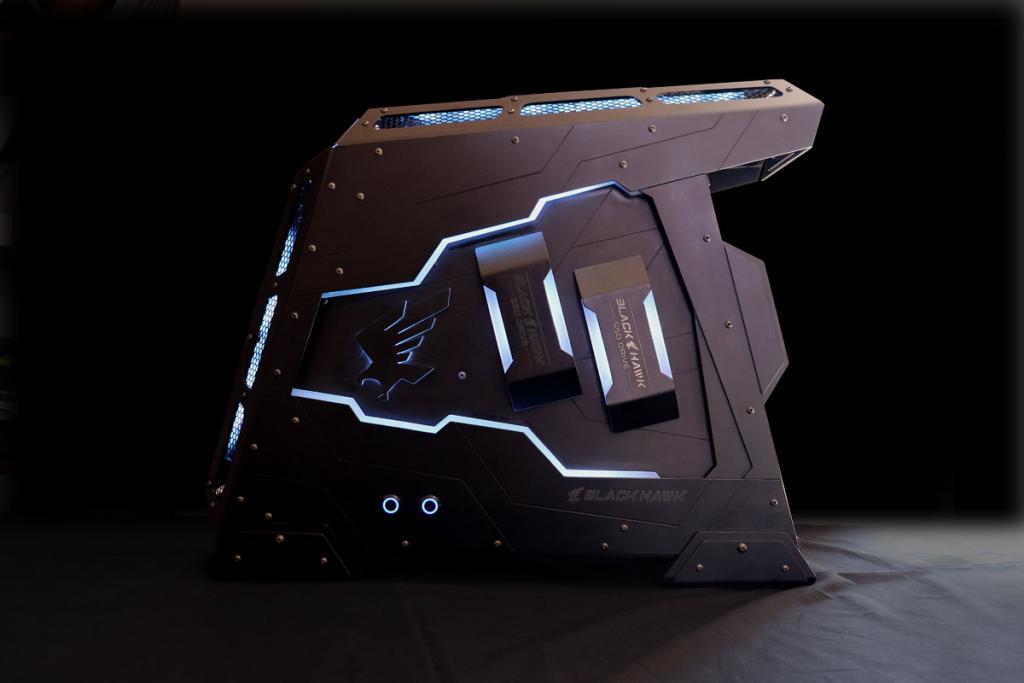
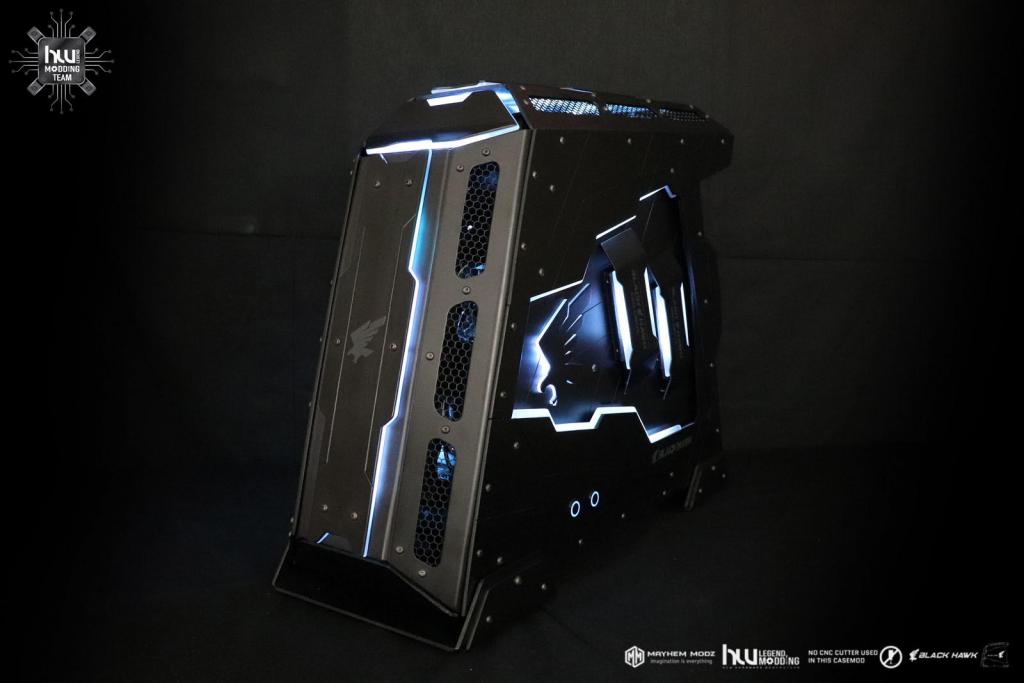
Mayhem Modz says Hello everyone this was my first scratch mod. it took a lot of work about 1 year, I started from a black hawk concept it seemed more appropriate, my construction elements were aluminum strips, steel sheets, some recycled parts of other houses, and a lot of plexiglass, I am proud to have made this work of art, all done love without the use of CNC or laser, all school Vecchia, I wanted to show that even if you do not have a CNC or cutting laser if you have a passion you can make a good pc case mod.
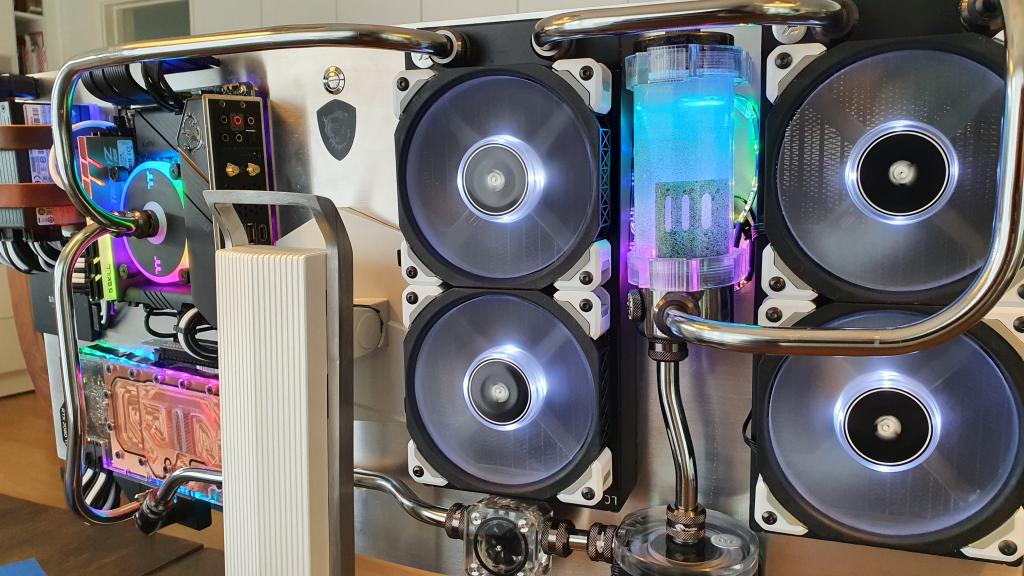
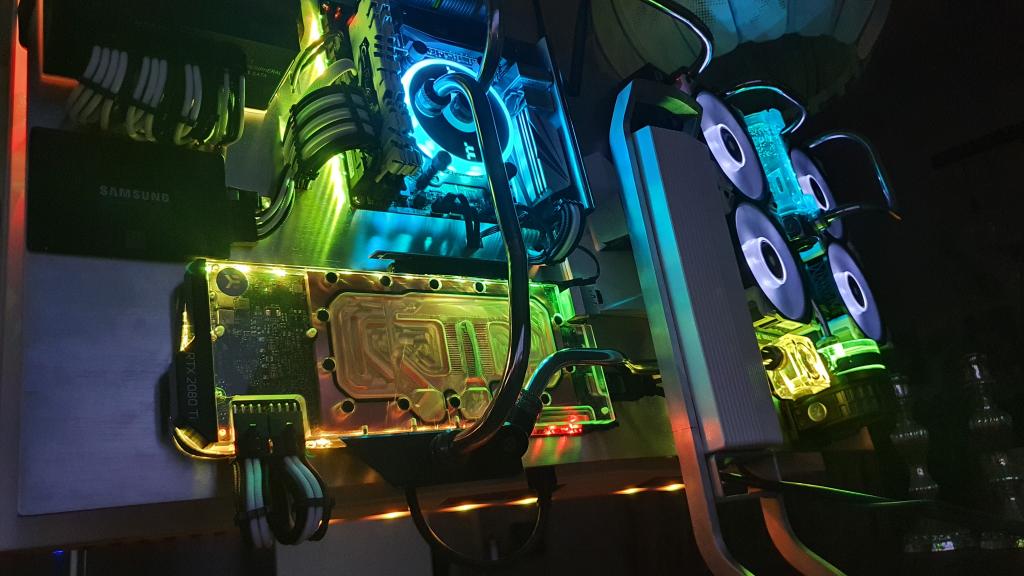
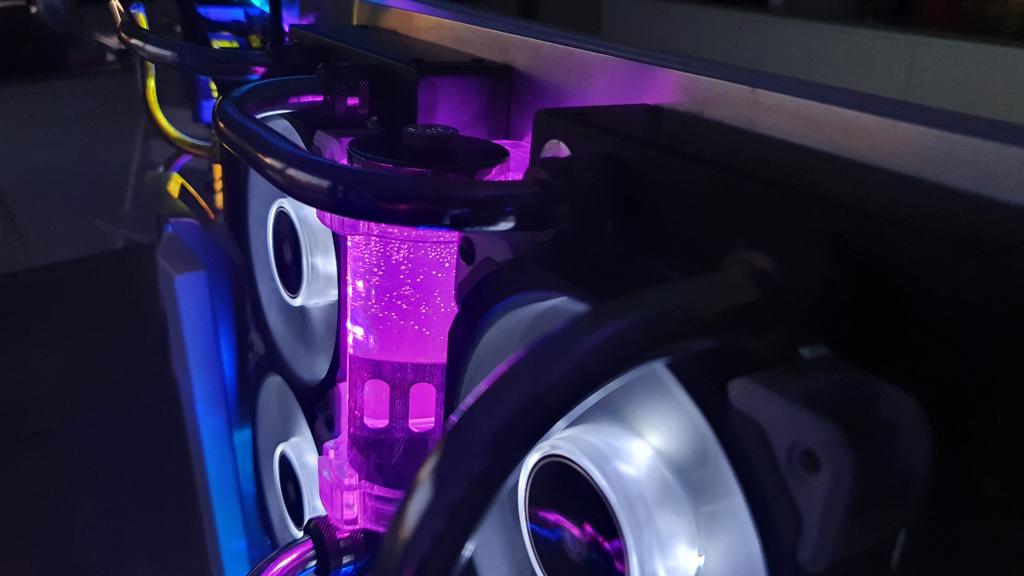
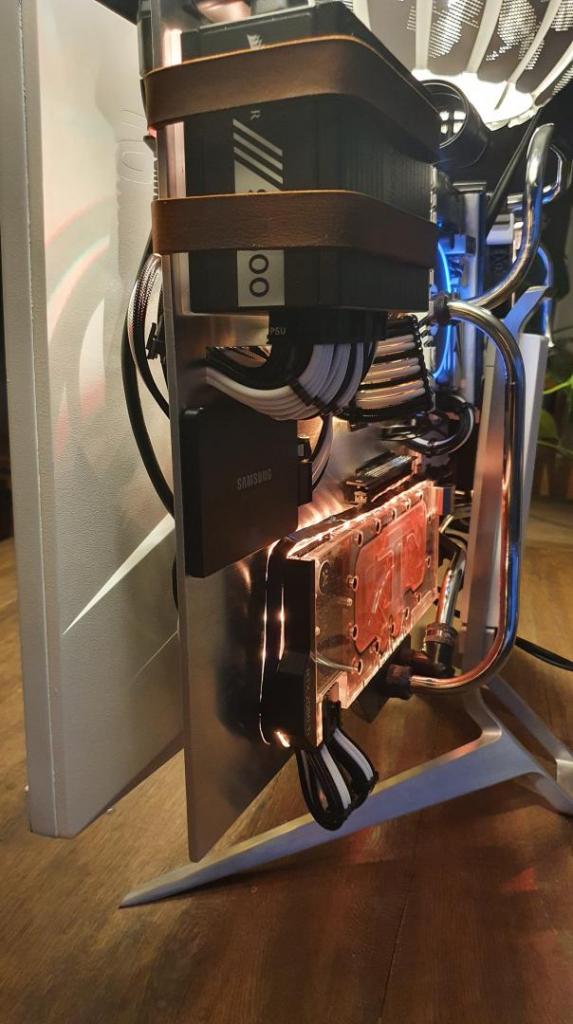
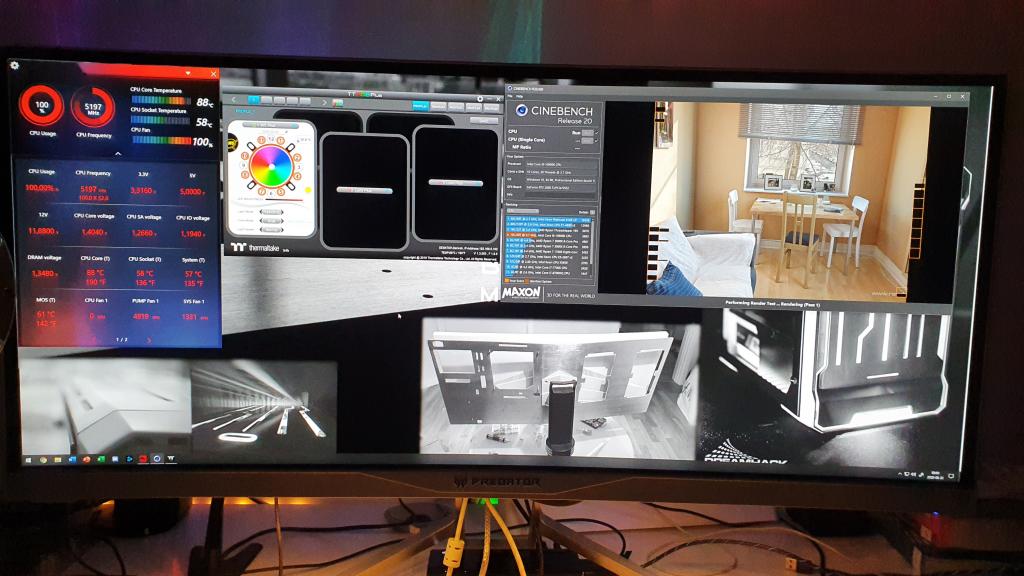
My name is Björn Höjing Burle (BHB-Mods/Deriveh). I’m a Swedish modder and I’ll be presenting my first custom-loop and my first scratch-build computer. This is my third modded computer since I got into modding as late as 2017. I got the idea to my build when I got home from Dreamhack Winter 2018 in Sweden, my wife wanted an iMac and I had just finished a modding project and look at all the great custom-loops on Dreamhack. Thus the idea to the iPreadator Powder was born. I decided I wanted to do a badass gaming PC, custom cooled on the backside of a 34″ monitor in an open industrial style case/frame.
I spent just over a year completing this build. When I began I basically just had the hardware from my old computer. I didn’t even have a 34″ monitor. My budget was quite strained as well so I some of the time it took went into looking for used parts, thus most of the parts of my build is used and not newly bought. The first part I got was the monitor, I had to do some research of which stands might be able to hold the weight of 25kgs as well as look alright to the industrial look I wanted, thus I chose the Acer X34.
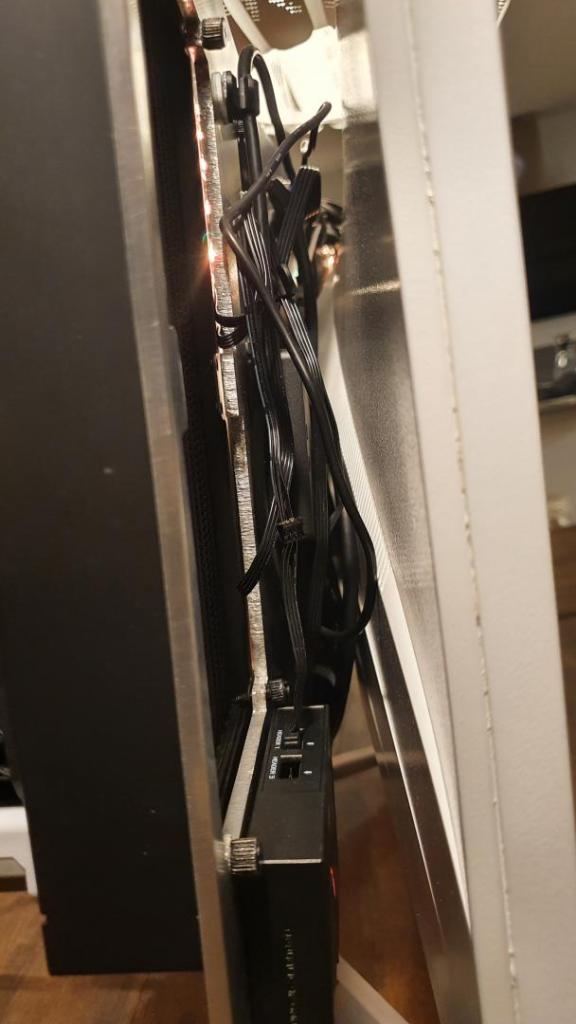
The main plate of which all the components are placed in a 5mm thick aluminum plate at the exact same specifications as my Acer X34P monitor. I had to bring in help from a friend with an engineering company to manage to bend the plate at a 6-degree angle because of the thickness of the plate, I could not do it myself. I then used a jigsaw, hand files, sandpaper, polish, and other handheld tools to get all the shapes and finish done. I also painted the monitor white, ground down the pain of the monitor stand, and brushed it.
David Engelhardt & Tony Hall have this to say about the case mod they entered.
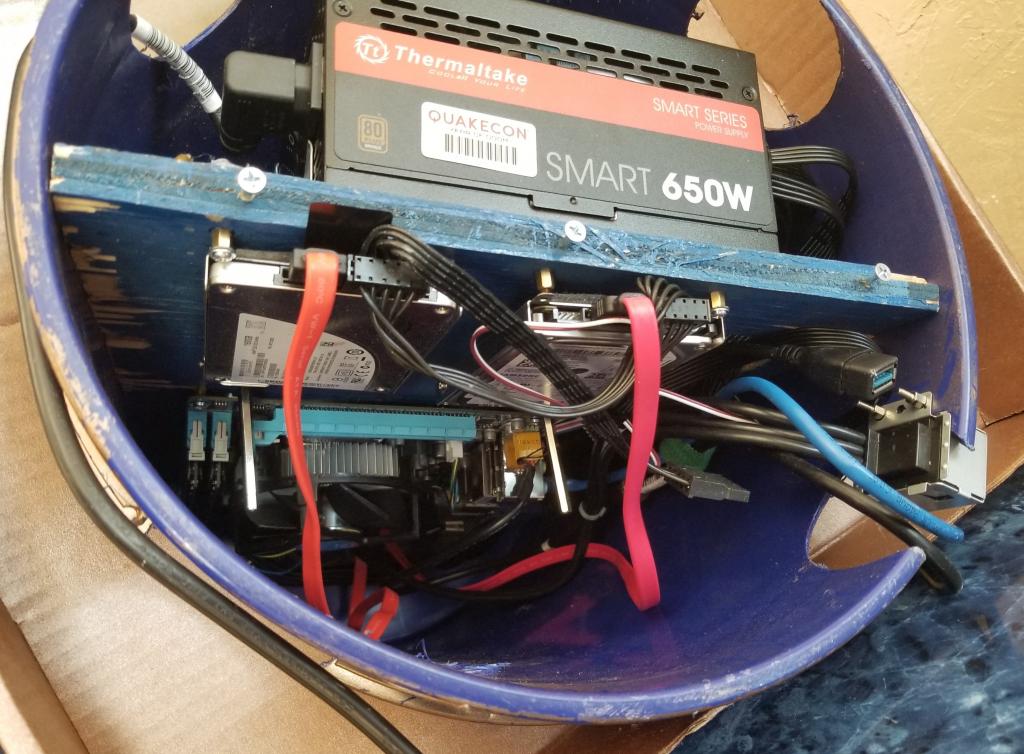
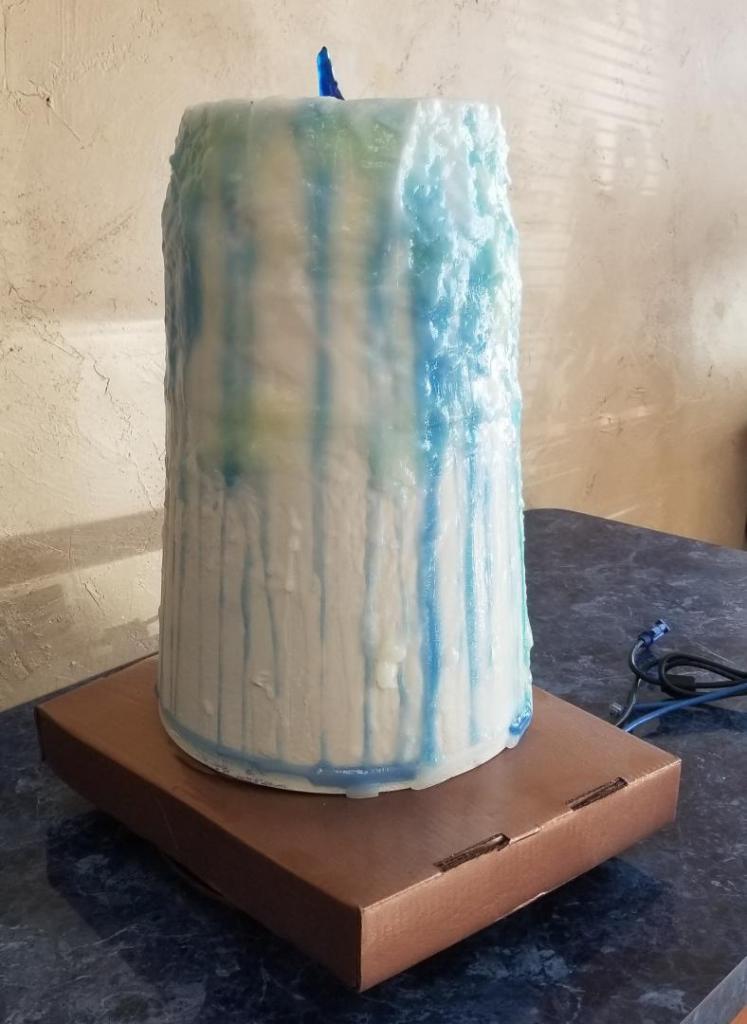
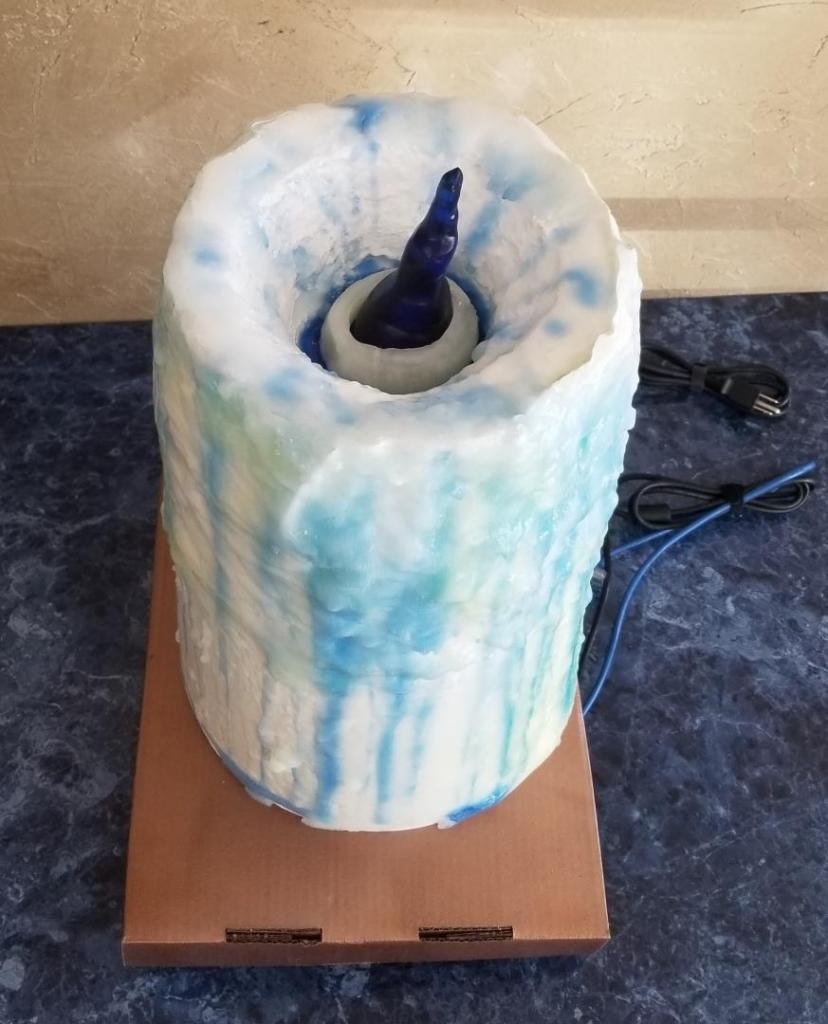
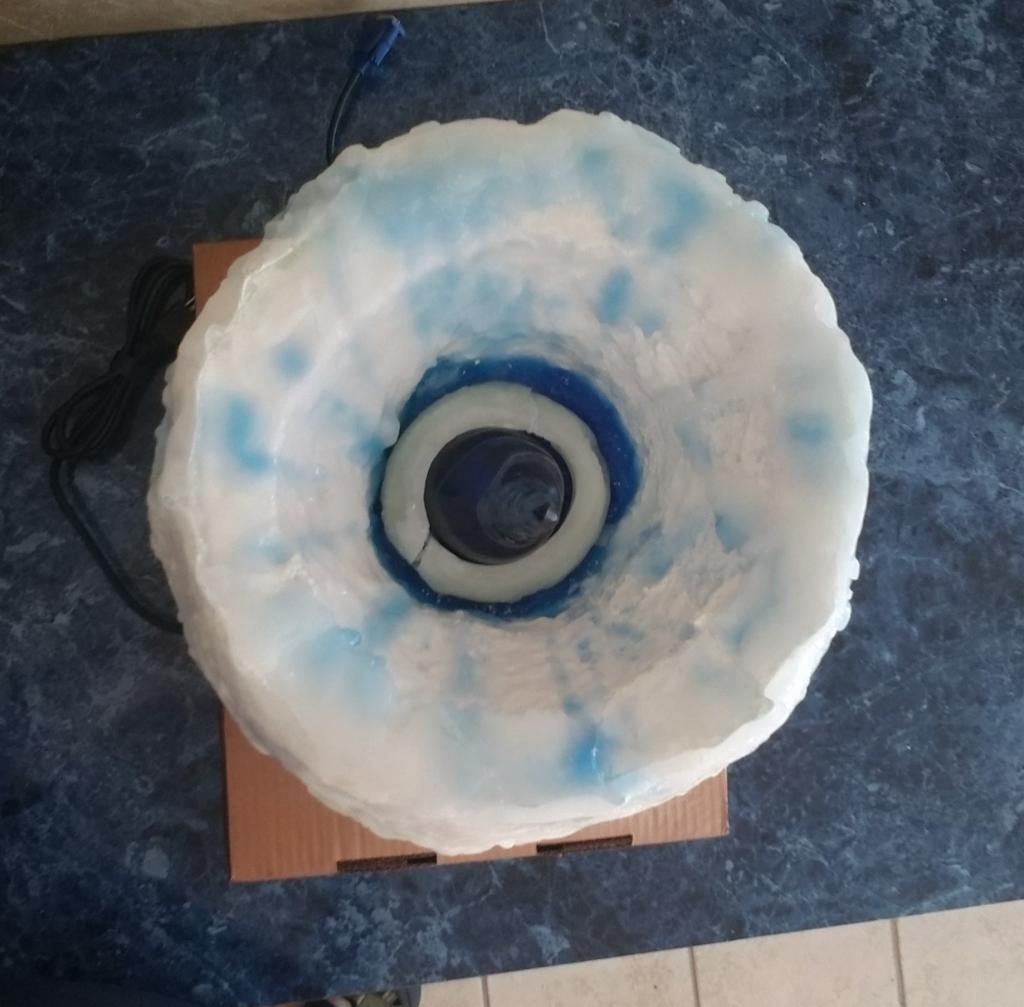
The case inspiration came from the name of the PC Shop I work at, Blue Candle Computers, and the fact that we could not find where anyone had done a Candle computer. The outside is a plastic shell with a spray foam top. The top was shaped and covered with liquid rubber. Then the whole thing was covered with 7 pounds of wax. We did have it QuakeCon 2019,as it was my BYOC PC, but we didn’t think about entering the MOD contest. All of that is mounted inside on a custom Plywood Base.
For the last year, I have kept it on display at my shop and even use it to run a monitor on the front counter as an example of a Custom Computer. For BYOC 2019, the computer was always running, unless we were sleeping. The wax did not melt. In the last year, the wax shell that holds the flame up has bonded with the wax below.
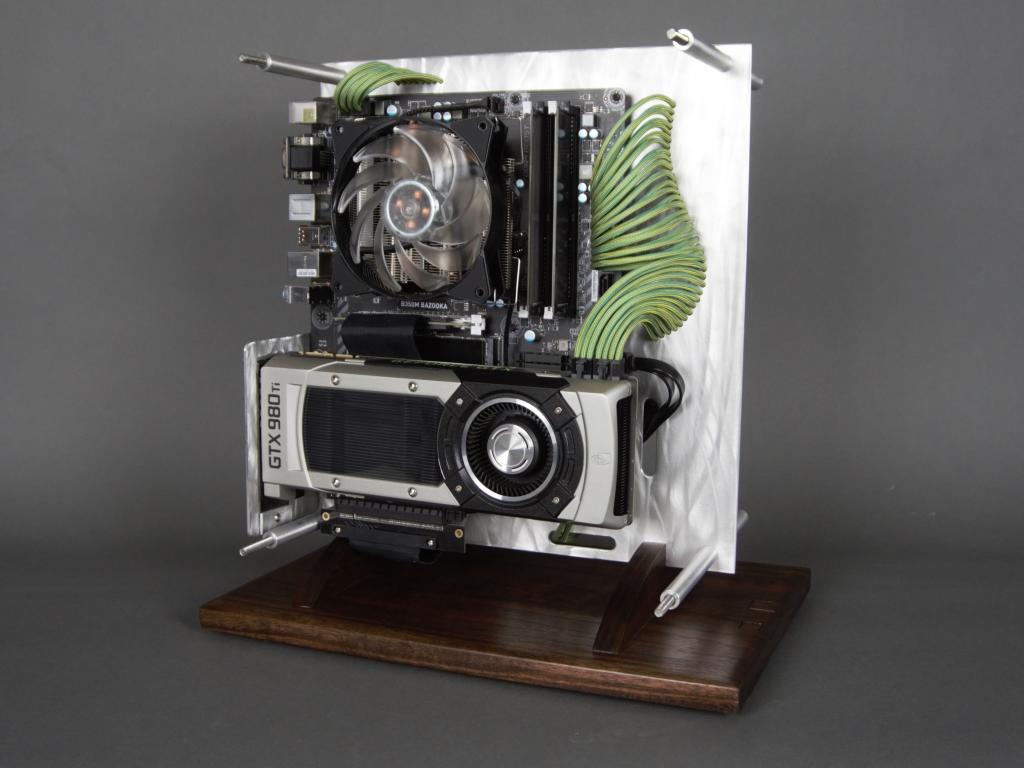
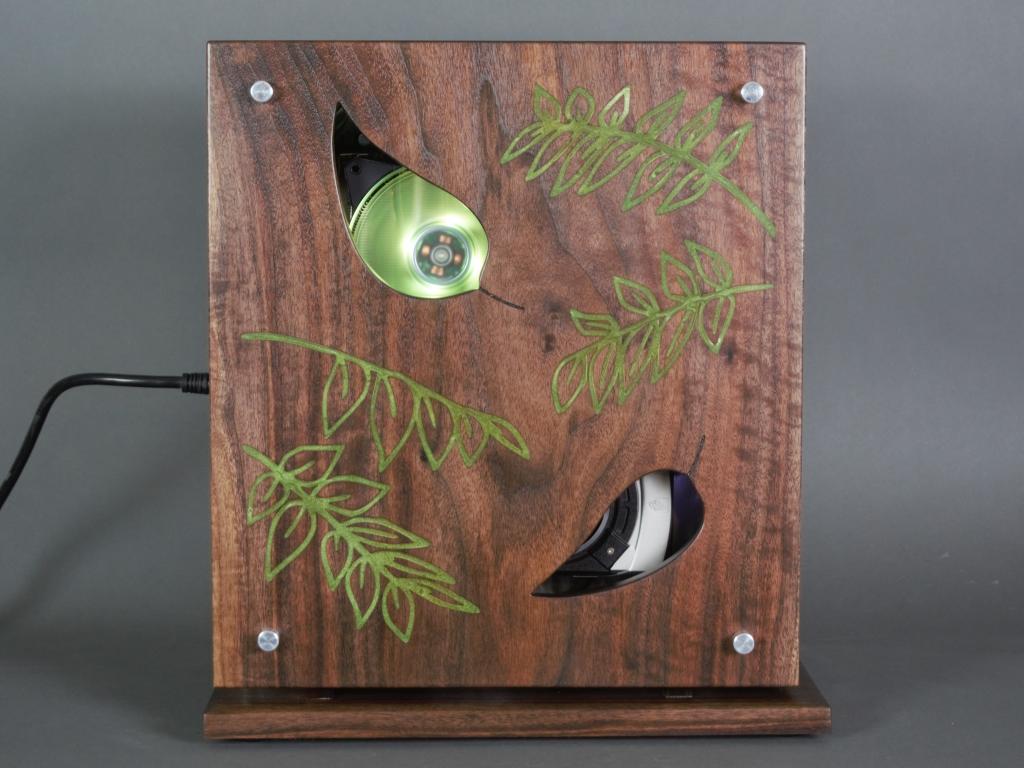
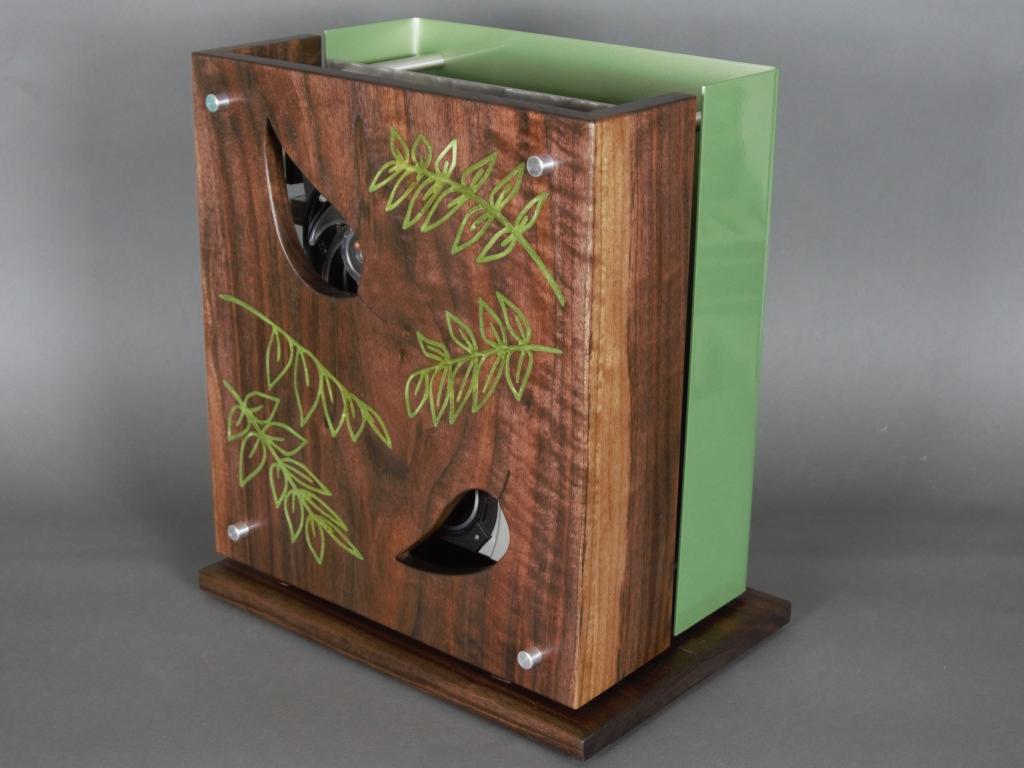
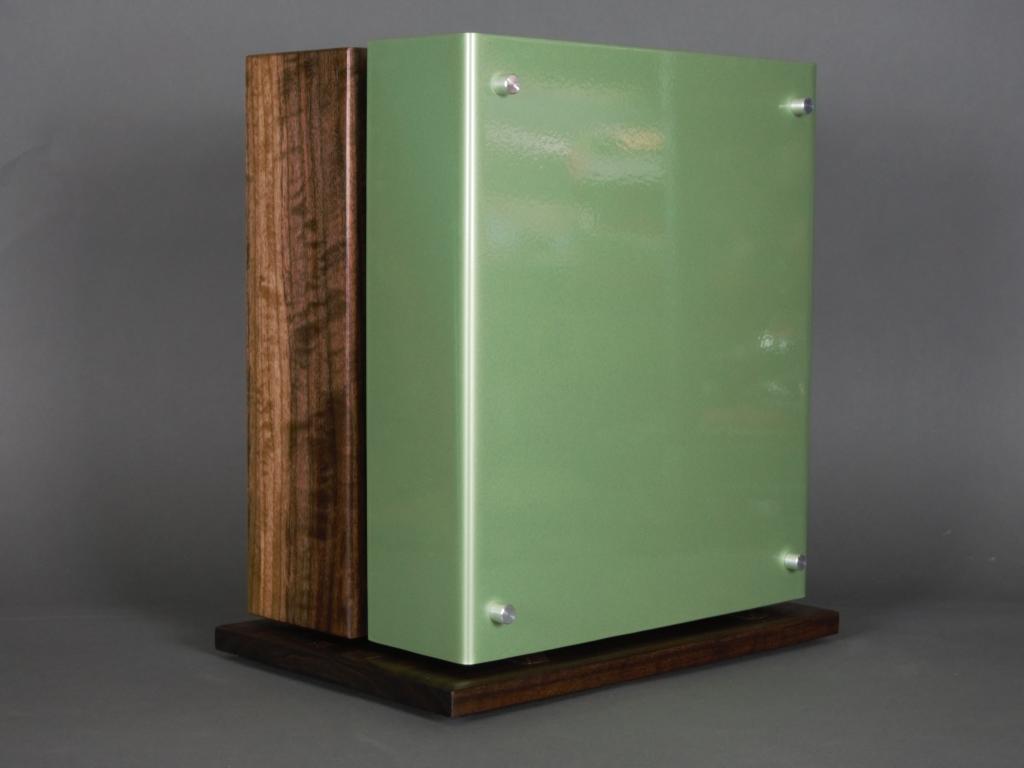
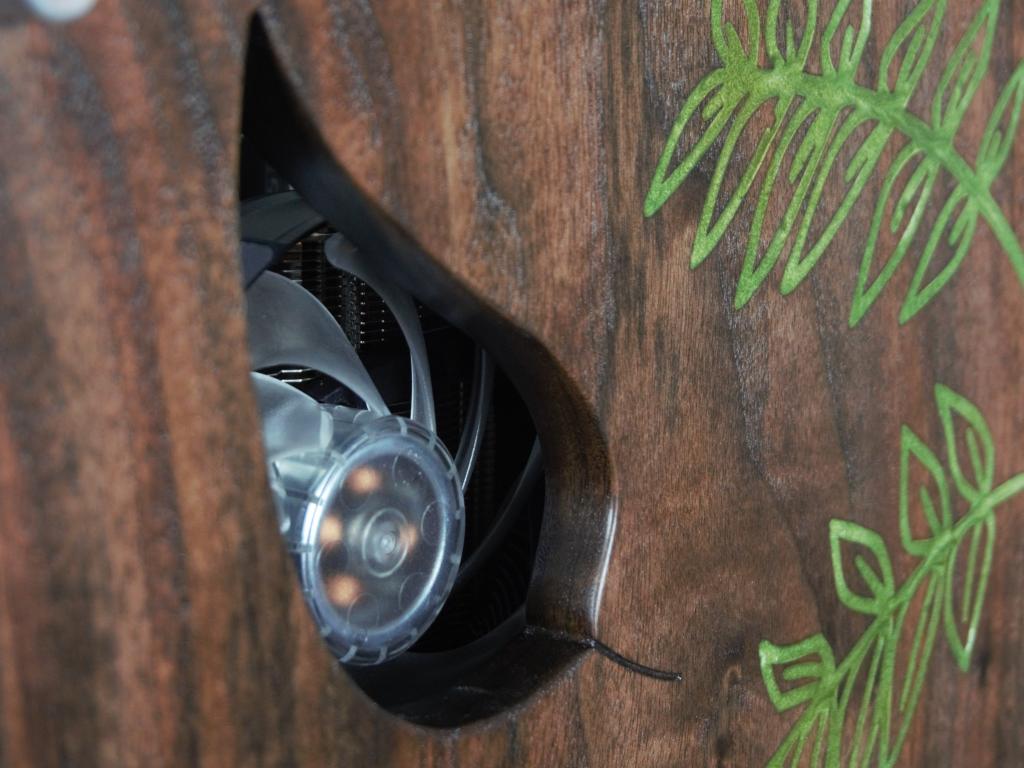
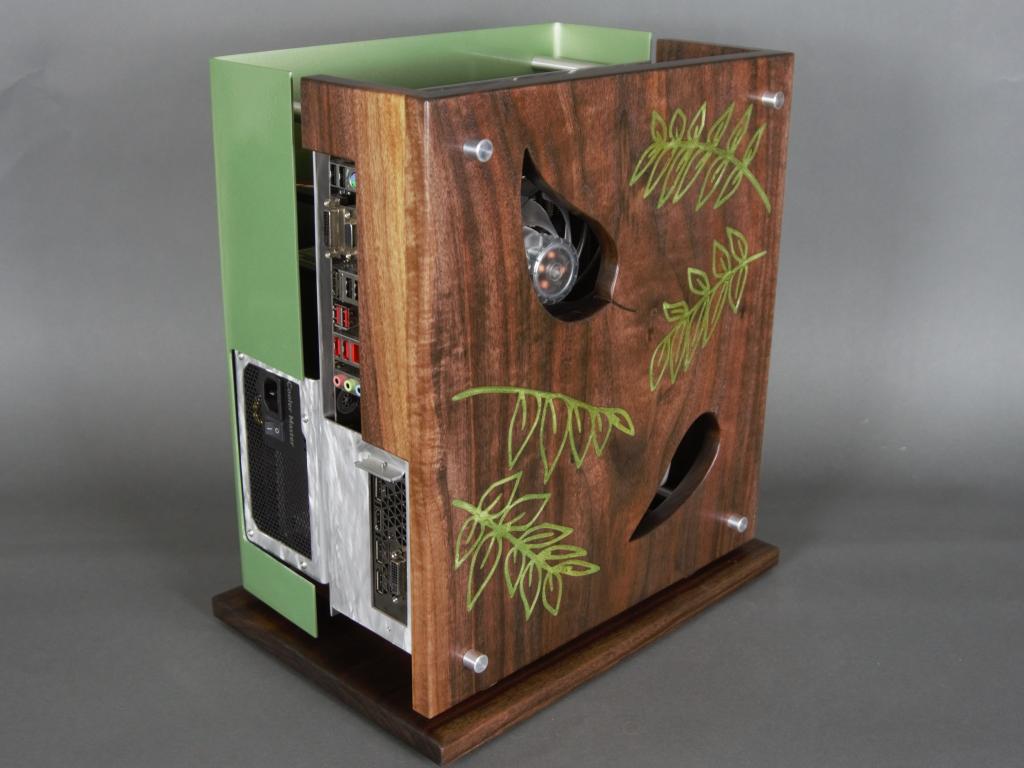
David Cathey, tell us about your Scratch Built Computer… About My Case: Leaf Me Alone is a scratch build case using walnut and aluminum and has a nature theme. The idea was for a case that was less ‘gamer’ and more furniture piece that could be placed on a table and shown off. Starting with the interior, the tray is aluminum with the motherboard and a vertical GPU bracket on one side and brackets for the PSU and drives on the other. It is finished with a sanded pattern to give it a more wispy, natural look to go match the theme and provide some more visual interest. The main focal point of the interior is the wiring. All the wiring has been sleeved in a green paracord with the 24 pin and GPU power cables going through the tray to create a leaf pattern. The exterior of the case is a clamshell design, with aluminum on one side finished with light green paint and the other side is solid 3/4″ walnut. A leaf motif (walnut leaves to match the wood) was carved into the walnut and then filled with epoxy containing a green metallic flake. To help get some air to the components, vents were cut into the walnut side panel in the shape of leaves to stick to the theme. The walnut is finished with tung oil and then a polyurethane to protect the wood. The exterior halves attach to the tray with aluminum extensions, the top is open to aid cooling, and then the tray sits on a walnut base, finished to match the walnut of the shell. The base includes the power and reset buttons, also made of walnut to blend into the base.
This case is designed to last like good furniture so no major modding was done to the hardware so upgrading in the future would be easy. The case supports ATX and mATX motherboards, standard 2 slot GPUs, a standard ATX PSU, and 3 2.5″ drives, though the GPU, PSU, and drives are on brackets that can be replaced if necessary. The one-piece of hardware modding was fitting the Cooler Master GeminII M4 cooler on to the chip. A new mounting bracket for AM4 had to be created since the GeminII M4 doesn’t support AM4. This was done by replacing a few parts of the cooler with custom aluminum brackets and using a Corsair backplate for mounting.
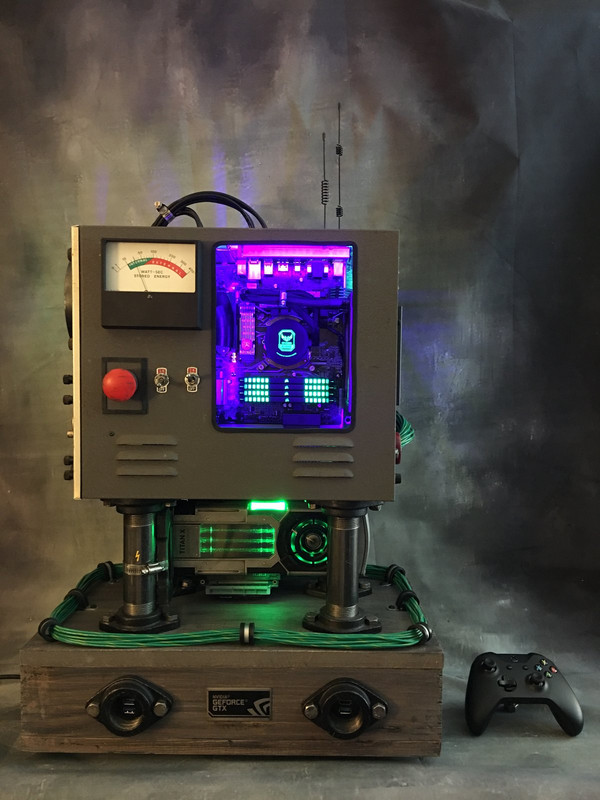
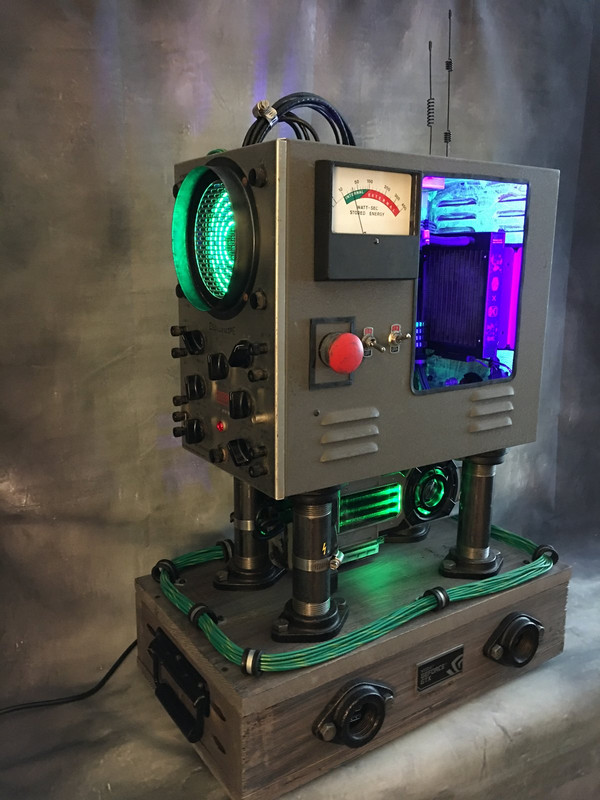
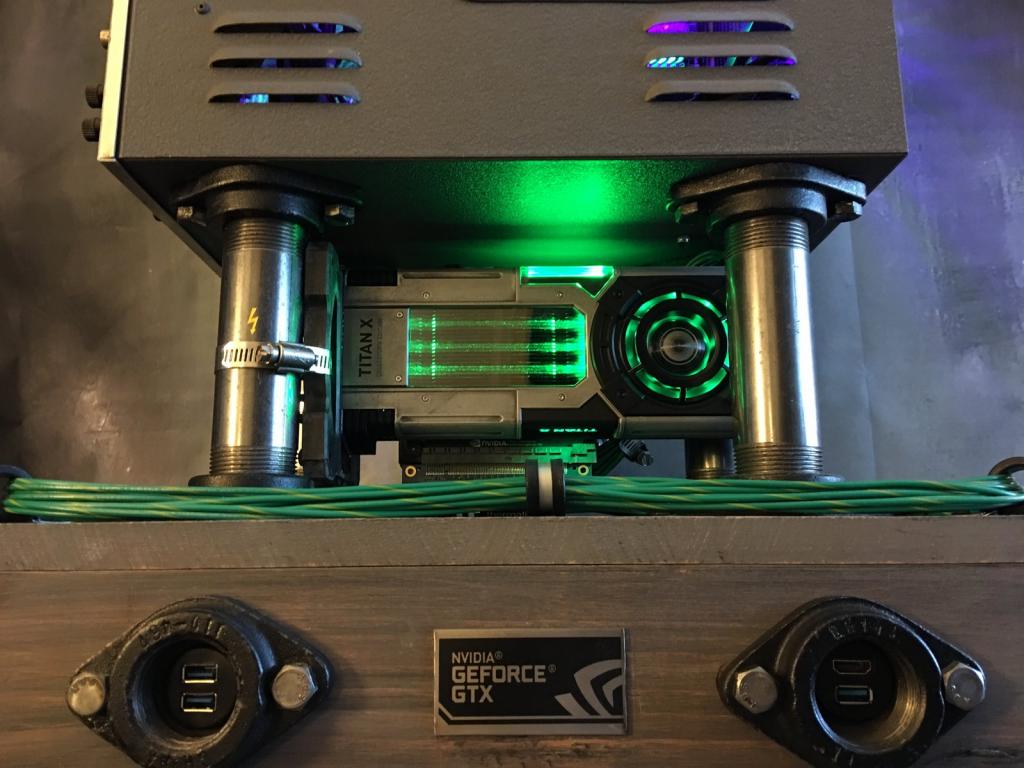
Dante Mutti is going to tell us about his High Voltage PC Case Mod
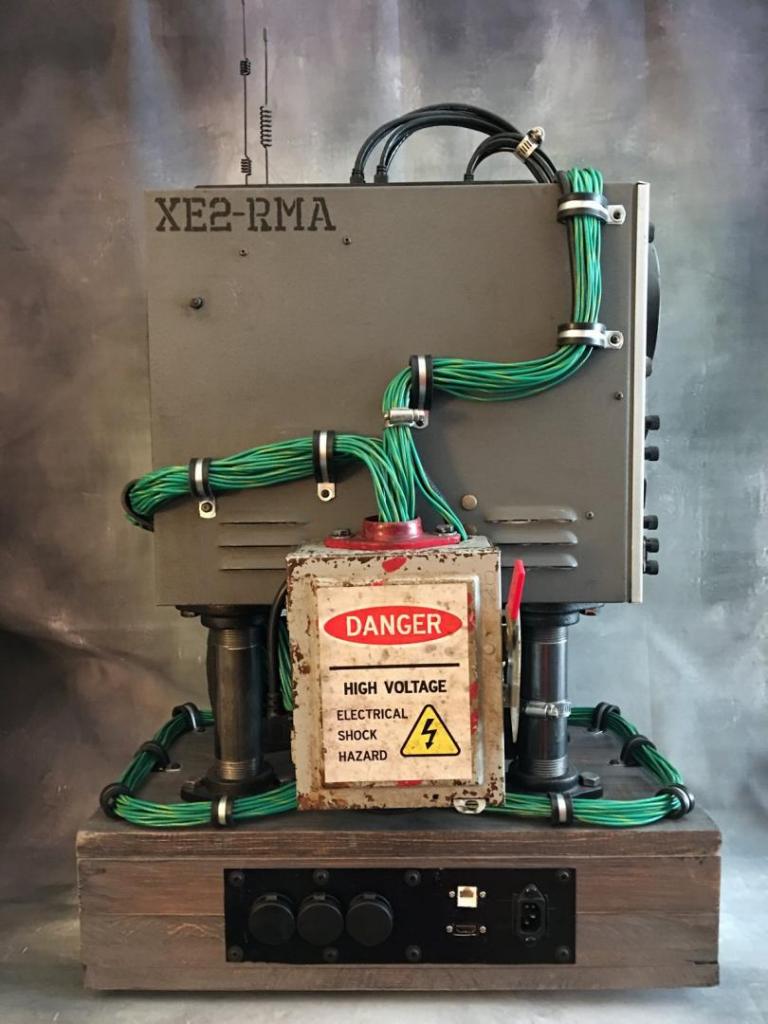
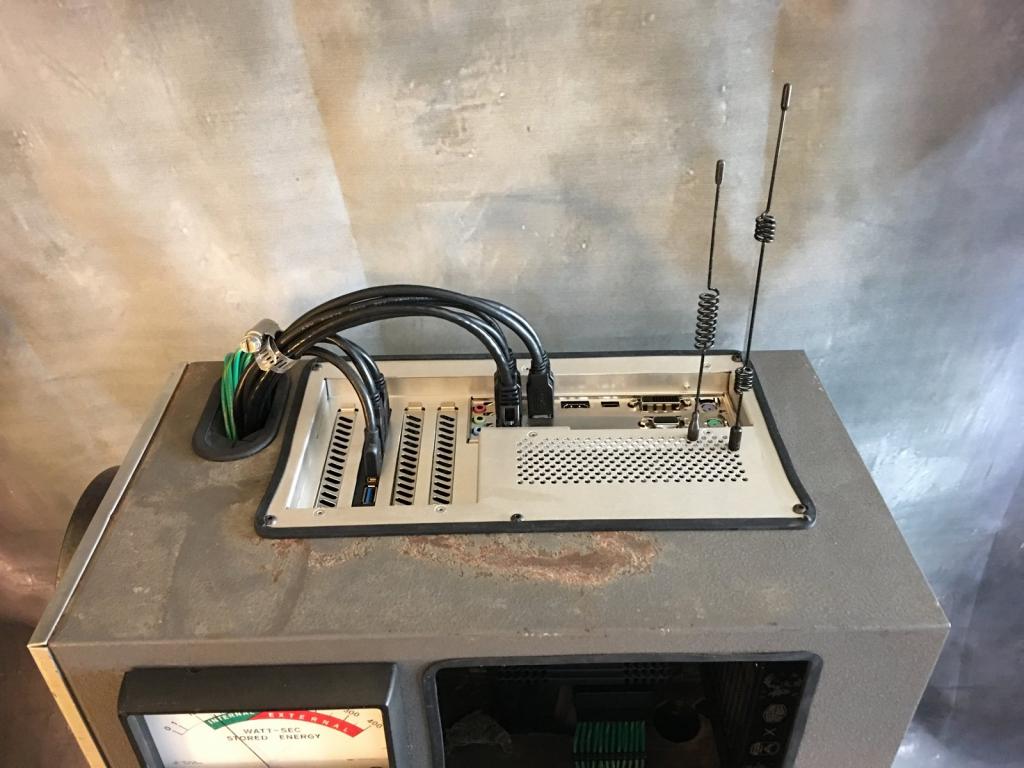
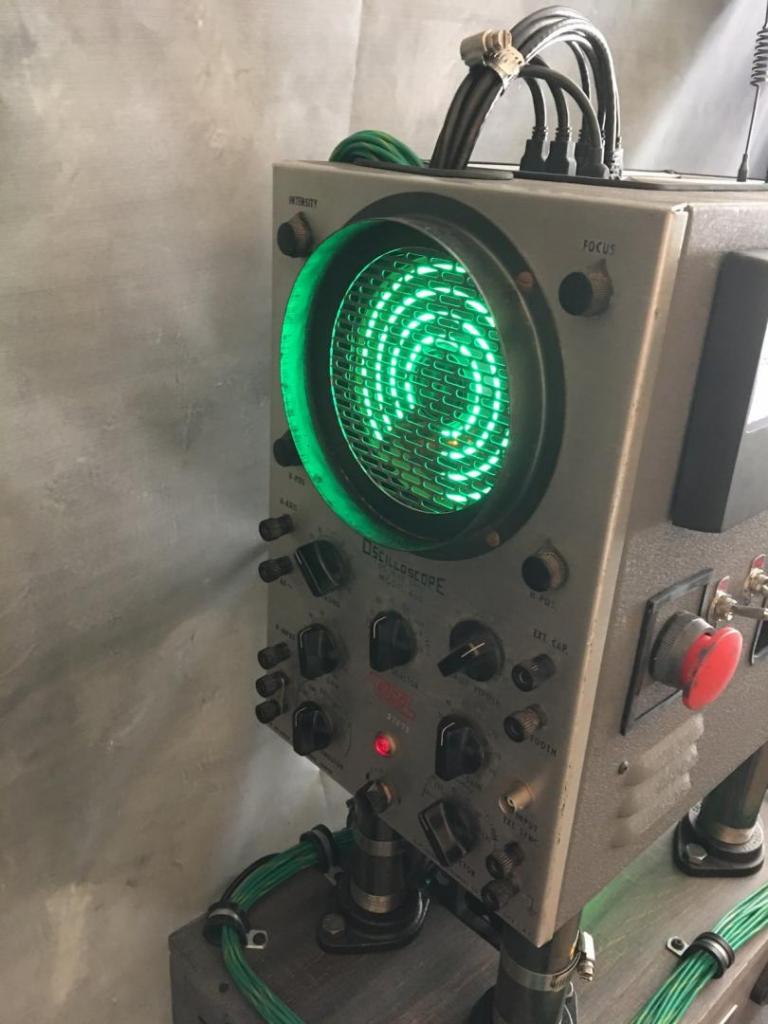
About 11 years before I started this mod, I saw a vintage Oscilloscope in a flea market and I immediately fell in love with the design. I purchased one soon after, with the intent to build a mod, and it sat in my garage for over a decade. Fast forward to 2018 and this project finally began to come to life.
The power supply is by far one of my favorite parts of this mod. I purchased an old residential power switch housing at an estate sale with the intent of using it as the power supply shroud for my mod. Inside, it will house an EVGA SFX 650W Power Supply. The holes were cut for the vent, power switch, and the fan intake. Rubber u-channel molding was used to make the edges look cleaner and more professional. I made Glow-In-The-Dark paint by mixing Matte Medium with Glow Pigment Powder. I then painted the inside of the main case with it, so that the UV lighting inside the case would charge up the glow particles in the paint, and when you turn off the lights or the PC, the inside of the case would remain glowing.
On the side of the case, I added a “Big Red Button” that serves as the Power Button for the PC. I also added 2 industrial On/Off switches that control the lighting. The left toggle switch turns on and off the white interior light of the power gauge. The right toggle switch turns on and off the UV lighting inside the case. The front of the Oscilloscope had a red light that turned on when you powered on the scope. I wanted to retain this functionality and have the Oscilloscope’s Power Light be the Computer’s Power Light as well, which I achieved by wiring an LED to this location from the motherboard’s power light header.
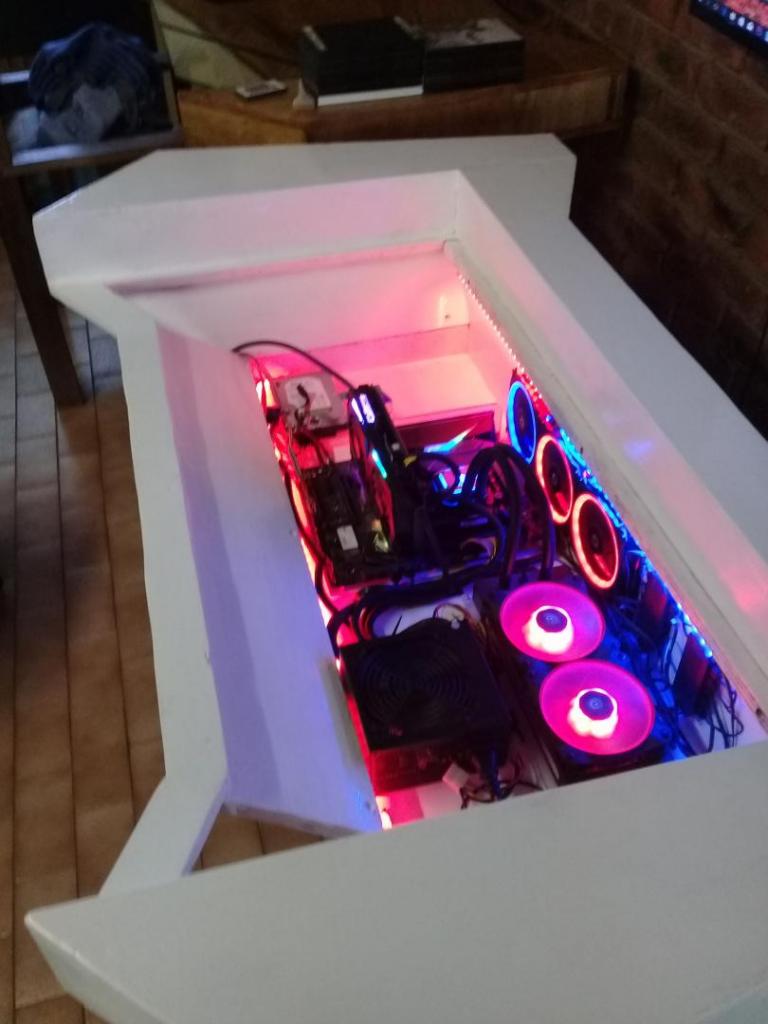
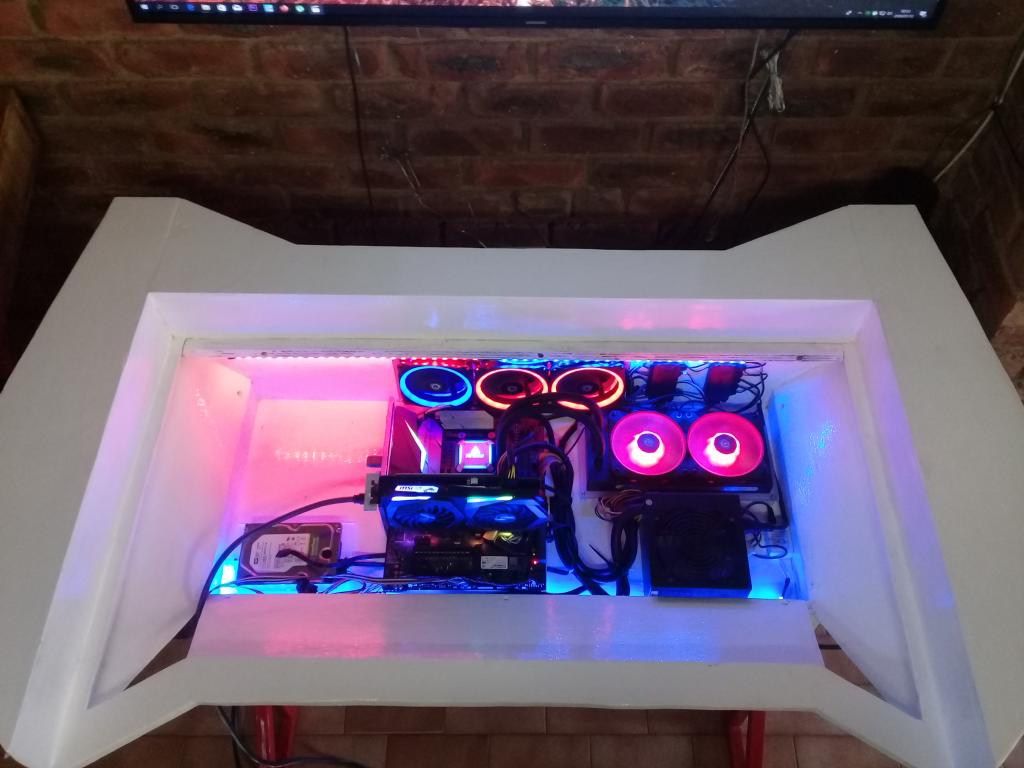
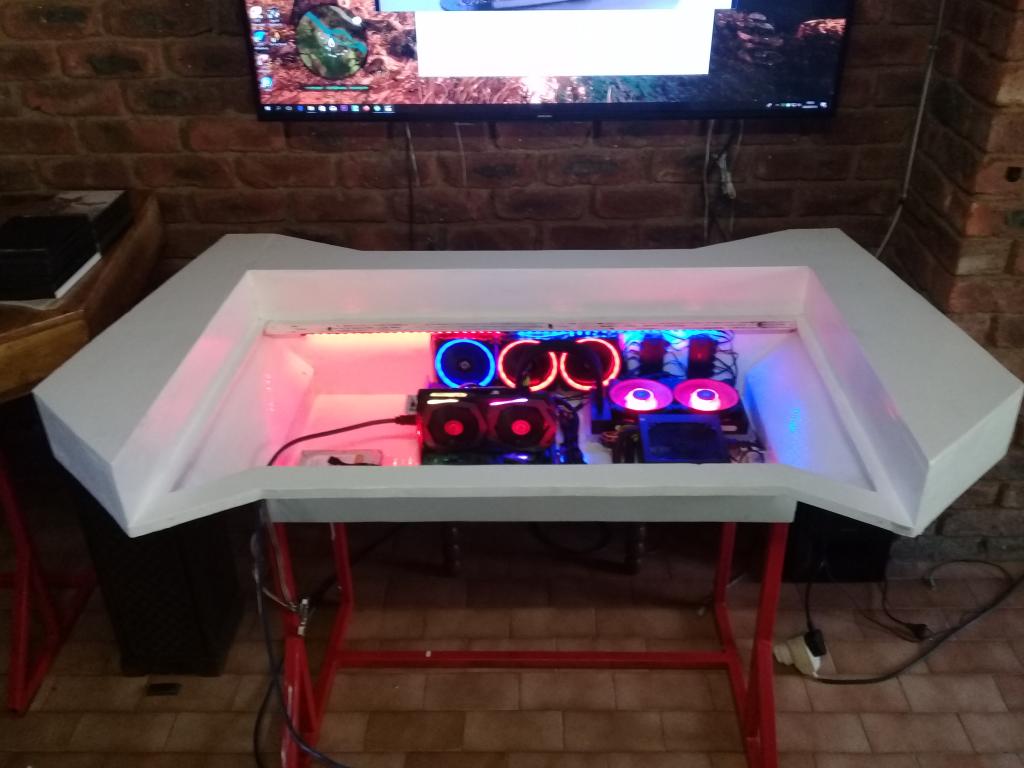
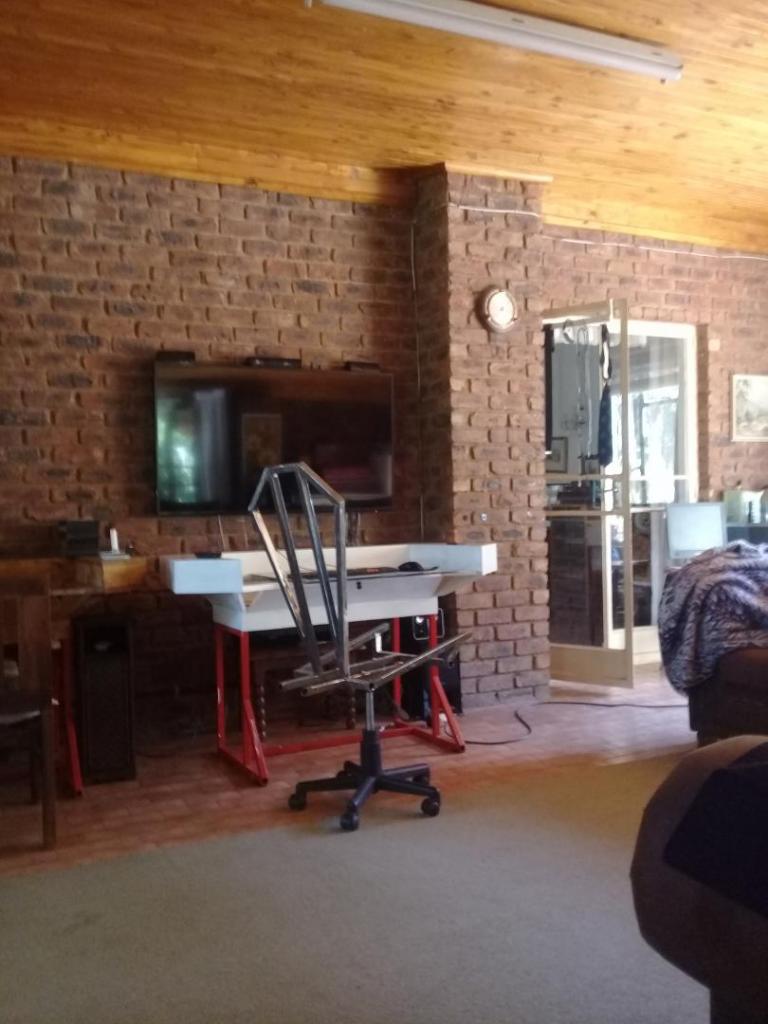
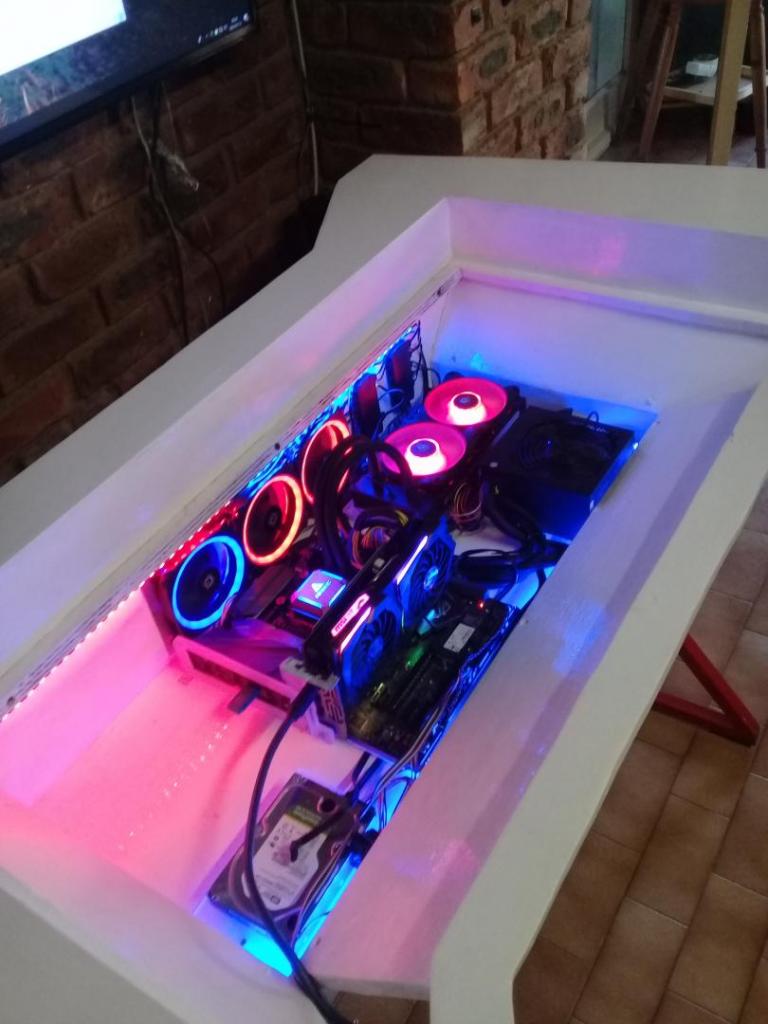
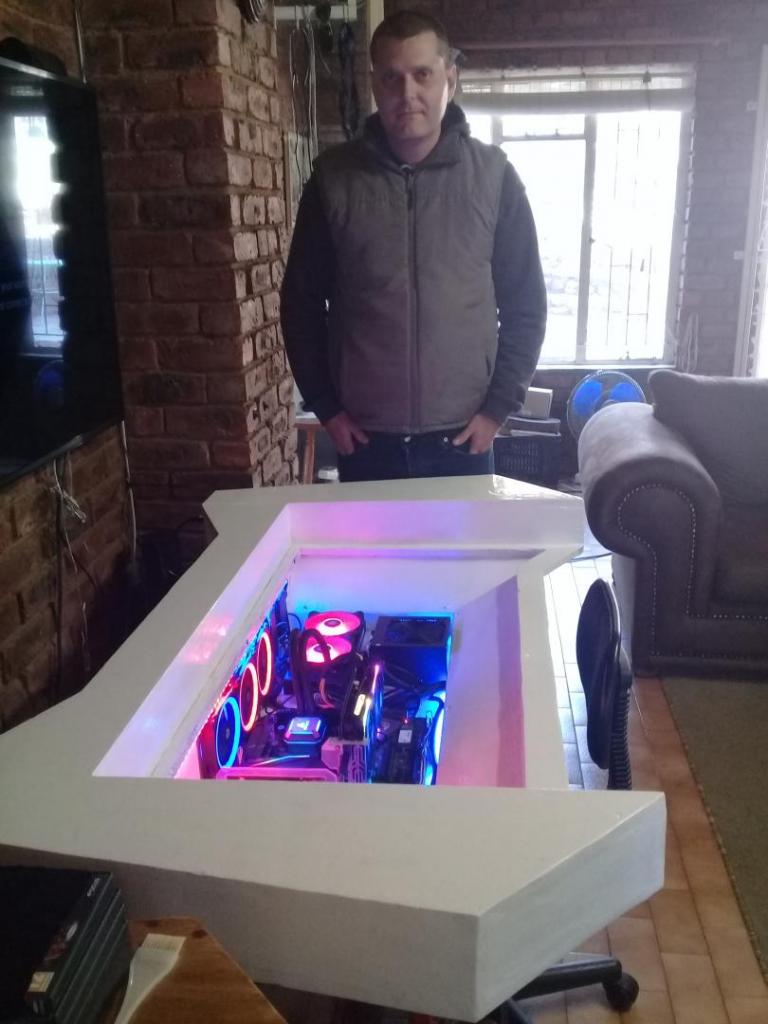
Carl from CarlsOnTheMove says… I had recently sold my previous desk pc and designed this new desk in 3d software. During the lockdown, I decided it was now time to start with the new desk build bit n only had about R17000 to spend.i had then got myself a combo deal at one of the local pc stores her consisting of AMD Ryzen 5 1600 with 8 gig corsair ddr4 3200mhz an Asus Strix x370f and also an Antec Neptune 240mm CPU cooler and also 3 Antec Prizm RGB fans with 2 led stips.i also got the GTX1660 super MSI gaming x gpu.just have a standard Antec PSU 500watt. storage consists of a 2tb wd drive and a 124gig m.2 SSD.
Considering the desk is still a work in progress there is always something to improve and make better as it is made out of plywood for the top part and the leg from steel tubing I had also made al the mounting brackets for the hardware out of Plexiglas and some aluminum, the desk as it stands now is painted with white enamel paint top and red for the legs as it is currently. I still need to order the glass top and add more fans just for the look as the system does not get warm at all even with glass on top so more fans just for a better look.
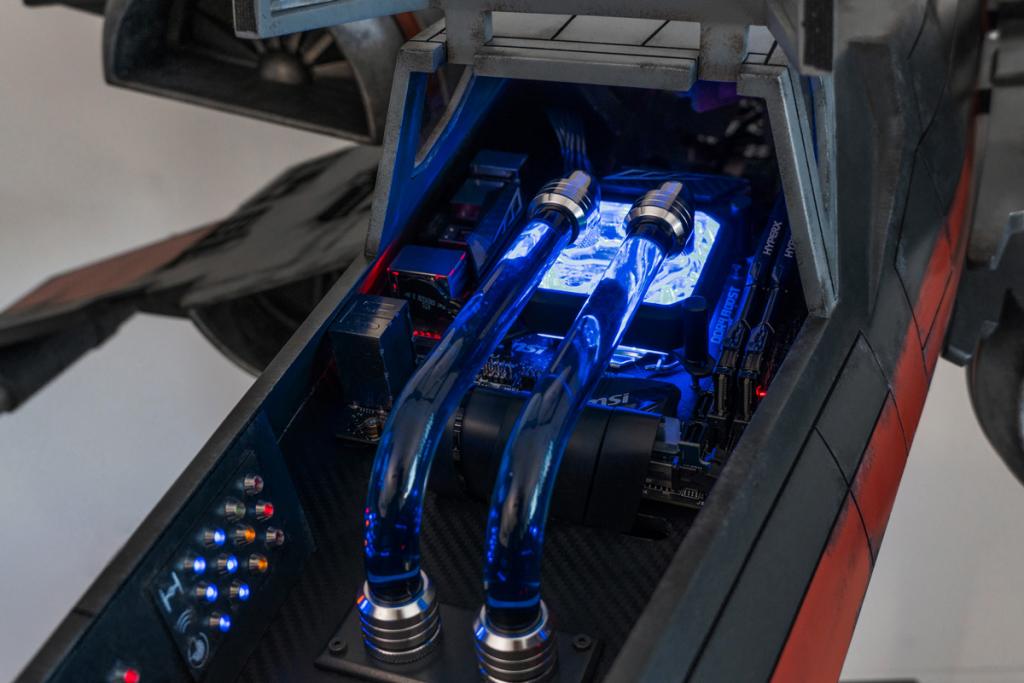
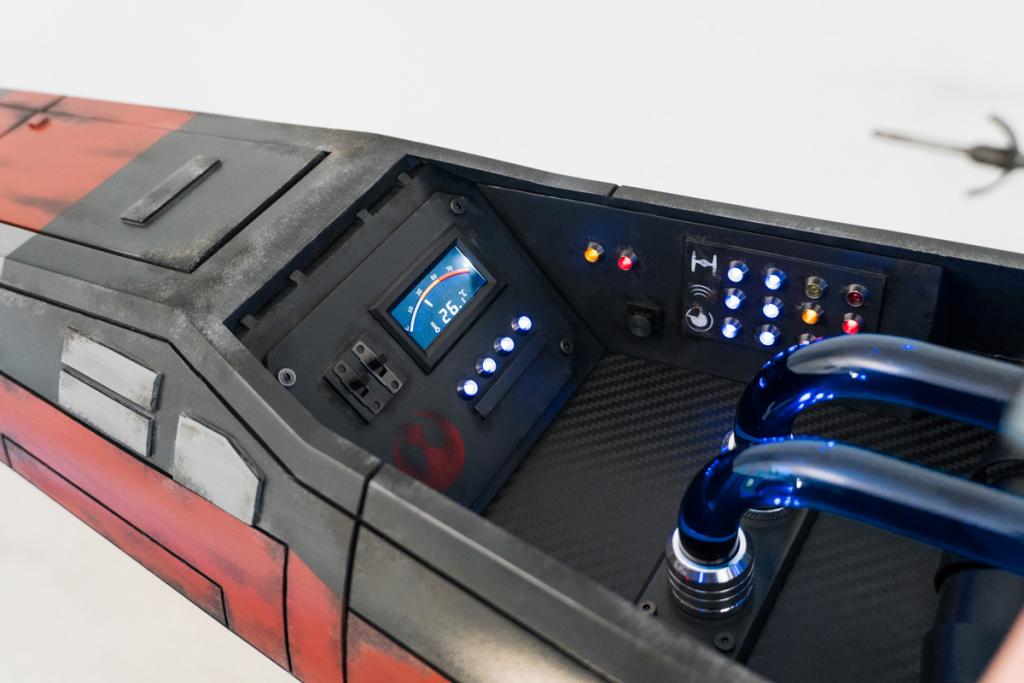
Stefan Ulrich what is your mod about?… I am a huge Star Wars fan, old and new movies. So I thought it would be time for an X-Wing build. My design is based on the T-70 X-Wing from the latest Star Wars trilogy. I took a couple of screenshots from the movie and made my own 3D model around those pictures. It was then split up in about 350 pieces and prepared for 3D printing. After extensive post-processing, all parts were then glued together. Seem lines were filled to create one uniform body. Some detail parts that I needed multiple times were molded in silicon and later cast in resin.
The paint job was followed by some weathering. At this point, all the electronics were included, like the LED effect in the turbines, lasers, and the moving BB8. As a final step hardware and water cooling was installed. The entire project took about 9 months to finish.
