QNAP TS-563 Network Attached Storage Review
QNAP QTS 4.2 User Interface
The QNAP QTS 4.2 operating system in my opinion is very easy to navigate. There are a lot of options in the interface and I will only be covering a basic set.
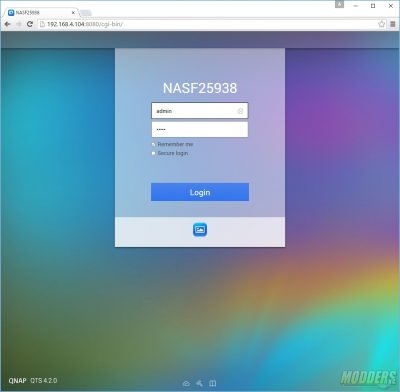
The Smart Start configuration wizard is not mandatory and can be skipped and you can go directly to the user interface of the TS-563. When you first launch the UI, you will be presented with a log in screen. The default username and password is admin/admin.
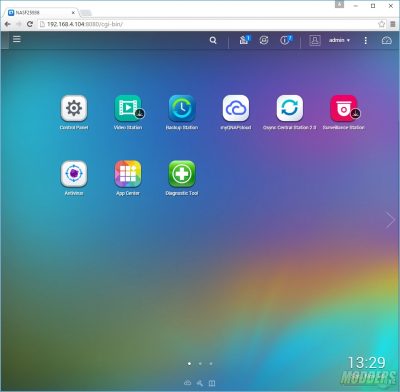
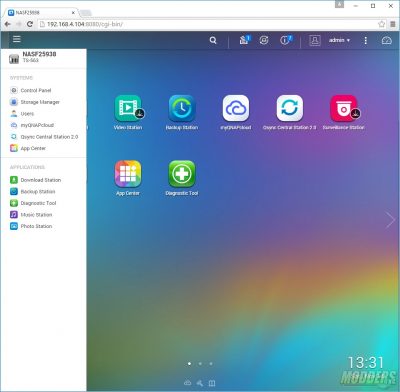
After logging in, you will be taken to the desktop. The desktop is very similar to a Windows or Linux based interface. Icons can be placed on the desktop as shortcuts to the applications and configuration items you most commonly use. Menus, notifications and performance information are available on the top bar of the screen.
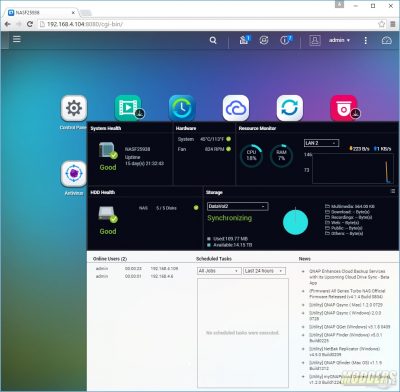
If you are like me, you’ll want to know what the hardware on the TS-563 is doing. How hot is the CPU, what’s the fan speed, network bandwidth information is all available by clicking on the gauge icon at the top right of the screen. Each of the areas can be placed on the desktop by simply clicking and dragging the title of the box such as hardware. If you were to drag the hardware section onto the desktop, you’d see the graphical representation that you see in this menu but only for that section. The same applies to system health, resource monitoring, hdd health, and storage.
Background tasks is the icon that looks like papers in an inbox on the top bar. Backup status is the circular icon with a hard drive in the middle, and the error and information logs is the icon with the lower case “i” in the center.
The menu is the three horizontal bars located at the upper left of the interface. Click on this brings down the menu with all the areas needed to manage the NAS.
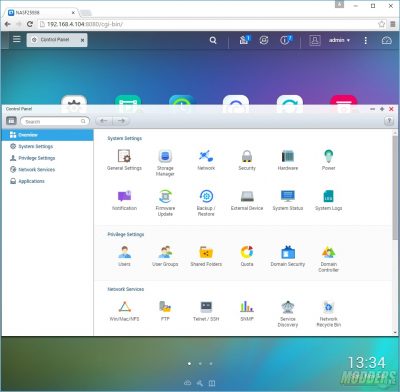
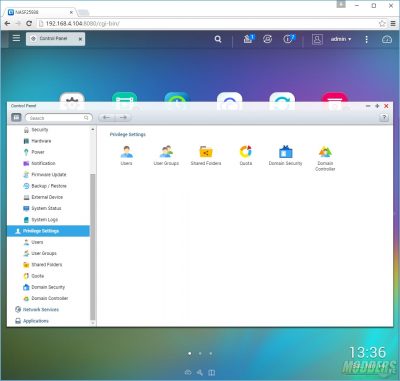
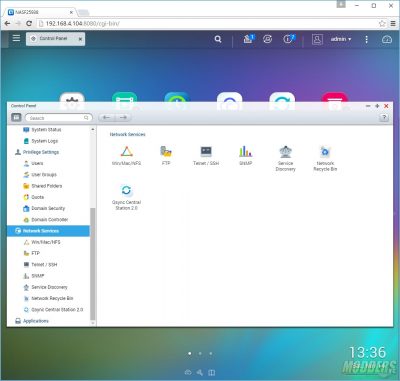
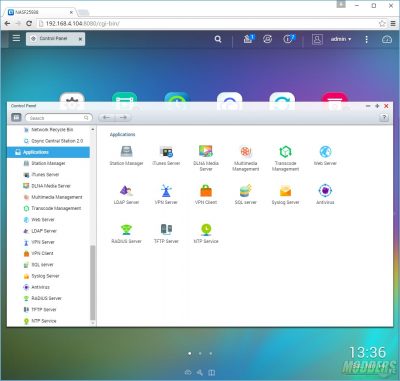
The control panel is the first item on the list. The control panel is where you will manage all the available configuration settings on the NAS. It is broken down in to four major groups: System Settings, Privilege Settings, Network Services and Applications.
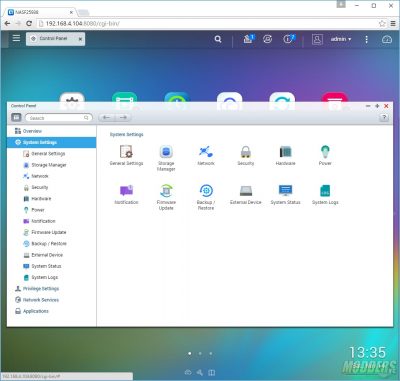
The System Settings sub-menu is where you can configure items such as network IP addressing, system security, backups, power management, and firmware updates. The storage manager application can also be launched from this menu.
Granting users permissions to shared folder, or adding them to groups is done in the Privilege Settings sub-menu. You can also set disk quotas for the users in this area too. For those users that have a Windows Active Directory domain, you can add the NAS to the domain. This allows you to assign domain accounts vs local NAS accounts permissions to the shared folders on the NAS. The TS-563 can act as a domain controller in addition to being added to your Windows Domain.
The networking services sub-menu allows you to configure the services that will run on the network. You can enable Windows, MAC, and Linux networking shares. FTP, Telnet/SSH, SNMP and network discovery and enabled and configured here as well. Typically on a shared folder on the network, when a file is deleted, it is gone. It is not stored in the recycle bin on a Windows PC or server. The network recycle bin on the TS-563 stores deleted items for shared folders when it is enabled. This functions the same way that your recycle bin does on your PC and, just like your PC it will have to be emptied occasionally as it takes up space.
The applications sub-menu is where you will manage the applications that are already installed on the NAS. You cannot install additional applications from this location. By default there are a few applications that come with the TS-653 and others are installed during the initial configuration, depending on the options you choose.
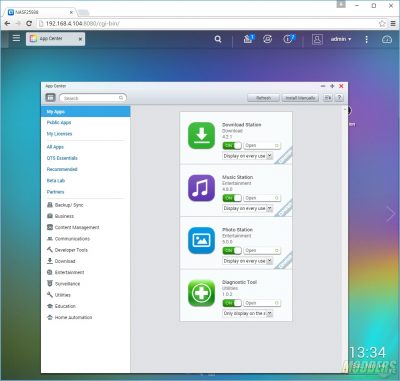
Going back to the menu, you’ll see the App Center option. This is where you can install and update applications from QNAP’s “app store”. There are a lot of applications that are free however, some require to you purchase additional licenses to enable or expand on certain features. A manual install option is available for those linux guru’s that want to install applications that are not available from QNAP.
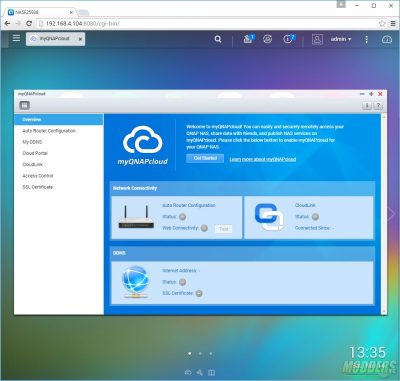
myQNAPcloud allows you to grant access to the NAS from any where in the world. There is an option to automatically provision certain routers. Once the configuration has been completed, you’ll need to establish a connection to CloudLink. There are options to set up Dynamic DNS so that your users do not have to try and remember an IP address but just remember a URL such as http://mycloud.modders-inc.com. On top of the NAS is a serial number that will grant access to the myQNAPcloud service.
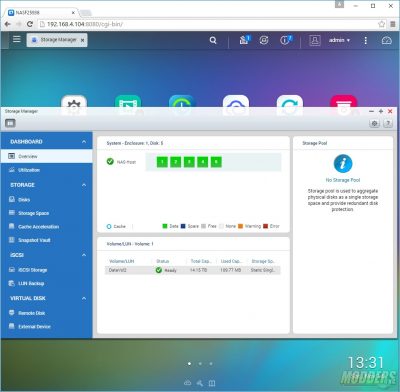
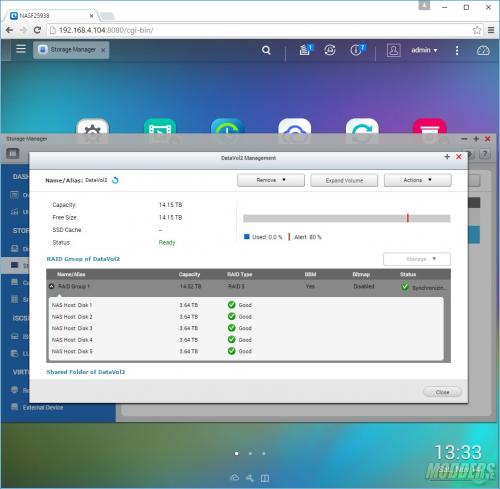
Finally, we will tackle the Storage manager menu. Storage manager is where you can monitor and configure items related to the installed hard drives, configured volumes, and the RAID array. The overview page gives you a very quick glance at the storage system. It will let you know if you have any failed disks, volumes or storage pools. Utilization will show how much space each of the shared folders is using.
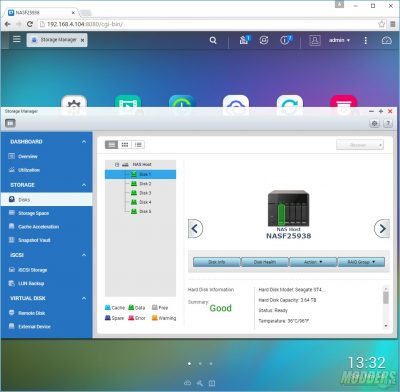
The disks menu will give you more detailed information on each of the physical hard drives installed in the NAS. You can also run SMART tests on each disk to verify their health as well as monitoring temperatures on each disk. The information provided here can be used to determine if your drives are in danger of failing.
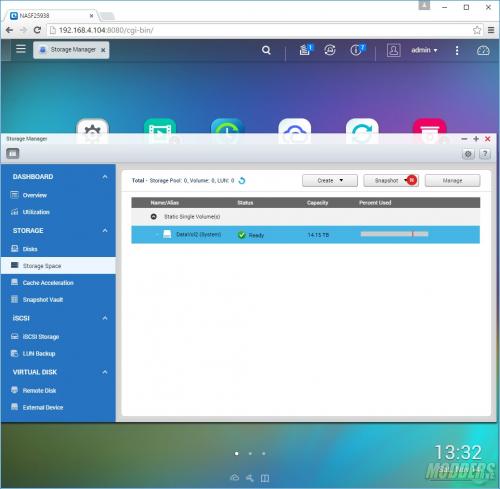
The storage space menu is where all the RAID and volume configuration is done. There are a lot of options here and you can tweak and tune as much as you’d like. From here you can create a storage pool. Think of a storage pools as a container for your physical hard drives. A pool can only have one RAID type but you can have multiple storage pools. For example, storage pool 2 may contain disks 1 & 2 and is a RAID 0 array and storage pool 2 contains disk 3 & 4 and is a RAID 1 array with disk 5 as a hot spare. This gives you two storage pools with two types of RAID arrays. Thick and Thin volumes be created in storage pools.
A single Static volume will allocate 100% of the available space for the selected drives. It can be a little confusing determining which type of volume you’d like to use. QNAP’s help is an outstanding resource.
The Storage Manager also allows more advanced features such as Cache Acceleration.
Cache Acceleration allows the NAS to determine what data is used the most. It will then use the fastest disks to store a copy of the data and syncronize it back to the main storage disks. Typically you’ll want to have fast storage such as SSDs available. A typical set up may look like 2 SSDs configured in RAID 0 and 3 mechanical drives configured for RAID 5. With Cache Acceleration turned on, over time the NAS will see what data is accessed the most and move a copy to the SSDs. While there is very little improvement on transfer speeds (a single SSD can transfer more data than ate a 1 gb network link) the access times can be dramatically reduced.
