QNAP TS-451 Network Attached Storage Review
QNAP TS-451 Operating System
Administration Console
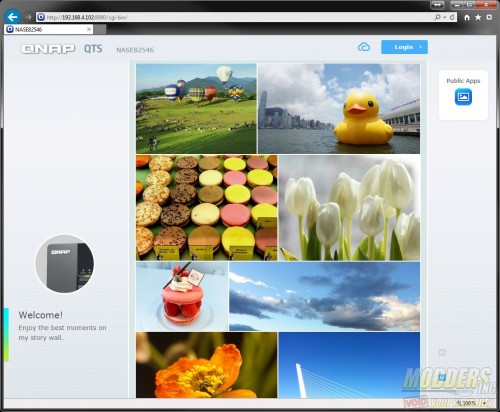 Click on the login button on the top of the screen to access the username and password fields.
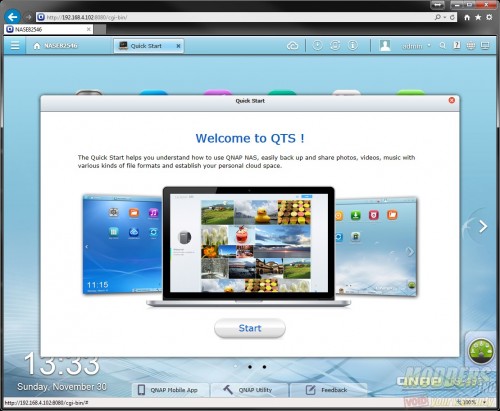 Upon successful login, as QTS quick Start guide will appear. QNAP has some useful information for those that are not familiar with the OS and want to take full advantage of the NAS.
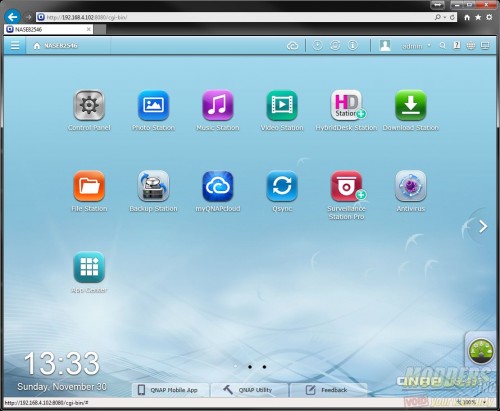 Here is the QTS Desktop. Shortcuts to frequently accessed items can be created here. It saves time as you don’t have to dig through the menus in order to find what you’re looking for.
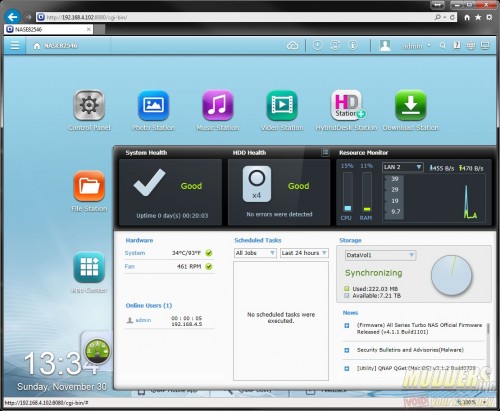 Resource monitoring is very quickly accessed by clicking on the green gauge at the lower right of the screen. The monitoring page gives the user all the information needed to determine if the TS-451 and the drives are operating properly. Temperature and fan speed is listed. Scheduled tasks are shown as well as CPU and memory utilization and network utilization.
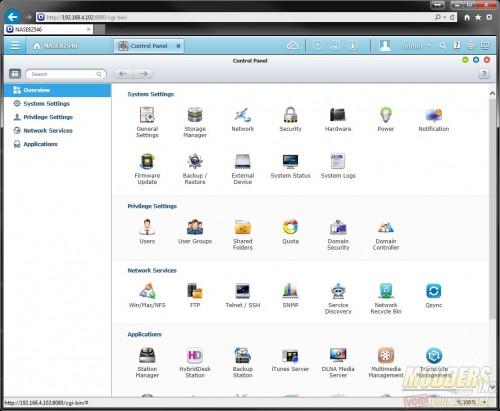 We are going to start with the first shortcut on the desktop, called Control Panel. The control panel is where all of the configuration for the QNAP TS-451 is done. There are five sections under the control panel.
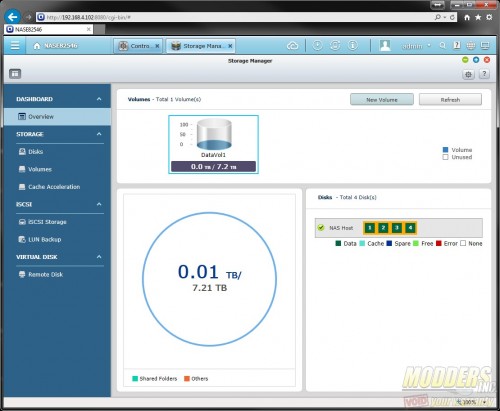 Here is the Storage Manager. The storage manager is where all disk and volume management takes place. RAID array configurations are created or deleted here. If you delete a RAID array the data on the volume will be lost so be sure to back up your data first.
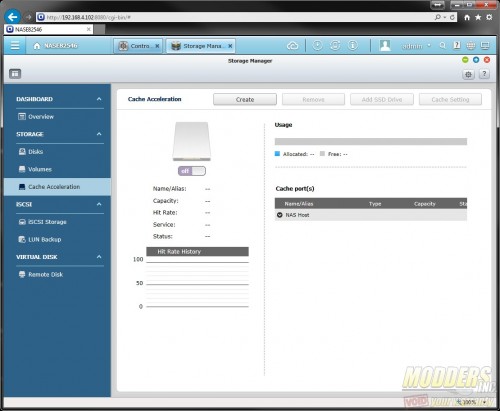 One of the interesting things QNAP has done that I have seen on many much more expensive storage devices, is add the ability to cache to SSD. A safe configuration for a four bay NAS would be a RAID 1 array using two disks, a hot spare and in the last bay a SSD drive. Caching to a SSD allows faster access to frequently used data. Data is stored on the cache drive temporarily then written back to the RAID array if changes are made.
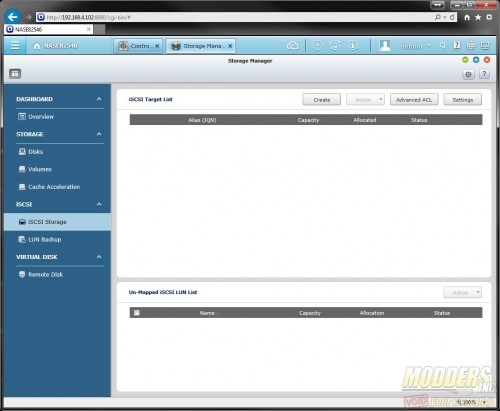 For those users that would like to use the TS-451 in a virtualized environment iSCSI is available. Simply create the iSCSI target then map the target to a LUN. Then you can attach the LUN to your virtual host.
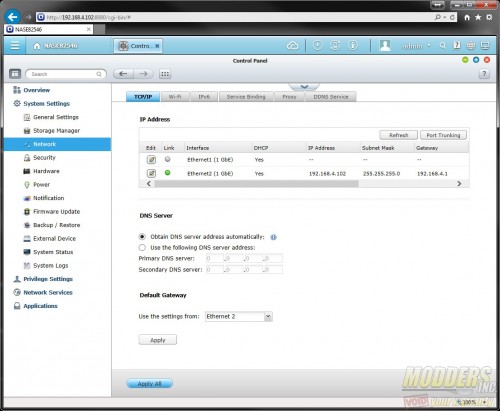 The network page of the control panel is where the network settings are configured. The TS-451 has dual 1Gb network adapters. Supported USB WI-FI are configured in the Wi-Fi tab of the networking control panel.
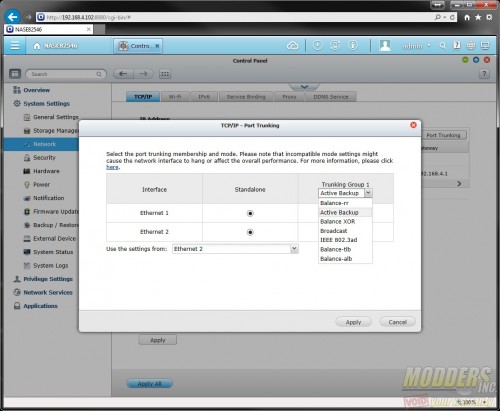 Since the QNAP TS-451 does have dual network adapters, teaming or fail-over can be enabled. This allows one of the links to go down and the data will still be accessible. All of the available teaming can be used on a non-managed network switch except for the IEEE 802.3ad. This is also known as LACP or Link Aggregation Control Protocol and requires a switch that supports LACP. The LACP configurations on both the switch and the NAS must match or it will not work.
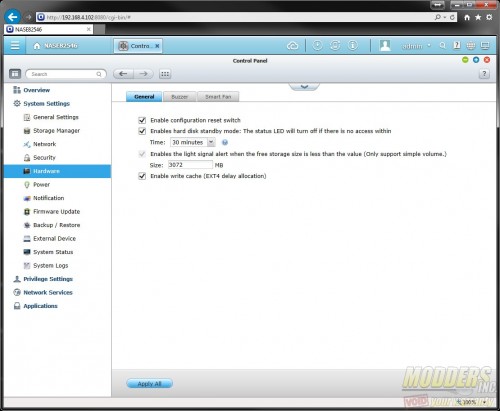 The general tab in the hardware menu enables the hard drives to spin down or go into standby when not in use thus reducing power consumption.
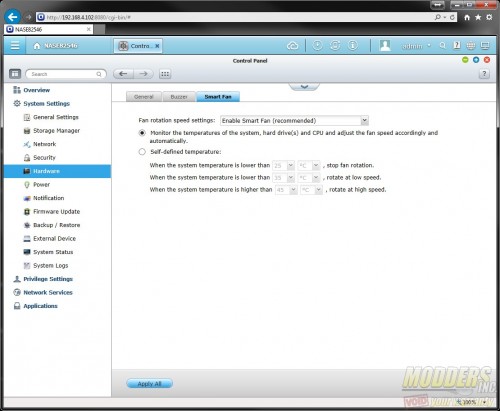 The fan speeds can be configured on the smart fan tab. The user can choose to let the operating system control the fan speed, configure custom fan speeds based on temperatures, or choose low, medium and high settings.
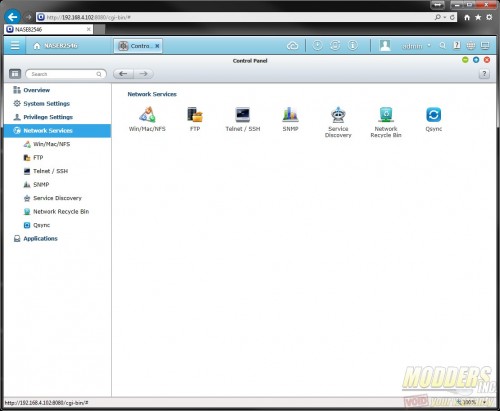 In the network services sub menu of the control panel is where a few need to have items are located. In networking not every operating system shares equally with other operating systems. For example, sharing files between a Mac and a Windows based PC can be a pain. In the Win/Mac/NFS menu settings can be configured to ensure that all operating systems have access to all the data available. Typically when a user shares a drive from one PC to another, or from a server to a client, if a file is deleted then it is deleted, there is not a network recycle bin. On the TS-451 a network recycle bin is available and can be turned off. The network recycle bin can be configured to purge old data and the schedule is based on a time line. Even if the user does a Shift-DEL on the file, it will still wind up in the network recycle bin. It is a great feature to have however, the down side is that it will use up more space on the NAS.
