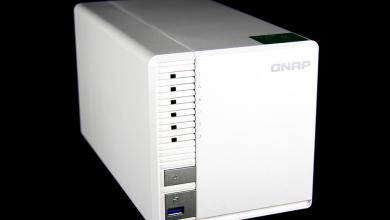
QNAP TS-253D NAS review
TS-253D Initial Setup
After unpacking the TS-253D there is some minor setup that needs to be done to actually use the device.
To start the setup, you’ll need to go to the IP address of the NAS. When you first initialize the NAS, you’ll be presented with a wizard to walk you through the initial configuration.

The first thing the software does is check for a firmware update. If the NAS is not connected to the internet, this can be done at a later time. However, if it can reach the internet, the TS-253D will install the latest firmware and then reboot the NAS. You’ll be able to pick up where you left off once the reboot has been completed. Typically the firmware update process takes less than 5 minutes give or take.

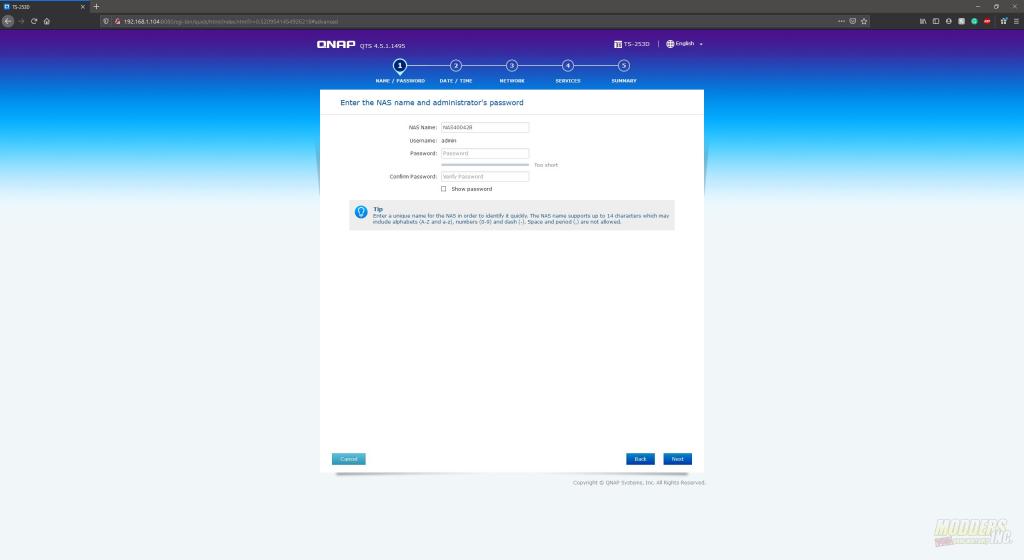
The next step in the setup process will have you set the Name of your NAS as well as set the administrator password.
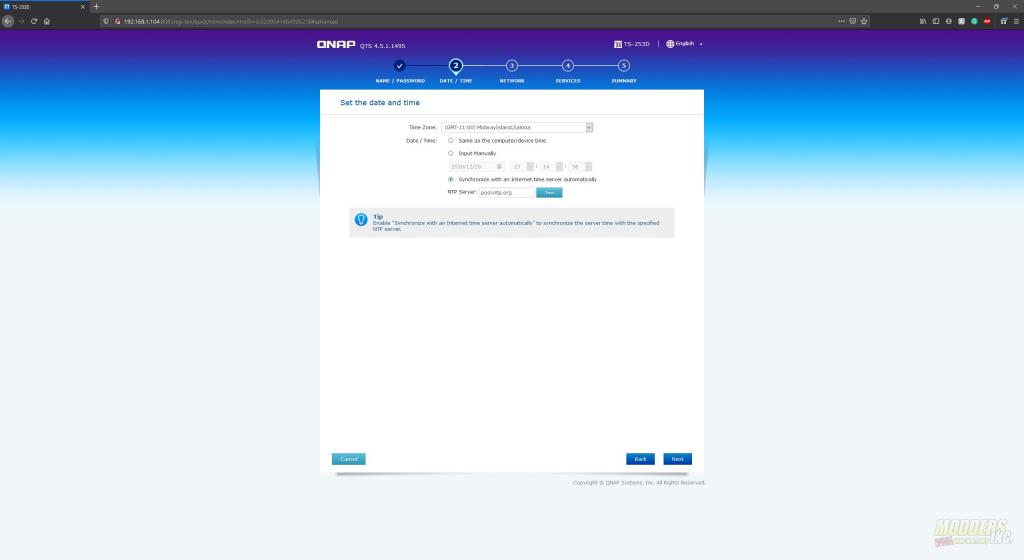
The next step has you set the time and date for the NAS. Keep in mind that some systems do not or will not allow you to access the files or shares located on the device if the time and date do not match between the devices. Here, I’ve chosen to automatically sync the time and date with an internet time server.
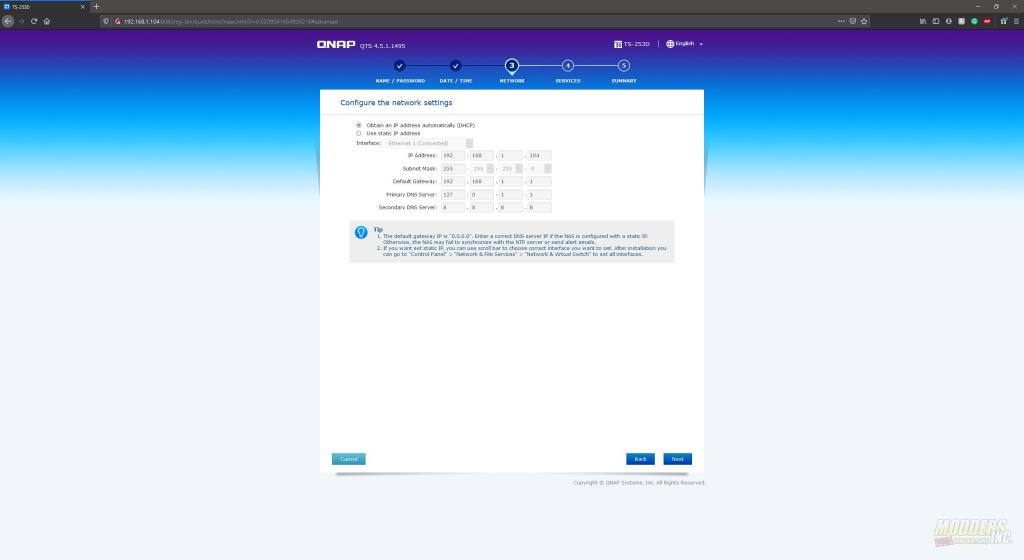
Next, you’ll set up the IP address for the NAS. You can choose either DHCP (Dynamic IP address) or set a static IP address. Since I run a separate DHCP server on my network, I chose to assign the addresses automatically. However, later in testing, I set a static IP address.
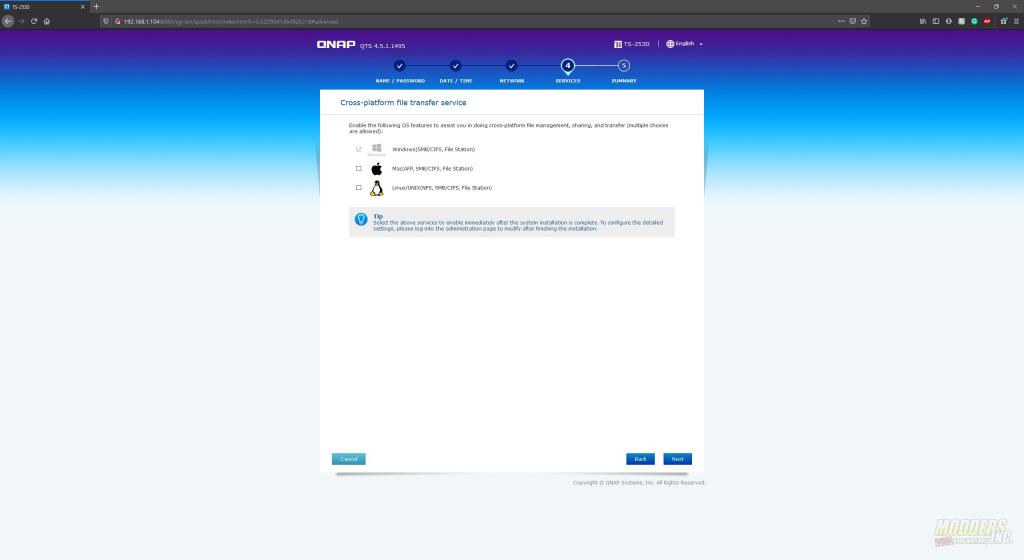
If you run a mixed environment such as a combination of Windows, Mac, and Linux, the TS-253D can serve them all. However, you must enable the services. In my scenario, I am Windows only. So I do not need to run Mac and Linux file sharing services.
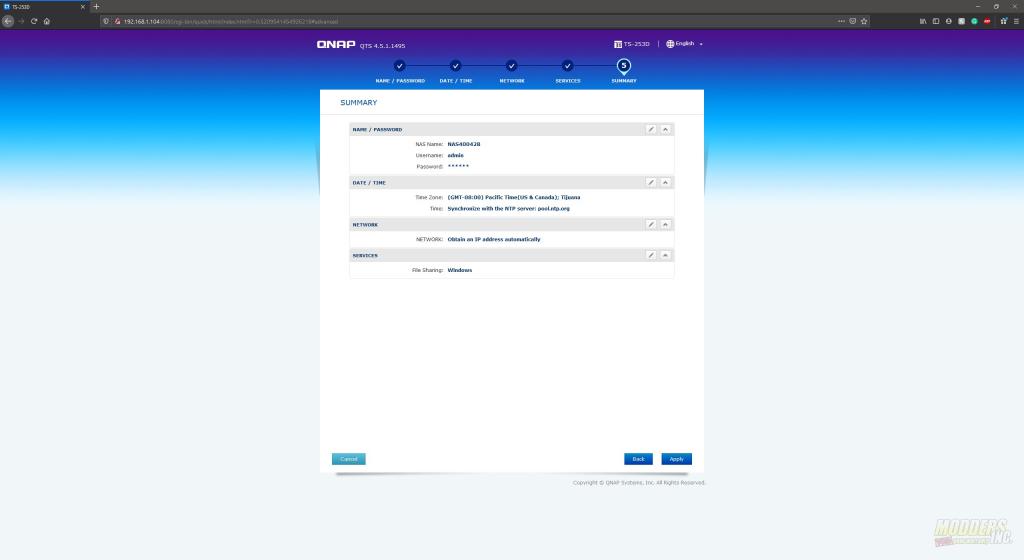
Before any of the settings you’ve chosen in the last few steps are actually applied, you’ll have an opportunity to review them on the summary page.
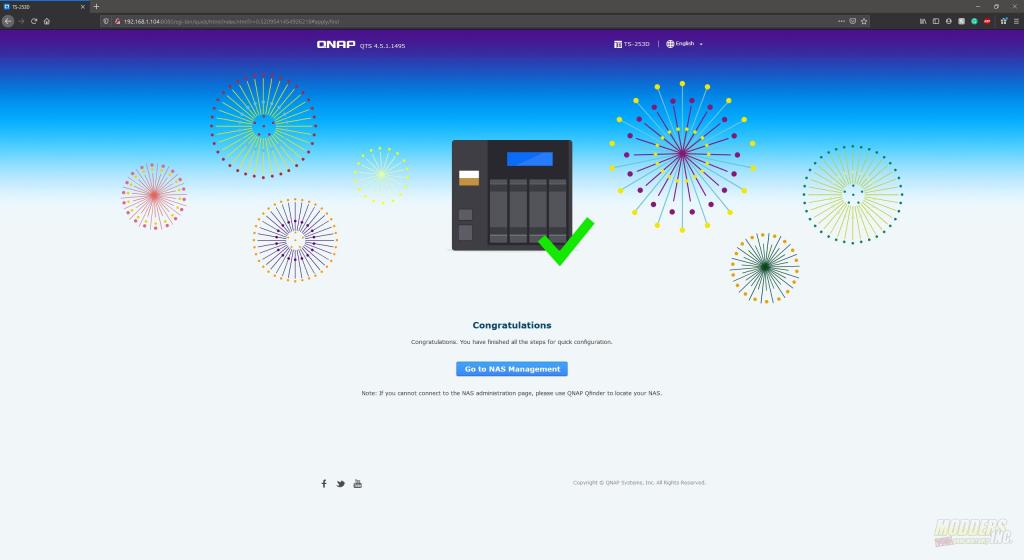
It will take a little bit of time and the TS-253D may reboot during the process but you’ll be able to move on once you get the configuration is complete page.
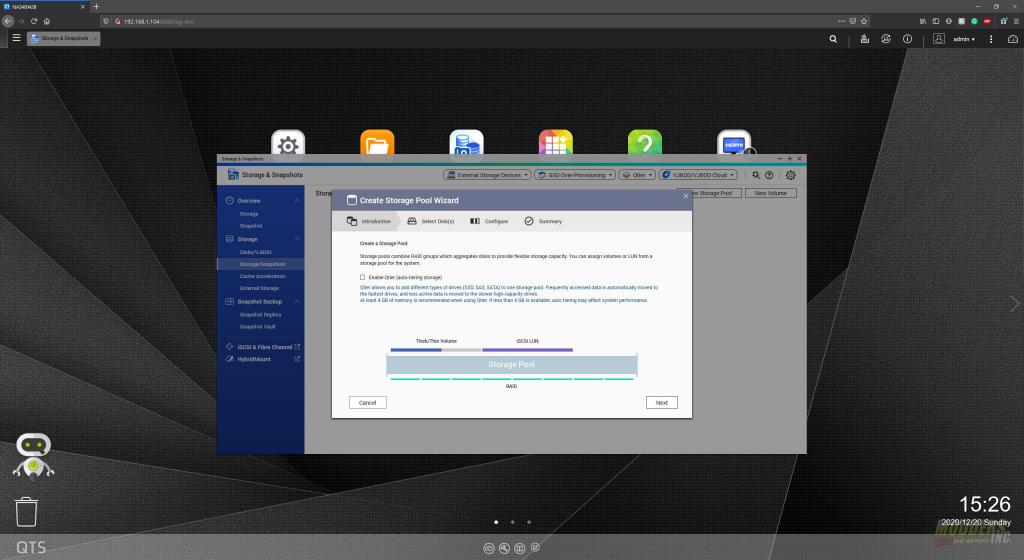
Now, the initial configuration of the NAS has been completed, we can get to the management GUI. The first thing you’ll need to do is create a volume on the drives installed in the NAS. To do this, you’ll open the Storage & Snapshots application. Then you’ll create a new Storage Pool.
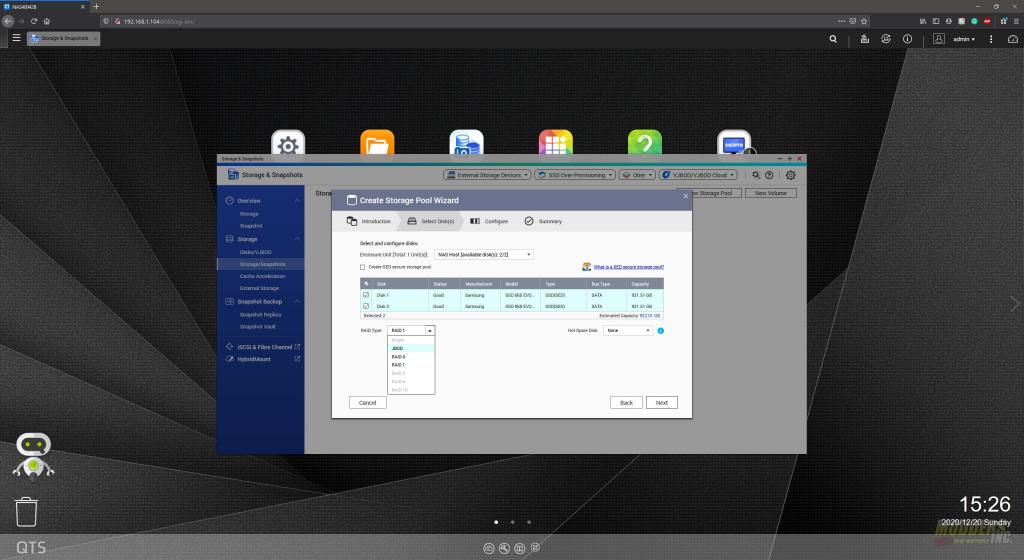
The Storage Pool Wizard will then ask which drives do you want to use in the new pool. Since this is a two-bay NAS with two drives installed, I chose both drives. However, you can have multiple pools and volumes. A Larger NAS with more drive bays will have more drives listed. Once you’ve selected the drives, then you’ll be able to select the RAID level you want for the pool. The TS-253D supports JBOD (just a bunch of disks), RAID 1, and RAID 0.
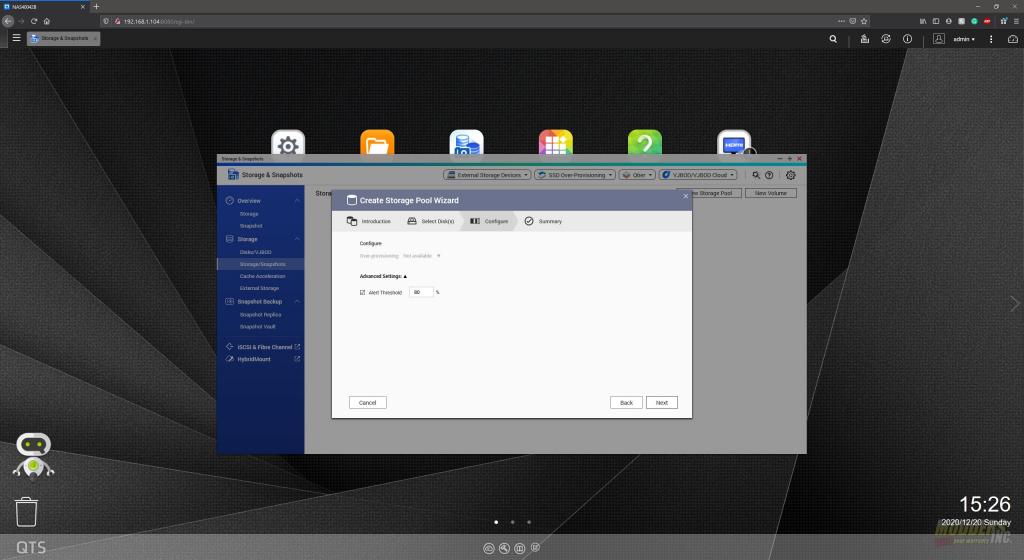
Next, you can set up an alert for capacity. At 80% capacity, the NAS will send an email as well as put an alert in the logs that the volume is at 80%. This helps to prevent filling up the drive.
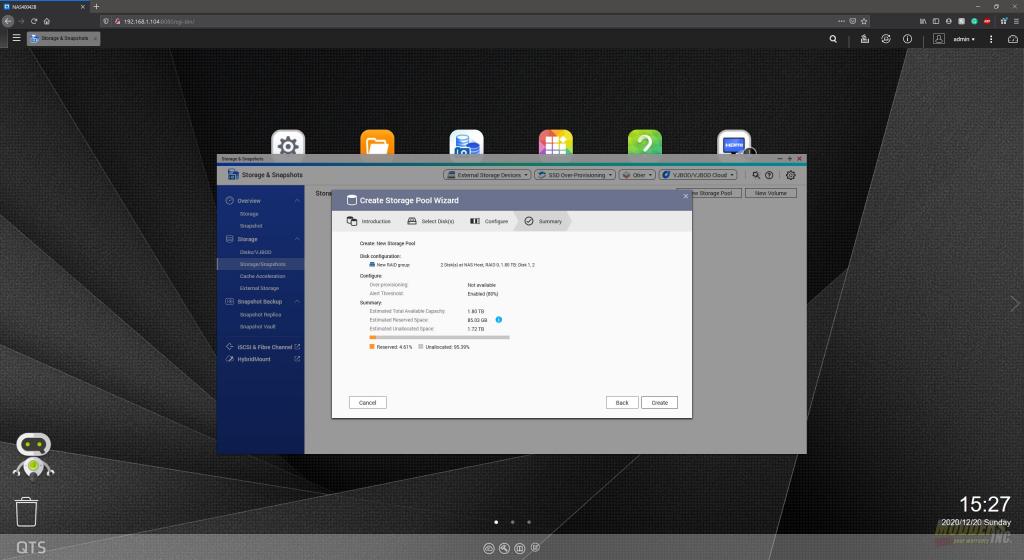
Again, before the settings are applied, you’ll have an opportunity to verify these are the settings you want. Once you hit create, the NAS will start provisioning the drives as you specified.
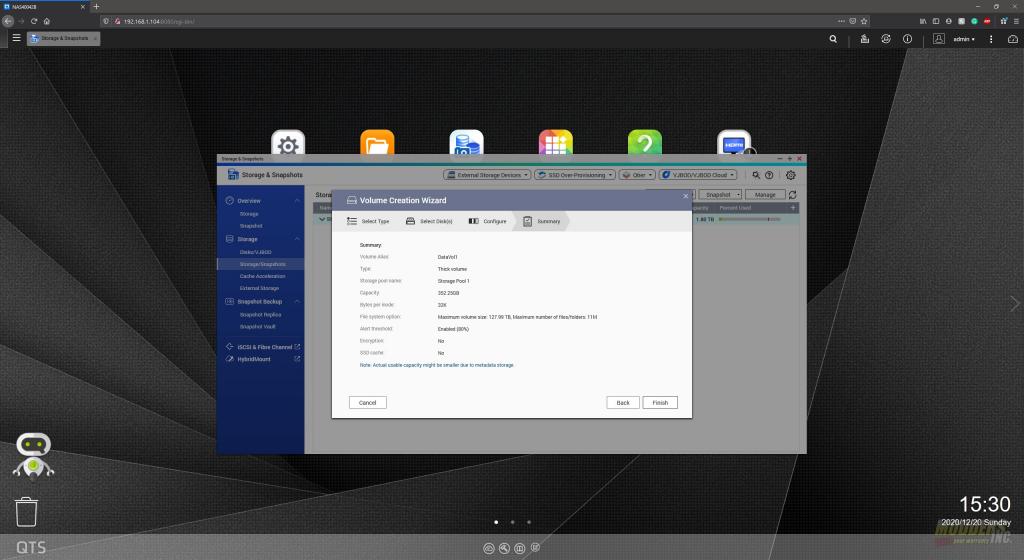
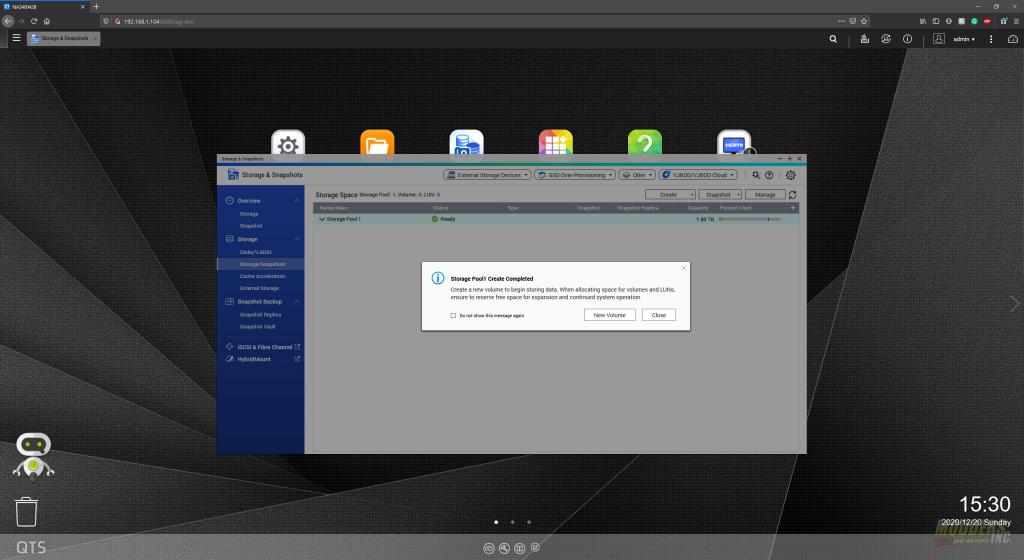
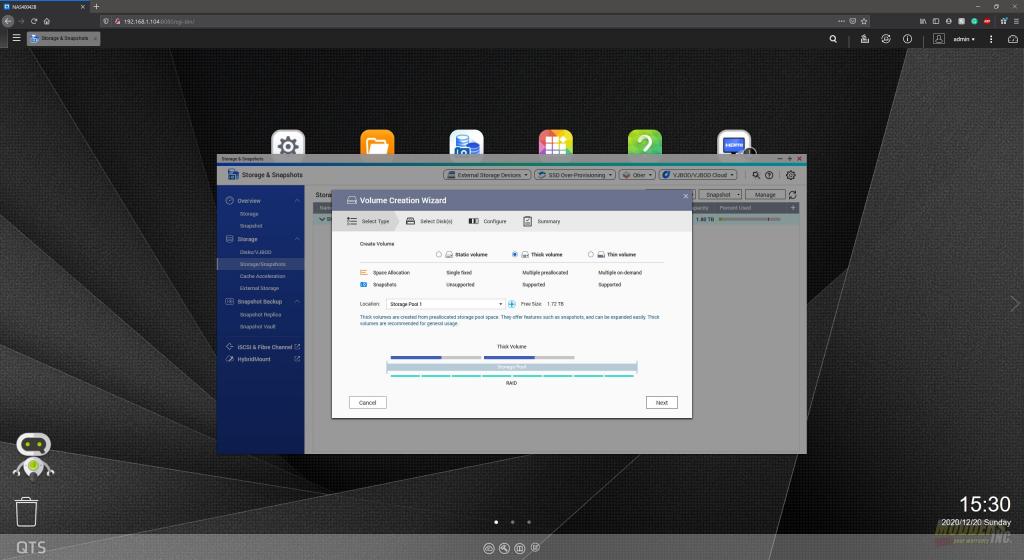
Once the storage pool is created, you’ll need to create a volume on the pool. This makes the drive space available in the pool usable to clients. Once the pool has been created, a new wizard will pop up and allow you to create the volume.
There are multiple ways to provision the volume, you can choose static, thick, or thin volumes. A static volume will use all the available space in the pool and not allow snapshots. A thick volume CAN use all available space but it doesn’t have to. You can choose to have multiple thick volumes or one or a combination of thick and thin volumes. A thin volume is basically storage on demand. You can set a thin volume to expand automatically once it starts to reach a certain capacity. For this test and the best performance, I choose to create a single thick volume.
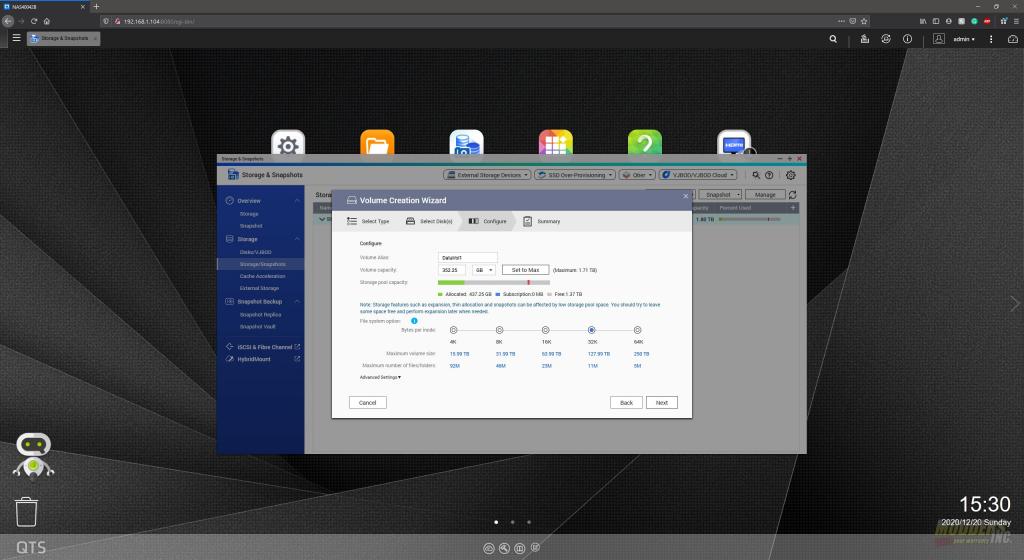
Next and depending on the settings in the previous step, you’ll set the size of the volume. Since I chose a single thick volume, I clicked the option to set to max.
Again a confirmation page will show up confirming your settings.
