QNAP TS-253D NAS review
A Closer Look at the QNAP TS-253D
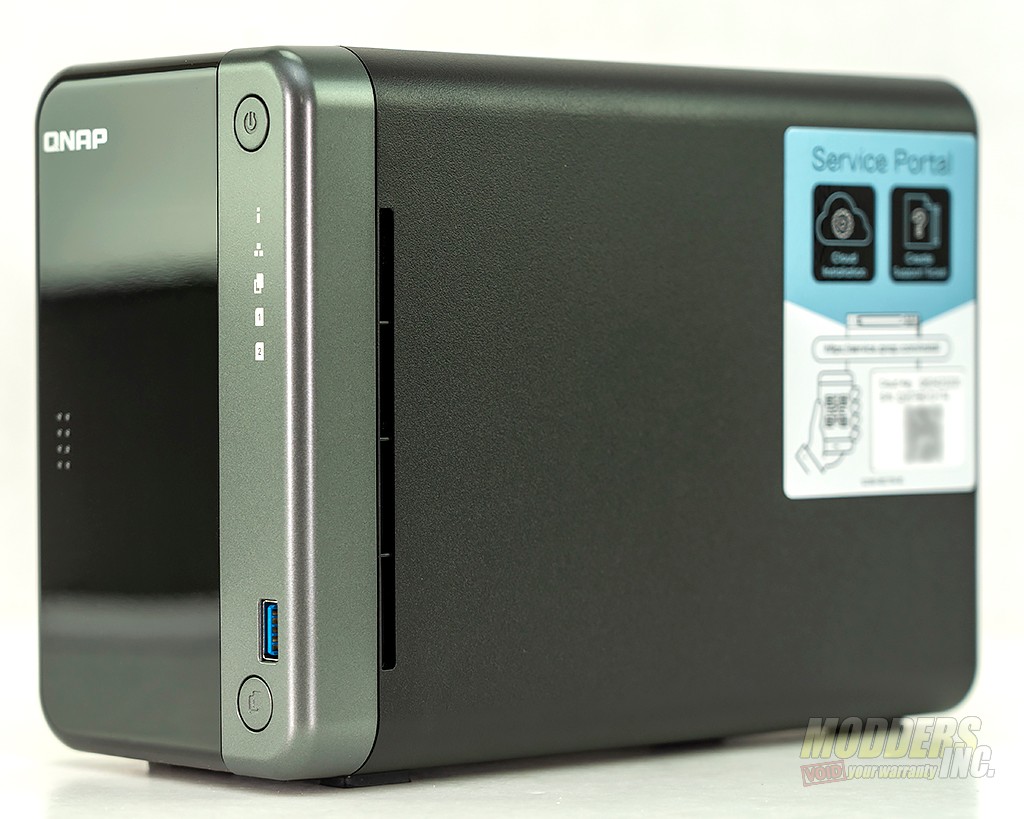
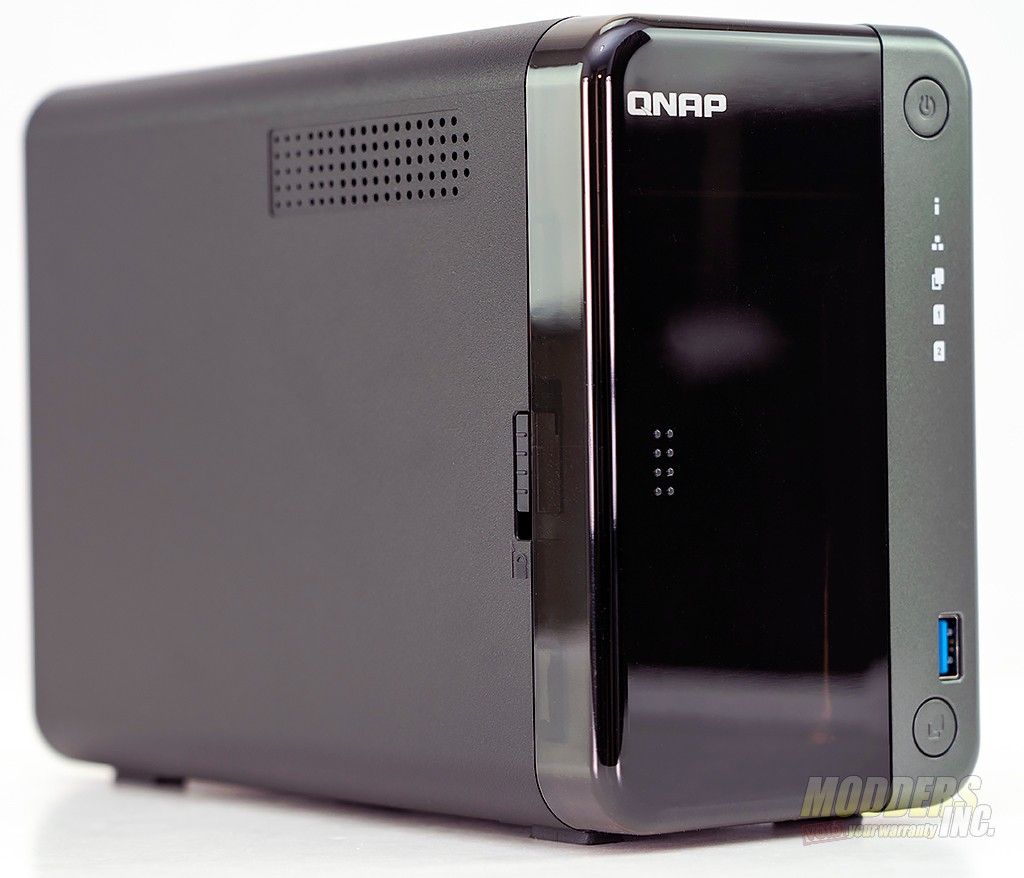
The front side of the TS-253D has a removable smoked translucent cover that can be removed when you want to access the drive.
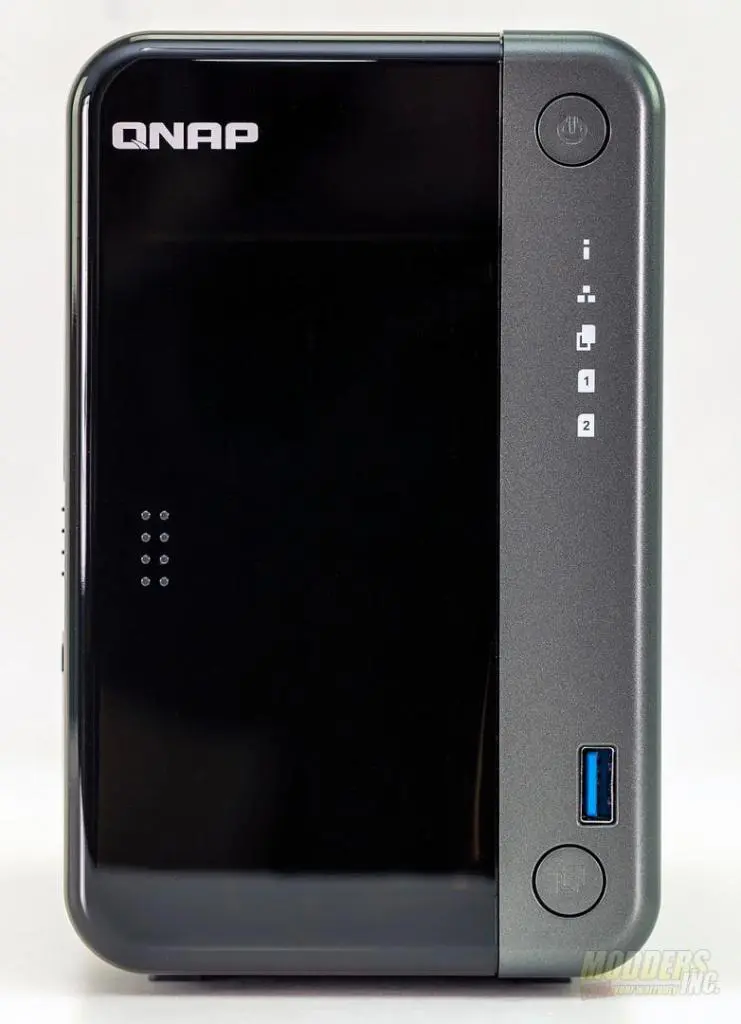
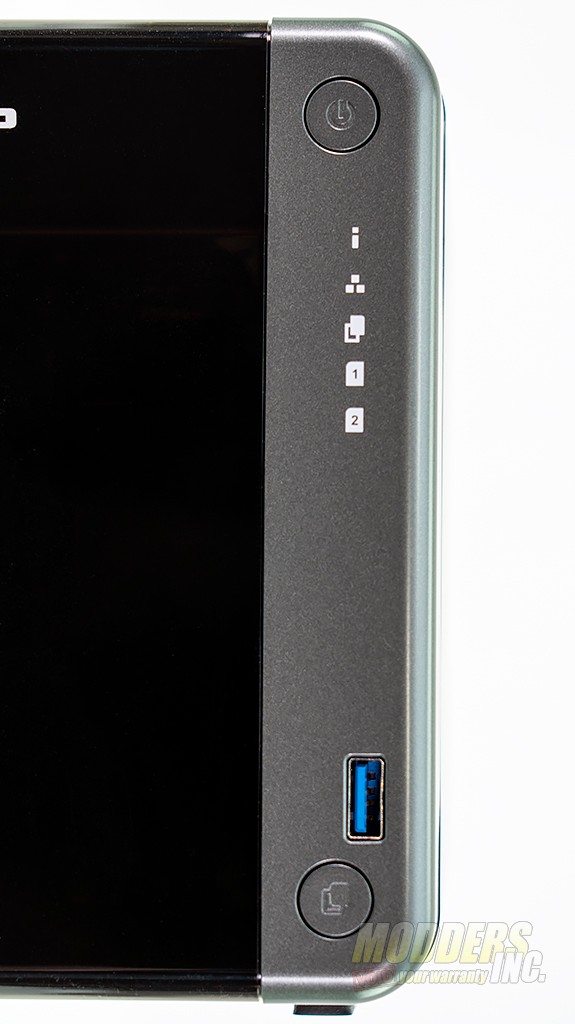
Along the right side of the NAS, you’ll find the power button, status indicators for information, network connectivity, drive activity, and drive status. Near the bottom right side, you’ll find the USB 3.2 Gen 1 port and the One Touch Copy button.
The TS-253D has a solid body with a few vents for airflow. On the right side, you’ll also find a sticker for the QNAP cloud portal and be able to sign up if you don’t have an account.
On the left side of the TS-253D, you’ll find another small vent at the top. Along the front side of the NAS, you’ll find a switch that locks the removable cover in place.
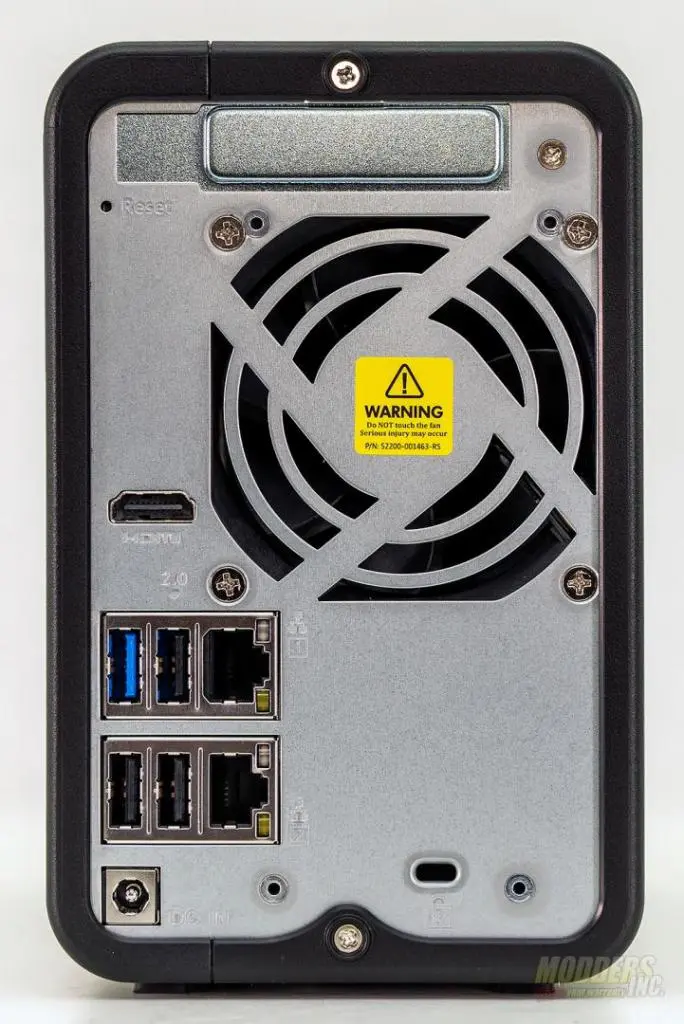
At the top rear of the TS-253D, you’ll find the PCIe expansion slot. This can be used to add a network card to the NAS. The TS-253D supports up to 10 Gbps with the add-in card and unfortunately, you must purchase/use one of the add-in cards offered by QNAP. While I have NOT tested this, I’ve heard on many occasions that using a non-QNAP card does not work.
Moving down towards the bottom, you’ll find a cooling fan, a single HDMI 2.0 port, a single USB 3.2 Gen 1 port, 3 USB 2.0 ports, and two 2.5 gigabit ethernet ports. There is a slot for a Kensington lock. Finally in the lower left is the power adapter slot.
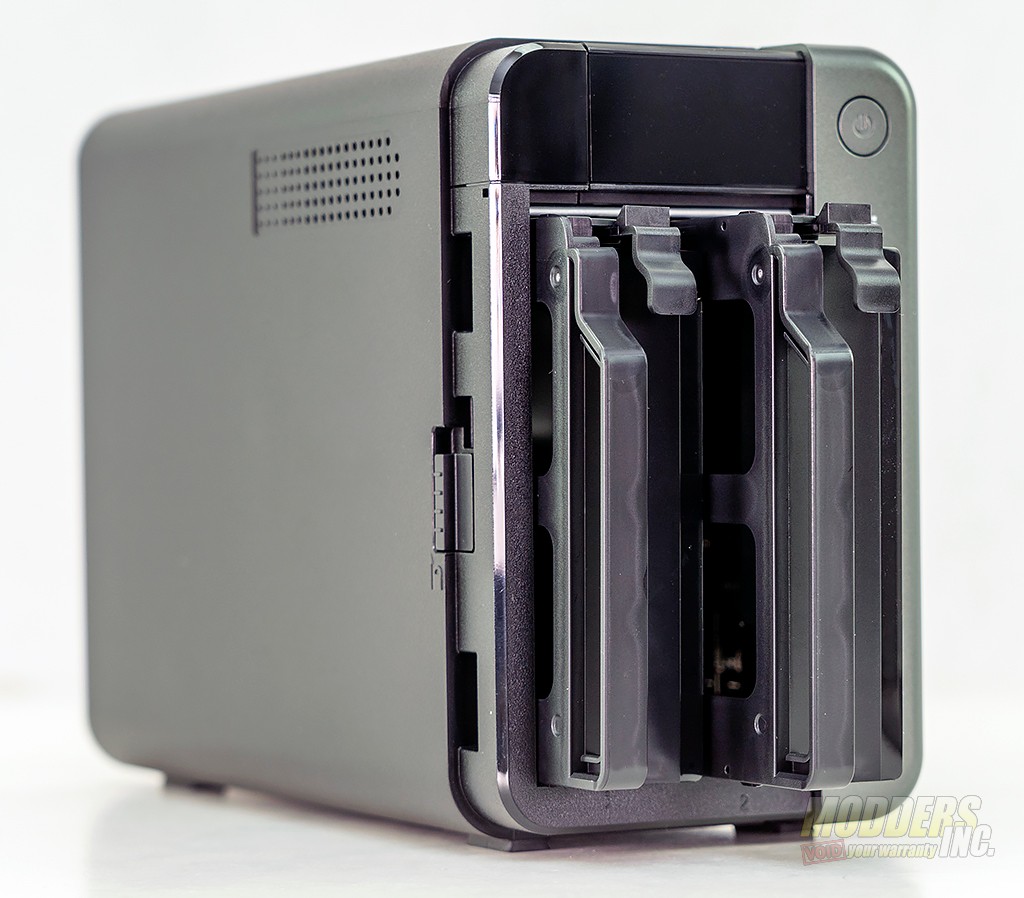
After removing the drive bay cover, you’ll be presented with two drive trays. Press the lockdown with your thumb and pull the trays out.
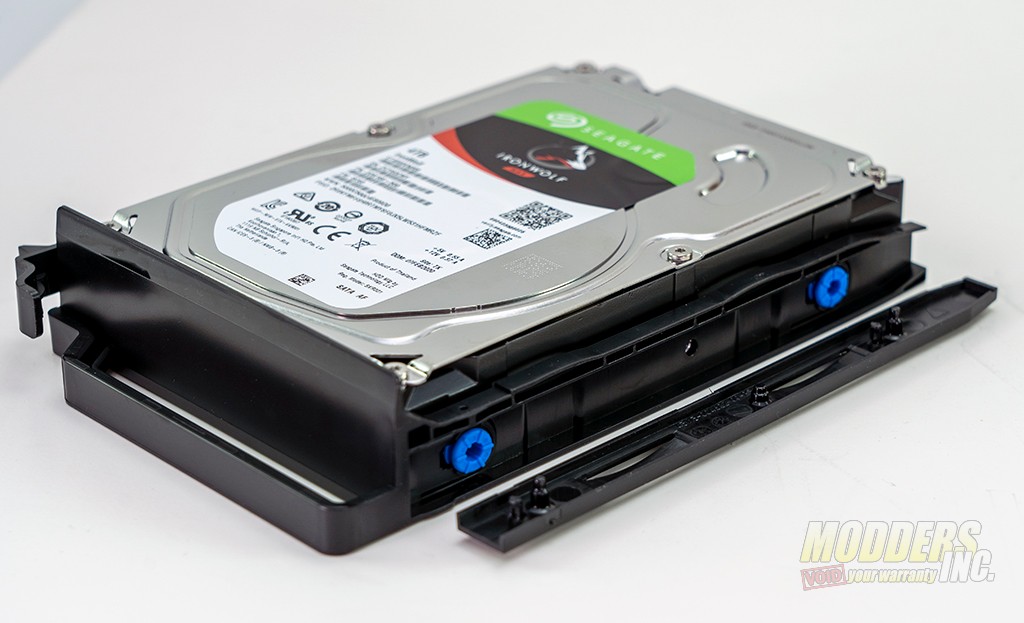
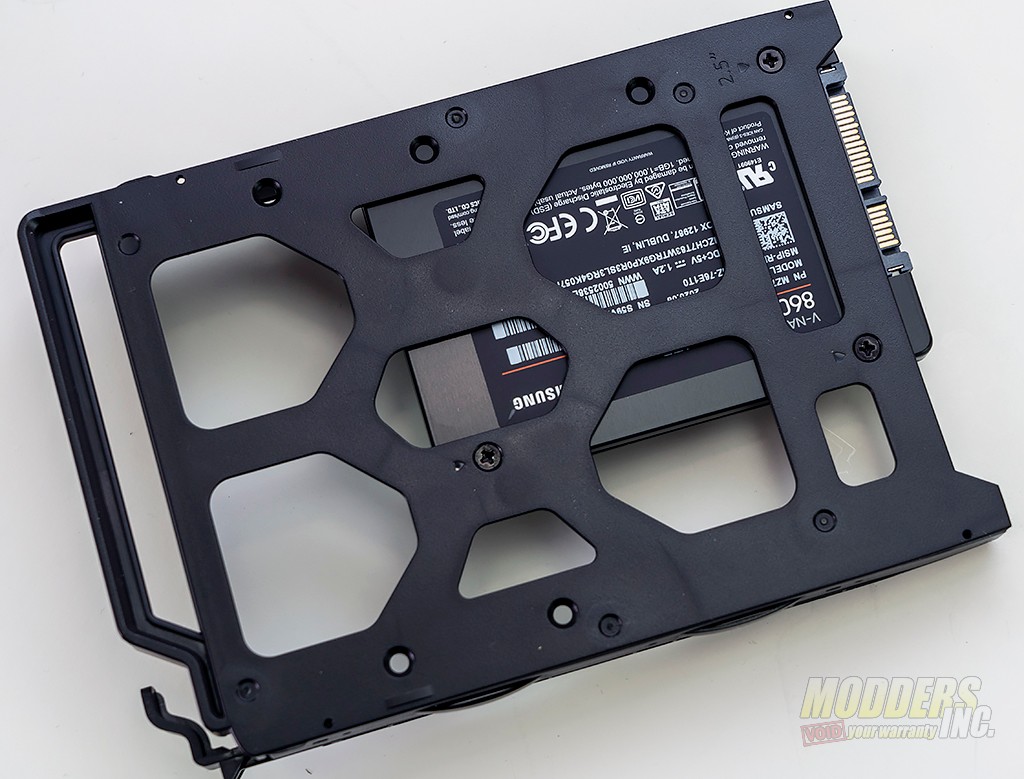
Installing drives in the TS-253D is quite simple. For traditional hard drives, the process is tool-less. Simply remove the locking mechanism from the side of the tray, line up the holes in the hard drives with the holes with the blue rubber insulators and then reinstall. Make sure to put the SATA and power connectors at the back of the drive tray. The drive trays also support SSDs. Three screws will need to be installed. Simply line up the bottom holes on the SSD with the 2.5″ indicators and install as shown below.
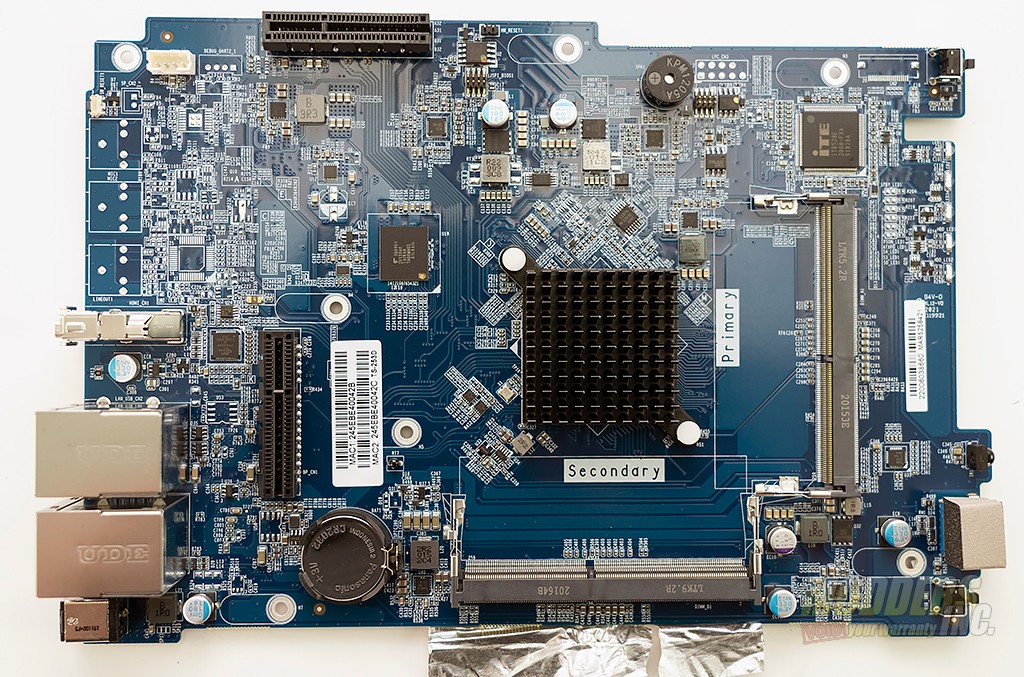
The motherboard in the TS-253D is pretty easy to get to. There are two available slots for RAM although, the sample only came with one slot populated. There are two PCIe ports on the motherboard. One is for the PCIe add-in card and the other is for the daughter card that houses the SATA ports for the drives. As you can see here, the Intel Celeron J4125 is passively cooled.
