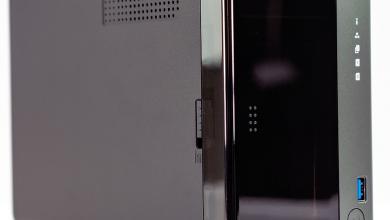
QNAP TS-251+ Network Attached Storage Review
QNAP QTS 4.2 Smart Start
QNAP’s software is the same across all devices capable of running QTS 4.2. This page and the next are similar for the QNAP TS-251+ and the QNAP TS-563 that was recently reviewed.
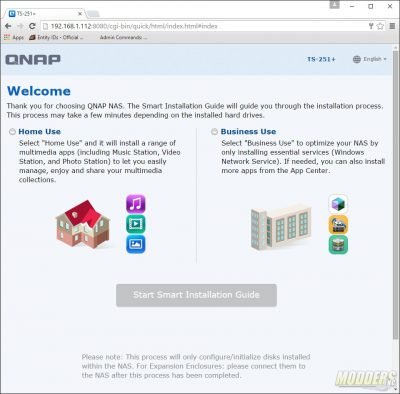
After installing the drives and plugging in the network and power cables, give the power button a tap and the NAS will power up. By default the TS-251+ is set to get an address automatically. Once you have the address you can open a web browser and type in the IP address in the address bar.
The first page of the initial set up is the Welcome Screen. This screen will will ask you how you would like to set up the TS-251+. If you choose home use, the NAS will enable applications such as music station, video station and photo station; these applications typically do not make sense running in a business environment. The business use option only enables services that are used for business such as Windows networking services, NFS, etc. However, the previously mentioned applications can still be installed in the App Center.
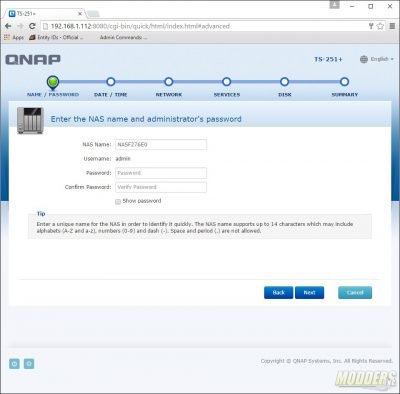
Next up, you’ll want to set the NAS device name and the administrator password.
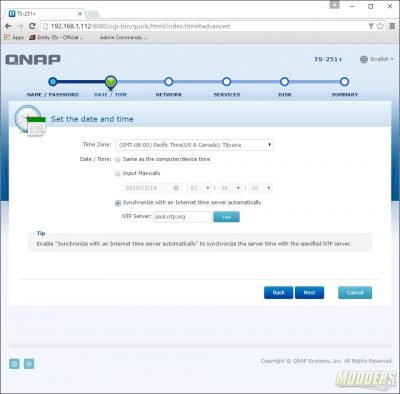
The date and time are set on the next screen. You can also choose to synchronize the date and time with a network time protocol (NTP) server.
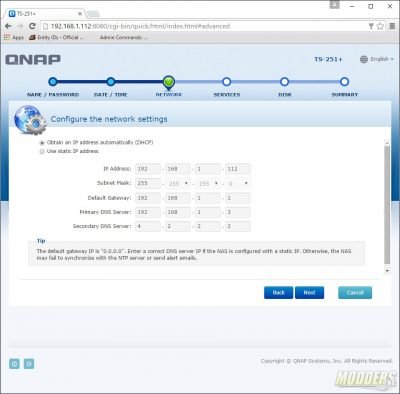
The next screen in the Startup Wizard is setting up the network address. You can choose to set up a static IP address or set the NAS to get an IP address automatically from your DHCP server.
In the Services screen, you’ll turn on or off what networking services you will run on the TS-251. Windows, MAC, and Linux file sharing services are available. You can also turn on or off some applications such as Photo Station, Music Station and the iTunes server.
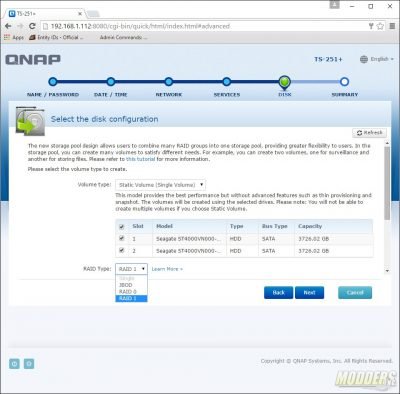
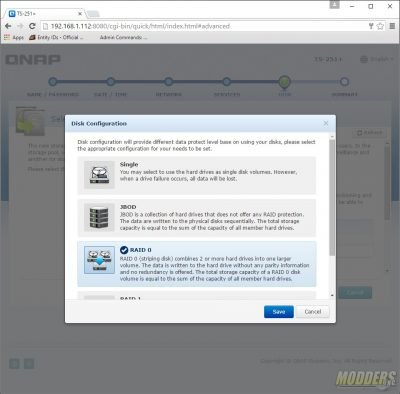
On the next screen is where you get to decide what type of RAID array you would like to run as well as what kind of volume you’d like to use. For most home users a Static Volume is going to work just fine. After you’ve chosen the volume type, then you’ll choose the RAID array configuration. Depending on the number of disks installed and the number of disks selected, the options are Single, JOBD (Just a bunch of disks), RAID 0, or RAID 1.
If you’ve never set up a RAID array before or are just curious to and want to learn more, the learn more link displays a brief page on what each of the setting means.
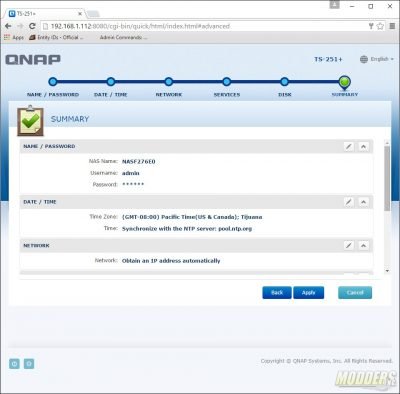
The last page of the Startup Wizard confirms your settings. If you’d like to make changes just click on the back button. Changes are not applied until you click the Finish button.
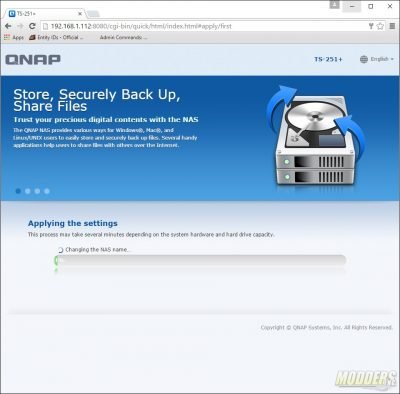
After clicking the apply button, the NAS will apply the changes you made during the Smart Start session. A page with an indicator bar will tell you how far along the NAS is in the process of applying the settings.
