QNAP TS-209 Pro II NAS
Installation |
| Like anything else that you have attached to your network you will first need a place to store it, get power to it and then plug it into your network. The QNAP TS-209 Pro II NAS is a wire LAN connection only server so you might give that thought or two if you have a wireless setup now. Some wireless routers do have a few LAN connections but you better make sure. You are probably thinking ” But will it work with a MAC” the answer is yes! You will have to go onto the CD and find the MAC directory, but from then on it will be clear sailing.
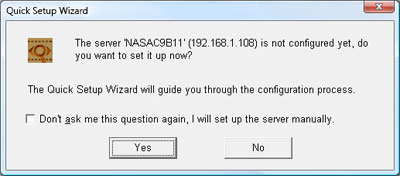
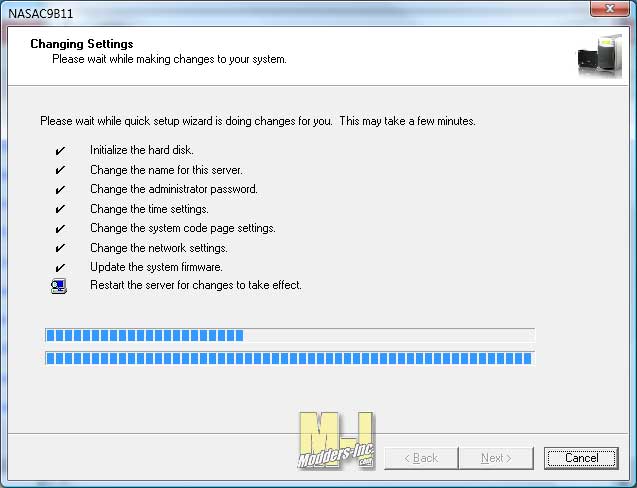
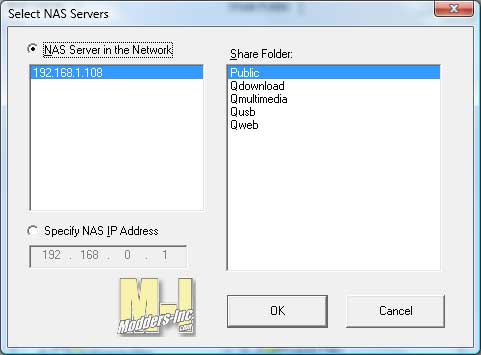
Using the included software from the CD you get everything you need to access and set up the QNAP TS-209 Pro II NAS in just a matter of minutes. The software detects that the QNAP TS-209 Pro II NAS has not been setup and it pretty much just walks you through it.
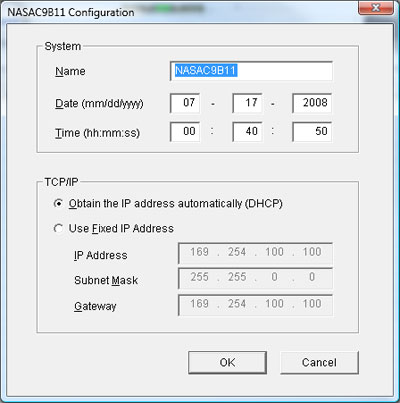
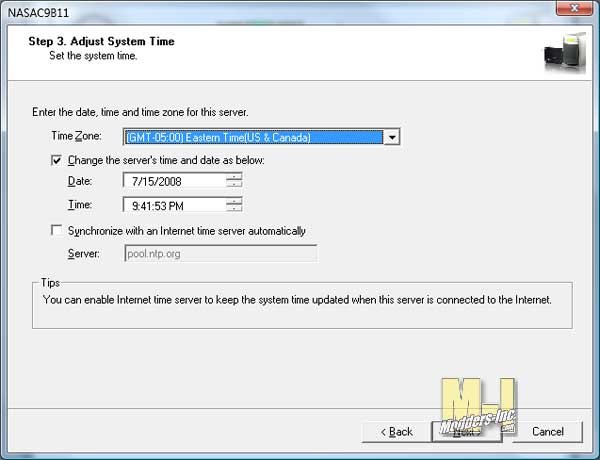
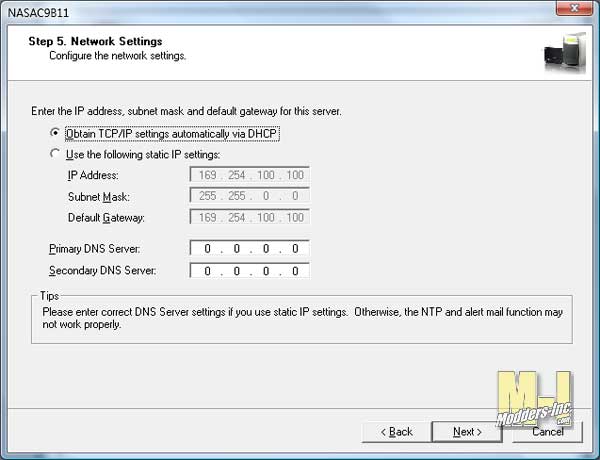
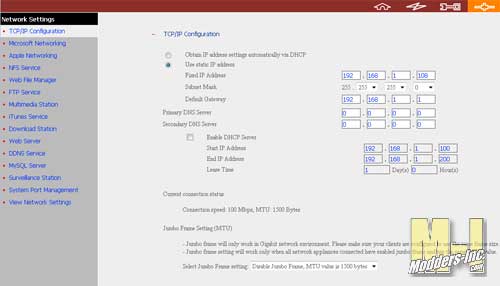
Here you get a chance to name it to what ever you want it be on the network. A quick set of the time/date and the TCP/IP. You get a choice of either having it have a dynamic or static IP. Personally I think the static IP is the way to go as you will always know what the IP will be. So set it and remember it.
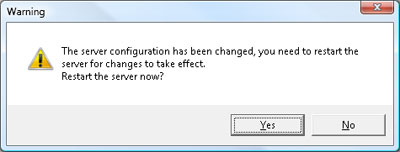
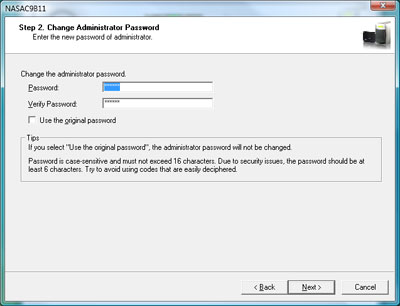
A reboot is needed, which only takes a 45 seconds or so and it make a few noises that you can hear incase you are in another place and wonder if it is doing something. A “beep” “beep beep” tells you it soing something good. Another start of the sotware and you are on your way to finishing up the setup. Setting the password is ALWAYS a great idea not matter if it on your own network as you never know who or what may be out there and find you.
A more indepth setup of NAS is gone through. The first one was to just get the device up a running. Now we get a bit deeper in time and date setup, much like the one for Windows, awaits your configuration.
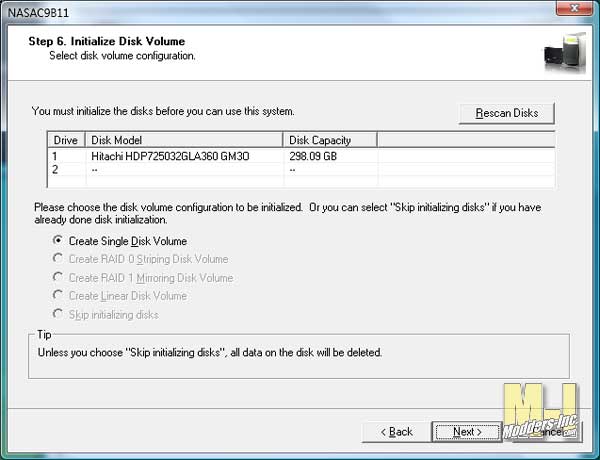
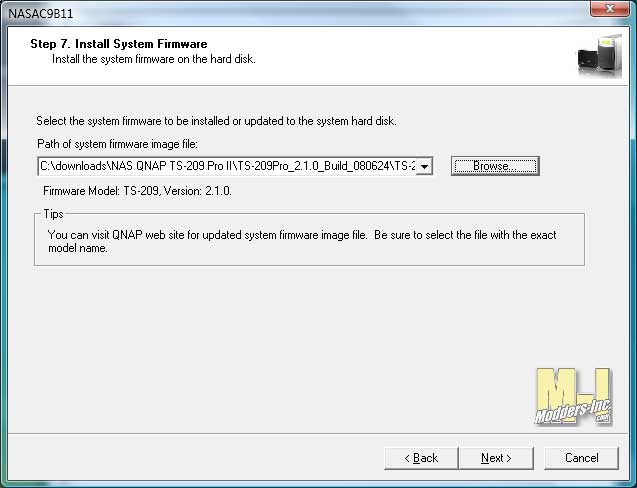
Another TCP/IP setup screen pops up. Just double check what you put in earlier and if needed redo the settings. So lets say you install a new hard drive into you brand new QNAP TS-209 Pro II NAS like I did. So how you format and get it ready to use? Well guess what, the software saw what I had done and it seen the new hard drive and initialize it (Formated it) and I was ready to install the Firmware.
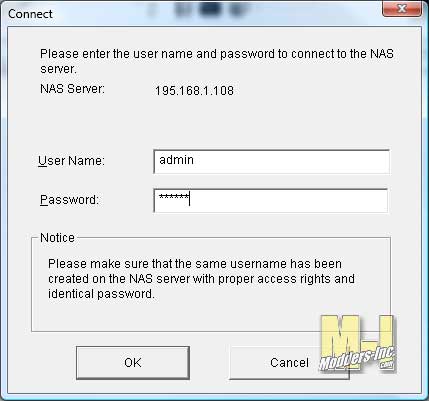
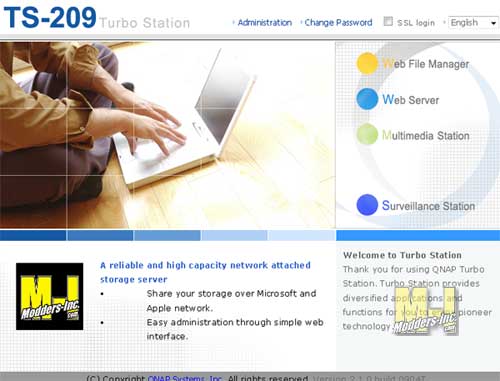
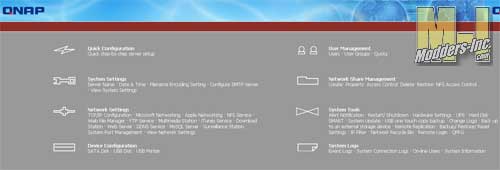
They call it Firmware, which it probably is, but it seemed more like a software bundle to me. Once that you have the TS-209 configured through the software your next step is to log in through the web interface. Here you can go deep in to the setup of the system.
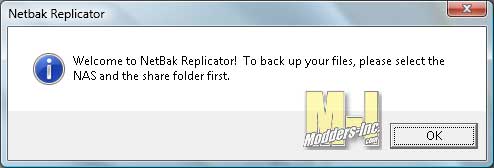
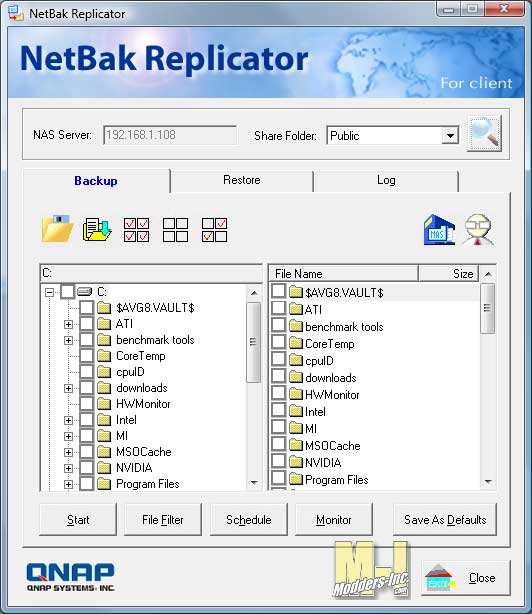
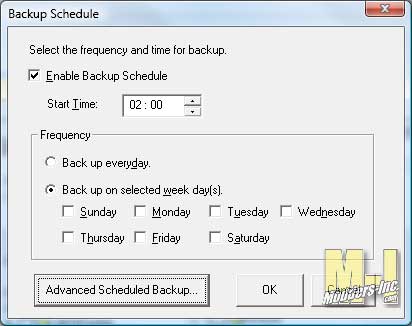
You can do everything from setting the Time and Date to Network Settings like: Showing ever setup screen here would take you all day to look at but let me tell you I don’t think they left anything out. They also have a PDF file that you can download that will help walk you through the steps of configuring the TS-209 Pro II. So what would a NAS be without some sort of backup Software? Included with the QNAP is a program called NetBak Replicator. This program is a client-side backup software program supports instant backups and you can use the handy scheduler to do you backups during non peak time. A nice feature is the abilty to click a button and and it restore the saved files back to it original location or you can select, via a drop down, another location.
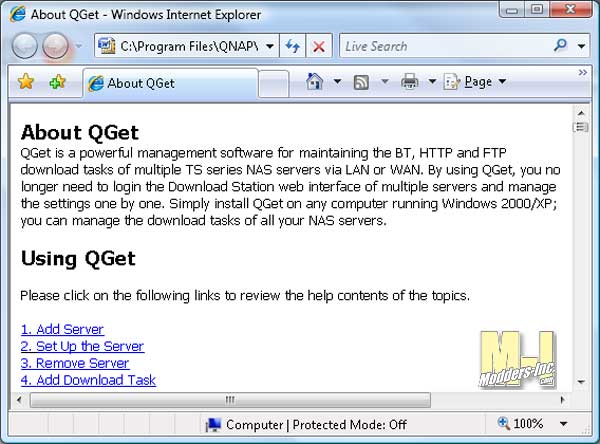
A very useful help file it there when you need it in case you have something that you don’t understand or not sure on what the next correct step might be.
|
