PowerColor R9 285 2GB Turbo Duo Review: It Takes Two to Tonga
TurboDuo Cooling System Design
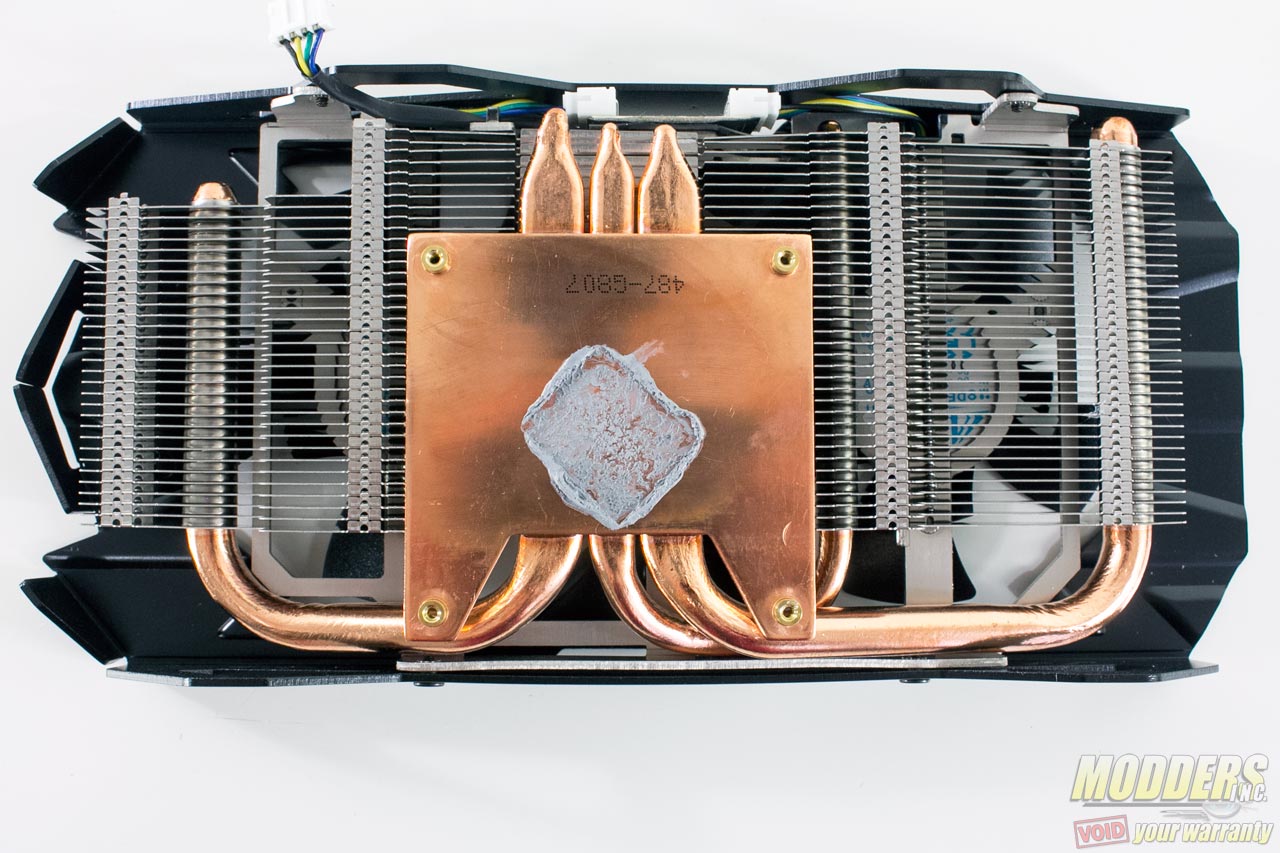
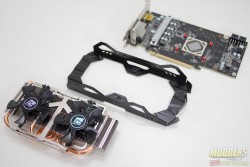
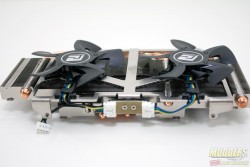
The PowerColor TurboDuo heatsink system is held in place on the PCB via four spring-loaded screws accessed at the back PCB. There are no seal stickers on any of the screws so users can service their TurboDuo without voiding the warranty unlike other manufacturers.
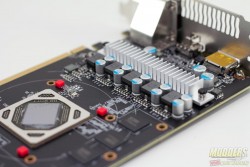
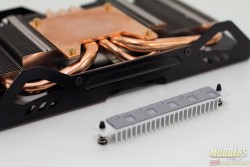
The MOSFET heatsinks are held in place by push-pins and they can be easily remove just by pinching by hand on the back. There was no need for tools but this doesn’t mean that contact is not good as the thermal pad made very deep contact on MOSFETs.
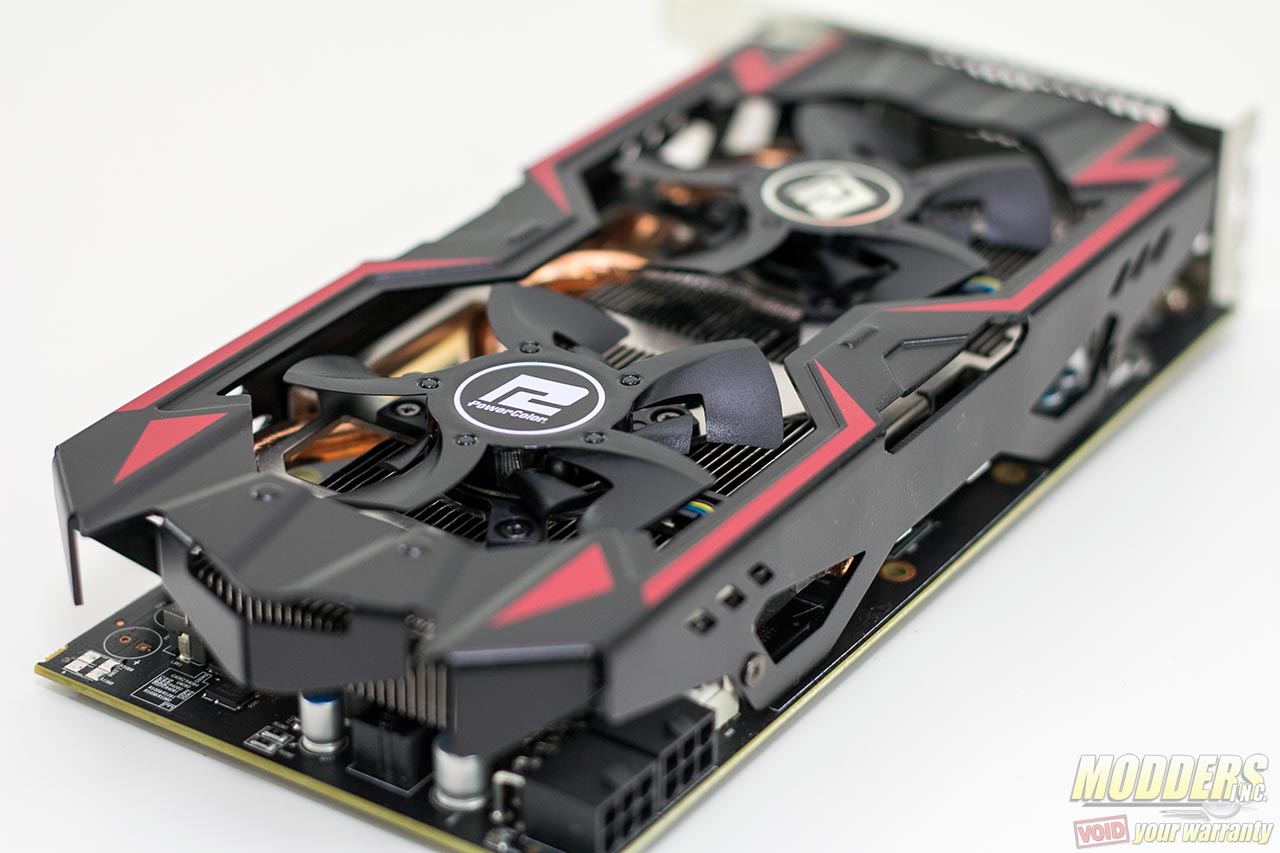
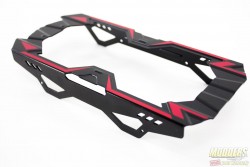
The shroud can be removed from the heatsink unit by removing four screws on the side. This shroud is a painted metal piece that weighs 61g. Since it can be completely removed, this makes it easily moddable and repaintable if the user wants to. Even the underside area of the shroud is painted.
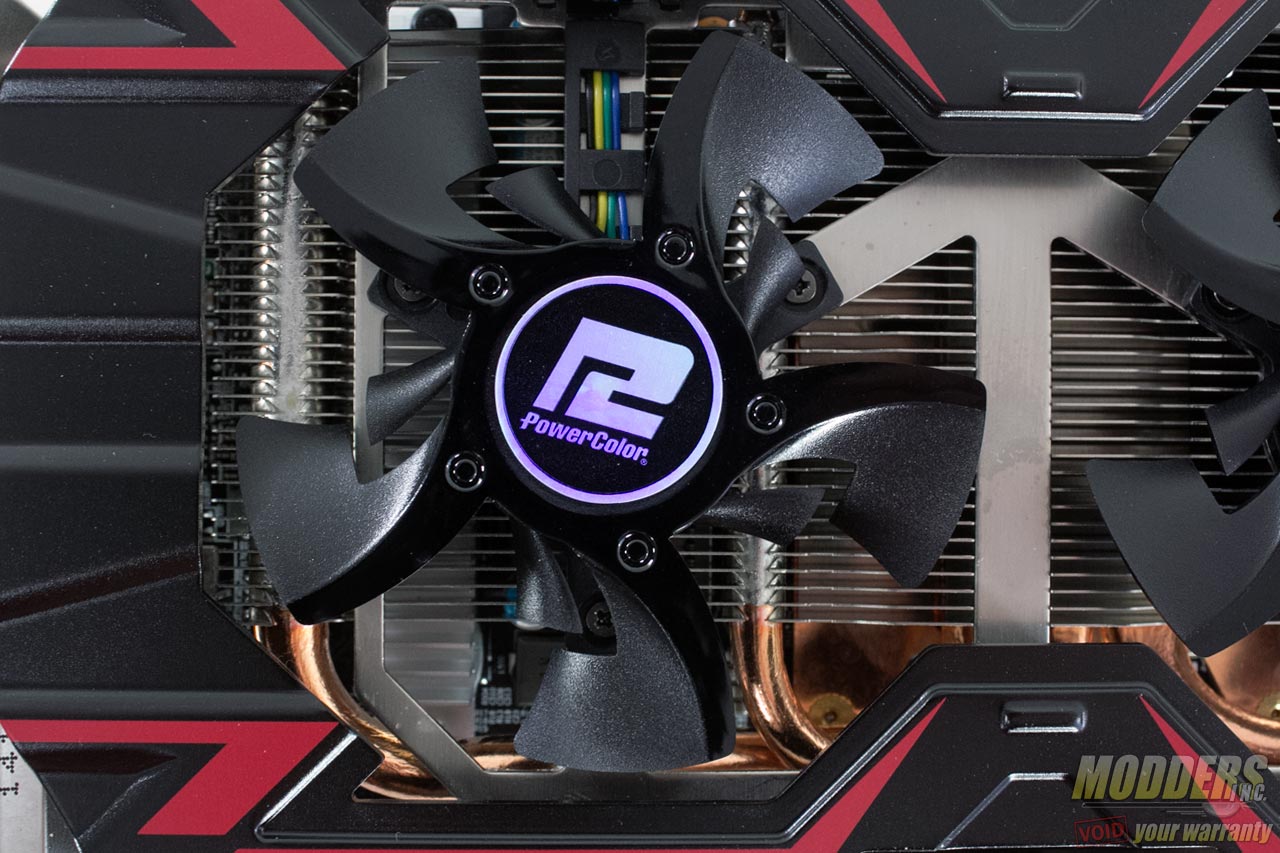
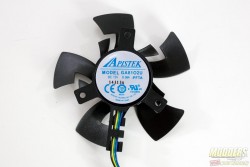
A single 4-pin PWM connector connects the pair of fans to the PCB. Instead of sharing a wire, the two fans are independently plugged into a single-to-dual 4-pin connector PCB splitter mounted on the heatsink. The fans used are a pair of Apistek GA81O2U PWM fans with a unique 80mm dual-fan blade design. The larger blade has a curvy trailing edge and a flat top surface that tapers dramatically towards the L-shaped leading edge. In the gap made by the “L” blade is the secondary that has a curvy top surface and is positioned forward past the leading edge of L-blade. This design allows the small 80mm size to generate plenty of airflow while creating a consistent sound profile across fan speeds.
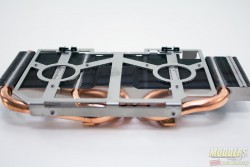
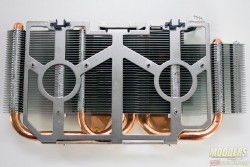
The heatsink uses a large copper plate to make contact to the GPU surface and has three heatpipes soldered on top of it: One 6mm and a pair of 8mm thick copper heatpipes. The two 8mm heatpipes connect to the front and back outer edges of the 36-piece aluminum fin array while the 6mm heatpipe sits closer toward the middle behind the GPU. The heatsink system sans fans and shroud weighs 227grams.
Overclocking
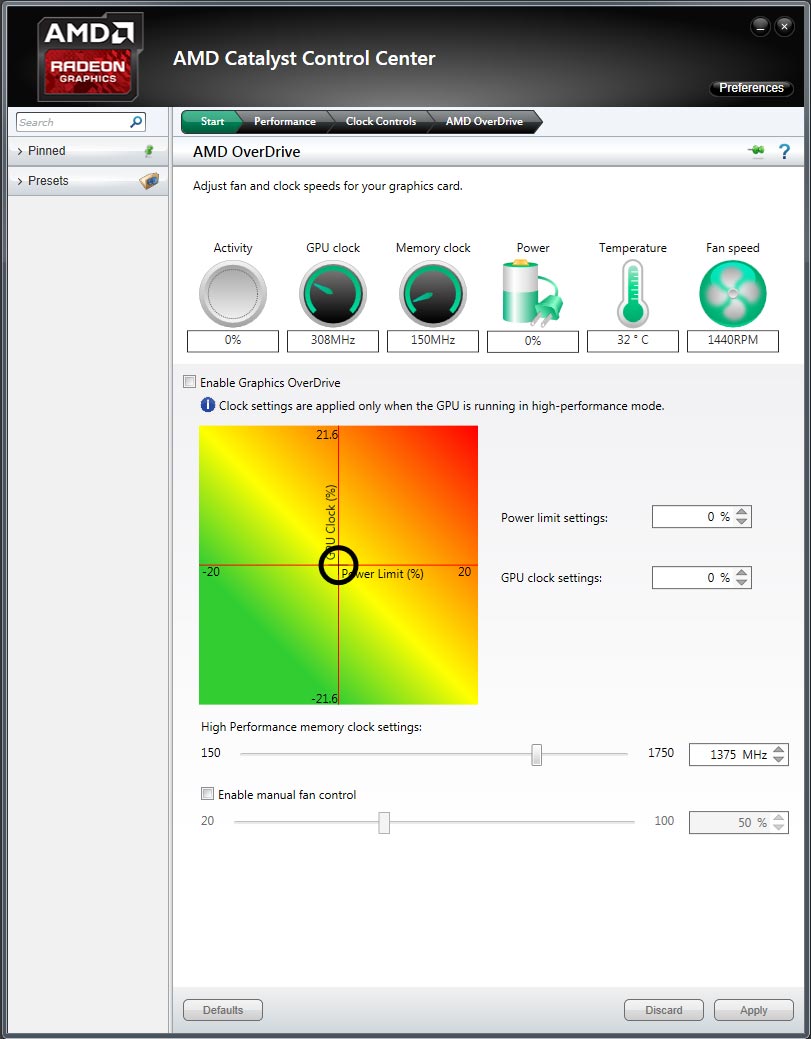
Users can also overclock using AMD Overdrive in the Catalyst Control Center or use MSI’s Afterburner utility which loads faster and has a more comprehensive control option. Because of the Radeon video cards’ PowerTune function, to get a meaningful overclock, the power limit must be increased. Although the mechanics underneath of how AMD and NVIDIA video cards overclock, users pretty much just need to do the same things. First increase power limit since both current generation GeForce and Radeon cards have some sort of power tuning algorithm which determines clock speed performance. NVIDIA’s solution “boosts” or auto-overclocks while AMD’s PowerTune is more of a limit that will throttle the performance below it if there is not enough power or if thermal threshold is breached.
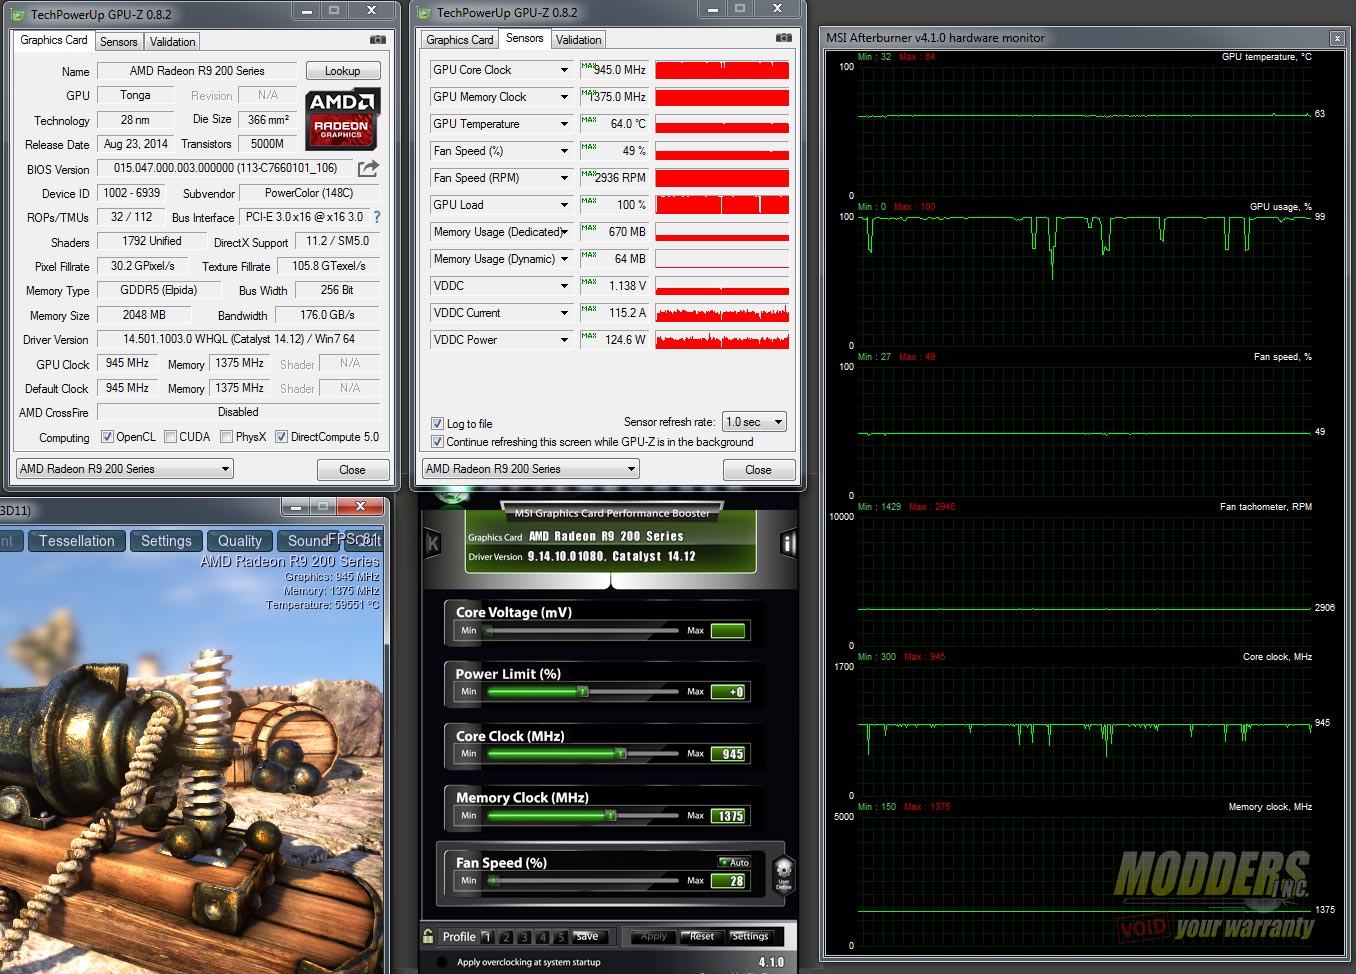
For this activity, I use Unigine Heaven 4.0 and leave it running windowed. This program is purely GPU-based and running it in windowed mode allows users to monitor and make adjustments at the same time.First, get the baseline performance since we will need to see how the cooler performs anyway.
I have had good experience with these Elpida memory modules so the first thing I go for a memory overclock (while keeping the Core at stock) and set it to 1600. If the screen blanks out, that is too high for your video card or if it is frozen or there are glitches on the screen then that is too high so scale back 10MHz until you finish an entire run or two of Unigine. Do not confuse this with validated overclock. That just means it booted and is running. Stability testing with Unigine and other programs means we are going for a more realistic 24/7 overclock instead of a suicide run.
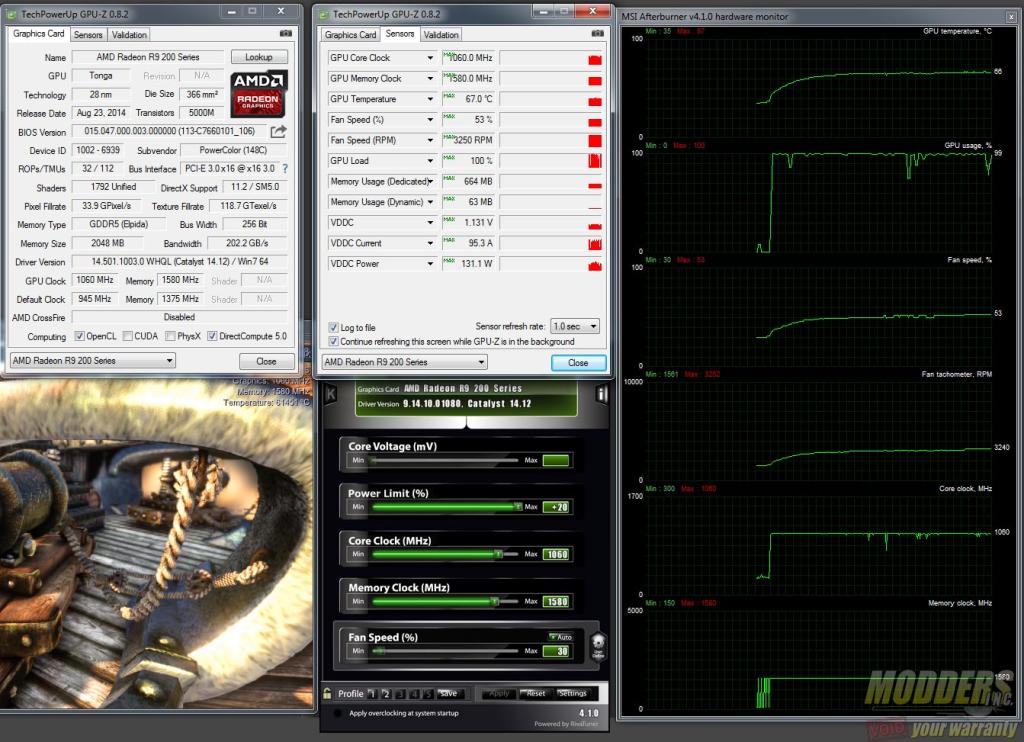
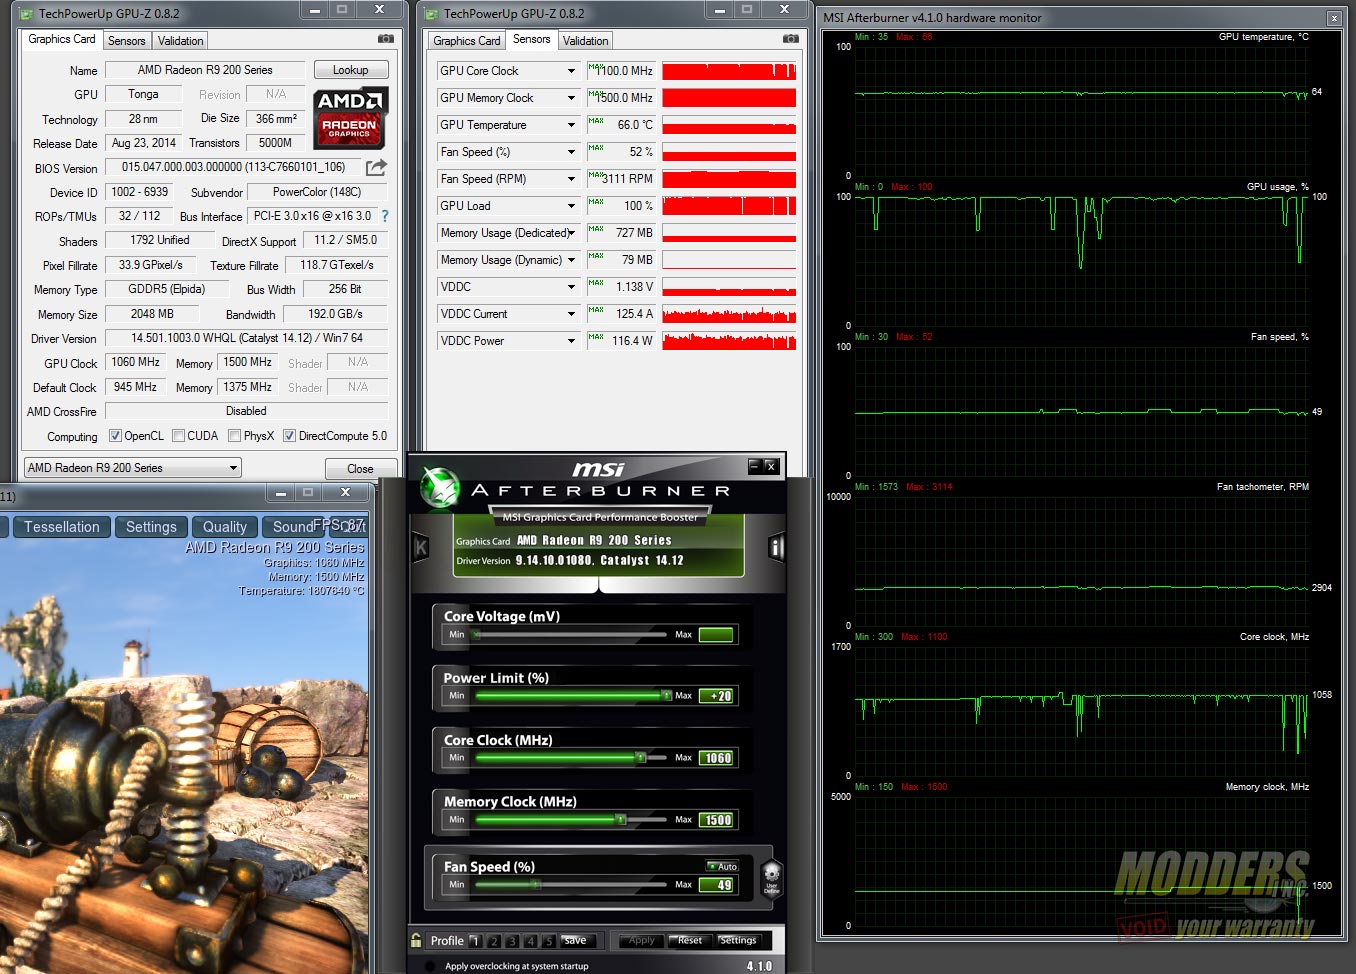
Next, is the core clock. You can do either one first, it doesnt really matter. Most only go for core clock overclock and leave the GDDR5 memory at default, but since these are rated for at least 1500MHz (6000MHz effective), it would be stupid not to overclock them to that level. The core topped out at 1060MHz before artifacts started showing up. The dark scenes in the tunnel and the Dragon scene in Unigine Heaven reveal these very easily. I usually bump it 50MHz at a time until it freezes/artifacts. Restart then start bumping in 20MHz intervals until it freezes/artifacts. and then refine with 10MHz intervals.
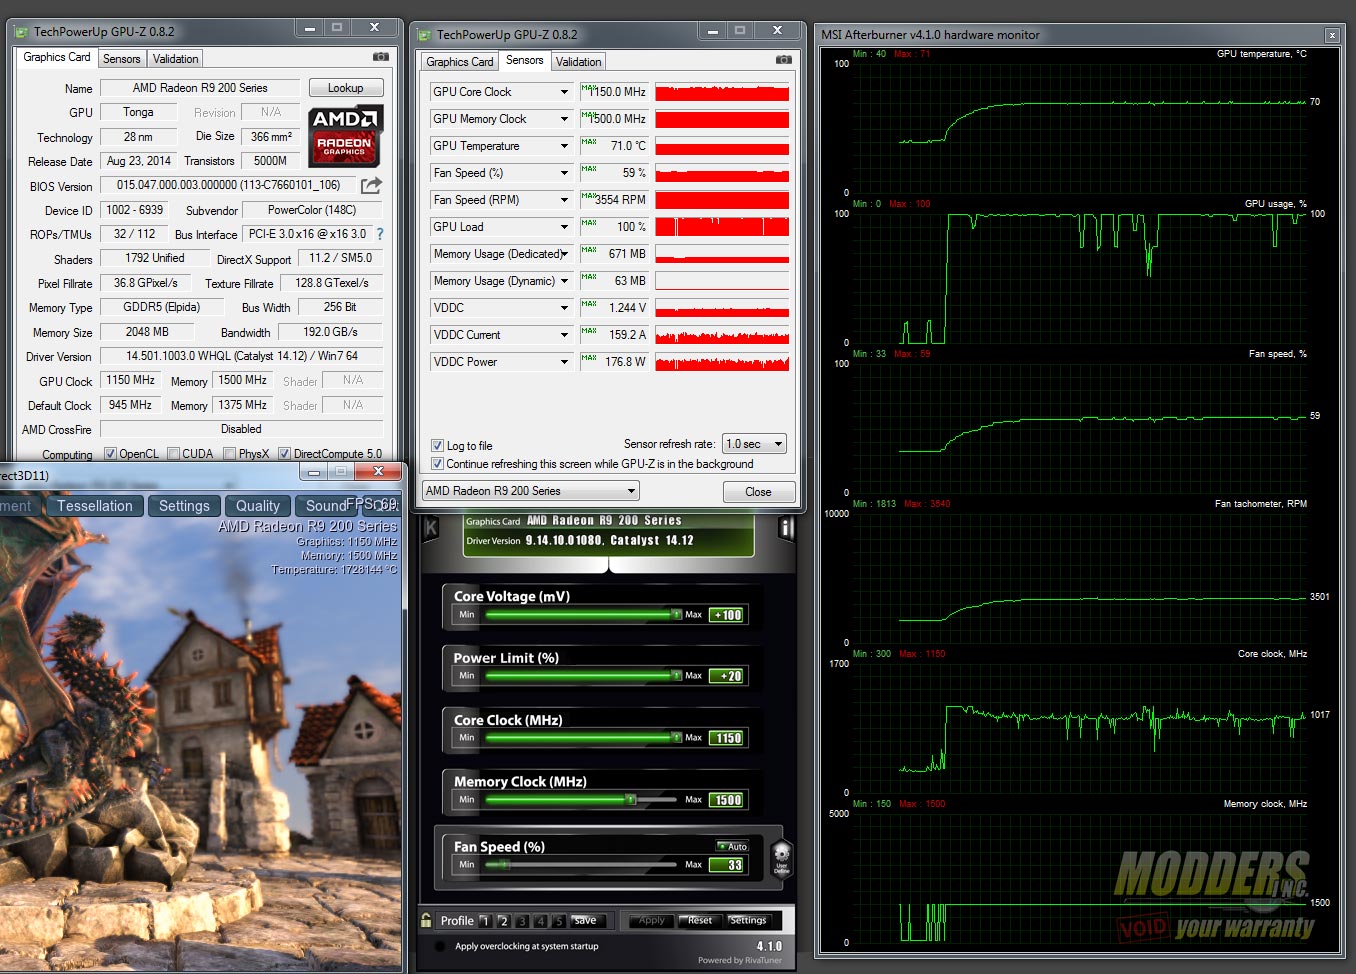
Now, we can see that there is still some room in there since the PowerTune throttling is not wildly wavy judging by the Core clock. So next, we will unlock voltage and see how much further performance adding +100mV of voltage adds. This is just core voltage, not memory voltage so only the core was bumped up. In fact, I lowered the memory to 1500MHz by mistake and did not notice it until I made the screenshot. Oh well, the result is still going to be the same since we are looking at the Core performance only with added voltage:
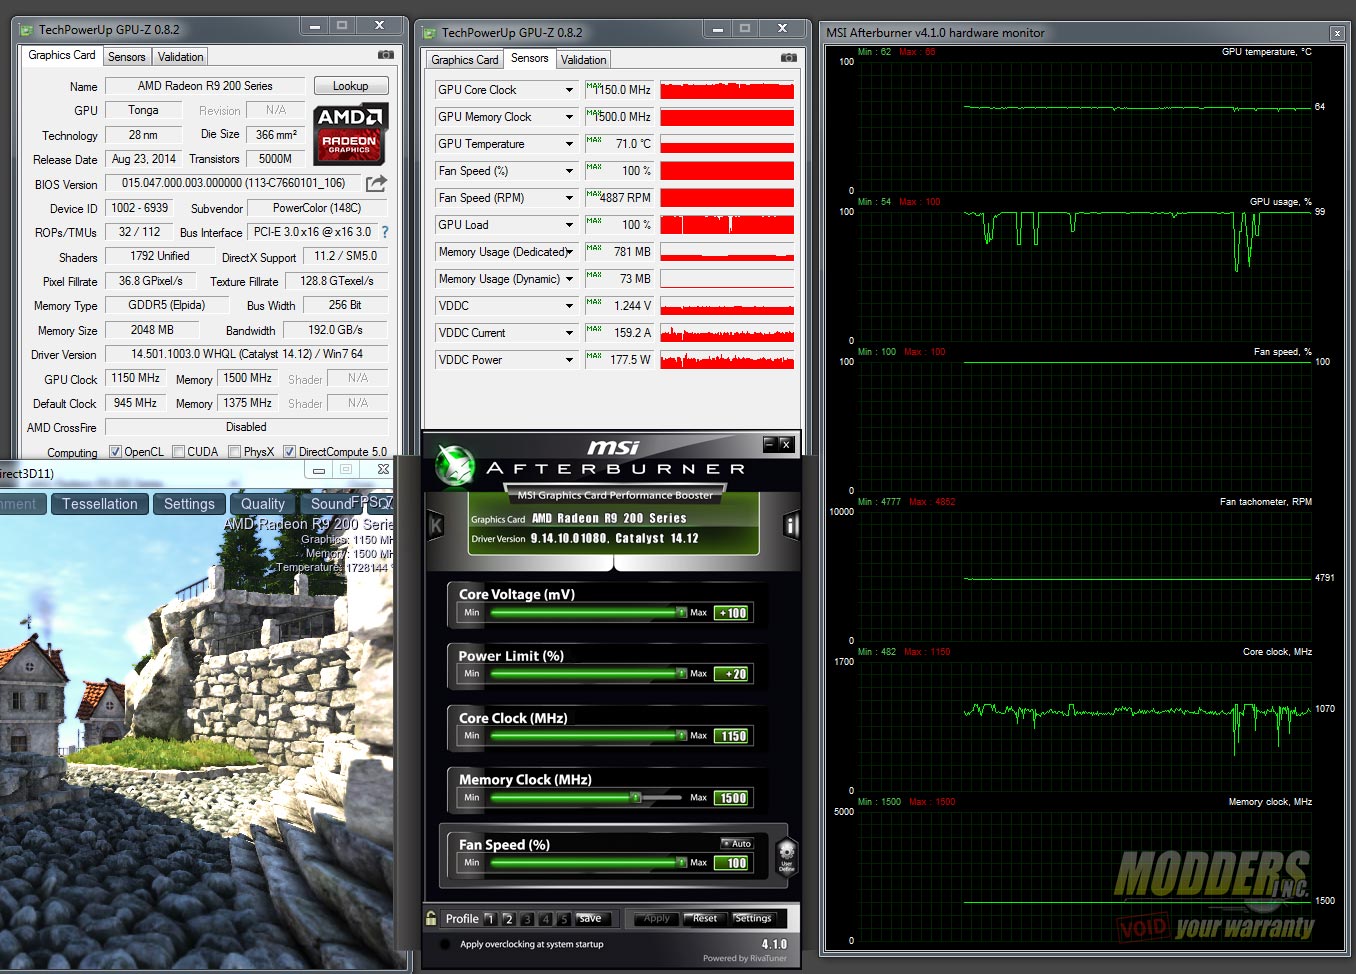
The core clock shows very obvious throttling there for the majority of its run so obviously this is no good. The temperature has now reached 70C but that is still under the recommended limit which would be around 85C which will be impractical. This is obviously a power limitation and not strictly cooler limitation. For curiousity’s sake however, let’s crank up the fan speed to 100% and see how much better the cooling and Core clock throttling is:
It helps a teeny bit but the compromise in noise is not worth it so sticking without additional voltage at 1060/1500 is better than 1150/1500 with +100 voltage and 100% fan speed. Higher core clock does not necessarily mean better performance. Now overclocking results with memory have a similar thing where additional memory speed does not translate to better performance:
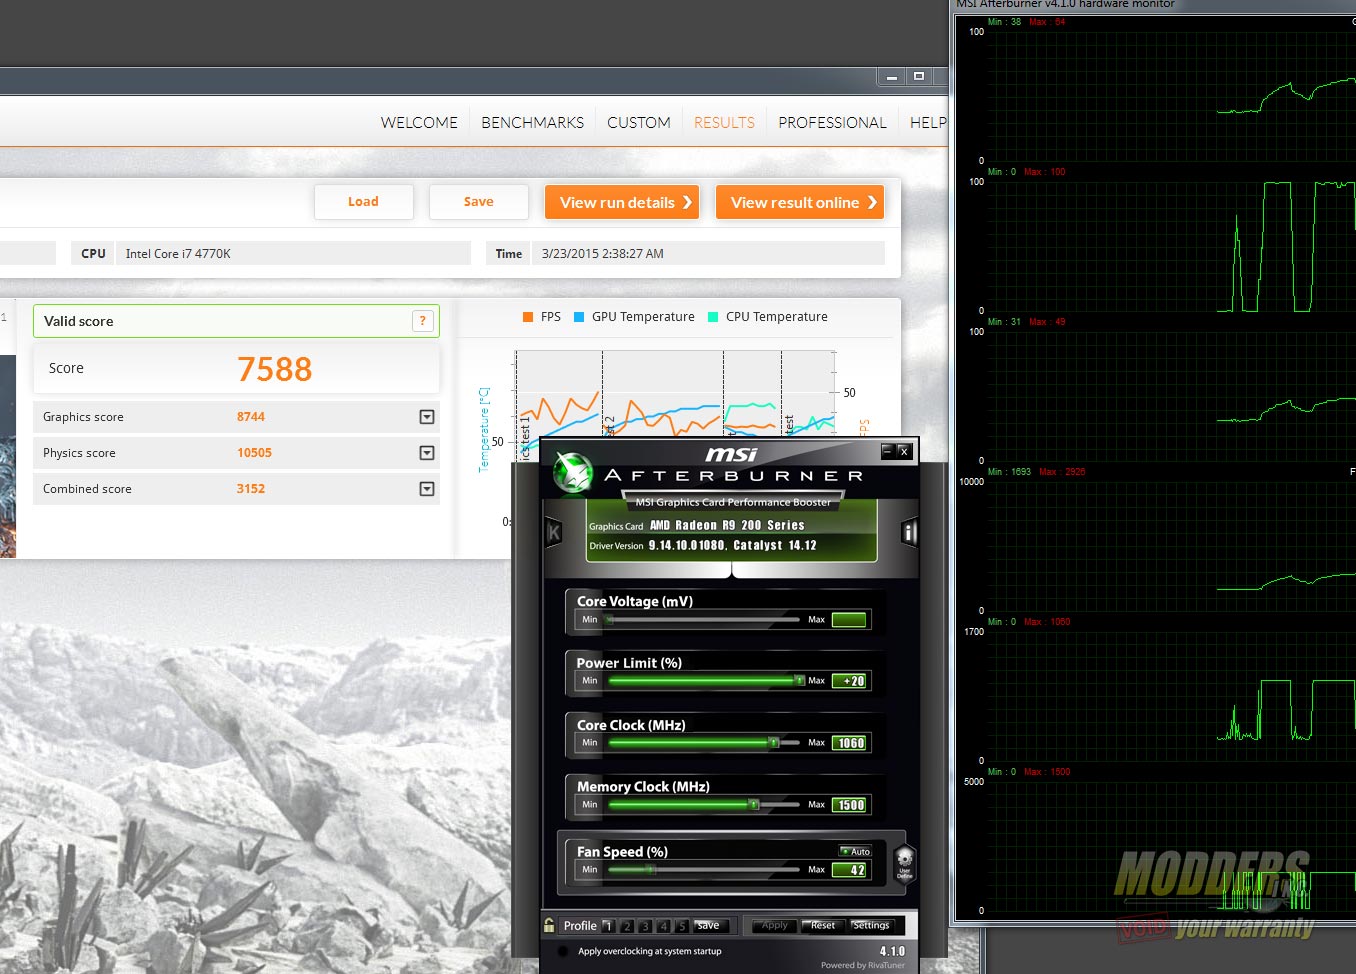
1060MHz/1500MHz memory 3DMark Firestrike:
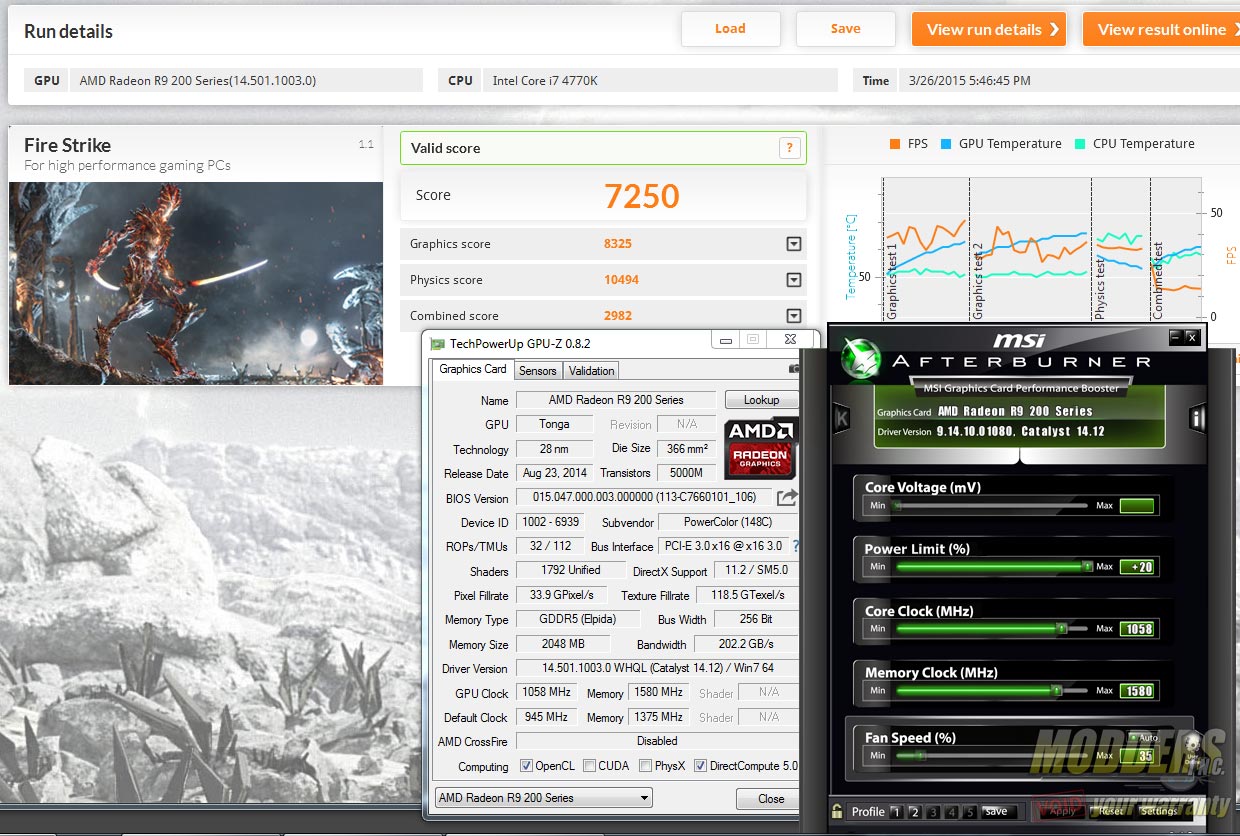
1060MHz/1580MHz memory 3DMark Firestrike:
Look at the graphics score since that is strictly GPU-bound. Keeping the memory at 1500MHz actually had a significant performance advantage over having the memory at 1580MHz. The rest of the benchmarks of the 1060/1500 overclock can be seen in the benchmark results page.
Thermal Performance and Power Draw
With Windows Power Saving options set to High Performance with EIST turned OFF in the UEFI, idle power consumption was recorded after 20 minutes. Temperature and power draw load was measured with Metro Last Light benchmark on loop. Temperature was monitored on an open-air benchmark with the room controlled at 23C ambient. Video Card fan speed set to auto. Power draw is the full system load taken from the wall using a BluePlanet EM100 power meter.
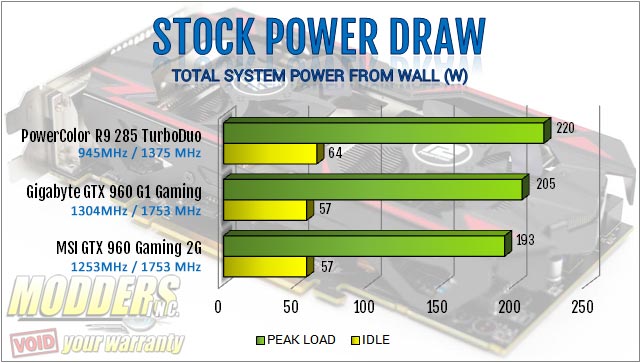
Stock (945MHz Core/1375MHz Memory):
- IDLE = 64W
- Peak Load = 220W
- Minimum GPU temperature: 32C
- Maximum GPU temperature: 64C (49% Fan Speed)
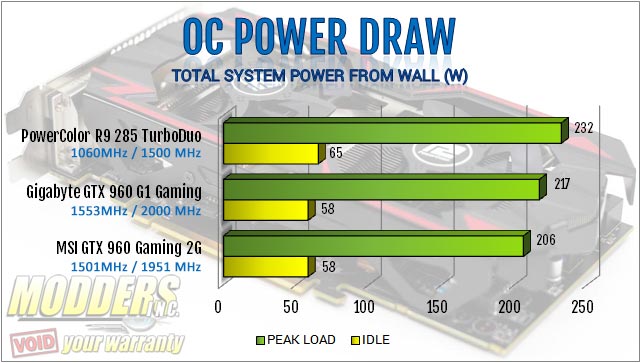
Overclocked (1060 MHz Core/1500 MHz Memory):
- IDLE = 65W
- Peak Load = 232W
- Minimum GPU temperature: 35C (30% Fan Speed)
- Maximum GPU temperature: 66C (52% Fan Speed)
Overclocked with Voltage (1150 MHz Core/1500 MHz Memory):
- IDLE = 70W
- Peak Load = 272W
- Minimum GPU temperature: 40C (33% Fan Speed)
- Maximum GPU temperature: 71C (59% Fan Speed)
Power Consumption compared to the GTX 960:
Fan Sound Level
Using an American Recorder Technologies SPL-8810 sound meter placed 20 CM away from the video card’s center fan hub, sound level was measured. All other fan noise sources have been eliminated from the room by manually controlling the video card fan level via software, unplugging the CPU cooler heatsink so it runs in passive cooling mode and by using a hybrid-passive power supply like the Corsair HX850 which does not use the fan when system load is low.
| Sound Level (dBA) | Fan Speed in % | Fan Speed in RPM |
| 34.8 (ambient) | – | – |
| 36.2 | 27% | 1502 |
| 37.5 | 30% | 1615 |
| 40.2 | 35% | 1890 |
| 44.2 | 40% | 2280 |
| 48.3 | 45% | 2666 |
| 51.4 | 50% | 3030 |
| 52 | 52% | 3118 |
| 56.1 | 60% | 3648 |
| 59.9 | 70% | 4237 |
| 62.5 | 80% | 4672 |
| 63.8 | 90% | 4931 |
| 63.8 | 100% | 4931 |
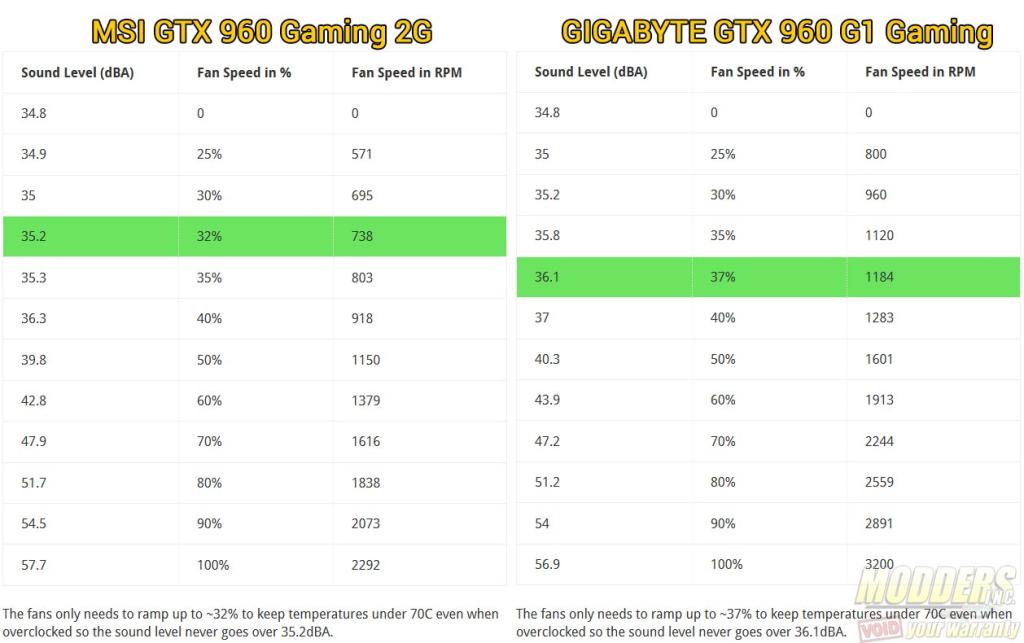
Comparison to the MSI and Gigabyte GTX 960 video cards previously reviewed:
