Plexiglass Basics: What you need to know
Engraving
Putting an image on plexiglass is a top-notch customization. The process is simple to understand but takes time to master the skills to do it well. A Dremel with flexible shaft and a set of engraving bits are the best tools for engraving onto plexiglass.

A set of diamond coated engraving bits.
The first step is the image, which is usually done in a graphics software such as MS Paint, PhotoShop or Paint Shop Pro (to list a few). What you need to be able to do is make a mirrored or backwards image for cutting into the plexiglass.

Image wanted

The reversed (mirrored) image
Print out the mirror image then placed it under the plexiglass, position it and then tape it in place. Once the image is finally taped in place engraving can be started.

Image printed & taped in place
Tips for engraving:
- Start opposite your dremel hand, as the vibration will rub you hand and if it is over cuttings or grooves you cut which will cause pain, and scratch the work.
- Cut shallow till you get a good look at it. You can always cut more but never really go back if you cut too deep.
- Never brush away shavings, it could scratch the plexi. It is best to pick up the pieces and shake them off into the trash.
- Take breaks as it will get exhausting to your hand holding a rotary tool for hours.
- To see the image correctly, look straight down at it in good light.
Start with a thin cutter for the line work. Then change cutters for engraving any larger areas. After all the first cutting is done, look over your work and see if it looks right. Large cut out areas may need to be re-cut after you get a good look at.

Engraving process

Finished before clean up cutting
Remove the Image from the plexiglass to see the finished engraving before cleaning. Blow off any cuttings and hold in a good light source to see the accuracy of your cuts.

Finished etch before cleaning
No matter how careful this is done, it always needs cleaning afterwards. Using standard window cleaner on the both sides in generous amounts will help the bits of plexiglass dust run off. Then wipe with a soft lint-free cloth to avoid fuzz and strings from getting caught.

The etch in daylight

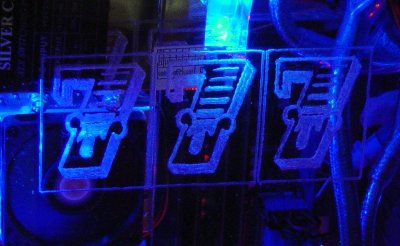
Etch with case lights


