Plexiglass Basics: What you need to know
Finishing
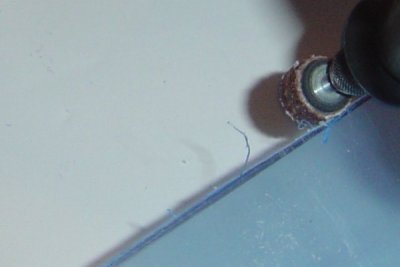
This covers any trimming, filing and polishing to get the right fit or look. Simple trimming can be done with a file, dremel and sanding drum depending on the needs. A file is better for tight corners and edges that need to be straight. Before sanding, fit and mark any of the trouble spots. I found that an 80 grit sanding drum is what works best for rough fitting and shaping.

Drum & sanding sleeves.
With the dremel removing a little at a time will help control of the tool and ease in sanding.

Trimming up the rough cuts from an inside corner
Straightening sides or edges on thicker material requires filing. The file should only be pushed, lifted then repeat to keep it sharp and thinner pieces need to have support. They come in several shapes, sizes and cuts, the crossing cutting edges in the file and with or without handles.
A triple cut removes a lot of material fast and probably well for plexiglass over .
Double cut removes a good amount of material and rough straightens plexiglass well.
Single cut removes small amounts of material with fewest marks.

Files (top to bottom) triple cut, double cut & single cut.
With the fitting part done you may install your window if the edges aren't seen, but if they are showing you still have some work to do. We need to get those edges nice and pretty which means sanding is next. Sand paper comes in all kinds of grits and types. What is most commonly used for this is kind of project is 200, 400, 800 and 1000 grit sand paper in that order. A good sanding block work well on smaller pieces. The 200 grit sand paper will take out the drum sanding or file marks and leave it's own sanding marks. This is why you go in steps with the sand paper. Each one removes the last ones scratches. Now to get that really polished look you need to use what is called "wet sand paper". This kind of paper is designed to be use with water to aid in the sanding process. The water does two things, it helps keep the sand paper and plexiglass free of unwanted material and it makes the paper slide easily across the plexiglass. After doing the "wet sanding" you can buff out the edge for a professional look.

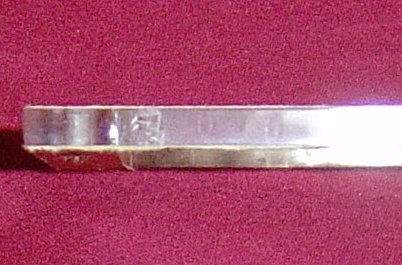
1) Rough cut 2) filed 3) 200G 4) 400G 5) 800G 6) 1000Grit
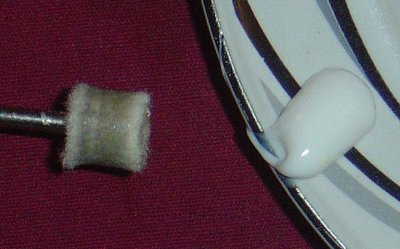
Buffing plexiglass can be simple and cheap. By using a Dremel with a buffing wheel and good old toothpaste! Make sure you use the white stuff. The gels won't work as the right amount of abrasive isn't in the gel pastes.

Buffing wheel and toothpaste
Place the buffing wheel in a little bit of water to get it wet and then wipe the paste in a thin layer onto the buffing wheel. Turn on the Dremel at a medium speed and start to buff. As you buff keep the tool moving and add paste as needed because too little paste will start to melt the plastic instead of buffing it. Clean with water and buff more where needed.

Buffing done.

Finished bracket cut, drilled, sanded, polished & installed

Same bracket with lights on in the case


