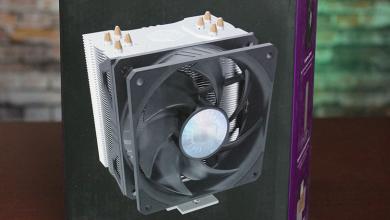
Phanteks PH-TC14S Dual-Tower Review: Conflict-free CPU Cooling?
Installation of the Phanteks PH-TC14S
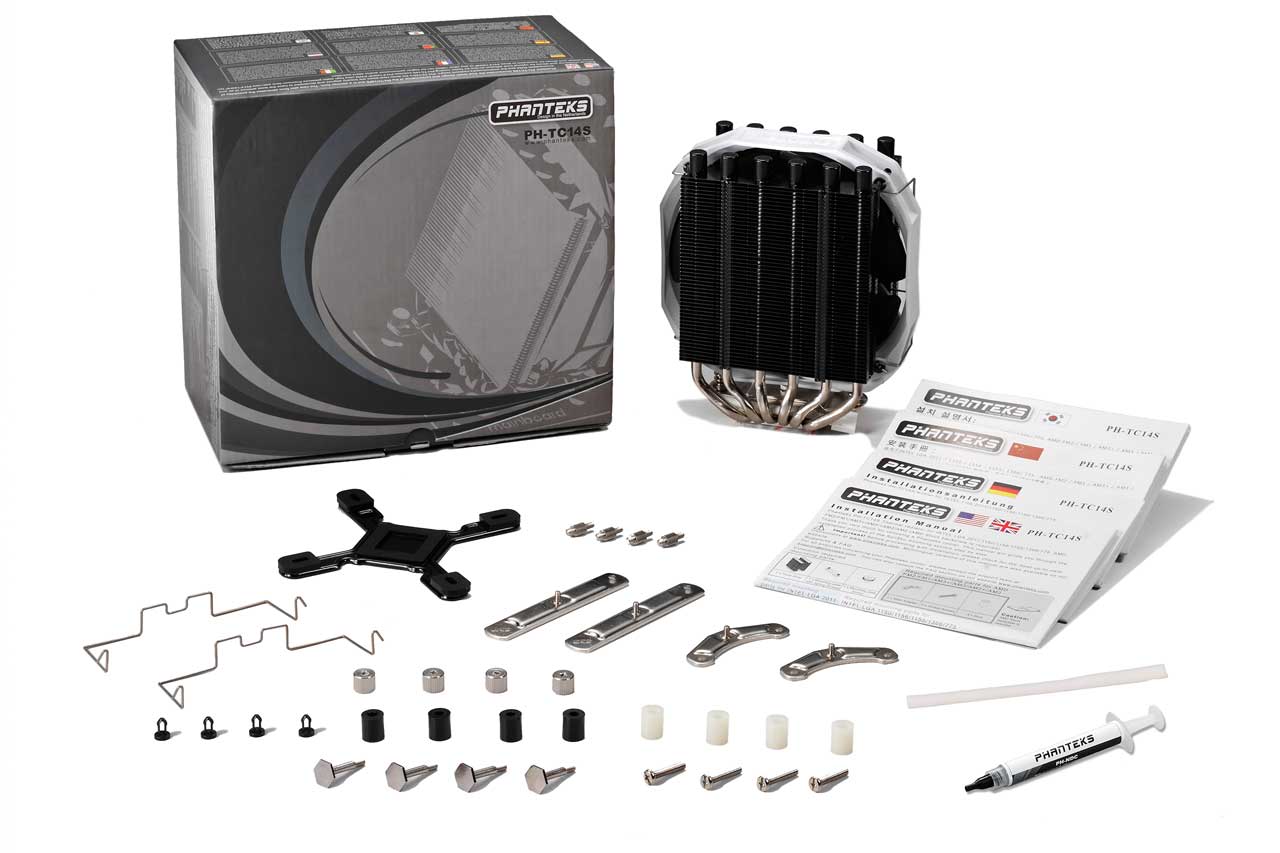
Before proceeding with installation, lay out all accessories and cross reference the package content with the illustrated user’s guide.
AMD Installation
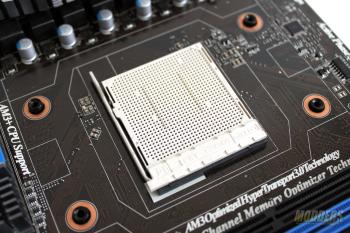
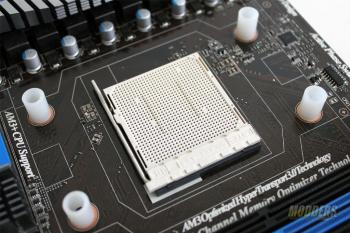
AMD installation is universal since the mounting holes remain unchanged for several years now since AM2 all the way to AM3+ and FM2+ except with the new AM1 socket. The motherboard’s backplate is utilized but the plastic brackets and screws have to be removed. Simply place the white plastic spacers on the small protruding piece of the backplate, then place the curved mounting bars and secure them with the four long screws. The mounting bar should be curving toward the CPU socket. It is easy to do with the motherboard outside of the case horizontally, although installing with the motherboard already installed vertically on a case will take a bit of effort as the spacers can fall off. The PH-TC14S can only be installed in a standard horizontal push (or push-pull) configuration on AMD systems.
Intel Installation
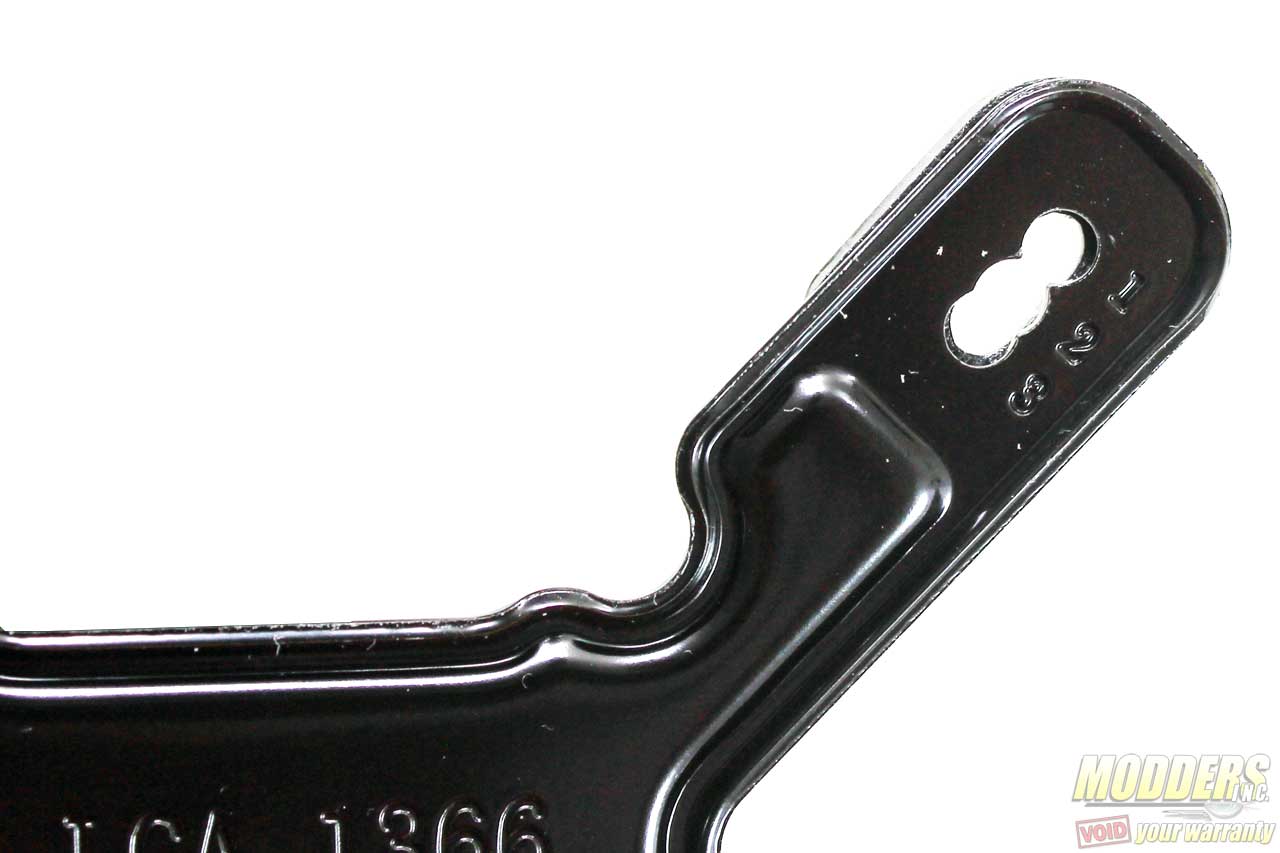
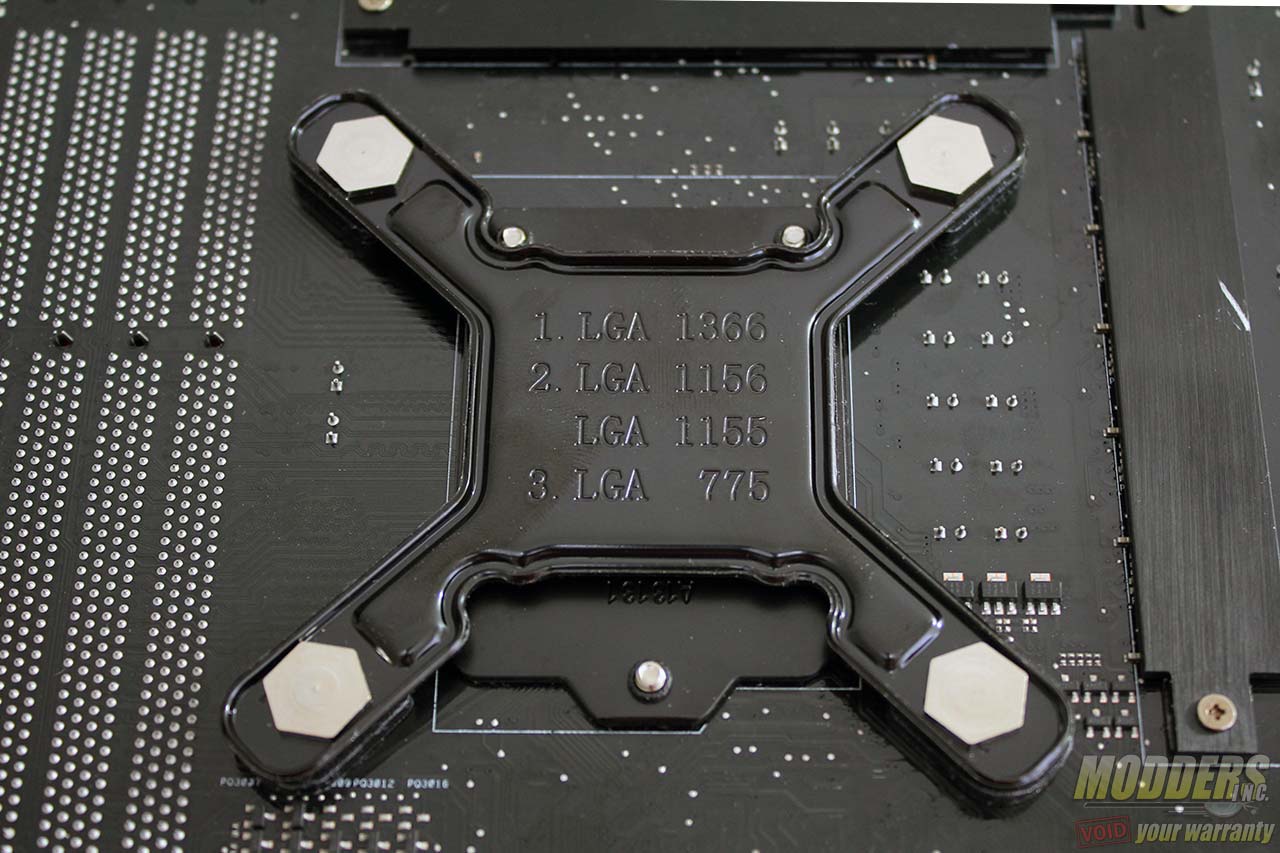
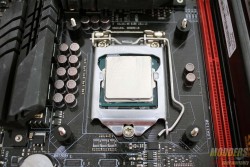
Installation on LGA2011 motherboards with integrated locking mechanism does not require a backplate or spacers but requires the LGA2011 bolts to be hand-screwed in place first. For non LGA2011x Intel motherboards, the universal backplate is required. Three mounting hole distances are provided and marked: 1-LGA 1366, 2-LGA115x, 3-LGA775.
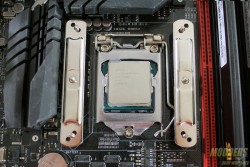
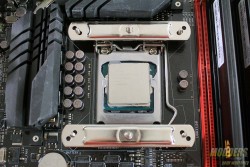
Installation requires the backplate to be positioned through the mounting hole. The spacers can be placed next with the mounting bar pair going on top to be secured with the four thumbscrews. This last part with the mounting bar is identical to the LGA2011 installation. Make sure to position the mounting bar with the mounting holes converging toward the CPU socket. Use the outer holes for LGA2011 mounting and use the middle holes for LGA115x mounting. Unlike the AMD mounting system, users can orient the mounting bars for either horizontal or vertical heatsink mounting since Intel mounting holes are equidistant from each other. Since the posts are non-integrated into the backplate, it is advisable to install with the motherboard on a table or if installing vertically with the motherboard already inside the case, users can tape the base of the posts to the backplate so it stays in place while placing the black spacers and securing the mounting bars.
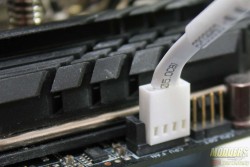
Apply the desired thermal compound quantity then simply align the PH-TC14S screws to the mounting bar’s center male protrusion. The last step is re-attaching the fan with the wire clips and plugging in the 4-pin connector to the header.
Compatibility and Clearance Issues
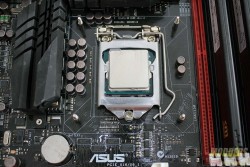
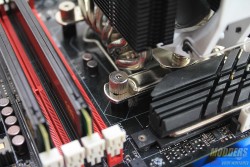
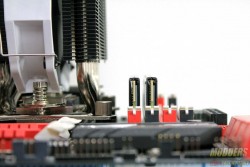
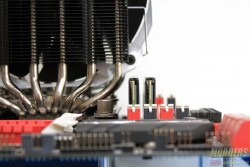
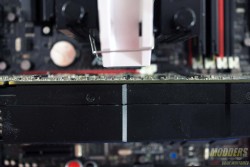
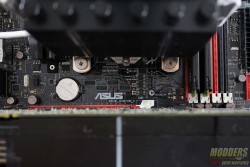
The Phanteks PH-TC14S provides 38mm clearance underneath before the fin array begins and provides 74mm thickness with 161.83mm height (with the fan flush to the top). The test system motherboard is an ASUS Maximus VI Gene motherboard with a 28.5mm clearance between the CPU socket and the first DIMM slot and has a 45mm gap between the CPU socket and the topmost PCI-E x16 slot. The Phanteks PH-TC14S promises superior RAM compatibility in Type A mounting (horizontal exhaust) and it lives up to that claim, with room for even an extra fan on the front and back. In type B mounting (vertical exhaust), the large 140mm fan overhangs on top of the first two DIMM slots and although the fan can be mounted upwards, this will also increase the 161mm height.
PCI-E clearance for both Type A and Type B mounting is fully compatible even on this motherboard where the top-most PCI-E sits close to the socket. This also includes the optional intake fan placed in Type B mounting mode.
