Phanteks Enthoo Pro Mid-Tower Case Review
Internal Appearance
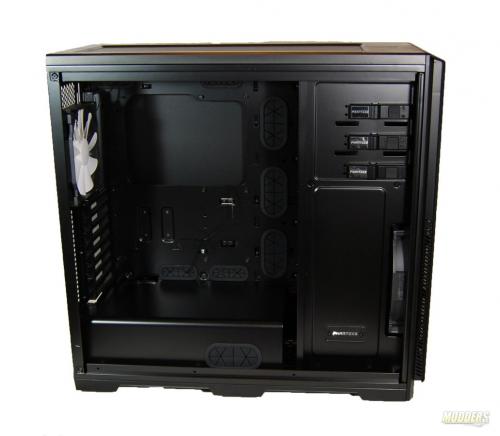
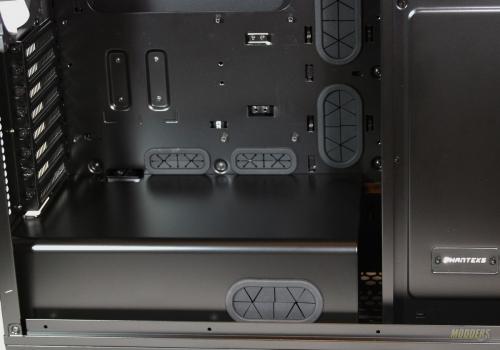
Looking on the inside of the case, we see that we have tons of openings which have grommets on them for cable management. We also see that we have a large power supply bracket on the bottom to hide any unsightly wires that would otherwise detract from the final image of your case. Your 5.25” drive bays feature a tool-less design, for quick insertion and removal of optical drives or fan controllers.
As I said there is a power supply cover, which is removable, that allows you to completely hide all of your PSU cables. It also features an opening allowing you to run any cables you may need to in or out of the side. This opening also features a grommet to ensure a clean look.
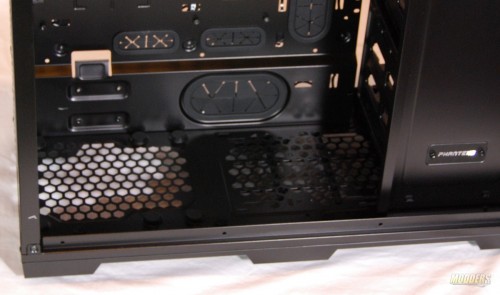
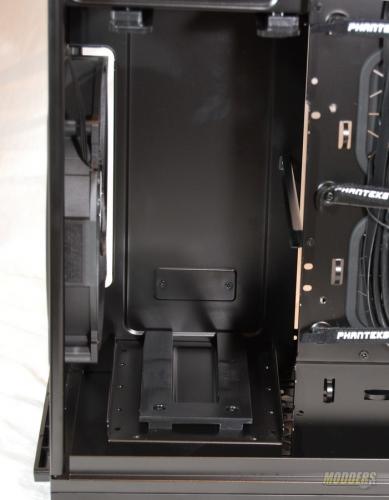
This is what you find behind the PSU cover. There is a mounting area for a single 120/140mm fan as well. You can see the large opening where you would run your PSU cables through behind your motherboard tray for cable management.
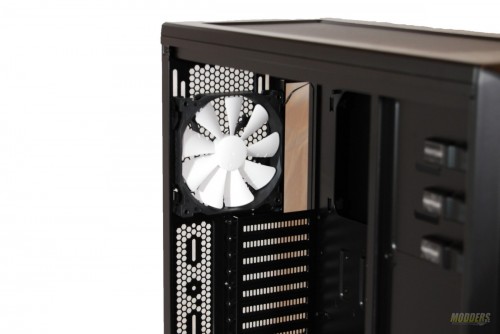
Phanteks has included a single 140mm fan for the back exhaust fan. It is, just as the front fan, housed in a black frame with white fan blades.
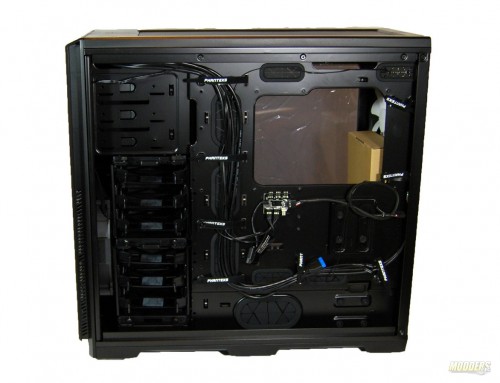
Turning the case around and removing the back panel we find that we have tons of premounted cable ties to assist with cable management. On the lower left side you also see your hard drive cages. The Enthoo Pro comes with two fully removable cages that house up to three drives each. On the right side you have an SSD mounting bracket, as well as a PWM fan splitter.
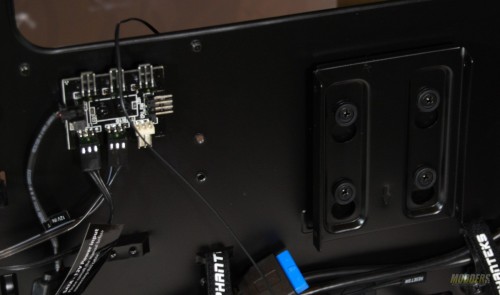
As I said there is an SSD mounting bracket, which is removable should you not need it. There is also a PWM fan splitter which allows you to connect up to six fans, and it is then connected to an open PWM fan header on your motherboard. This allows full control of all six fans via a single motherboard fan header. This is a really nice touch, to ensure a near silent machine.
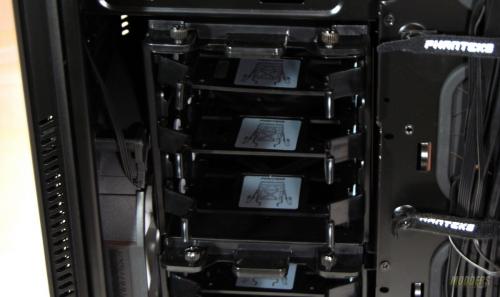
Here are the two removable hard drive cages. They are held in place with simple thumb screws, and can be removed within a matter of seconds. IF you choose to remove them, you will have considerably better air flow to your graphics card/s, which is quite nice for those of us who don’t use any hard drives besides our SSD.
Hardware Installation
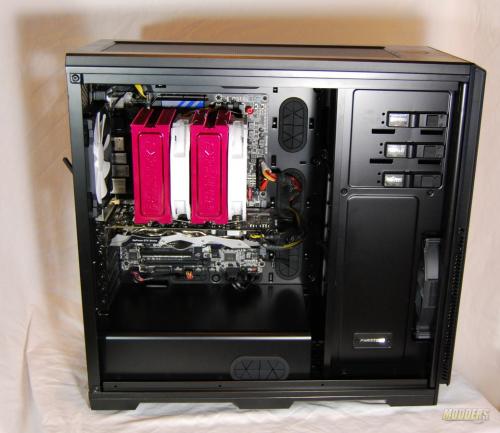
I found that installing our test machine in the Enthoo Pro was very simple, and I was able to achieve a nice clean look with minimal effort! The PSU cover really proved to be a saving grace for our cable management as I was able to hide all the ugly cables that otherwise would be visible. As many of you know, cable management isn’t just for looks. The cleaner your cables are, the more optimized your case is for sufficient airflow. When you’re investing hundreds of dollars on computer hardware, you want to ensure all your parts are going to stay nice and cool once they are put together.
The Enthoo pro has ample room for installing even the largest CPU air coolers available on the market today. As you can see above we have the Phanteks PH-TC14PE CPU cooler installed and it is quite large. It is a dual tower, dual 140mm fan cooler and it had plenty of clearance with the side panel installed. Phanteks has said that you could install up to a 7.6 inch CPU cooler in the Enthoo Pro. We also found that the Enthoo Pro has plenty of room for lengthy graphics cards. With the hard drive cages in place you have up to 13.6 inches of clearance for your GPU, or without the cages installed you have an astonishing 18.5 inches! I can’t think of any video card that is that long, but I’m sure there is an expansion card that could definitely utilize some of that extra space!





So, now I am torn between this and the NZXT H440. I am looking for appearance, silence, and h2o cooling potential.
Having not used the H440 personally, I’d suggest having a read of our review on it. However, I can tell you that the Enthoo Pro could potentially come up short on the H2O performance as mounting options for rads aren’t quite as broad as the H440. If you’re using an All In One cooler, the Enthoo Pro is a fine choice!