Phanteks Enthoo Luxe Full Tower Computer Case Review
Lets dive into the Phanteks Enthoo Luxe deeper.
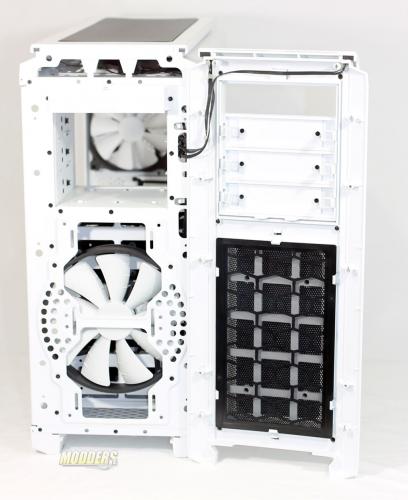
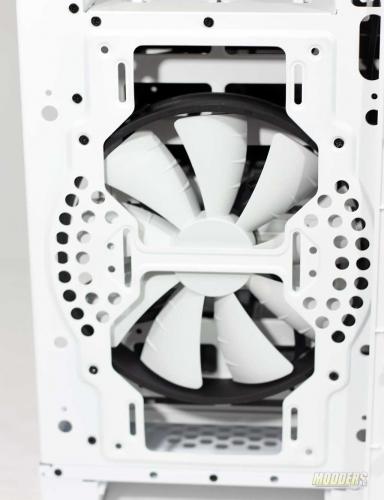
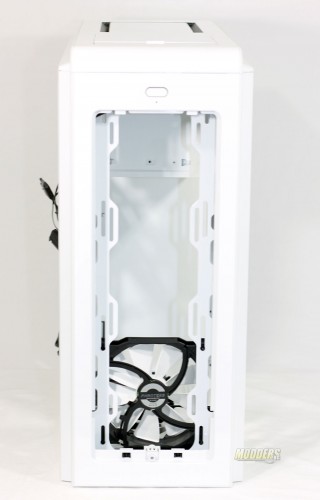
Removing the front panel off the case reveals some items to us like the 200mm PH-F200 fan and the dust filter for the front air intake.
Here is a listing of the fans that will fit into this area
| Fan Size | 200mm | 140mm | 120mm |
| How Many | 1 | 2 | 2 |
| Radiator Sizes | 120mm | 140mm | 240mm |
With the top mesh cover off we can see that the entire top is wide open for maximum air flow when using just fan or with your water cooling radiator. While we are here let me tell you what fans and radiators and how many you can be installed in this location.
| Fan Size | 200mm | 140mm | 120mm |
| How Many | 1 | 3 | 3 |
| Radiator Sizes | 120mm | 140mm | 240mm |
| 280mm | 360mm | 420mm |
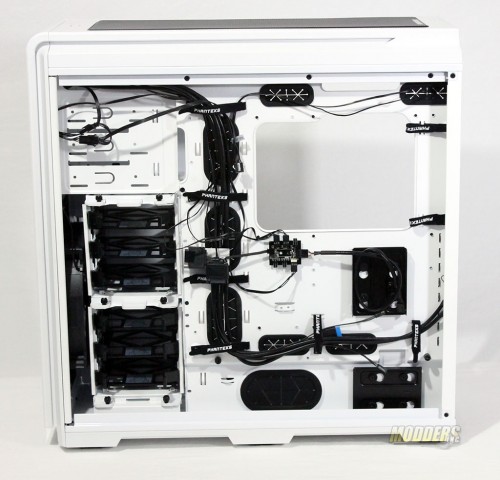
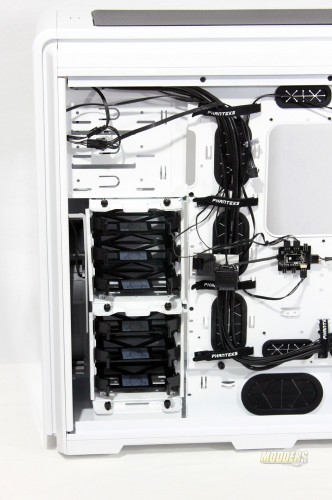
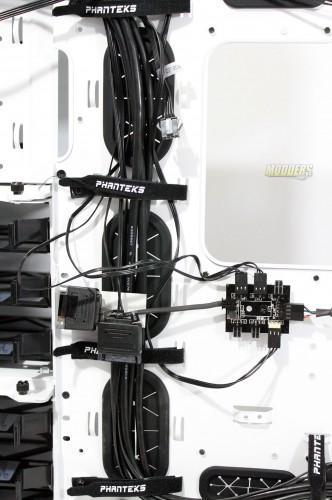
With the right side panel off we will take a look at what cable management and extras we have. The way you see the case now is how it comes out of the box. The the cable are pre-routed and place where they need to be.
From this view we can see that we have access to six storage caddies.
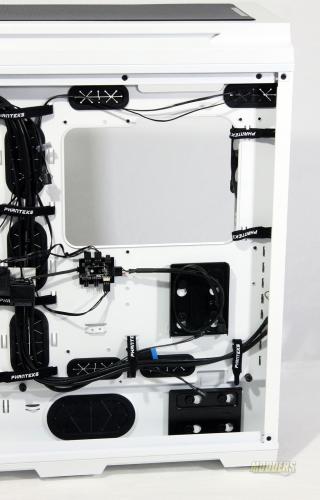
A large cut-out for access to the rear of the motherboard means that you should have an easy time changing out any CPU cooler. Cable pass-through holes are located at the top and bottom of where the motherboard sits to help route them out of the way.
Plenty of rubber grommeted pass-through holes are placed everywhere to make it easy to get your cable from point A to point B and keep them out of sight for as long a possible.
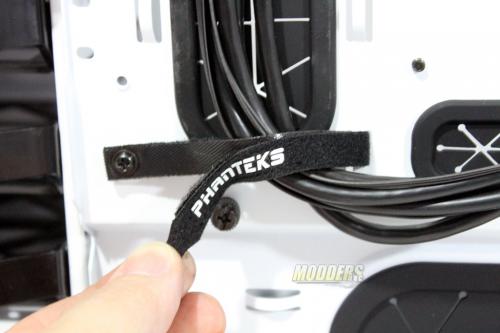
Instead of using metal tabs or plastic tie wraps Phanteks used Velcro tie wraps that can be used over and over again plus it makes for easy and quick cable management when changes need to be done.
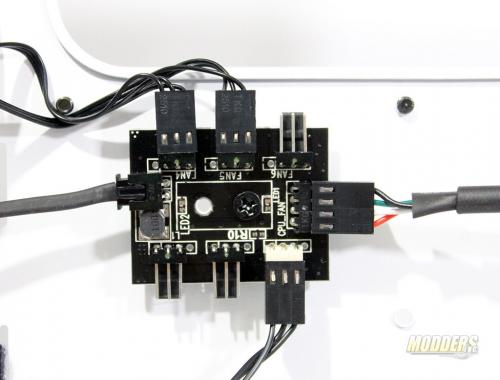
I know you were looking at this and trying to figure out what it was so I will tell you. This a PWN Hub. With this you can control a series of fans by using the just one of the PWN controlled cooling fan pin outs from a motherboard. The 12V SATA power cable can not be used to power the PWM hub if connecting to these types of 4-pin connectors, due to the interference with the RPM regulation by voltage (resulting in the fans running on full RPM). The PWM hub will draw its power from the 4-pin connector, which is limited to a total device consuming 30W in total.
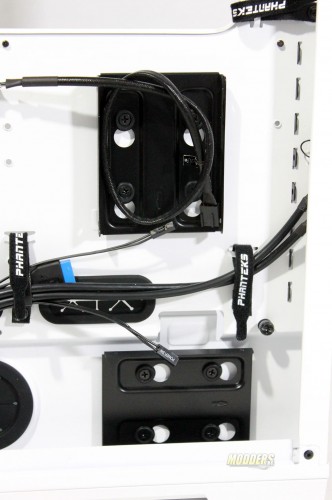
On the back side of the motherboard tray are two SSD brackets. Rubber around four screws give the brackets their mounting to the tray. Simply push the bracket, with some force, to unlock the bracket and install your SSD. Just reverse the bracket removal and you have mounted the drives.
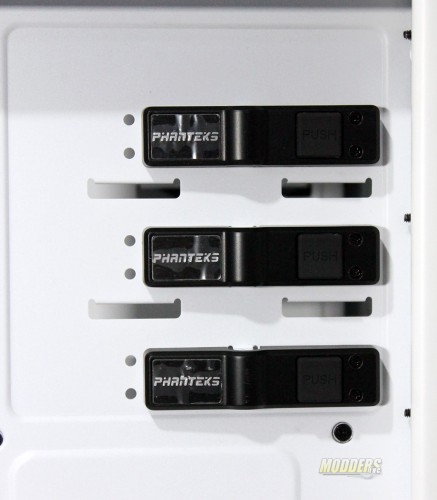
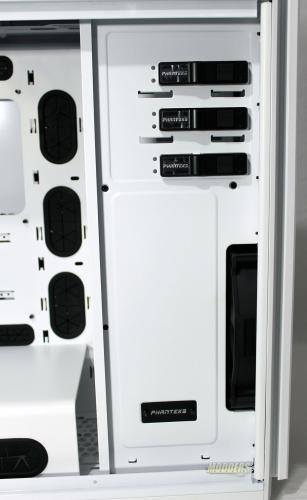
Installation of any ODD (Optical Disk Drive) is super easy and quick. Remove the drive bay cover of the bay you want to use and slide in the ODD until hear/feel a click. The drive is not locked into place. Removal is just as simple. Push on the drive holder and slide the ODD out.
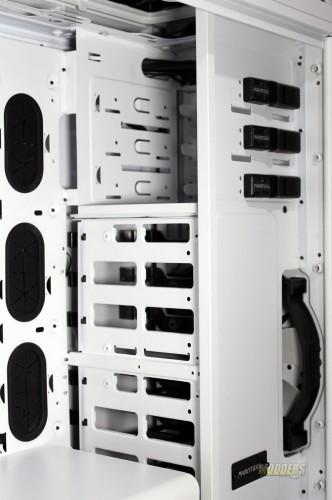
Here we can see that there are three ODD bays and that the hard drive cages are just below it and face towards the right side of the case.
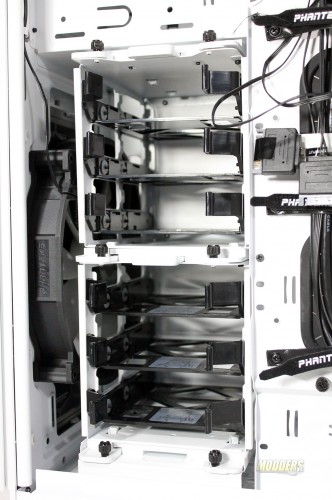
Six places are provided to install standard hard drives or SSD’s. Pinching the tabs on the drive caddies allow you to remove them.
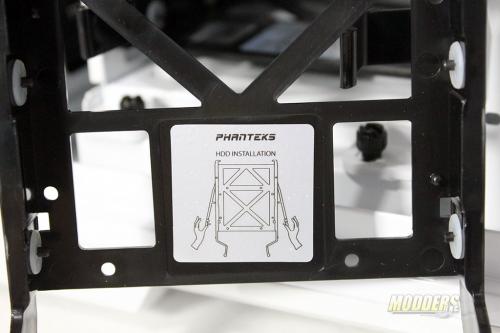
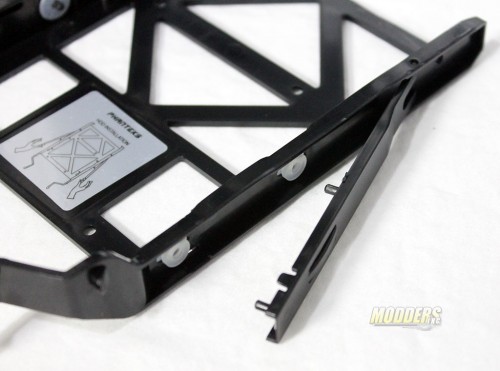
The drive caddies are made of plastic and are nice and rigged and give you confidence that they will stay in place and protect your drives. As the image on the caddy shows it is rather easy to install a full-size drive.
Hinged pieces with two post are used to lock the drive into place. When the caddy is placed back in to the drive cage the hinged bracket is held closed as they are up against the walls of the cage. No screws are needed when installing a standard drive, but if you want to add in a SSD you whiles to used the included screws and use the mounting holes located in the base of the caddy.
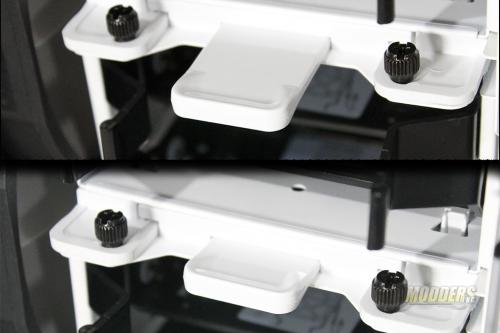
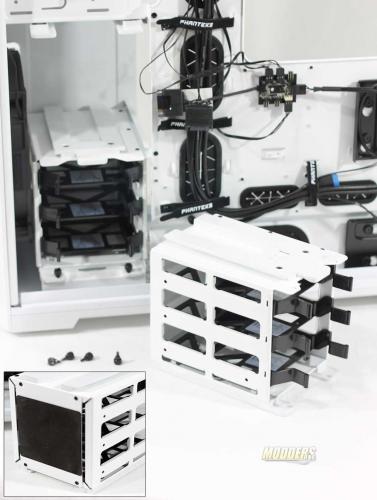
Each of the two drive cages can be removed from the Luxe case. Thumb screws are used to keep them in place, but it you want to remove one or both all you have to do is removed the thumb screws, pull the tab on the slide lock and out comes the drive.
You may leave the top drive cage in place and remove just the lower cage or you can leave the lower cage intact and remove the top cage, or both. Phanteks even placed rubber on the backside of the drive cages as they rest against a stop plate. Doing this eliminates any noise that could be transferred from the drive cage to the case.
Let’s say that you want to put in a large reservoir and pump but it looks like there is no place to put, ah but there is. You can actually take the chassis apart and remove the hard drive panels and cages completely. Phanteks make the Enthoo Luxe so that you can remove some screws and take it apart. By removing 15 screws from the top chassis panel and 9 more the HDD Chassis. You now have plenty of room for you water cooling equipment. Reinstall the top panel and you case is good to go.
