Phanteks Enthoo EVOLV Micro-Tower PC Chassis Review
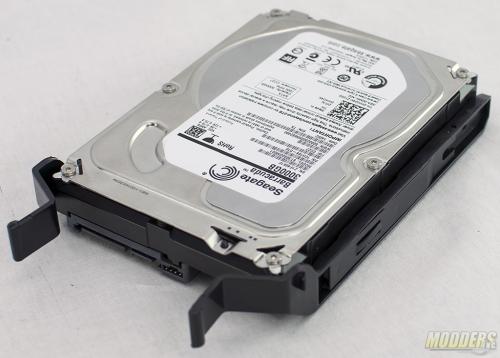
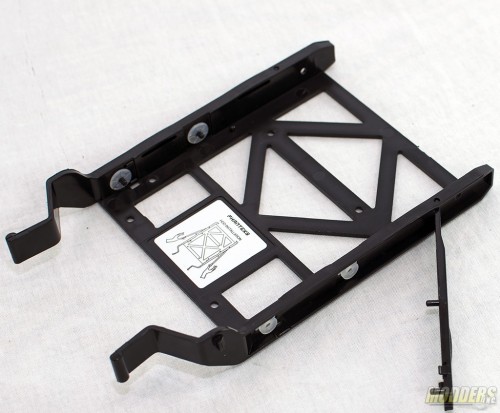 The 3.5″ drive trays are toolless. The first step in installing a drive is to open the lock on the sides of the drive tray as shown.
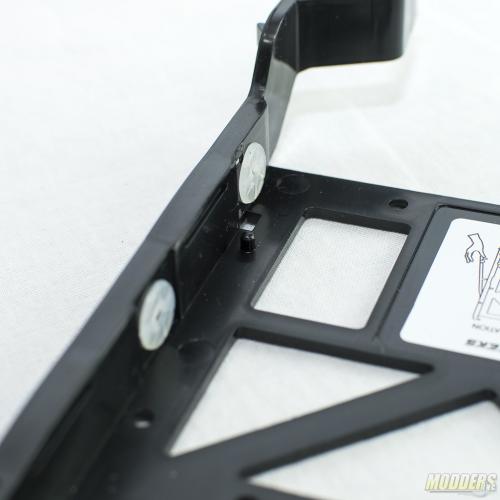 The hard drives will only fit into the trays one way. There are locating pins on the bottom of each of the trays that align the drive’s screw holes with the lock on the side.
Once the drive has been seated, the next step is to close the lock. A simple press is all that is needed and you should end up with an assembly as shown.
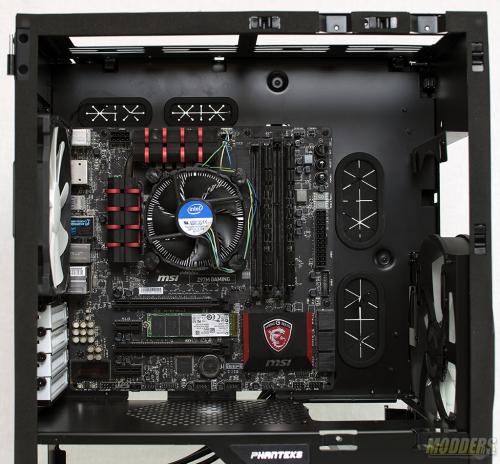 Next up is to install the motherboard. The first step is to install the stand offs, then using the provided screws, secure the motherboard to the standoffs. I have removed the side bracket for clarity.
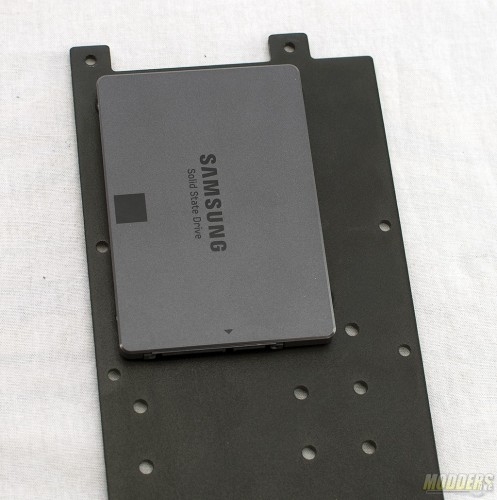 The side bracket is not just for looks. You can mound two SSDs or two hard drives. You can also mount a watercooling reservoir and the included pump bracket. It can be removed all together to facilitate installation of longer GPUs.
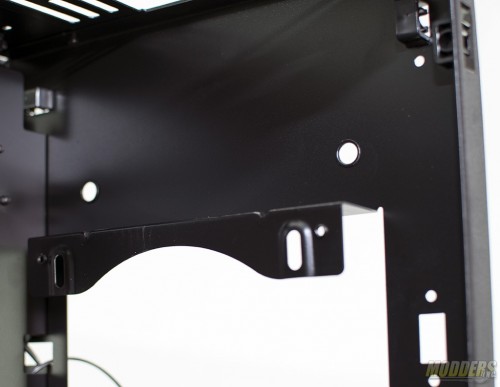 Watercooling in this tiny case is huge. Here is a shot of the top of the front radiator mount. The Enthoo Evolv can support up to a 240mm radiator up front, a 280mm radiator up top and a 140mm radiator on the back.
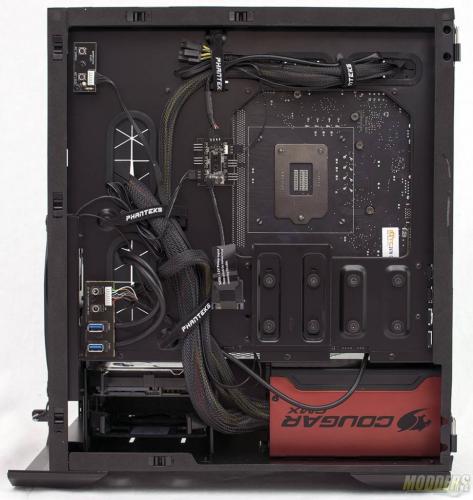 I did not include this image to show my cable management (or lack of) skills. I included it to point out that Phanteks makes it extremely easy to do minor cable management with the items they included in the case. I spend less than fifteen minutes routing wires and getting them all wrapped up.
