Phanteks Enthoo Evolv ATX Case Review
A Closer Look at the Phanteks Enthoo Evolv ATX
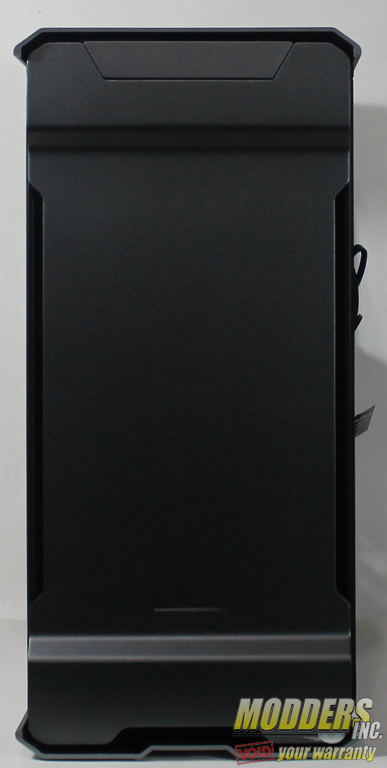
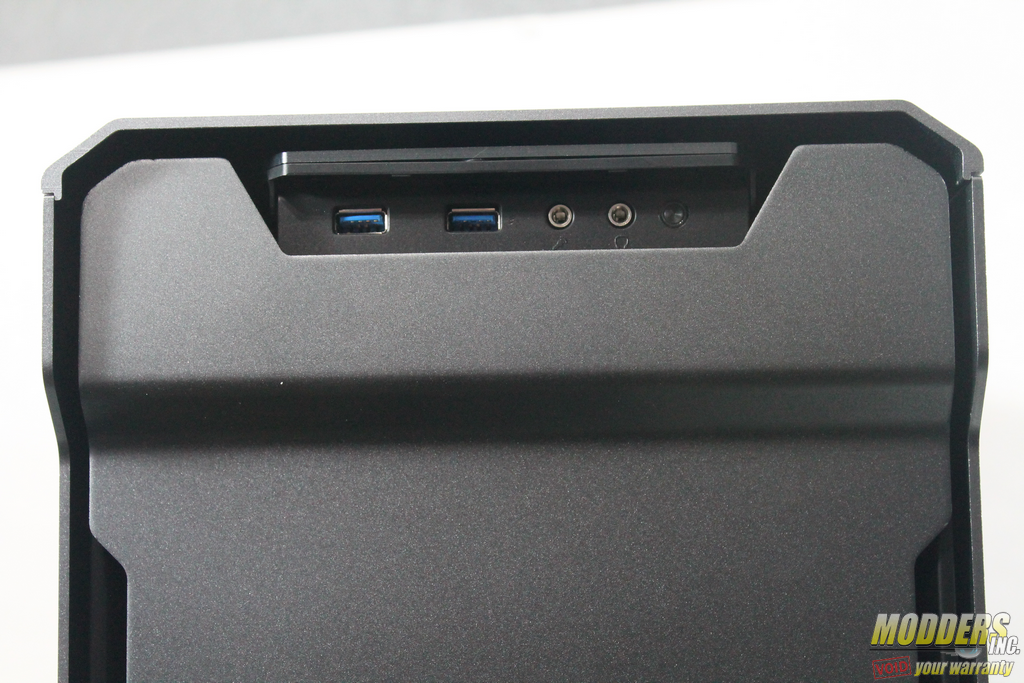
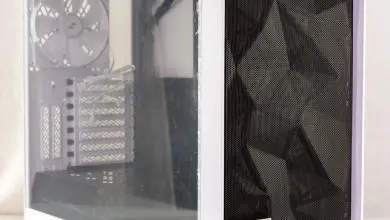
The front of the case has a very modern minimalist look to it. All the panels are made of 3mm thick aluminum including the front. At the top is a hinged flap that hides two USB 3.0 ports, the front headphone and mic ports and the reset button. Ventilation is provided by the two vertical slats on both sides.
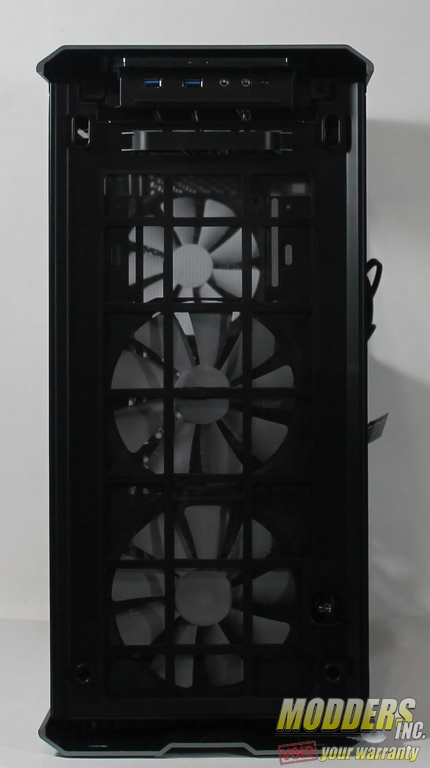
With the front panel removed you can see a large removable mesh filter that covers the entire front of the case.
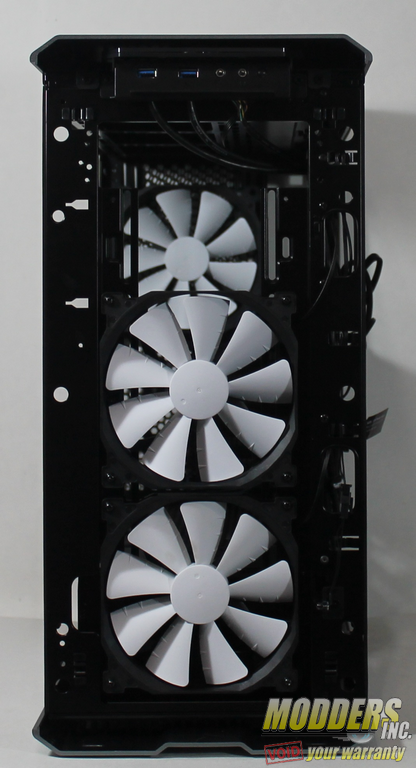
With the large mesh filter removed you can clearly see the two pre-installed 140mm fans.
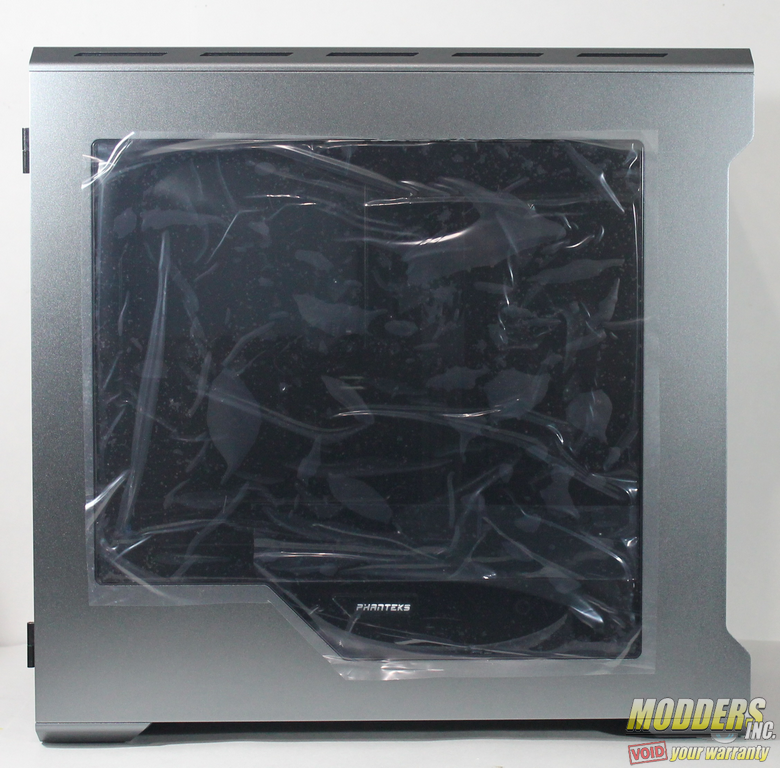
On the left side panel is also 3mm aluminum and has a large smoked window covering 80% of the side panel. At the rear of the panel are two removable hinges.
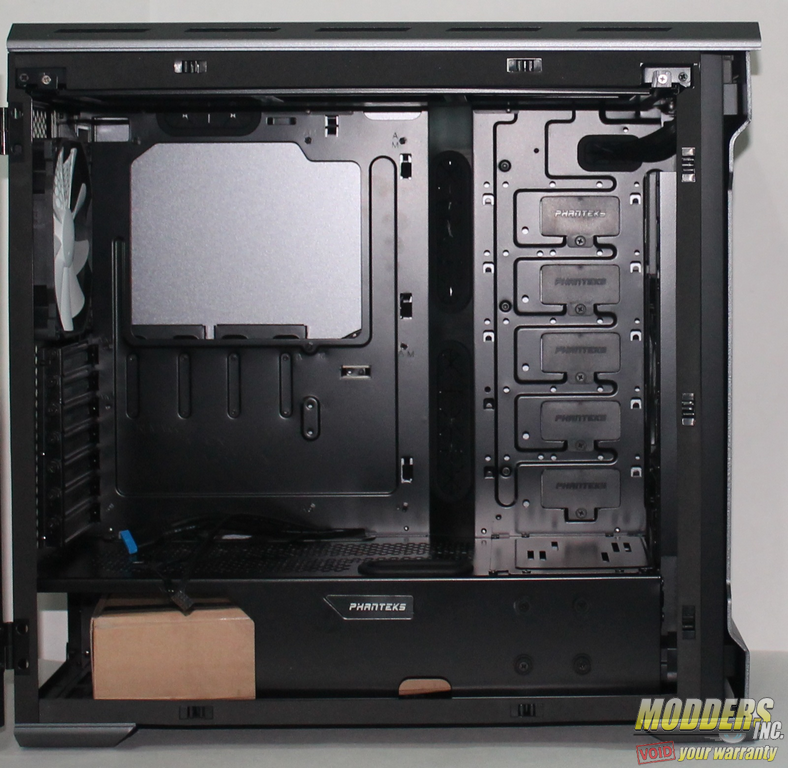
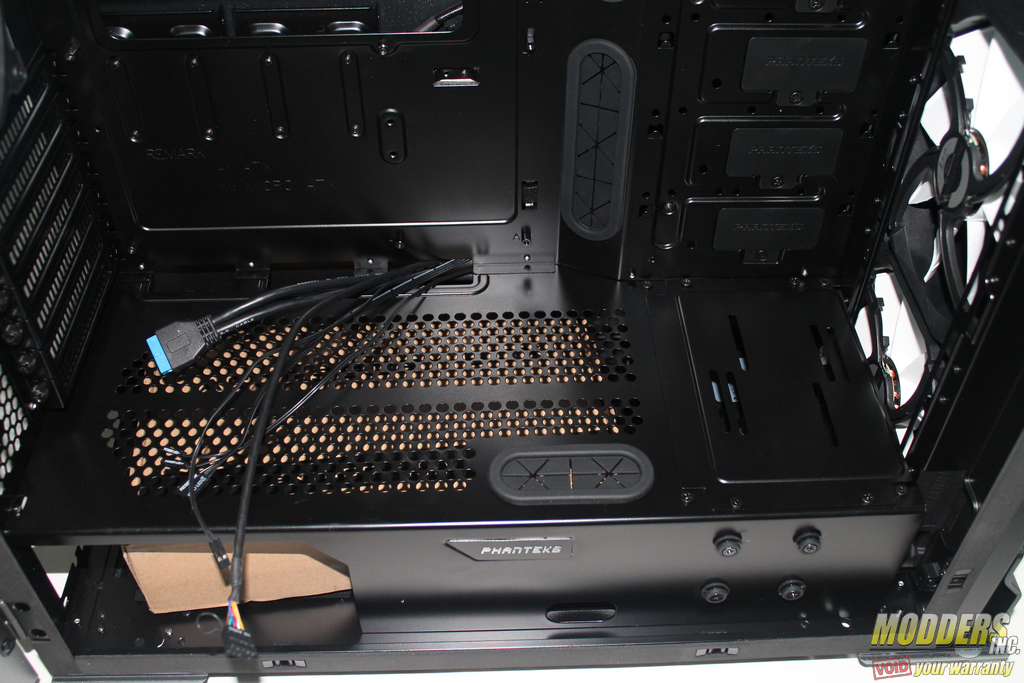
Once the side panel has been removed. We can see the interior layout. At the bottom is a built-in PSU shroud with a 2.5″ drive mount toward the front. The PSU shroud also has built in cable management holes for the GPU’s power cables.
Once we get in and look down, we see at the front the removable plate that has built in pump mounts. If you are wanting a 360mm rad in the front, you can remove the plate and there is another set of pump mounts on the sub-floor. The PSU shroud is also vented on the top so you can have the PSU with the fan facing up instead of down if you would like.
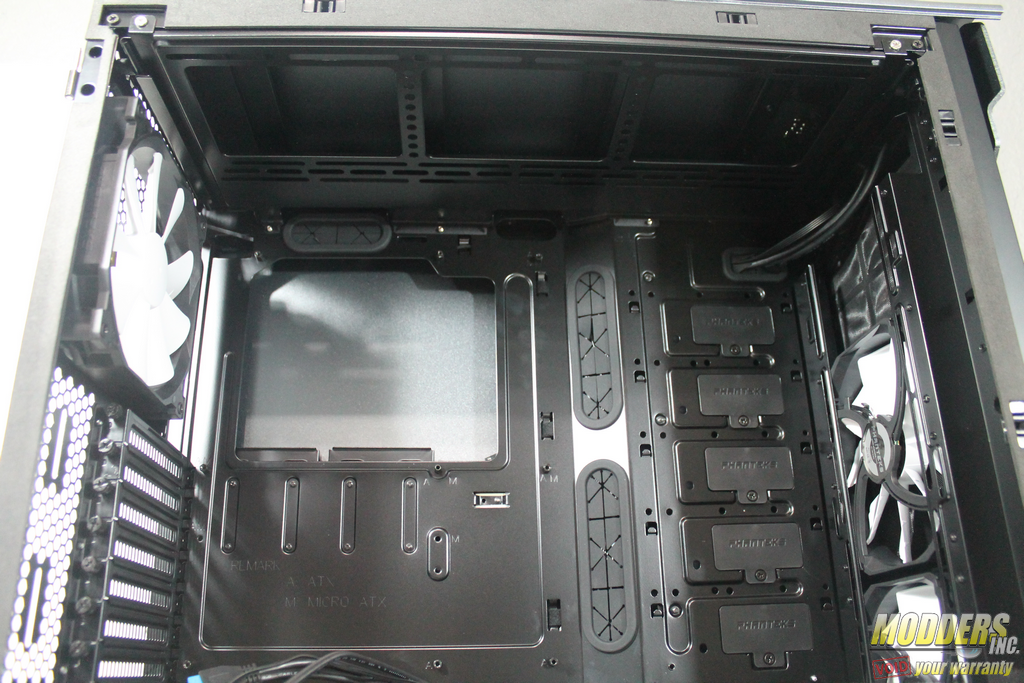
Now if you turn your gaze upward, you can see the mount for the top fans/rad. Moving down we can see the large CPU cut out with two large grommet cable management holes moving over to the right a bit more we can see the modular HDD mounting system (you remove the little cover that says Phanteks to run the cables). There are also several built in holes for mounting a reservoir. To the rear of the case we can see the pre-installed 140mm fan, seven expansion slots, and another built-in mount for a reservoir.
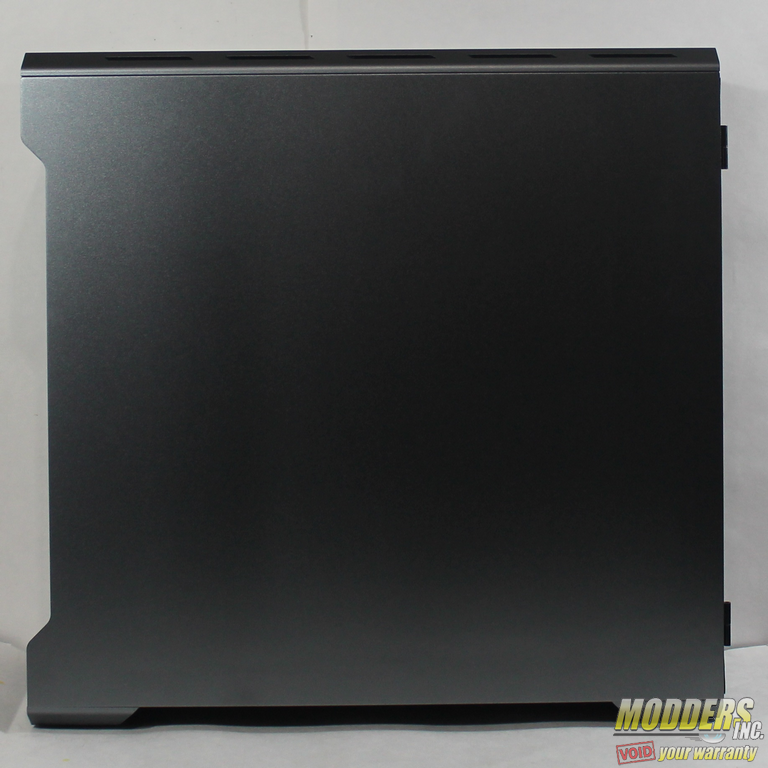
The right side panel is one solid piece of 3mm aluminum and it too has removable hinges. Both side panels are identical in shape and size, and can be swapped from one side to the other.
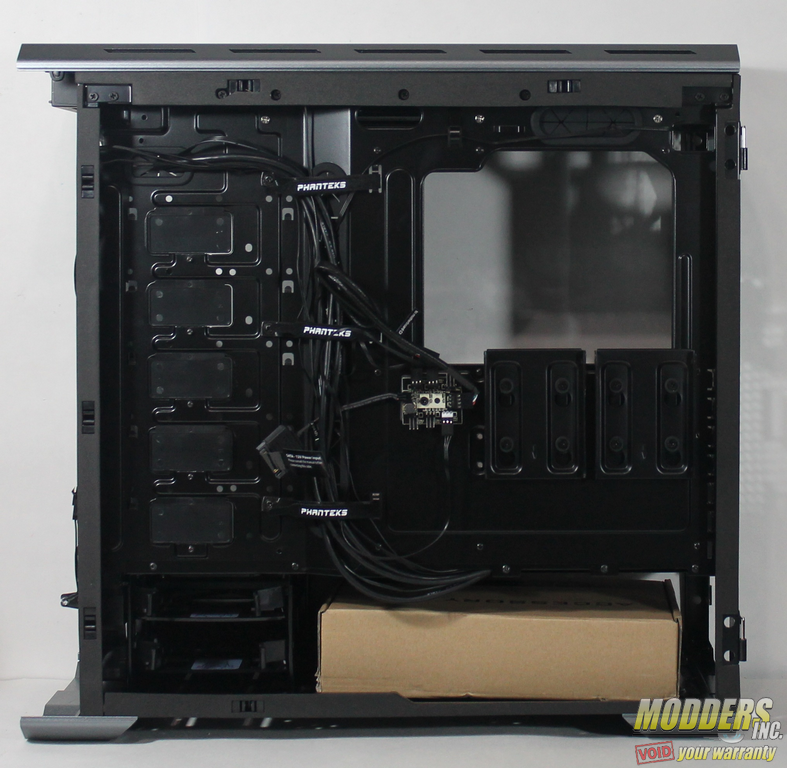
With the panel removed we can see that all the way around the case where the panel would normally come into contact with the case is covered by a thin layer of foam to insure no vibration noise is heard.
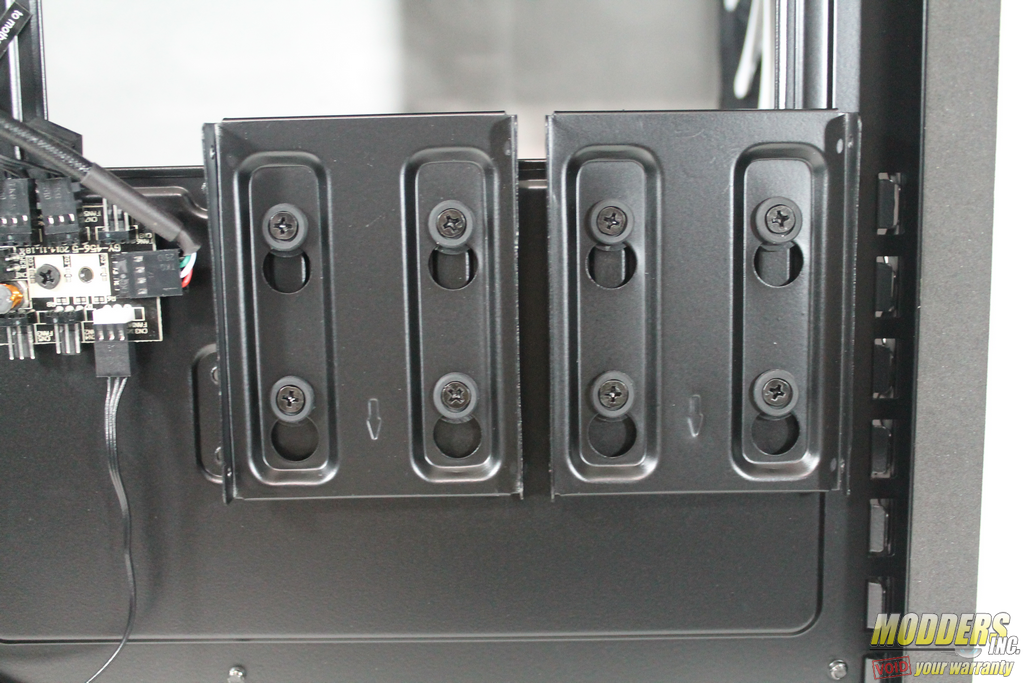
The rear of the motherboard plate has two 2.5″ drive mounts.
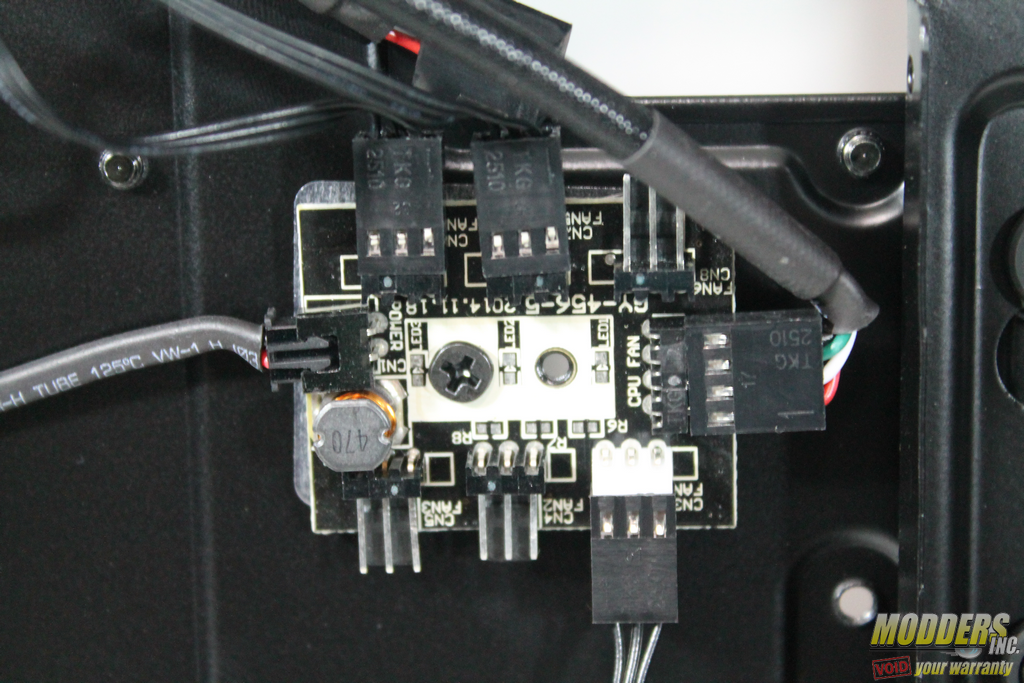
Directly to the left of that is the built in 6-port PWM fan hub that gets connected to the CPU lead on your motherboard so you can control every fan in your build.
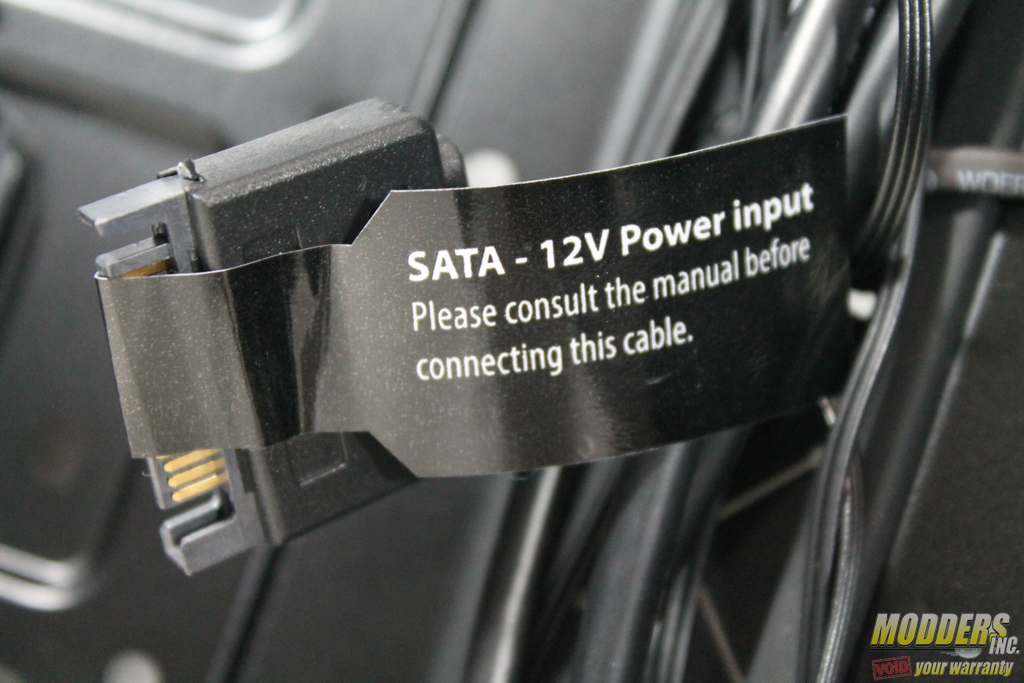
In addition to that, the fan hub is also powered by a single SATA connection.
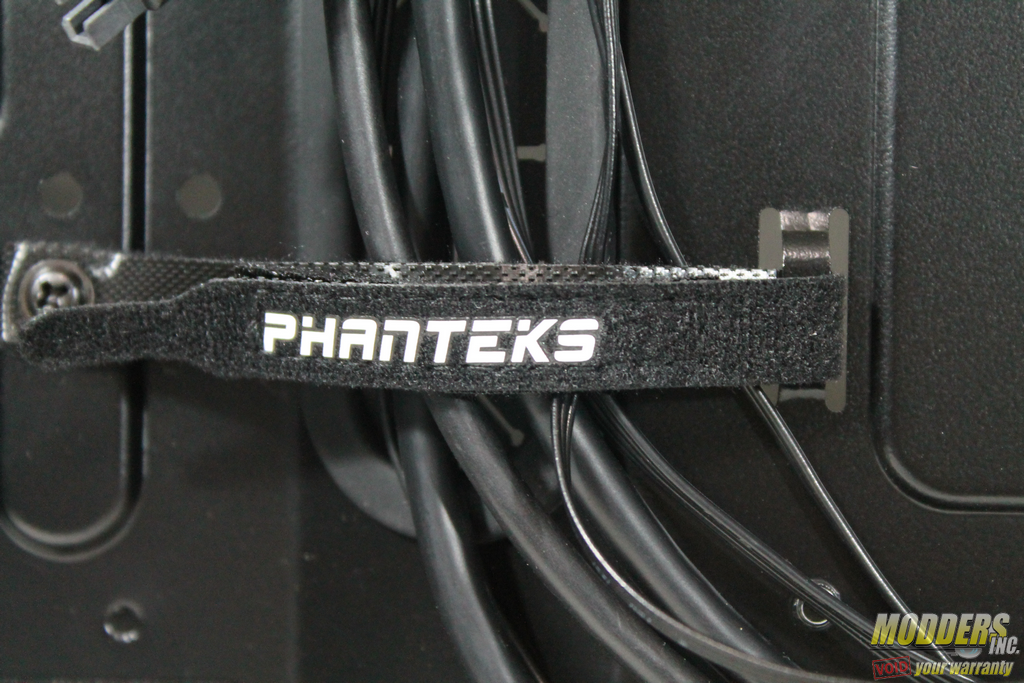
To the left of that is a channel for cables with built in hook and loop to keep them nice and tidy.
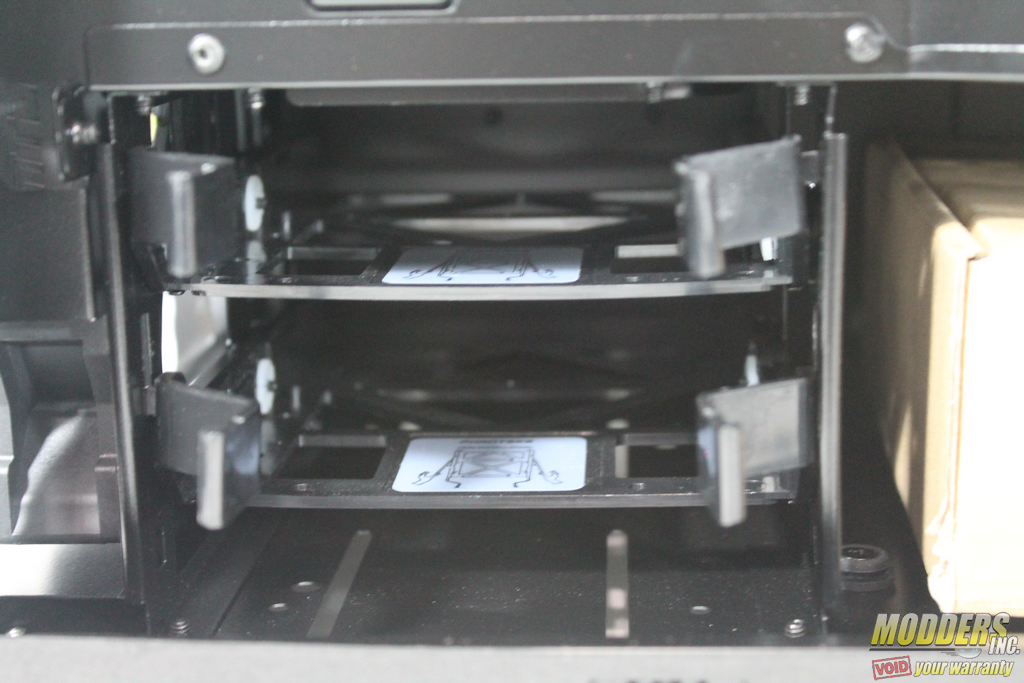
Moving down to the bottom in the front we have a removable 3.5″ drive cage for two devices with plastic sleds.
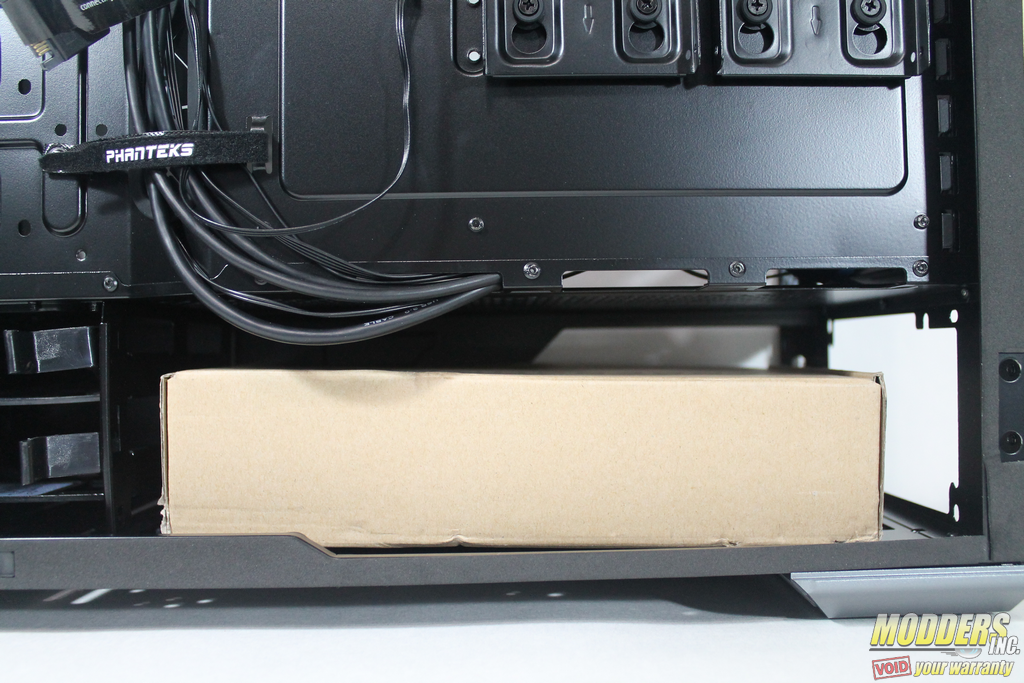
To the right of that you have the PSU/Cable area where you will find the small cardboard box that contains all the accessories.
The top panel is also 3mm thick aluminum, has a small power button on the center towards the front. On the beveled edge you can see the built in vents.
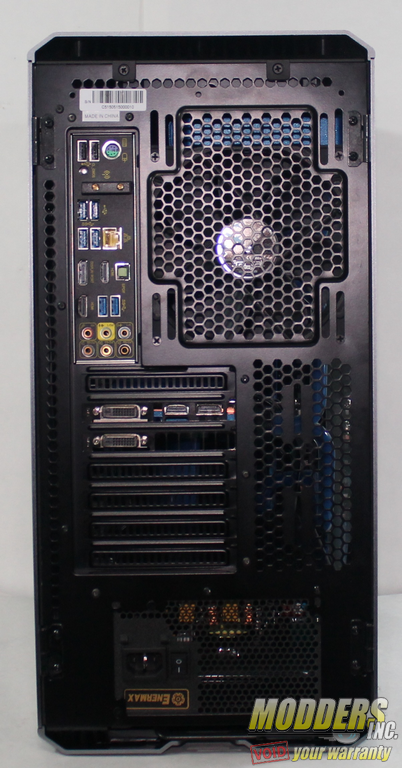
At the rear of the case we see a large 120/140mm fan mount nest to the I/O panel slot, Directly below that are the seven expansion slots and the built-in reservoir mount. With the PSU mount at the very bottom.
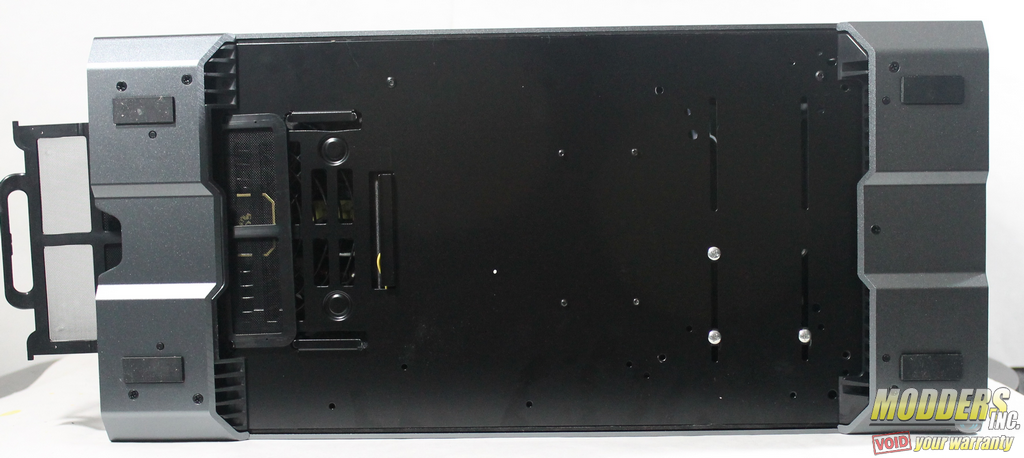
On the very bottom we have two aluminum feet that go across the entire width of the case on the front and back with rubber pads at the corners. You can also see the removable filter for the PSU
