Phanteks Eclipse P400 ATX Case Review
Hardware Installation
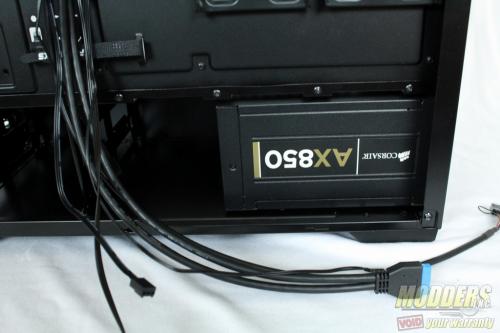
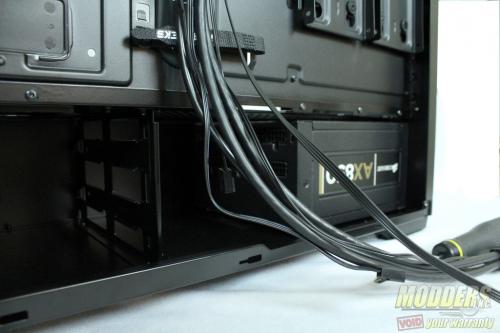
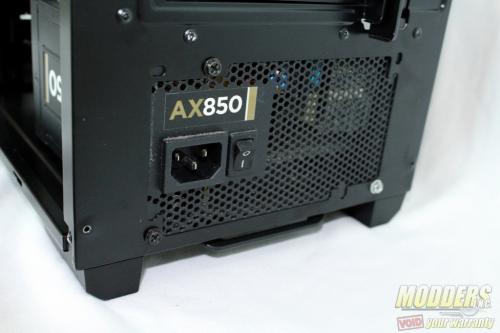
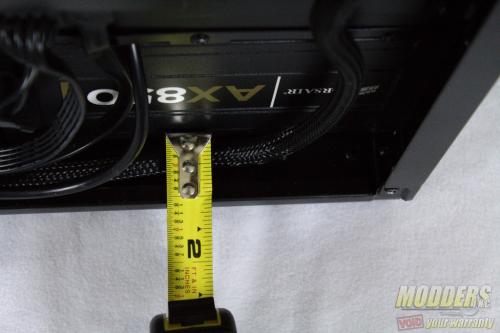
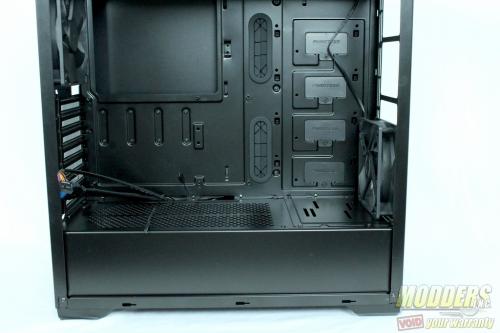
The power supply was the easiest component to install as there is a shroud. I mounted this with the intake fan facing downward to take advantage of the provided filter. The power supply shroud on the Phanteks Eclipse P400 is meant to accommodate larger PSU (Power Supply Unit) up to 10.6 inches according to Phanteks. Since my PSU is much smaller I could use the extra space for cable management.
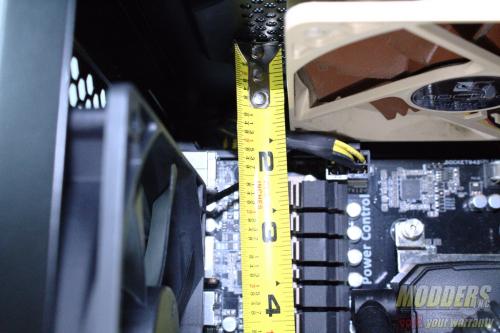
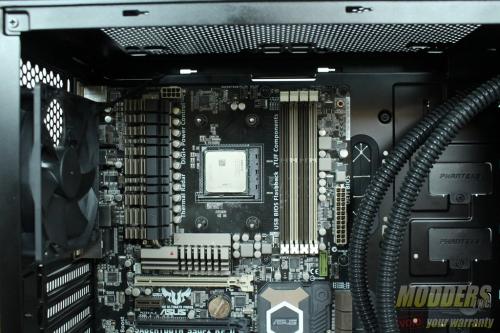
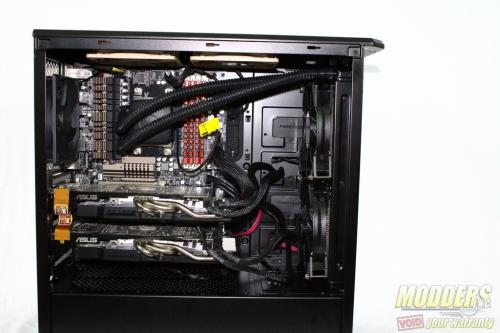
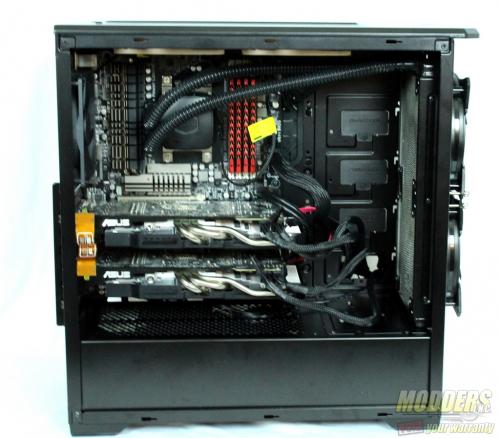
The Phanteks Eclipse P400 has motherboard standoffs for ATX sized board pre-installed so, unless you’re installing something other than an ATX board you’ll only need a quick glance to make sure all the standoffs are in place. After installing the motherboard I would not recommend installing a top mounted radiator it is unlikely there will be enough space. Instead of a radiator, some intake or exhaust fans on the top of the Phanteks Eclipse P400 would be great though.
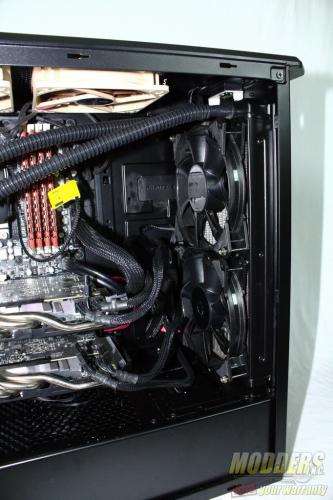
Installing a radiator on the front of the case was a breeze as the mounting holes were quite accommodating. The hardest part was figuring out which orientation would allow the closed loop liquid cooler to reach the CPU socket of my motherboard.
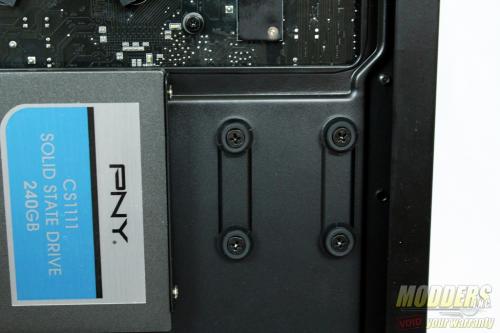
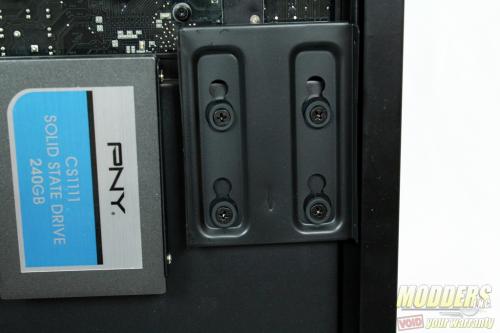
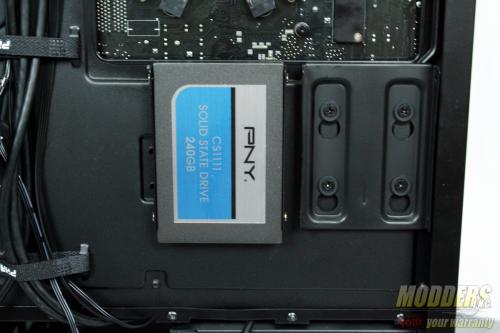
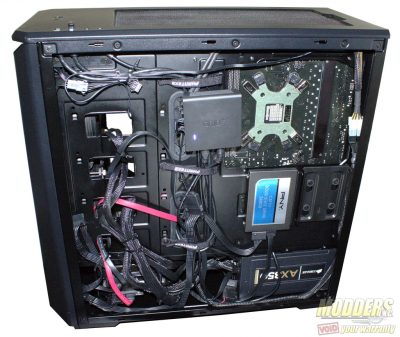
On the rear of the motherboard tray you’ll notice the “Drop-N-Lock” SSD bracket for 2 1/2 inch drives. To install the drives in the brackets, you simply slide the hard drive tray out, mount the SSD/HDD and then slide drop the hard drive back in place.
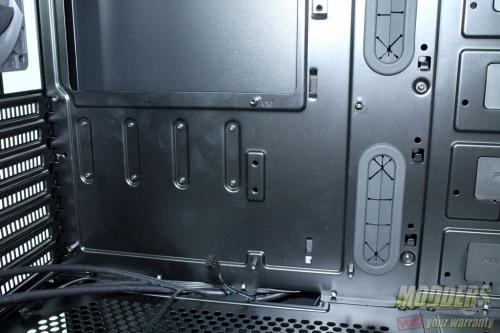
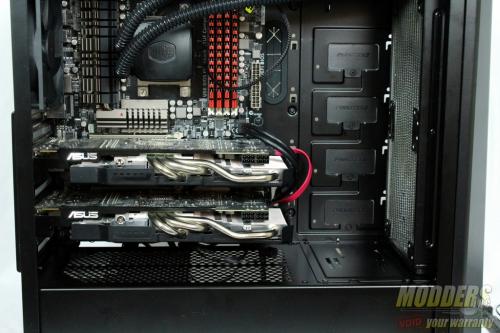
After installing the video cards, I was impressed with how much space the Phanteks Eclipse P400 has for thick radiators or longer video cards. I noticed the Eclipse P400 features some removable plastic covers. According to the online manual, this happens to be mounts for optional HDD brackets. These brackets are optional and sold separately, but I’ll take some of these off to route cables through.
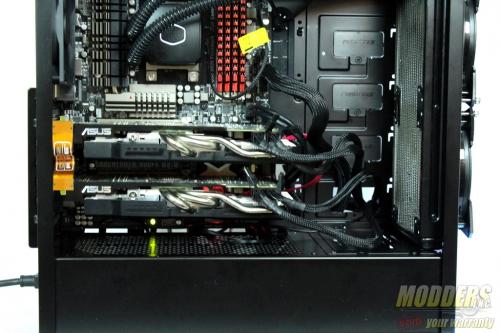
Given the amount of cables being routed through the rear of the case, the Phanteks Eclipse P400 has enough space in the rear of the motherboard tray to accommodate.
