Phanteks Eclipse P300 Tempered Glass Midtower Case
Stick To Your Budget Without Sacrificing Style
A Closer Look at the Eclipse P300
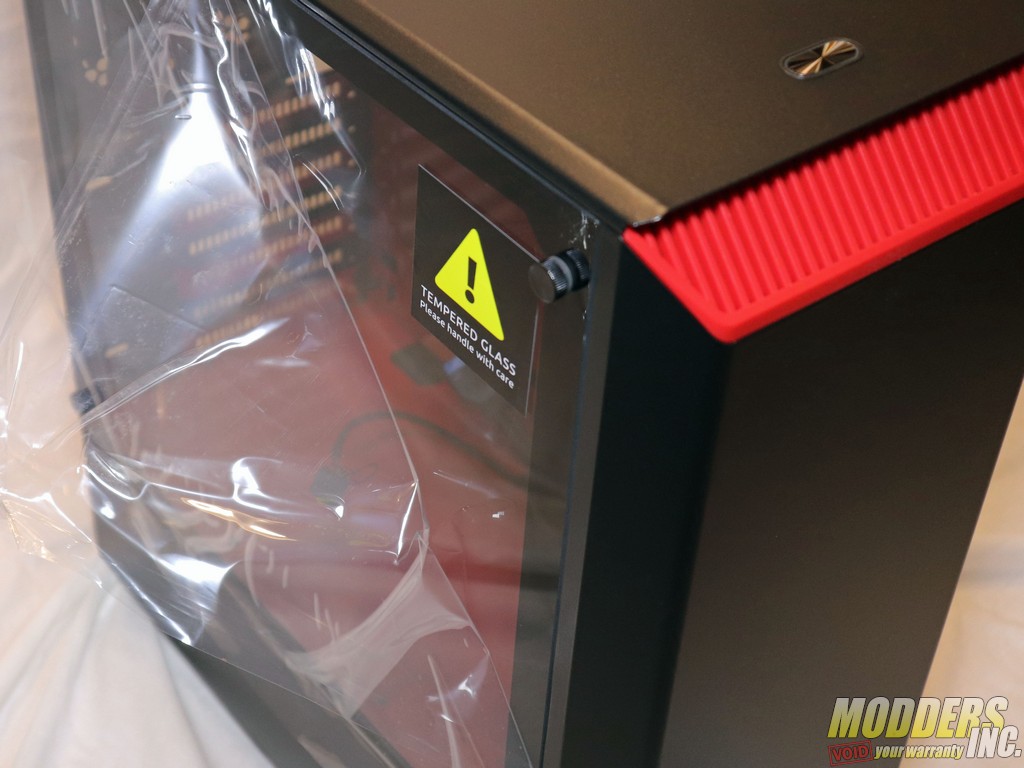
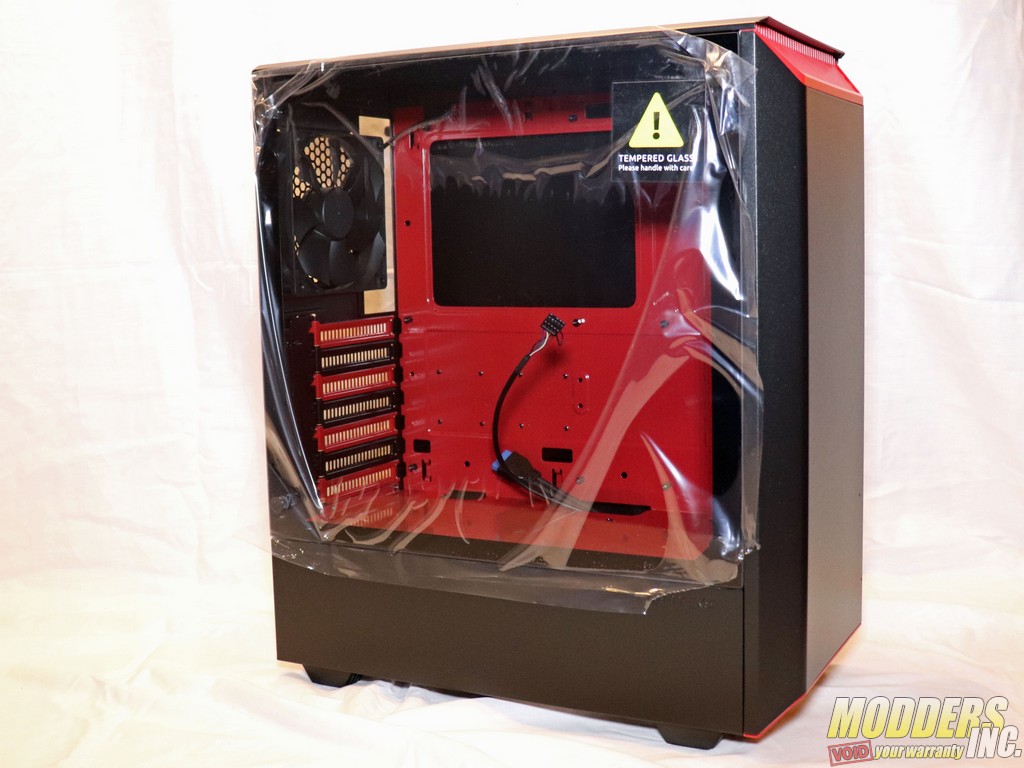
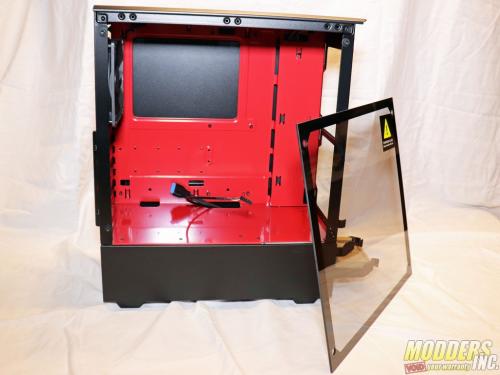
Inside the box, the Phanteks Eclipse P300 is enclosed in a clear plastic bag and surrounded by a pair of rigid form-fitting pieces of Styrofoam. The case ships with the tempered glass panel installed, with sticky plastic film covering the fingerprint-prone surface. There’s also a “Please Handle With Care” caution sticker on the glass panel.
The slab of tempered glass has a very slight tint and blacked-out edge to obscure the case frame. The glass features a soft sanded edge, and then pane itself is approximately 3mm thick. The tempered glass panel on the Phanteks Enthoo Evolv, by comparison, is roughly 4mm thick. The thinner panels probably help the company save on materials and shipping costs, but this panel is by no means cheap-feeling. The glass panels on the InWin D-Frame Mini, for example, are just 2mm thick.
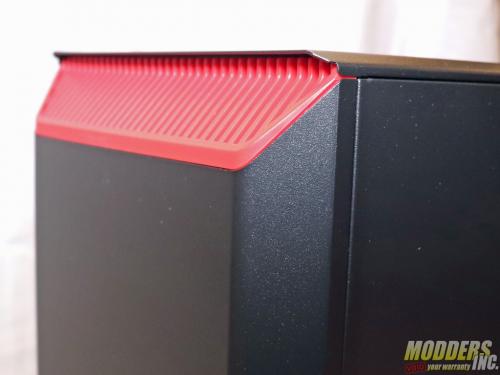
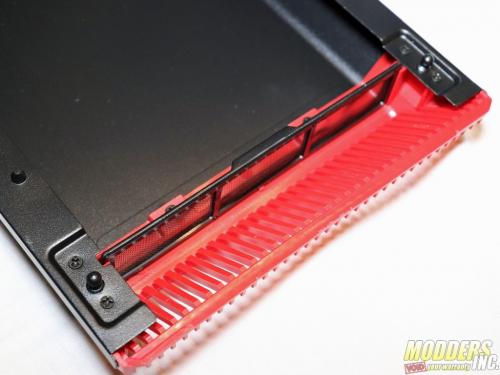
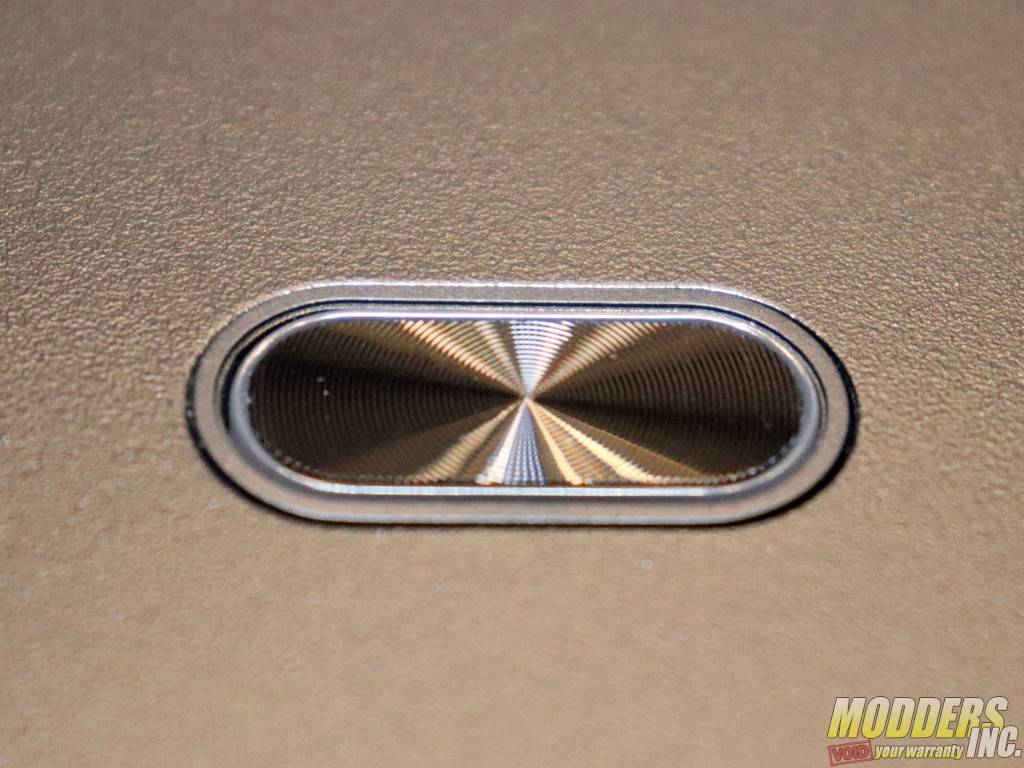
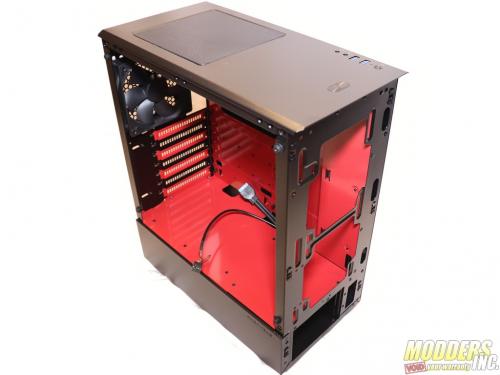
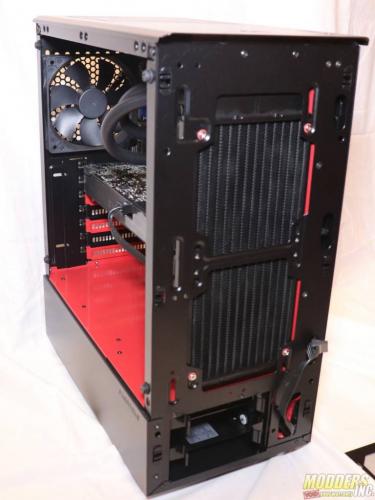
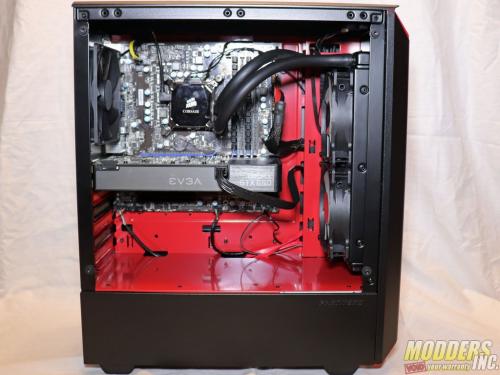
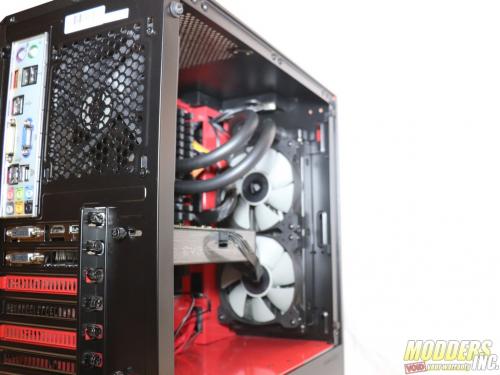
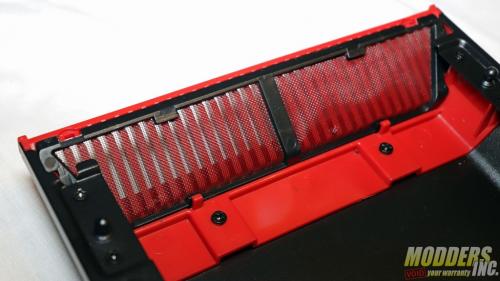
The Eclipse P300 is manufactured primarily from lightweight steel. The motherboard tray and the top of the PSU bay consist of a single piece of bent steel that has been painted glossy red. The rest of the case frame, also steel, is painted black inside and out. The PSU bay surface, front panel, and top panel have a slight texture to them, and a matte paint finish. There are two vents on the front panel, one at the top and one at the bottom, and they’re manufactured from red ABS plastic, giving the case a subtle splash of color. Popping off the front panel, which secures to the frame via six ball sockets, lets you see that the two vents are backed with a fine plastic mesh that acts as a dust filter. The front panel is a little more than an inch deep, which lets you install fans without sacrificing the 13-inch graphics card support. For our build, however, we installed an AIO cooler on the inside of the front panel, which cut down the interior width to less than 12-inches.
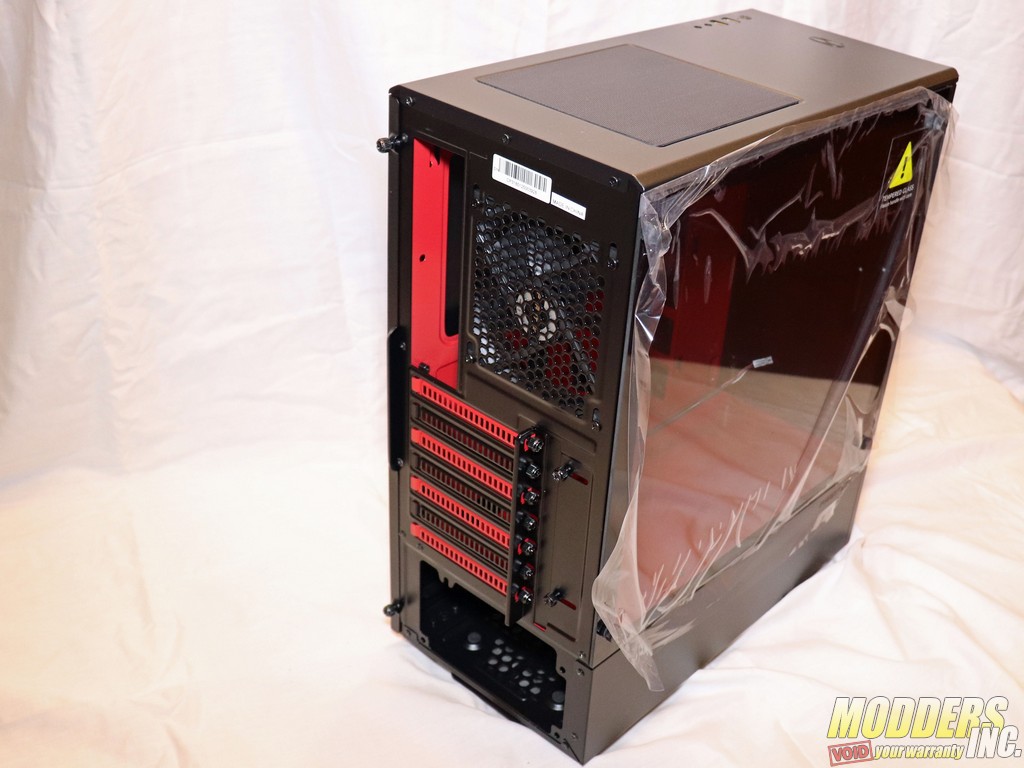
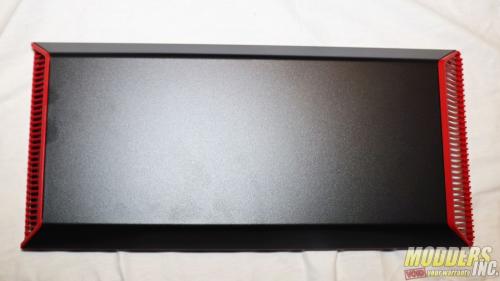
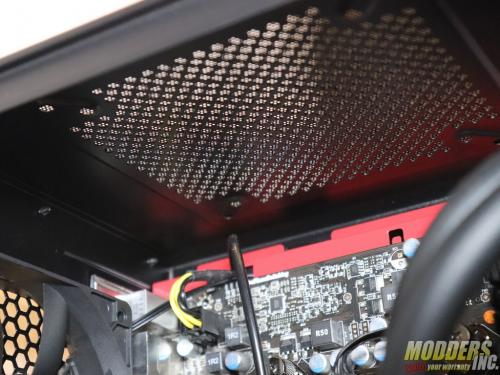
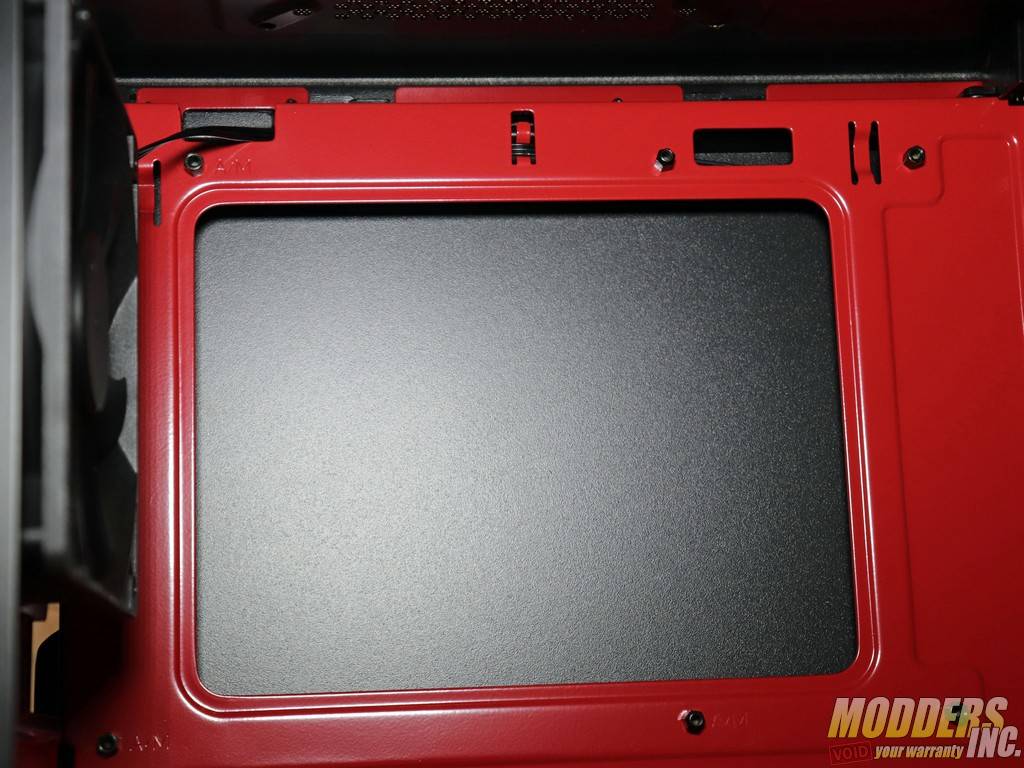
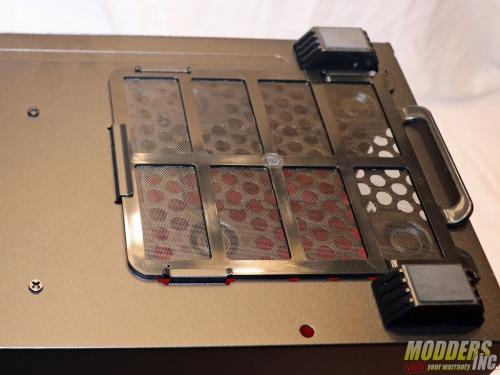
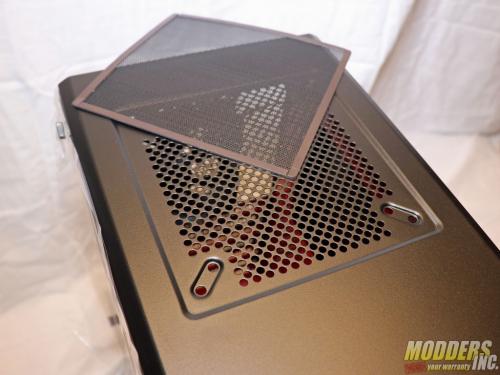
The top of the case, toward the back, features a magnetic fan filter that’s roughly 5.5-inches by 6-inches. This spot also features recessed screw holes to let you install up to a 140mm fan. Due to space constraints, you won’t be able to install a radiator of any size in the Eclipse P300’s top panel.
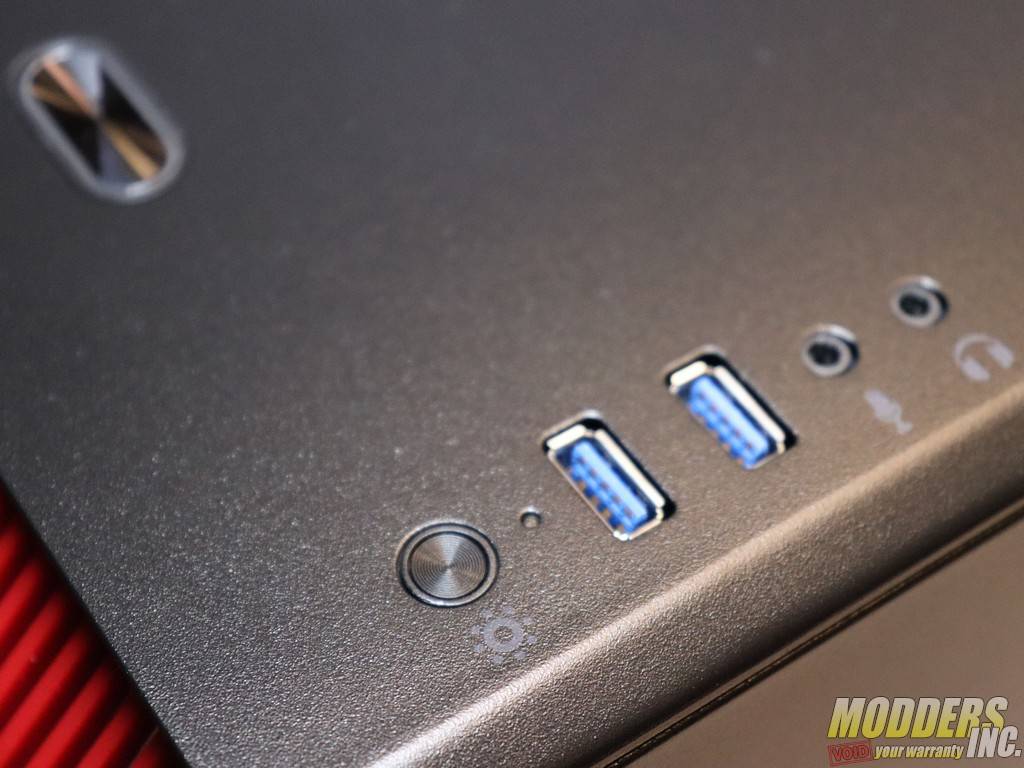
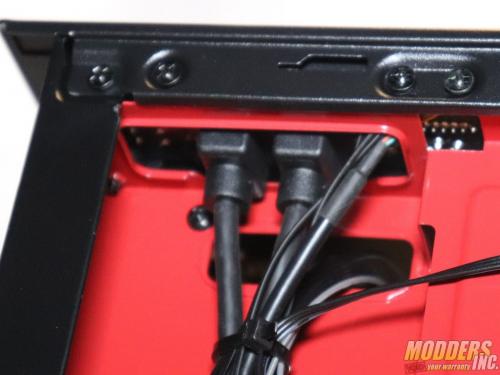
The front panel I/O can be found near the front edge, on the right side of the top panel. There are two USB 3.0 Type A ports, line-in/line-out audio jacks, an HDD LED, and an LED option button, which lets you cycle through a few effects and color settings for the LED lights surrounding the power button and the sliver of LED light at the bottom front edge of the tempered glass panel. The power and the LED buttons have a solid tactile response so you’re less likely to accidentally press them if you just brush your fingers over the buttons. Despite this case’s “budget” classification, it would have been nice to see a USB 3.1 Gen2 Type C port here.
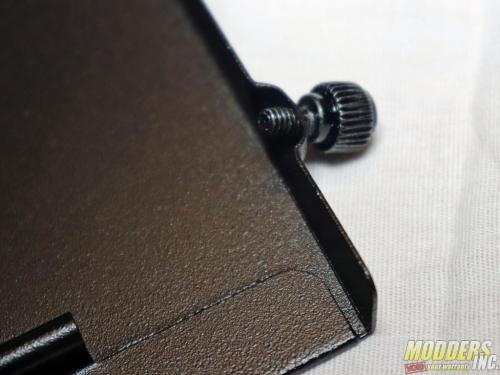
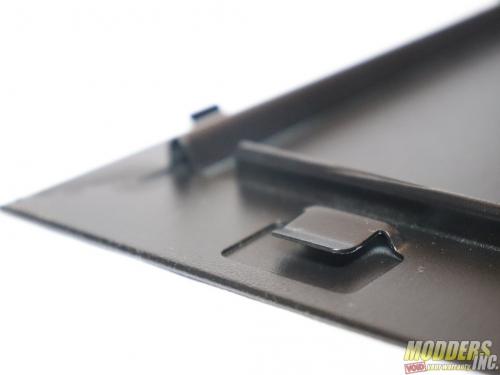
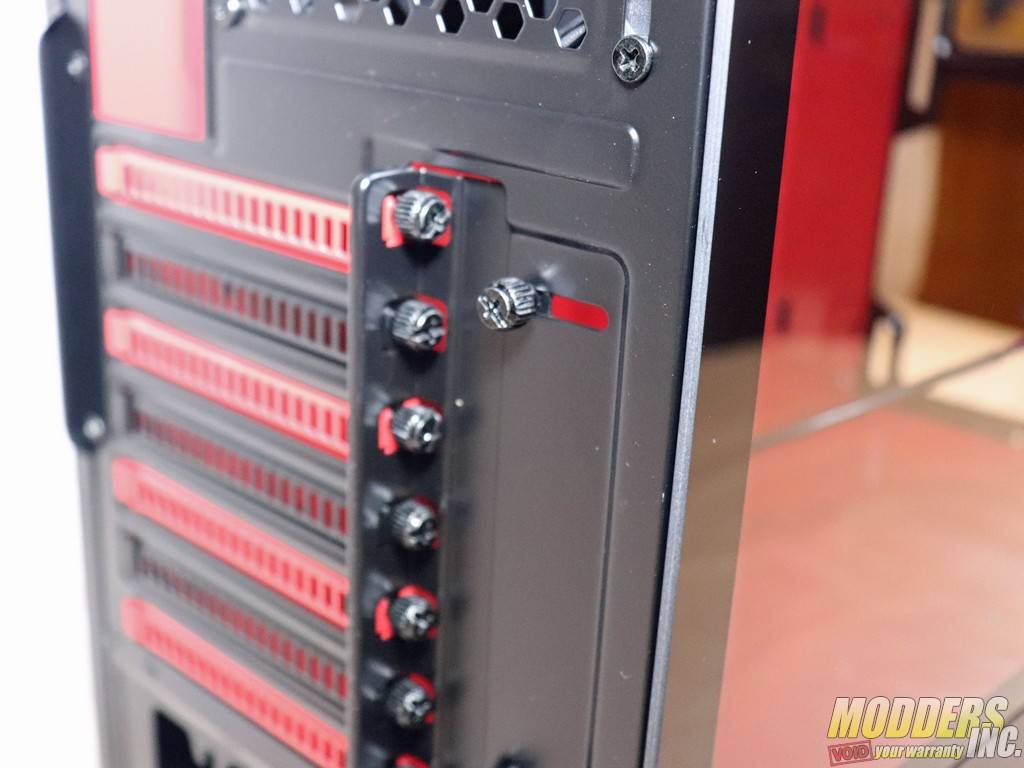
Phanteks used thick steel and rolled the exposed edges to reduce the blood offerings you’ll be making to the PCMR gods during the build. Another builder-friendly feature is the pair of captive thumb screws that are used to hold the steel right-side panel in place.
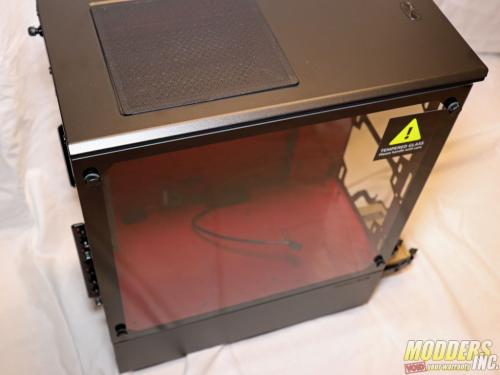
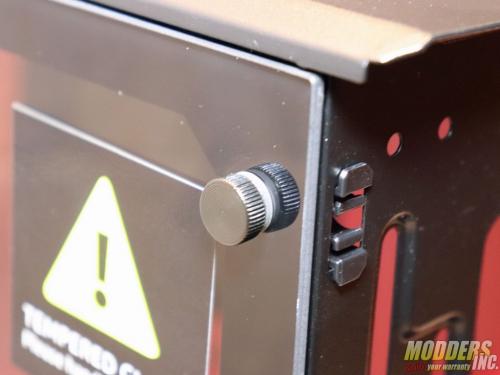
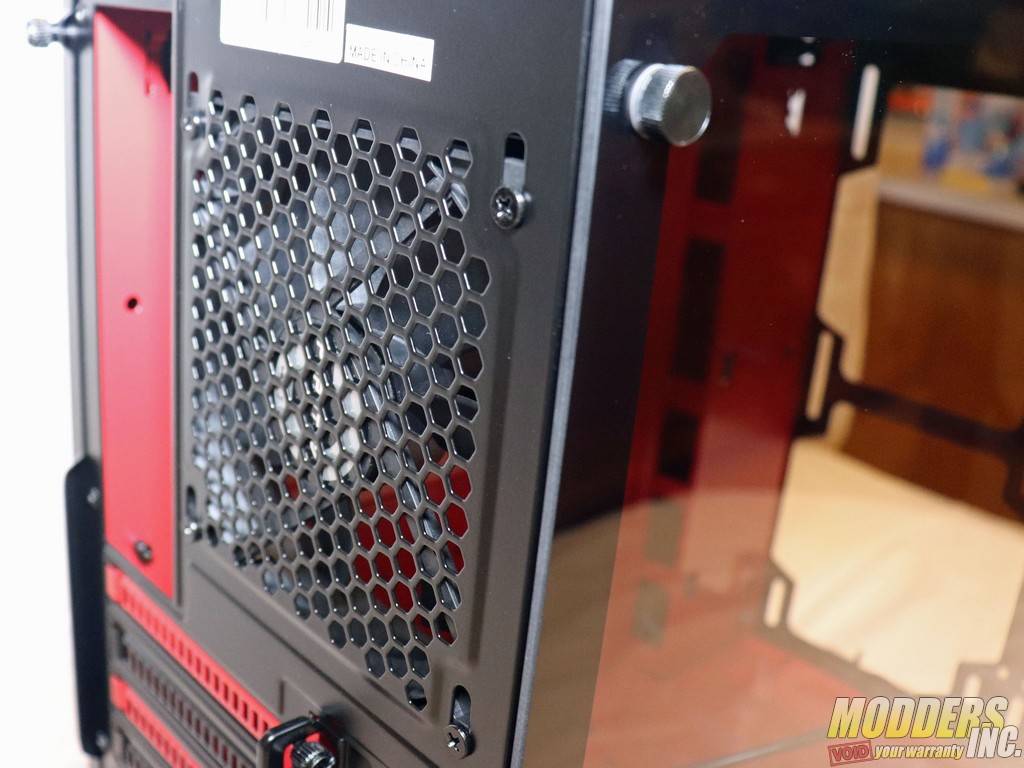
Although the tempered glass side panel doesn’t cover the full side of the case, this is one cost-cutting strategy that makes sense. The PSU bay is embossed with Phanteks’ logo, and the glossy glass and matte steel offer an eye-pleasing contrast. The four flattened thumb screws that hold the tempered glass panel in place have rubber grommets to prevent scraping on the glass and reduce vibrations from the panel. Inside the Eclipse P300 is a decent amount of space and nary a drive cage to be found. Even the top of the PSU bay is clean and bereft of mounts. Phanteks’ dedication to keeping the interior of the Eclipse P300 as clean as possible is laudable.
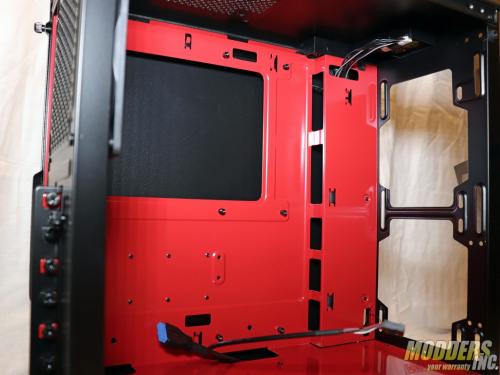
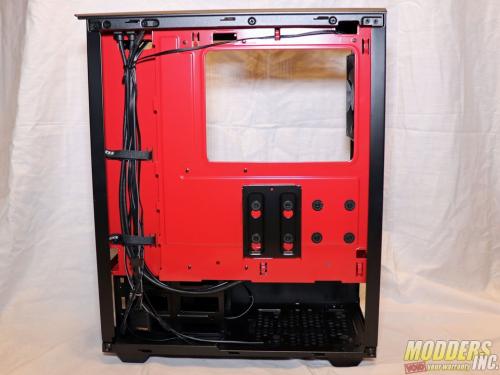
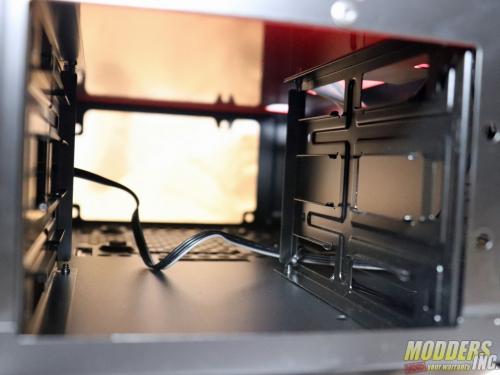
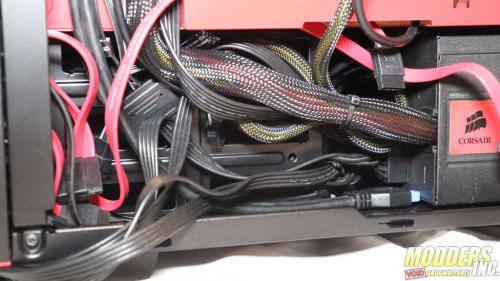
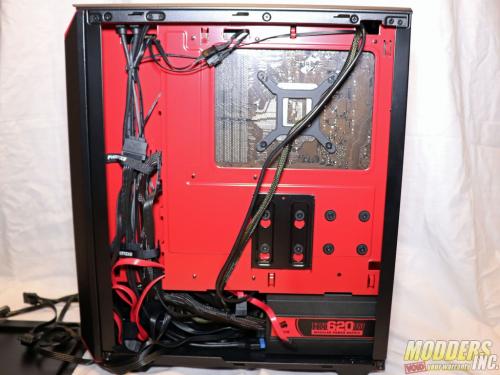
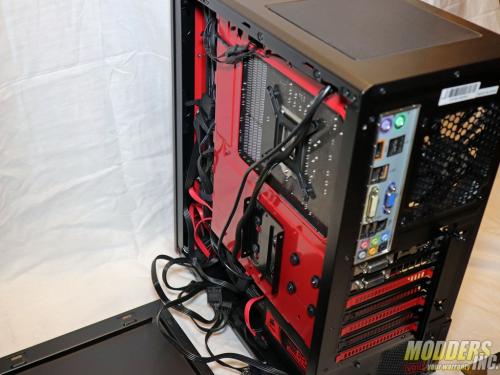
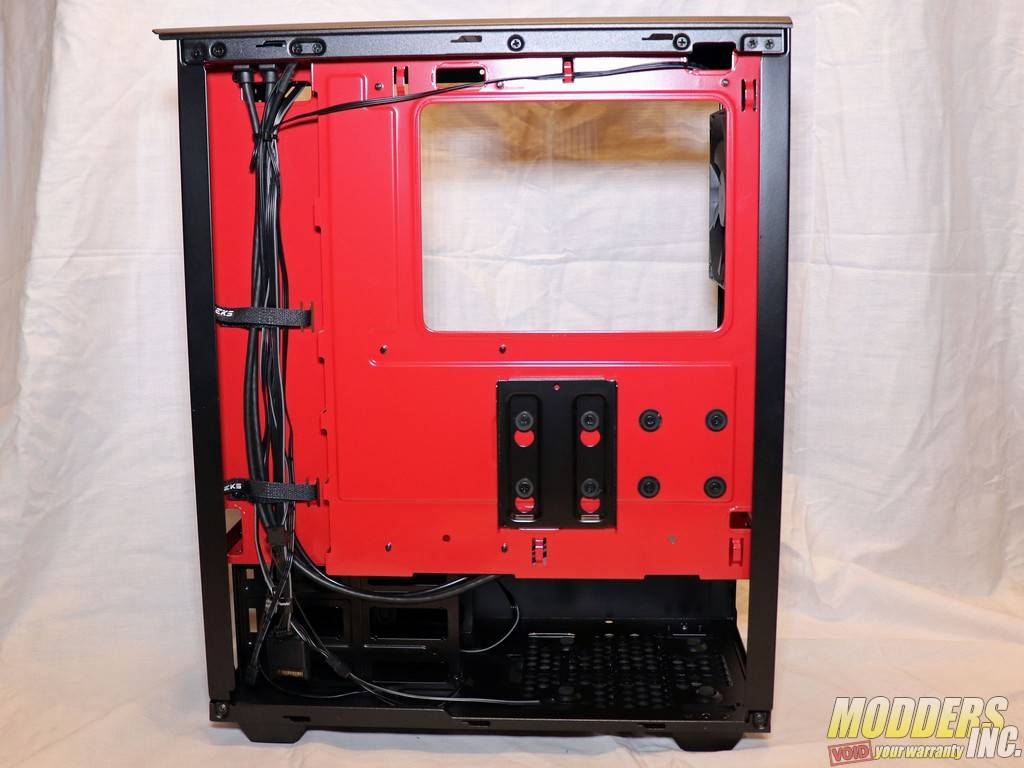
Another feature that adds to the clean appearance is the recessed channel for cabling that Phanteks created behind the right-side panel. This 1.4-inch deep channel has cabling openings along the 90-degree edge, so when you look head-on through the tempered glass window, you can only see the 24-pin ATX power connector, graphics card power connectors, and the various other wires that pass from the rear of the enclosure to the interior, not the holes from which they emerge.
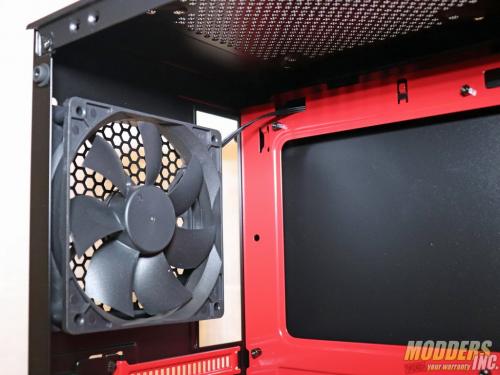
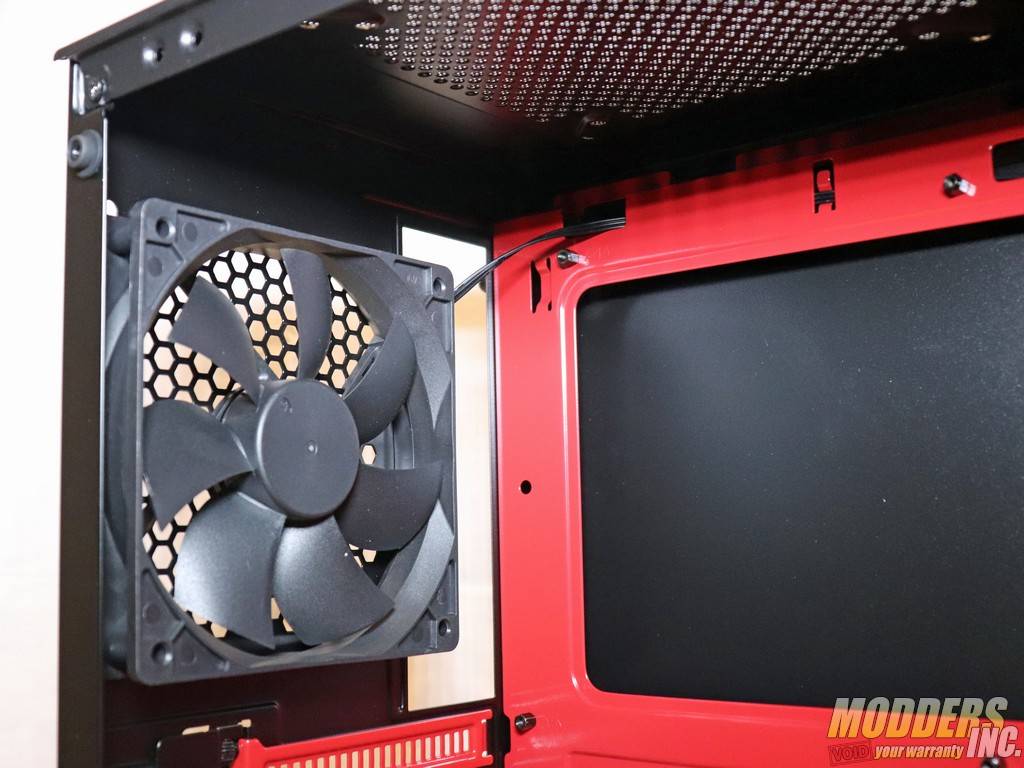
There is just one fan included with the Eclipse P300, and it’s a 120mm exhaust fan located in the rear panel. This fan looks very generic, and doesn’t appear to be available for purchase as a standalone unit. Needless to say, even a system that consists of modest components will probably require additional airflow.
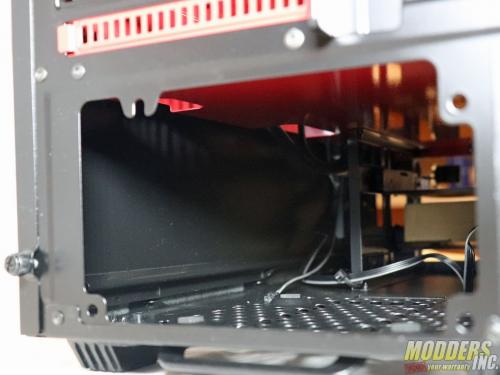
The PSU bay cover is not removable, and neither is the frame around the back of the power supply, so you’ll need to install the PSU from the right-side panel. Although the specifications suggest that there is room for 7.7-inches of PSU, we installed a 6-inch long PSU, and struggled to contain the excess wires without removing the 3.5-inch drive bay. We recommend getting either a semi-modular PSU that lets you leave off unused cables, or keep your power supply shorter than 6-inches long.
If you plan to use the Eclipse P300 for liquid cooling, you’re fairly restricted to the front panel. We installed a 240mm AIO there, though there are screw holes that will accept up to a 280mm radiator and fan combo. If you want to install a full custom loop, you’re probably going to have to mount a reservoir to the radiator or carve out your own mounting holes in the PSU bay cover.
The rear panel exhaust mount on this case features elongated screw holes that let you slightly adjust the position of the 120mm fan you install there, but it’s less than a half of an inch of total movement. Depending on the air cooler you install, you should be capable of aligning the exhaust fan to the cooler’s fan with ease.
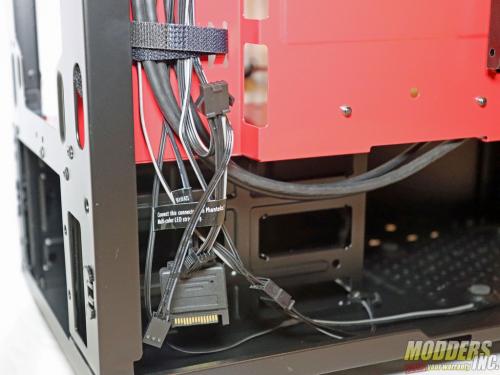
The Phanteks Eclipse P300 makes routing cables easy. The aforementioned cable channel you’ll find behind the right panel is spacious, and Phanteks has included a pair of Velcro straps to help you clamp all of your cables together. When you need to route cables outside of the designated channel, however, you’ll have just 15mm of space to do so. There are about a half-dozen tie-down points behind the right side panel, which should make things a little less hairy back there. The CPU cutout in the back of the motherboard tray is generous, which makes removing and installing heatsinks easy.
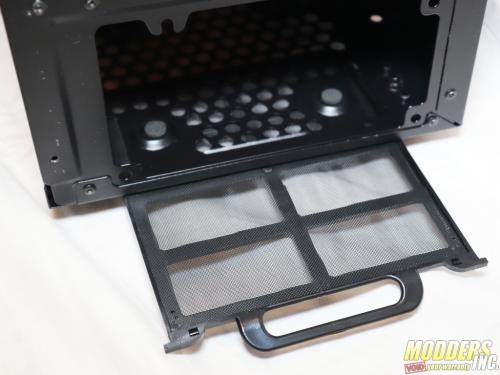
There’s a rear-access removable dust filter under the PSU. The Eclipse P300’s remaining ventilation options include the rear exhaust, top panel, and the too-narrow vents on the front panel. Phanteks is not known for building well-ventilated cases, and this one might be left choking on heat if you decide to fill it with a bunch of premium overclocked components.
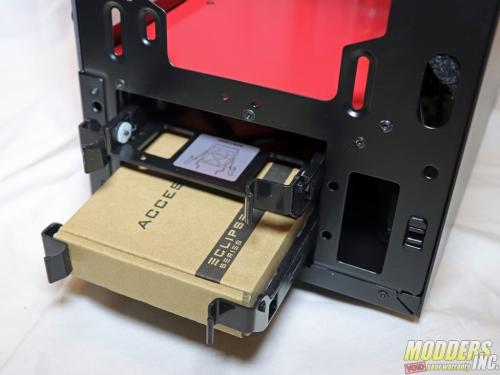
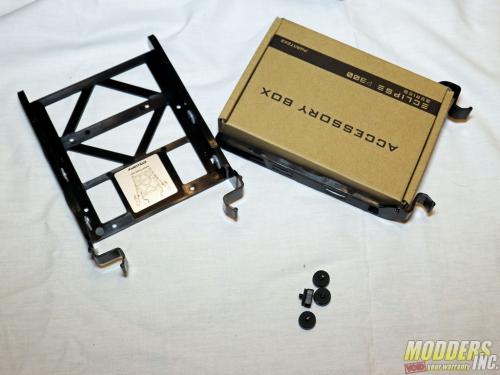
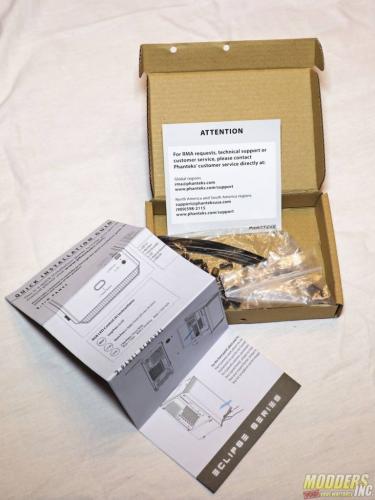
When you pull off the front panel, you’ll find the accessories box strapped into one of the 3.5-inch HDD trays. Inside you’ll find zip ties, an assortment of screws and standoffs, a quick install guide, and a warranty card. The company offers a five-year warranty for this model.
