Ozone Strike Pro Keyboard Review: Clarity of Purpose
Layout and Feature Overview
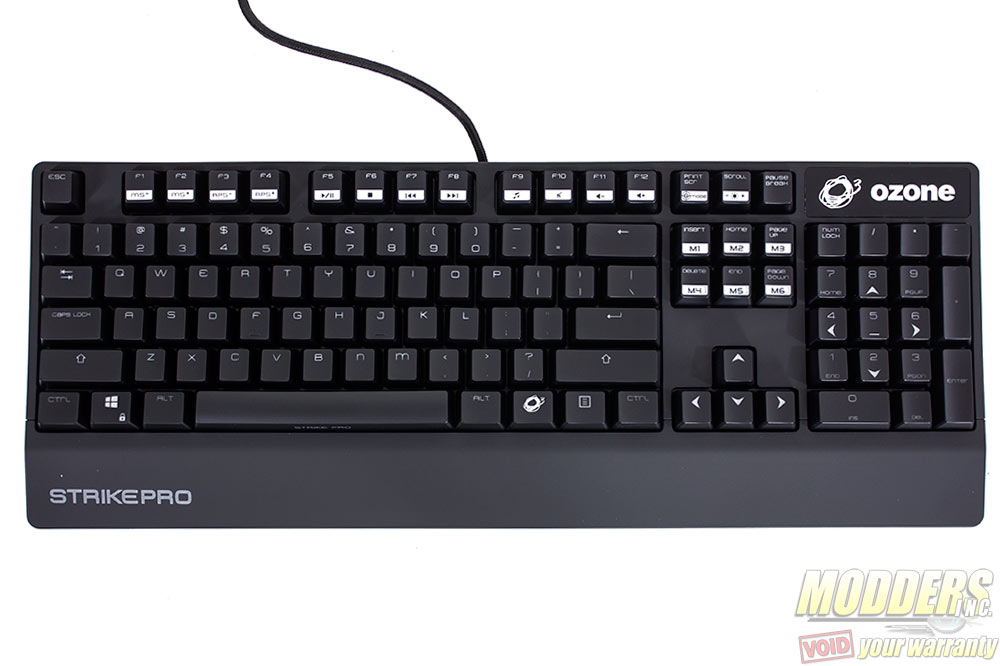
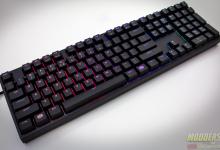
The Ozone Strike Pro measures 441.5mm wide by 135.70mm long with a height of 34.30mm. The shell is a two-piece design and both sides are made of ABS plastic with an integrated wrist-rest. ABS 94HB to be exact, disclosed by Ozone. The layout is a standard 100% ANSI Windows layout with the right-side Windows key replaced with the Ozone secondary function key. The keyboard in this review is the North American version but Ozone also has localized layouts available for other regions.
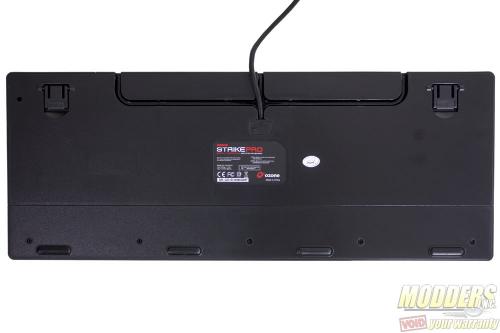
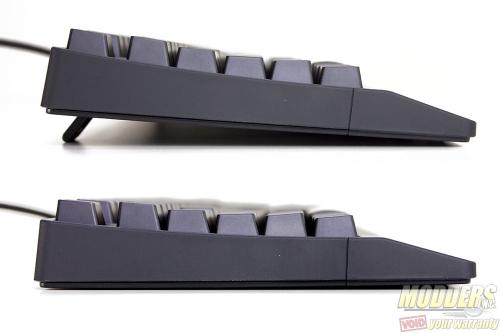
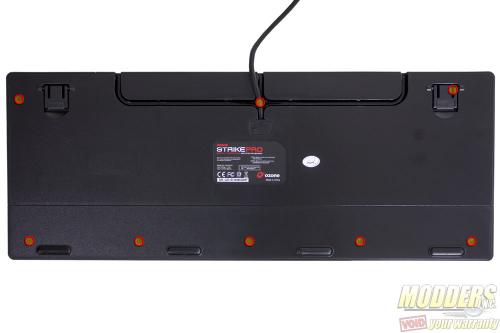
Four small rubber strips on the back hold the Strike Pro in place when it is on top of a desk. A pair of feet can be flipped out at the rear to increase the angle of incline for typing. Unlike other keyboards where the rubber strips are placed on all four corners, the Ozone Strike pro has them on a line at the bottom edge with the rubber on the incline feet used as grip at the top part. The underside also has cable channels used to manage the cable routing depending on the Strike Pro’s position on top of a desk. The cable itself is not connected to the Strike Pro at the center but is positioned a bit toward the left hand side.
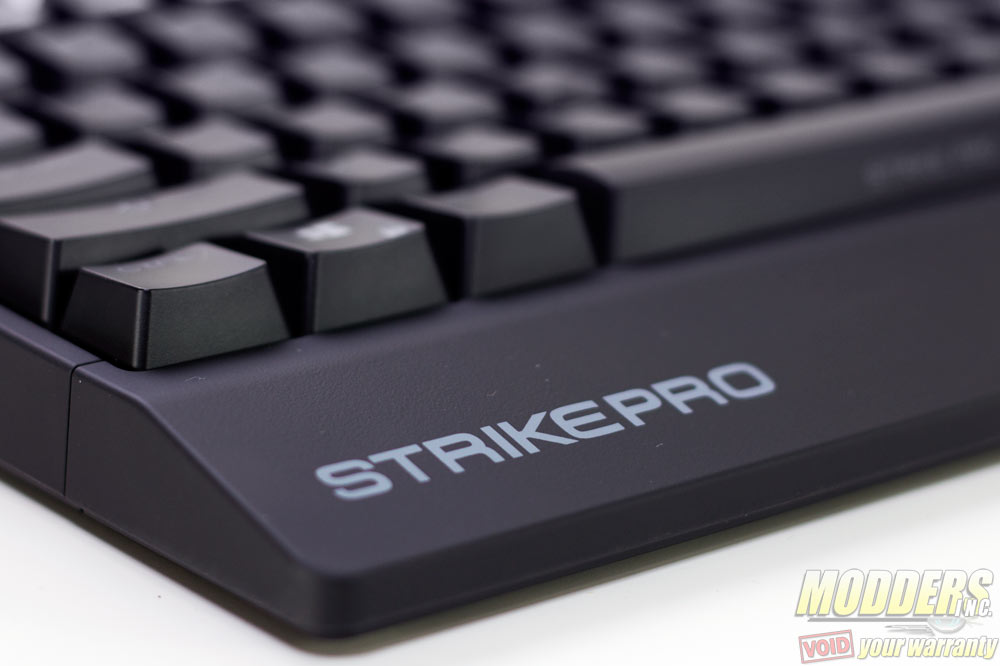
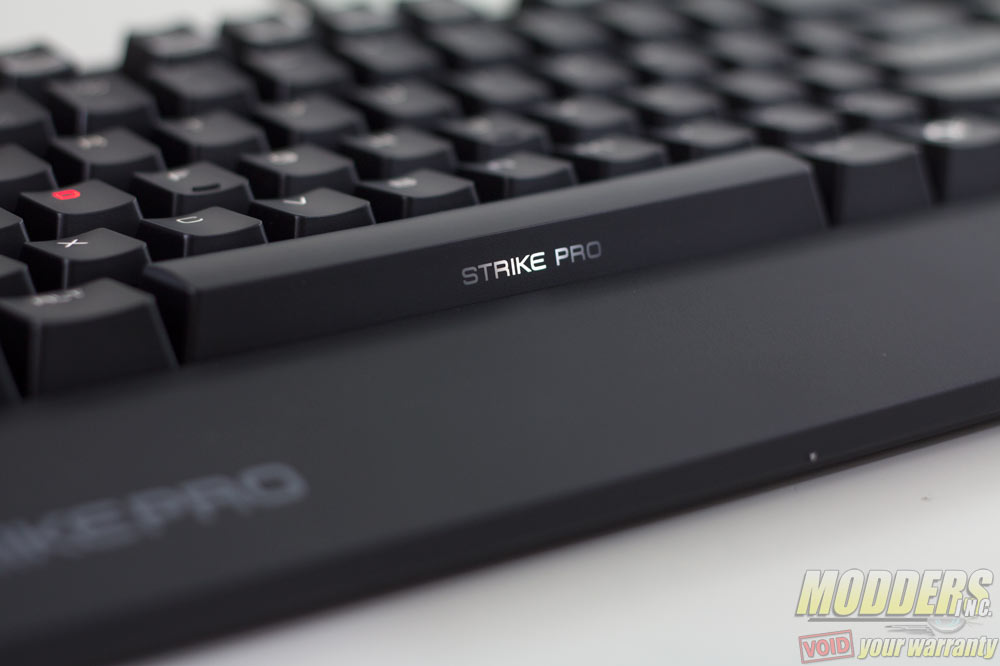
The integrated wrist-rest cannot be detached and matches the “soft-touch” finish of the main body shell. This wrist-rest has a steeper decline relative to the body and abruptly ends after 10mm of the bottom row keys. This wrist-rest extends 45mm from the edge to the bottom-row keys.
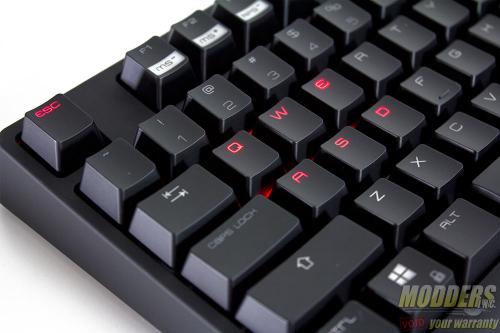
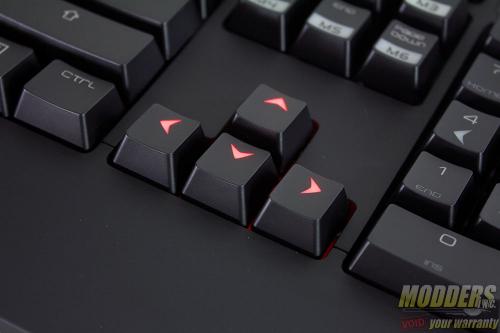
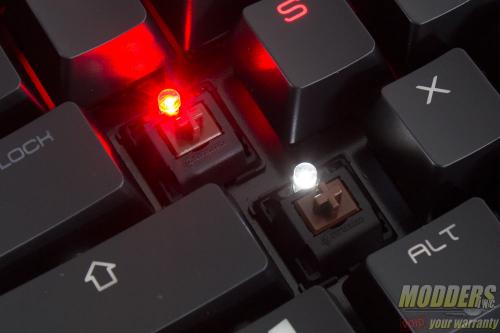
When plugged in, the Ozone Strike Pro has full-key LED backlit illumination with the ESC key, arrow keys and QWEASD cluster keys using red backlight while the rest of the keys use white LED. The Caps lock, Scroll lock, Print Screen and Num lock LEDs remain off by default unless toggled on. Print Screen shares the G-mode function so unless it is toggled on, the LED remains off. Only the white LED keys have adjustable brightness while the red LEDs remain at 100% unless disabled completely via software or through cycling to the “LED off” function.
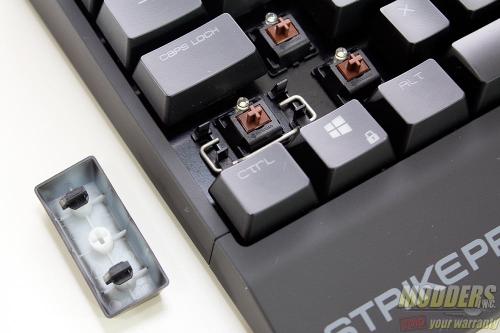
The LED is positioned at the top of the switch and the key legend is positioned towards the top as well; the shifted legend keys are not side-to-side however. The spacebar LED is positioned at the bottom of the switch and the label for it is on the side facing the user. The modifier keys use Costar wire stabilizers and the keycaps use standard Cherry MX mounts with all the bottom row modifiers having a 1.25x standard keycap size.
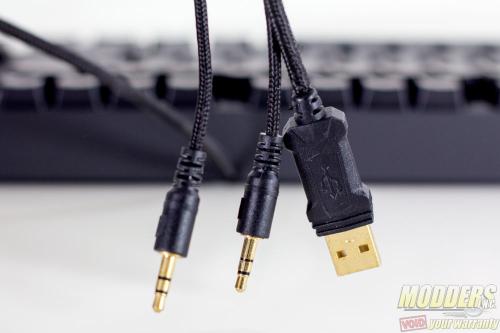
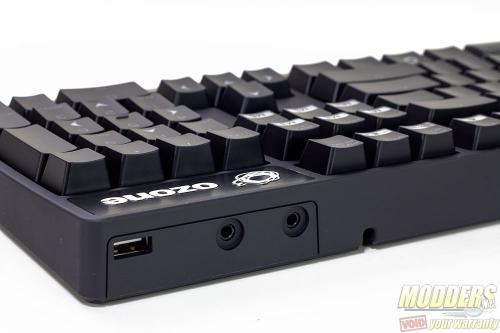
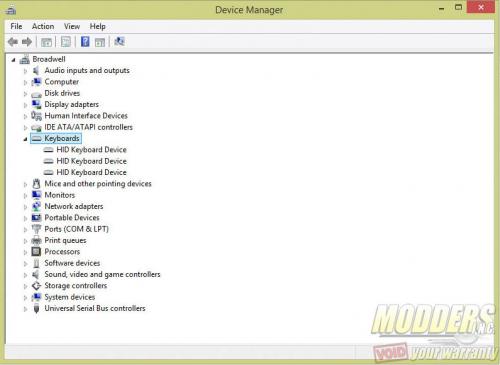
The USB cable is 1.5m long and is braided for protection as is the 3.5mm audio jacks for the headphone and microphone pass-through. As is expected from current mechanical gaming keyboards, the Ozone Strike Pro has NKRO via USB achieved with the use of multiple HID devices in Windows (two listed in the device manager when plugged-in).
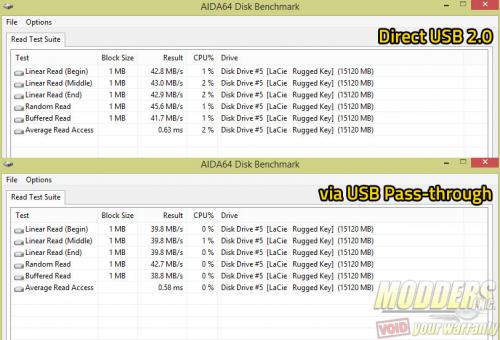
Typing performance is not affected at all by the USB pass-through even though bandwidth is shared with a single cable, although transfer speed is a few megabytes short compared to direct USB 2.0 performance.
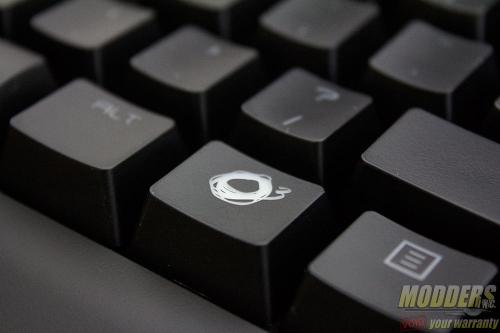
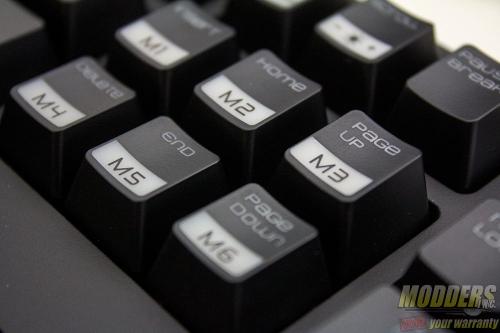
As expected of any keyboard marketed as a gaming device, the Windows key can be disabled as well. Many of the extra functions on the Ozone Strike Pro are accessed with the use of the Ozone key. This key is a combination key pressed at the same time with another key to access a secondary function. Pressing the Ozone key and Print Screen key at the same time for example, sets the Ozone Strike Pro to enter a “G-mode” or “gaming mode” which automatically disables the Windows key and enables the M1 through M6 macro key bank (which is in the INS, HOME, PG UP 6-key cluster).
Other Ozone key combinations include:
- Ozone key + Windows key = WASD and Arrow key function toggle
- Ozone key + Scroll Lock = 6-option backlight adjustment (30%, 70%, 100%, Red LED game keys, OFF, Pulsating).
- Ozone key + F5 = Play/Pause
- Ozone key + F6 = Stop
- Ozone key + F7 = Previous Track
- Ozone key + F8 = Next Track
- Ozone key + F9 = Start Media Player
- Ozone key + F10 = Mute
- Ozone key + F11/F12 = Volume Down/Volume Up
- Ozone key + F3/F4 = Polling Rate Down/Polling Rate Up (125, 250, 500, 1000Hz)
- Ozone key + F1/F2 = Response Time Down/Response Time Up (1, 2, 4, 8, 12, 14, 16ms)
Disassembly and Modding Options
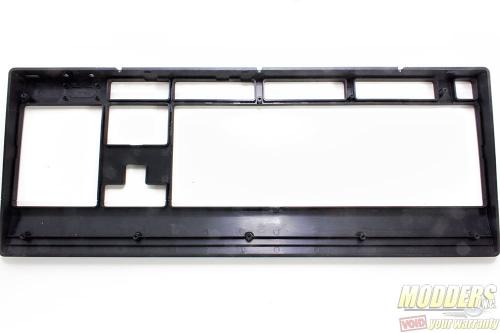
Using a Phillips-head screw driver, remove eight screws from the back of the Ozone Strike Pro. Six of the screws are easily visible but the seventh screw is right at the center of the cable channels underneath the USB cord. The last one is right underneath the flip-top leg on the right. Removing these screws allow users to remove the primary top housing of the Ozone Strike Pro. These locations are marked on the image below:
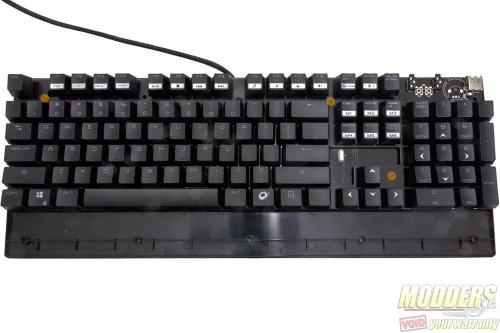
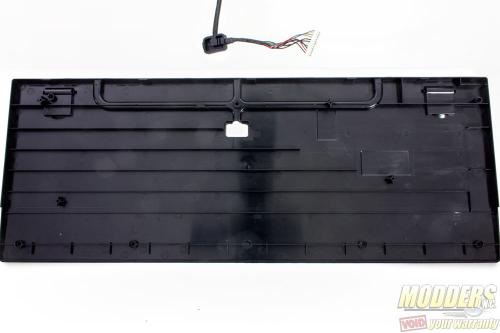
This is good enough if the only goal is to just re-paint the top cover. Those who want to remove the back cover or access the PCB however will be thankful that the key caps do not need to be removed at all. The screws on the mounting plate holding the back cover can be accessed by just removing the top cover. Removal of these screws also require a precision Phillips-head screwdriver. There were only three screws on this keyboard holding the back cover from the PCB but there are actually four locations for the screws available. The fourth one is right between the Windows key and the left ALT key but on this particular keyboard, there were no screws present there so I only needed to remove three screws visible without removing a single key.
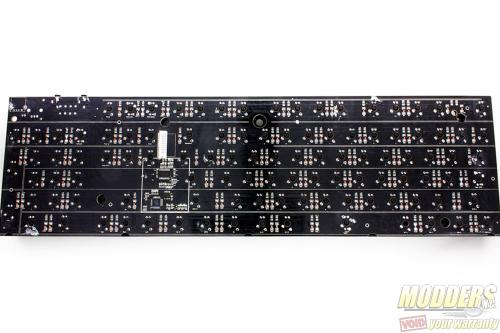
With the back removed, we have a clear view of the back PCB. The switches are plate mounted on the other side and from this view, we can clearly see that there are per-key diodes.
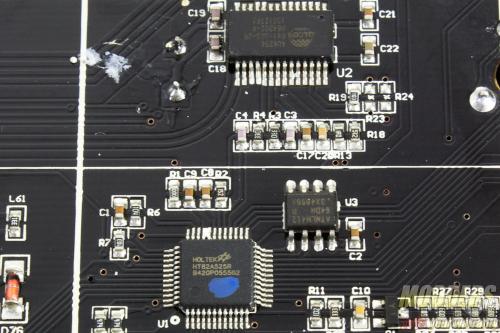
The programmable functions of the Ozone Strike Pro are controlled by a Holtek HT82A525R, a low-cost MCU that operates at 12MHz. This is a low-cost MCU and is slower than the usual 30MHz ARM processors used in most modern mechanical keyboards. The 8-pin SOIC chip near it is an ATMEL ATMLH412 64 KB serial EEPROM used to store the data. The 28-pin IC above both is an ALCOR Micro AU625 USB hub controller that handles the USB 2.0 pass-through function.
