Origin Genesis PC Chassis Review – Part 2
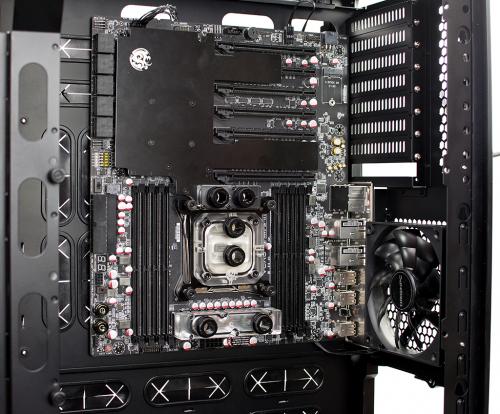
I chose to install the motherboard in the 90° position. This puts the CPU at the bottom of the case and the PCIe slots at the top with the I/O connections at the back.
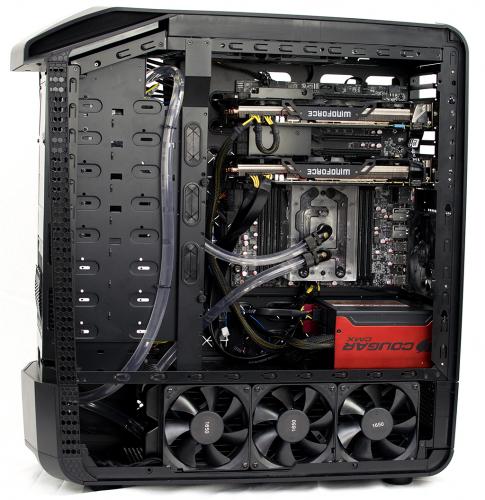
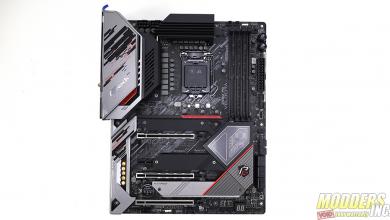
Before installation, I removed the stock VRM and PCH heatsink and installed the full cover waterblock components. The EVGA x99 classified is an EATX motherboard which means it is slightly wider than a standard ATX motherboard. As you can see there is still a lot of room in this case for accessories.
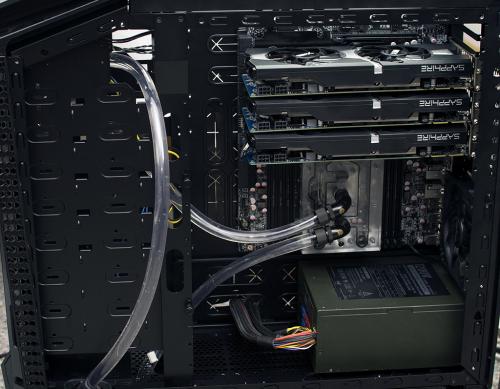
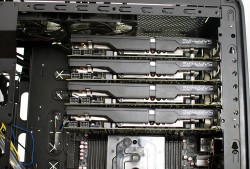
Initially, I was going to use a water cooled GPU in this review (hence the dual radiator installation at the beginning of this article) however, I felt that a single GPU would not do this case justice. I have on hand 4 Sapphire Radeon R9 280s that I installed to show this chassis does support a quad GPU setup. The In-Win power supply (yes, I know it’s ugly) was installed as it is physically the largest power supply I have on hand for demonstration purposes.
For watercooling, I chose to use an XSPC dual bay, dual D5 reservoir in the front of the case. Water flows from the res to the rad and then from the rad to the waterblock and back the the res.
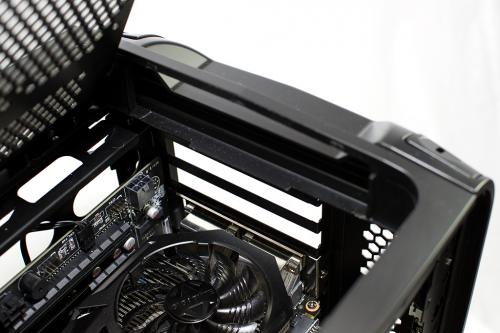
With the four R9 280s installed, there is plenty of room up top for a few fans. Standard 120mm fans fit on the top bracket and the cables feed through cable management hole. The fans are connected to a PWM fan hub at the front of the case.
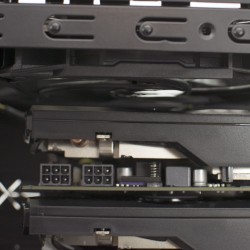
A quad GPU setup will perform fine in this case. The only thing that I would caution you on is to make sure you have PCIe power cables long enough to route them how you would like. A more realistic setup for me is a dual GPU setup.
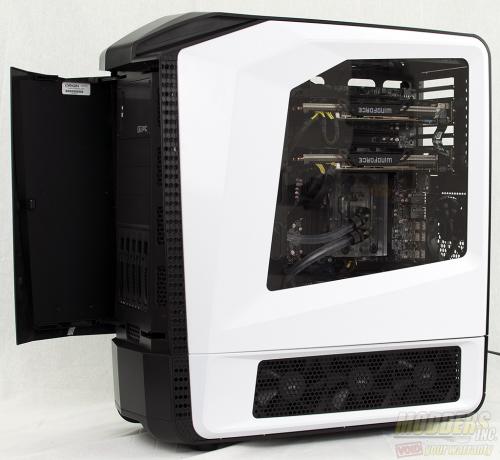
For the dual GPU setup I chose to run dual Gigabyte GTX 980s. As you’ll notice, there is not a whole lot of back to front airflow. I set the radiator fans to suck air in and push it towards the center of the lower chassis. This is done on both sides. The fans at the top are set to blow downward onto the GPUs and provide cooling across the memory modules.
The idea, at the time of installation was to install one or two 120mm fans at the bottom of the top section of the chassis to help exhaust air from the radiators. However, with both radiators installed, the screw holes are blocked.
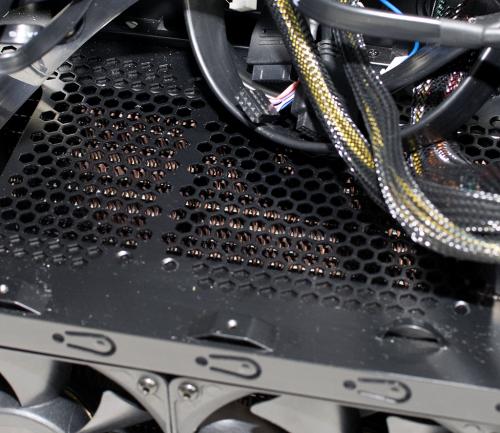
Originally, I had planned on installing three 120mm fans on the top brace. As you can see in the picture below, there is a small extension that actually interferes with the fan. No matter what I tried, the fan just would not fit.
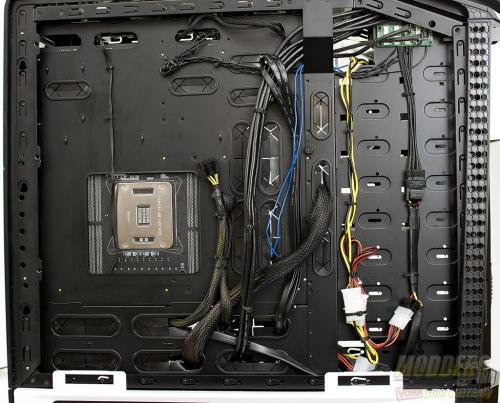
Origin makes cable management pretty easy. There are plenty of standoffs where you can secure the cables behind the motherboard tray. There was enough room on the back side that I could have even run the watercooling tube behind the drive bays.
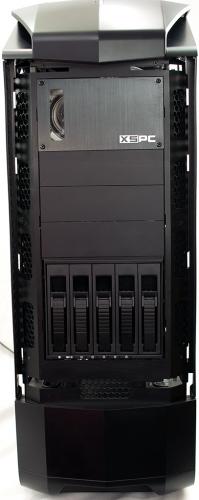
The rest of the case is pretty basic. Install the drives and hook up power. I chose to use the 5 bay drive cage Origin included with the case.
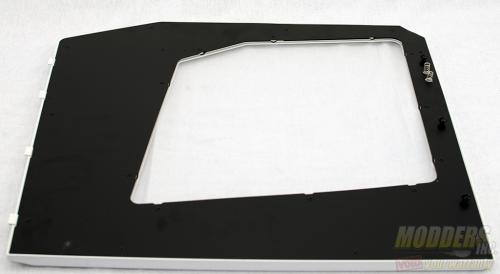
Since this case can be configured four ways and depending on which way you decided to install the motherbaord, you may need to change the door opening configuration and change the side the window is on. I chose to put the motherboard facing the right side of the case, so I needed to change the window.
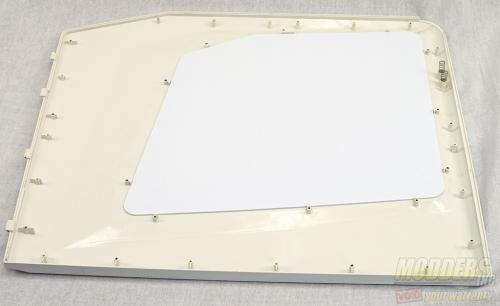
The first step is to disassemble the side panels. On the inside of each panel the metal backing plate is held on by screws. Remove the screws and remove the backing plate.
Next you will remove the blank from one side and the window from the other and swap places. Reverse the disassembly process to put it all back together. A word of caution here, the attachment point for the screws are bade of plastic. Do not over tighten the screws or you can break the attachment point. Depending on where the break happens, the side panel may no longer fit cleanly. The door hinges are easily removed and reinstall. Just remove the metal plate from the inside of the door, unscrew the hinges and swap sides.
