Origin Genesis PC Chassis Review – Part 1
Under the Hood
 |
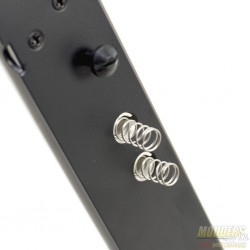 |
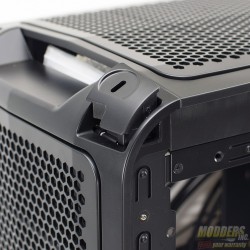
The first step to open the Genesis is to take off the side panels. To do this, locate the locking mechanism at the top rear corner and pull up. The door is spring loaded and when the lock disengages, the door will pop slightly open.
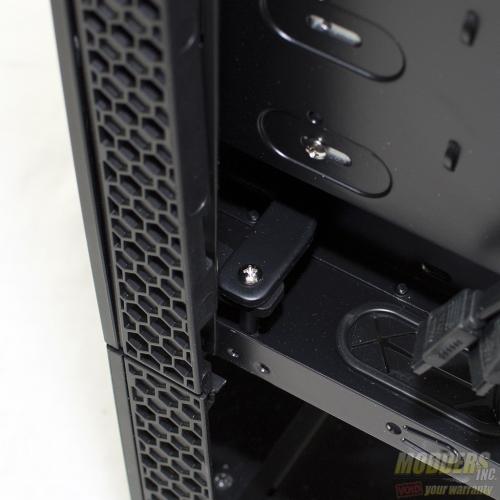 There is a single screw that secures the door to the chassis. Remove the screw and take the hinges of the door off of the case. To swap the direction the door opens, remove the hinges from the door and mount them to the other side.
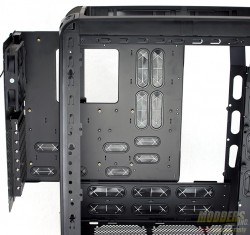
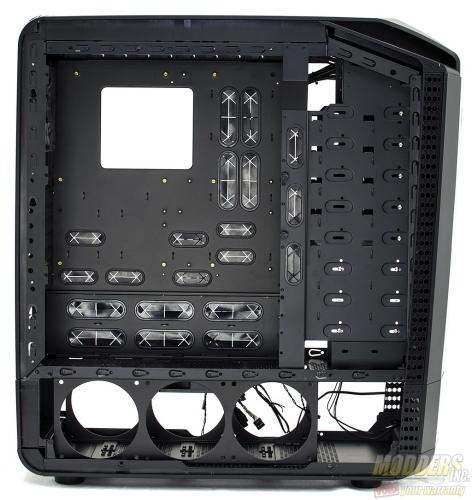 Internally the Origin Genesis looks very similar to other cases, but looks can be deceiving. The case offers a lot of room and cable paths in any of the configurations thanks to the many holes and grommets in the motherboard tray and case supports.
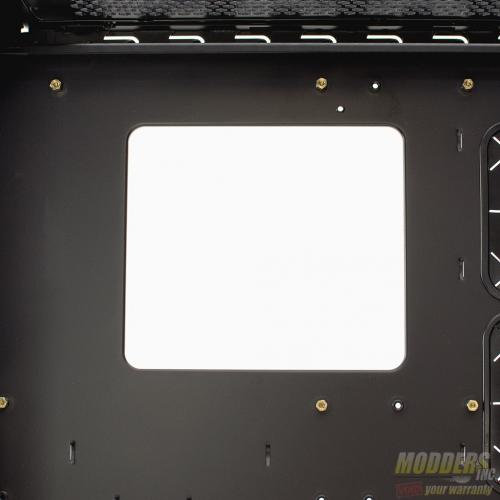 The motherboard tray offers options for both ATX and EATX motherboards. A large hole in the motherboard try allows access to the back of the motherboard to install or remove the backplate for various CPU coolers.
 |
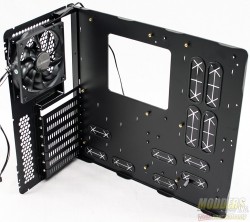 |
The motherboard tray is removable. This is one of many of the parts that allows the components to be mounted one of four ways.
 |
|
 |
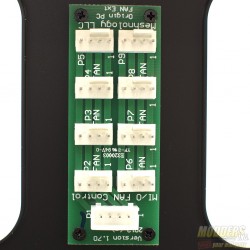 |
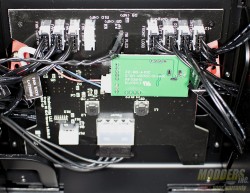
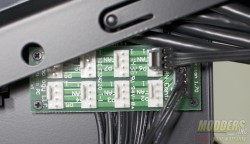
Under the top I/O panel on the inside of the case is the fan and lighting controller. The first picture is of the underside of said device. This device is also responsible for the top I/O. There are two additional PWM fan hubs. One is located on the back side of the case near the top and the other is located in the lower section at the front. Each PWM hub can support up to eight additional fans.
 In addition to the PWM fan hubs, there are two RGB LED light strips. One is located at the back of the case on the back vertical post and the other is on the top horizontal support. These can be changed depending on the motherboard orientation.
