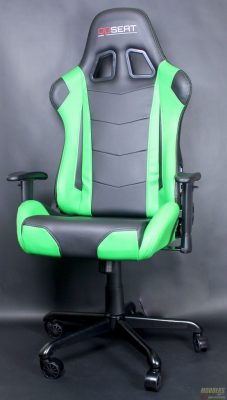
OPSEAT Master Series Gaming Chair Review
Hardware Assembly
Assembly of the OPSET gaming chair is pretty straight forward and all tools (Allen keys) are included, but I would still recommend a drill to save some headache and time.
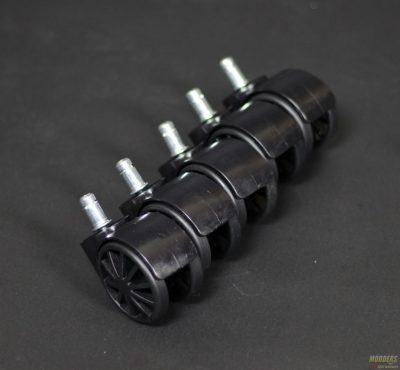
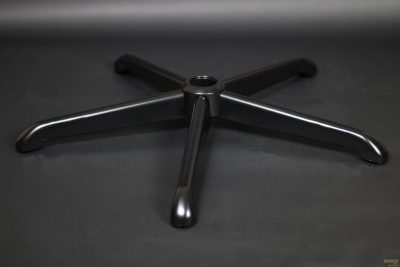
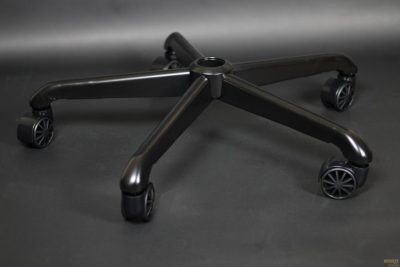
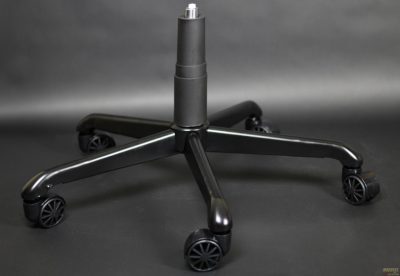
As someone who has owned various gaming chairs, this is the first time I have seen this unique caster. According to OPSEAT, these are nylon based casters, which claim to be safe for both hard floors and carpet. I will say these casters are definitely must smoother on both hard and soft flooring compared to the ones on my other chairs. To fasten the five castors to the base, simply press them into place and I recommend rolling the base with the castor around a bit in this state to verify all the castors are rolling and rotating properly.
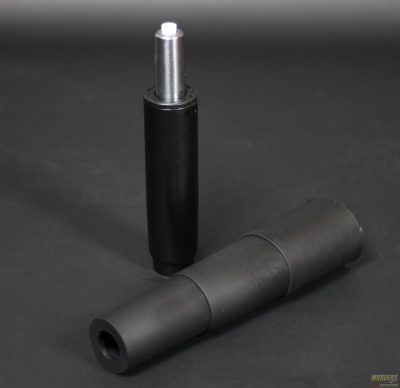
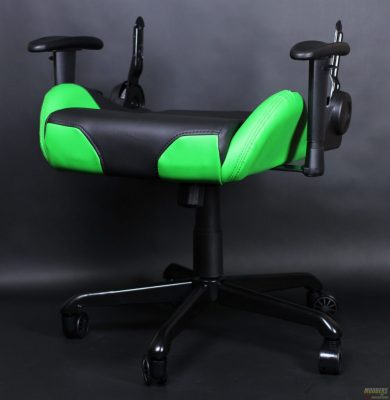
Careful in handling the pneumatic piston as it does have some light grease on it and this will stain the fabric if still present on your hands later during assembly. The piston is pressure fitted into the base frame, which will be more so locked into place once the assembly is complete. Once the piston is fixed in place, the shroud just drapes over the piece.
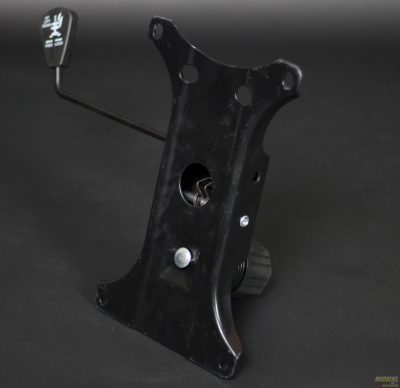
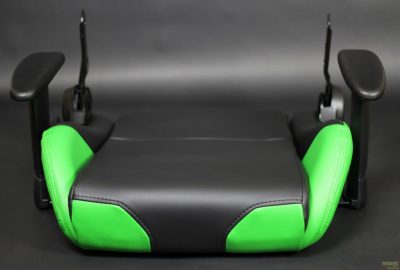
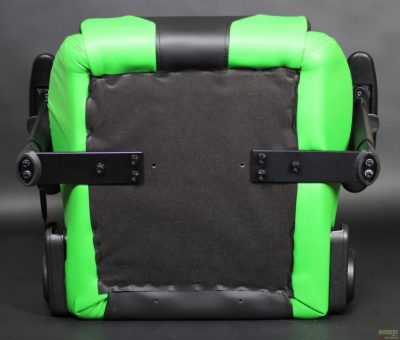
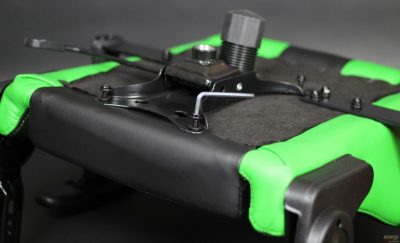
I recommend attaching the height adjustment bracket to the base of the seat prior to laying it on the pneumatic piston. The issue I had throughout the assembly of the chair, was the fabric shifting around and not lining up with the holes. This is actually where using the drill made installation much easier. The base does feature adjustable handles which are preinstalled. When installing the adjustment bracket, make sure to take note on the front this way indicator which is posted on the underbelly of the part.
Same as with the pneumatic piston with the base, the seat with adjustment bracket is pressure fitted into place.
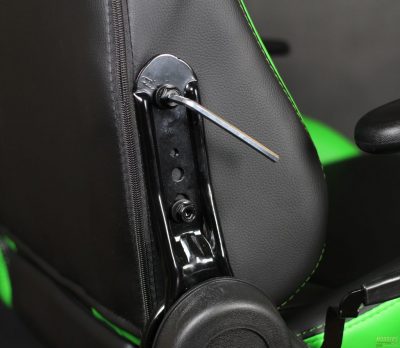
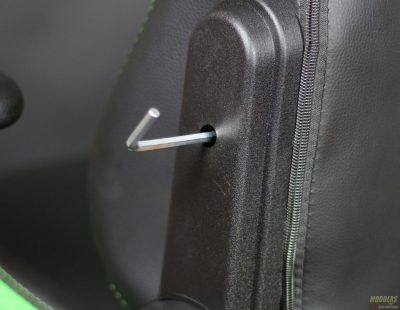
The back piece of the chair is mounted to the seat via the black bracket using two screws and locking washers on each side. I recommend installing the side connected to lever as that piece is rigid and mechanically fixed in place. I had a similar issue here that I had with the adjustment bracket, where the fabric yet again obstructed a clear mounting path. Because of this I recommend only loosely tightening the first screw to line up the second screw. Once both sides have been secured in place, the final accent pieces are attached using a single socket screw. This seems easy enough but with the black accent piece mounted with a black screw on a black frame, this is easier said than done. I found that by installing the screw first to clear any paint that may be stuck in the threads of the chairs bracket, that I was able to feel out the threads easier when installing the accent piece.
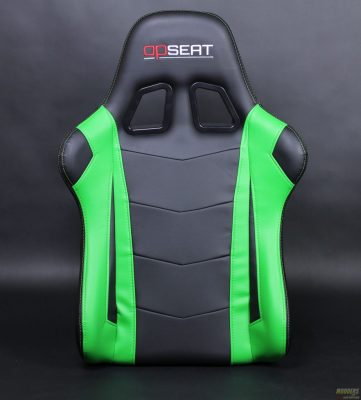
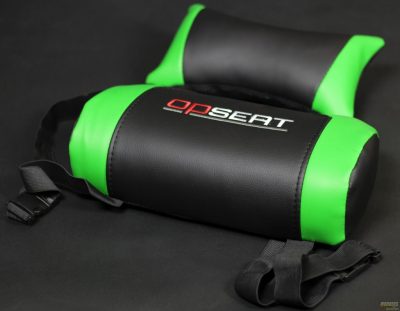
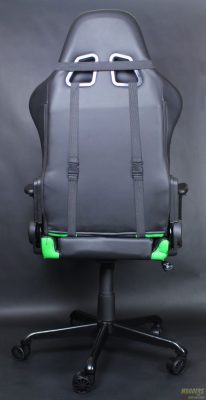
The final piece of the assembly process is completely optional, but personally for long gaming/ media editing sessions I deem these as a necessity. The lumbar support is embroidered with the word “OPSEAT” where the neck pillow is bare. I did find it a bit odd that the piece hidden by ones backside would be decorated where the piece visible when the streamer either walks away or moves that would be in view of the camera is not. I can understand why not at the same time though as the back of the chair at the highest point is clad with the same embroidered “OPSEAT” as the lumbar.
 |
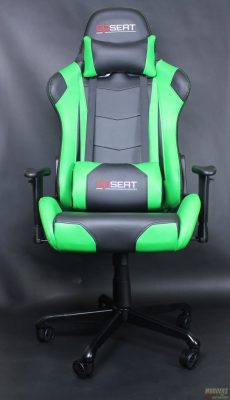 |
In order to install the lumbar support as an adjustable fixture, run the straps between the back and base of the seat, through the two holes at the top of the back piece and clip into place. The lumbar is adjustable and can be slid up and down the seat to your preferred comfort level. For the neck pillow simply slide the strap over the top of the back piece. There is enough tension on the band to move the pillow up and down where it will be fixed in place.
