NZXT Phantom 630 High Performance Modular Ultra Tower
.
Interior Impressions part 1:
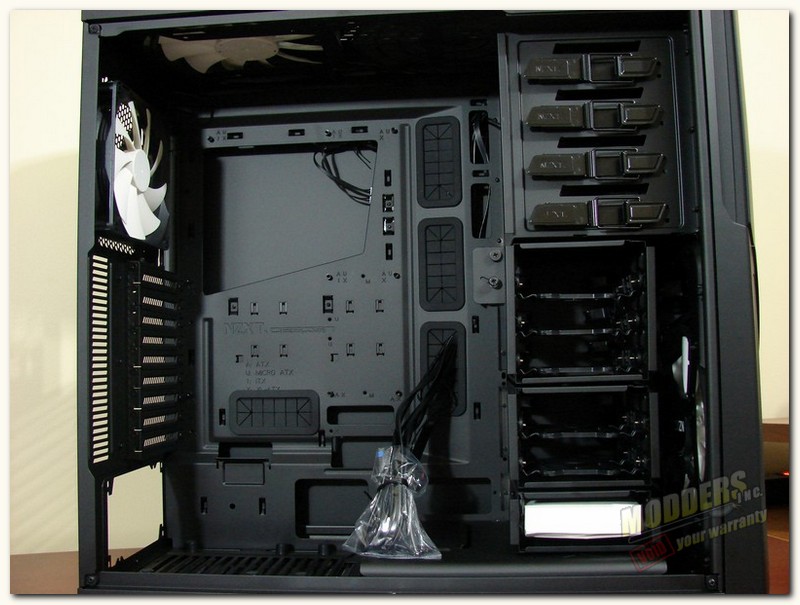
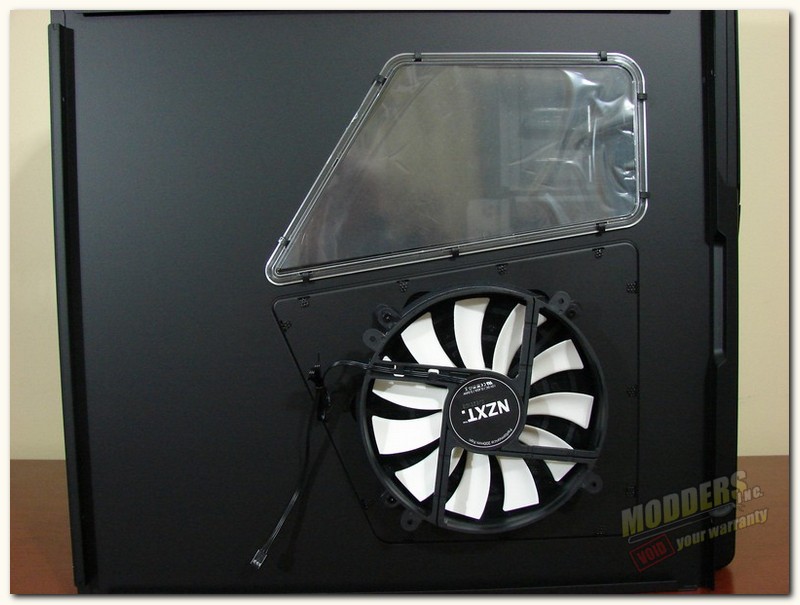
Once we remove the side panel, we get our first look inside of this huge case, otherwise known as the NZXT Phantom 630 Modular Ultra Tower. At a a glance it seems to be very spacious and laid out well for whatever components one would want to put into a gaming machine. And, yes that is the accessory box in the bottom of the HDD cage, however, you can not remove it from the motherboard side of the case. Fear not, we’ll get to that in the next section of pics. The picture on the right shows one of the 3 included white 200mm NZXT fans, attached to the inside of the side panel just below the side panel window. It is set in the intake position and should render very good cooling to your video cards and the rest of the your system.
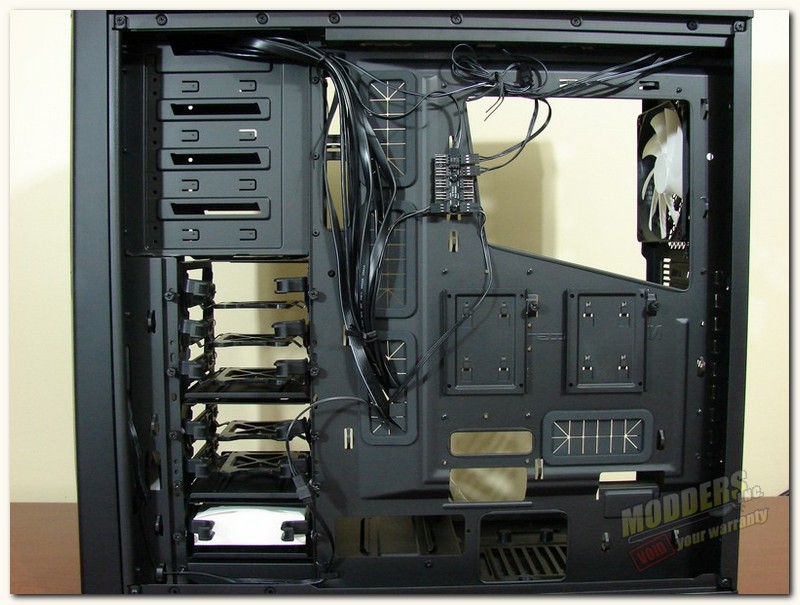
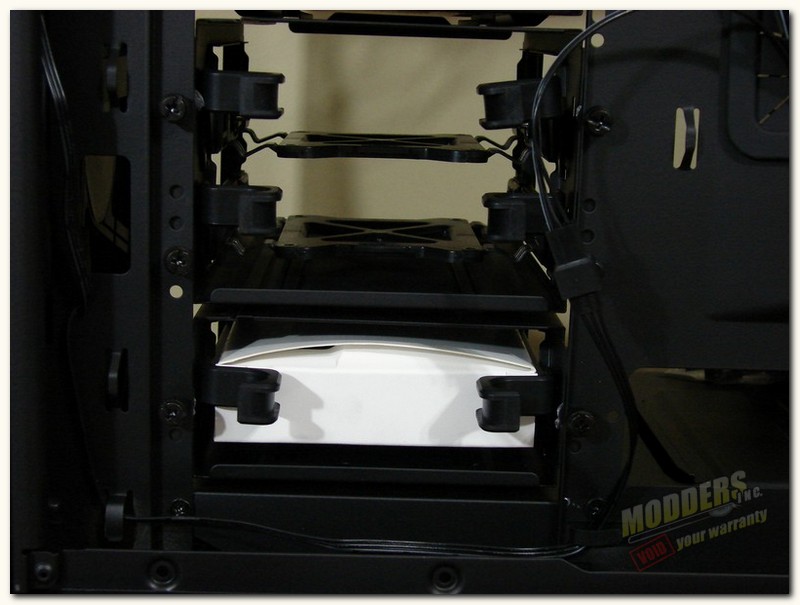
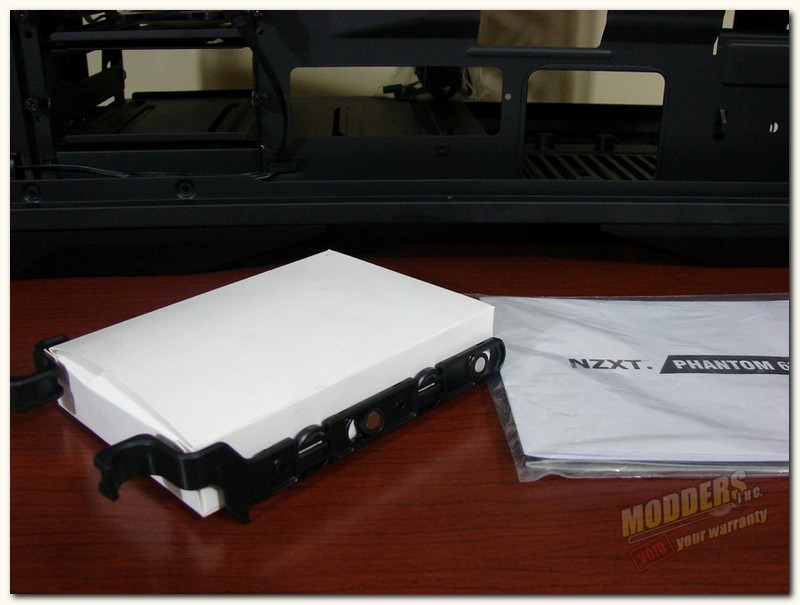
Here we have our first look at the backside of the chassis interior, wow, I see lot of good stuff here that we will talk about shortly. First, about that accessory box we talked about previously, well before you can access it you must first remove the back side panel. Next you will kind of squeeze the two plastic tab releases toward each other and then slide the HDD tray out to access the accessory box.
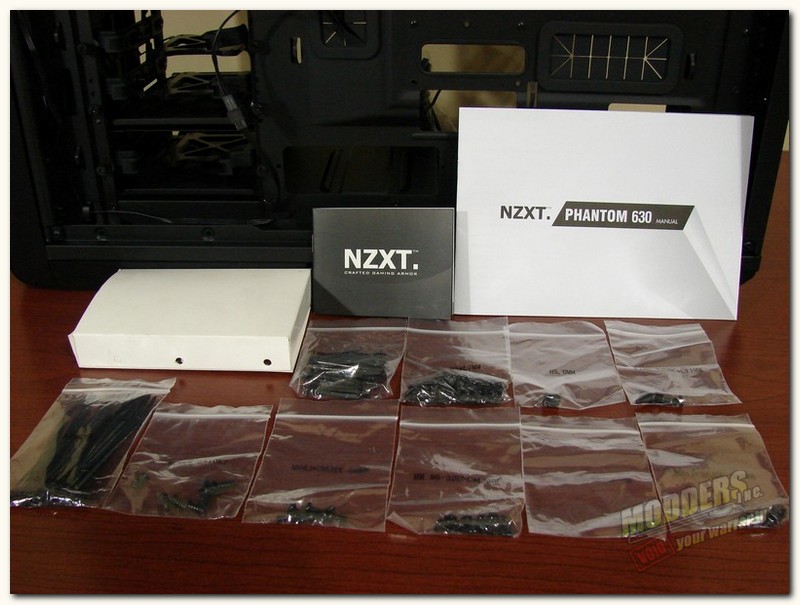
One we remove the lower hard drive tray the accessory box can then be remove easily by simply spreading the plastic trays open. The contents of the accessory box include the usual mix of assorted case and component screws, some long fan screws and around 20 wire ties for cable management, in fact there 10 bags of accessory screws etc. The users manuals are located just inside the chassis box, when you open it.
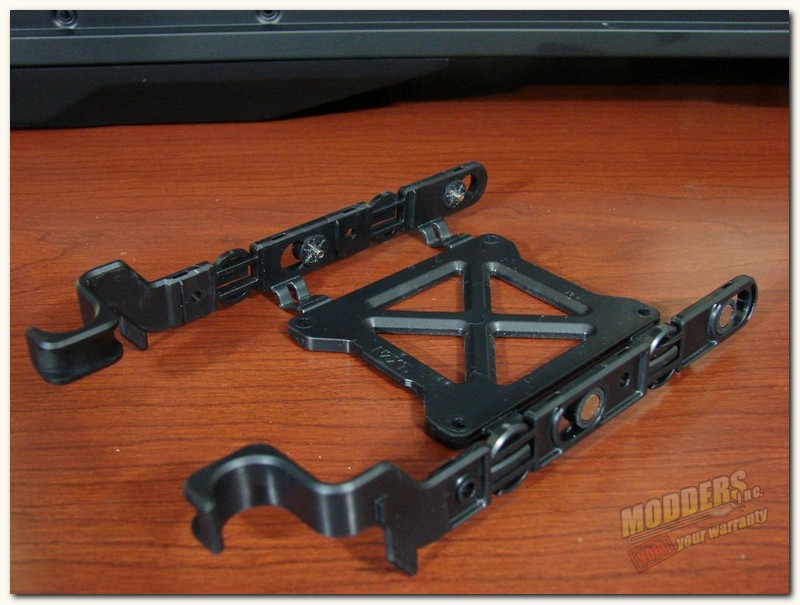
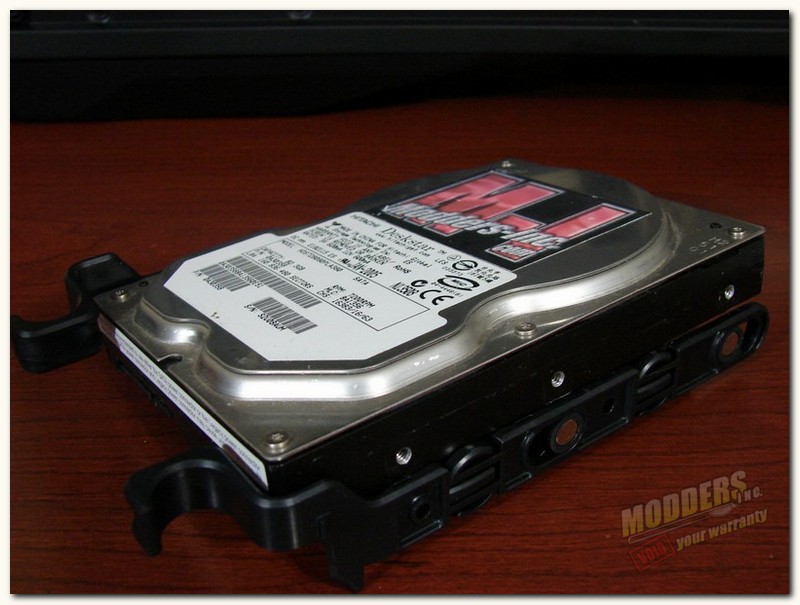
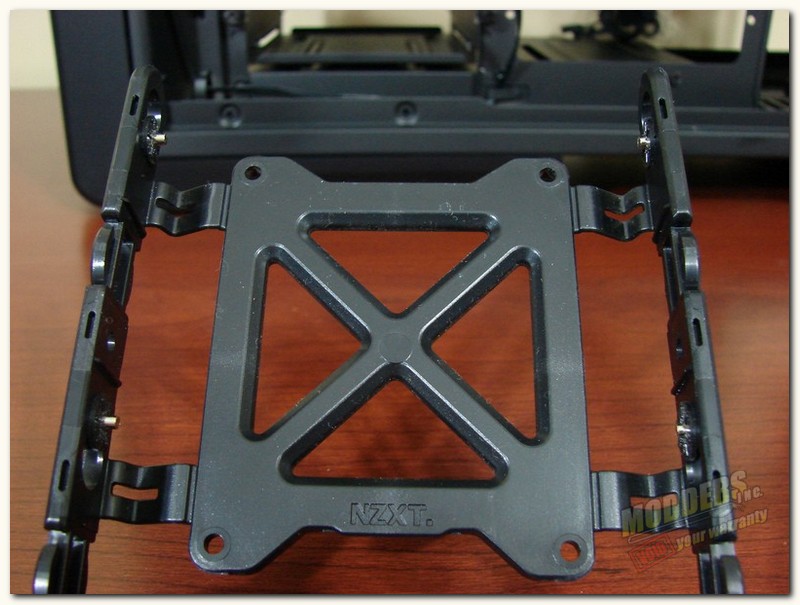
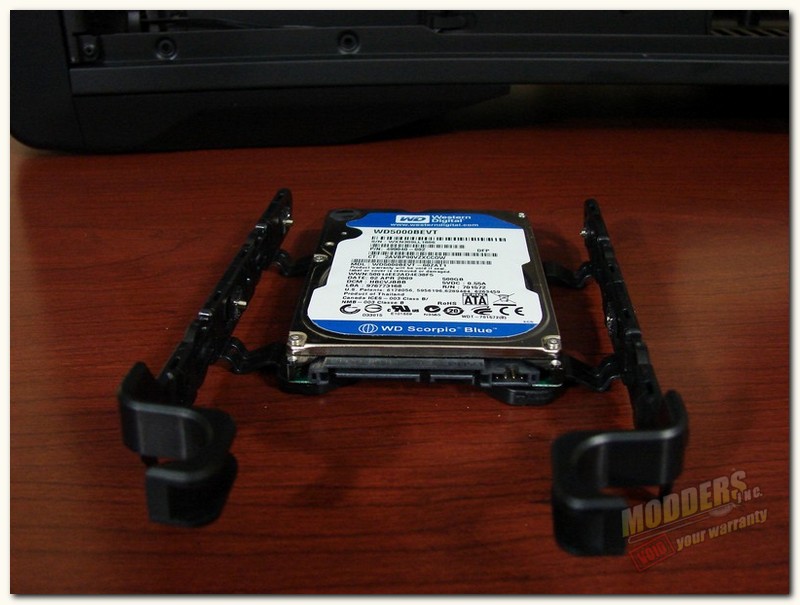
The hdd tray is a simple plastic tray that has mounting pins that when spread apart, you are able to position your 3.5″ hdd into the tray in such a way as to allow the hdd pins to be inserted into the hdd screw holes. The picture above on the right shows the hdd slid onto the first set of the hdd tray pins and how the hdd screw holes line up over the opposite side of the tray’s hdd pins, then you just spread it apart and snap the pins on that side in.
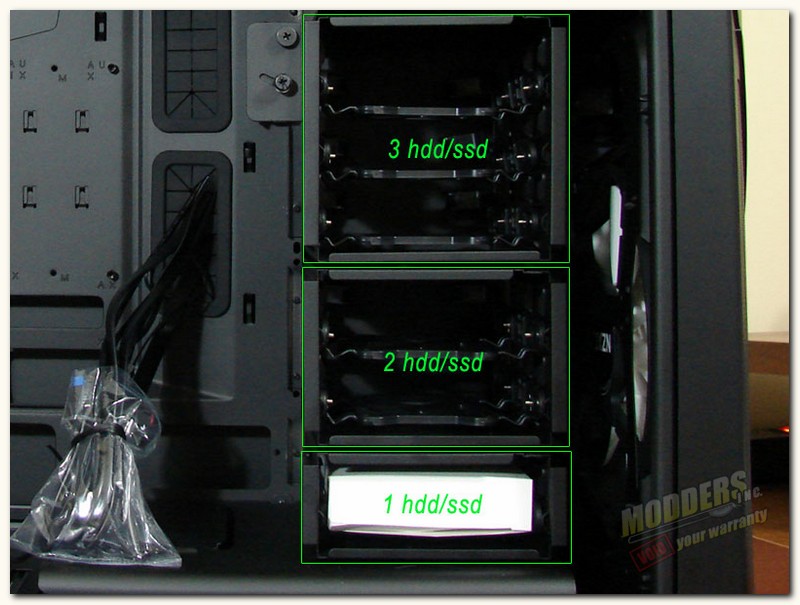
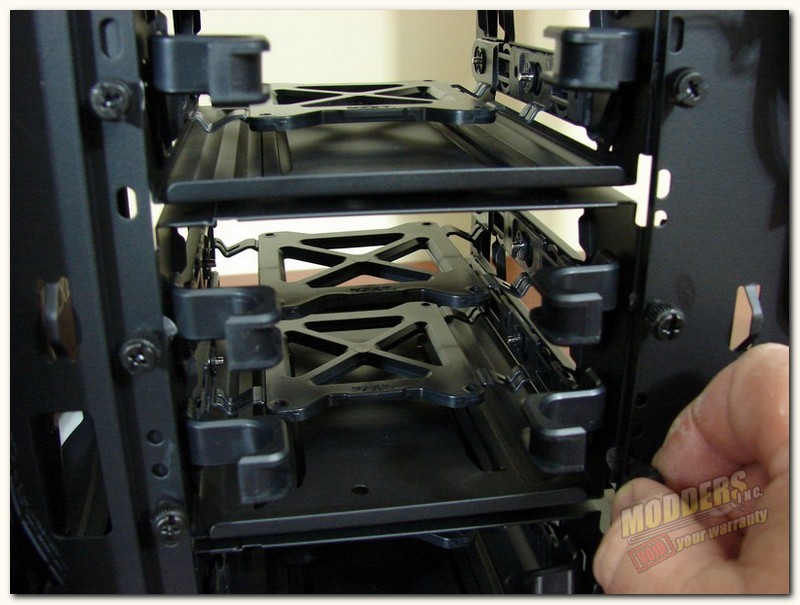
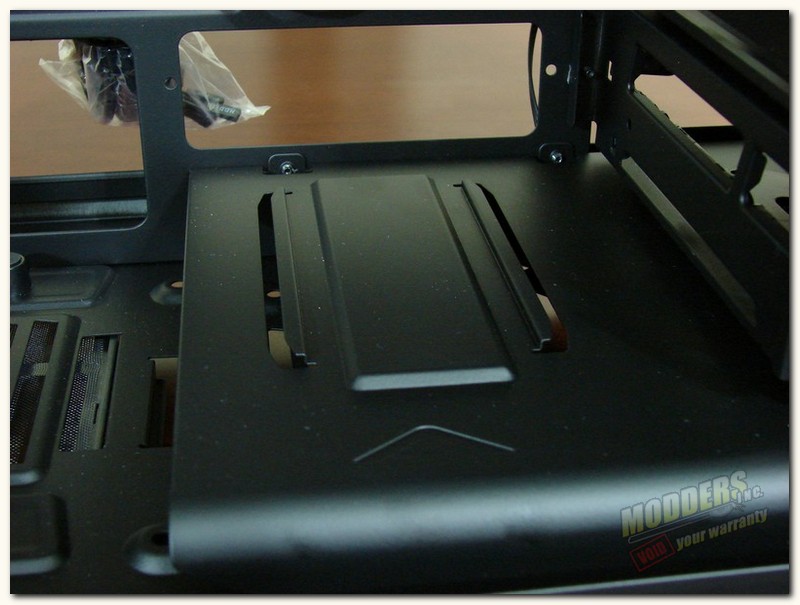
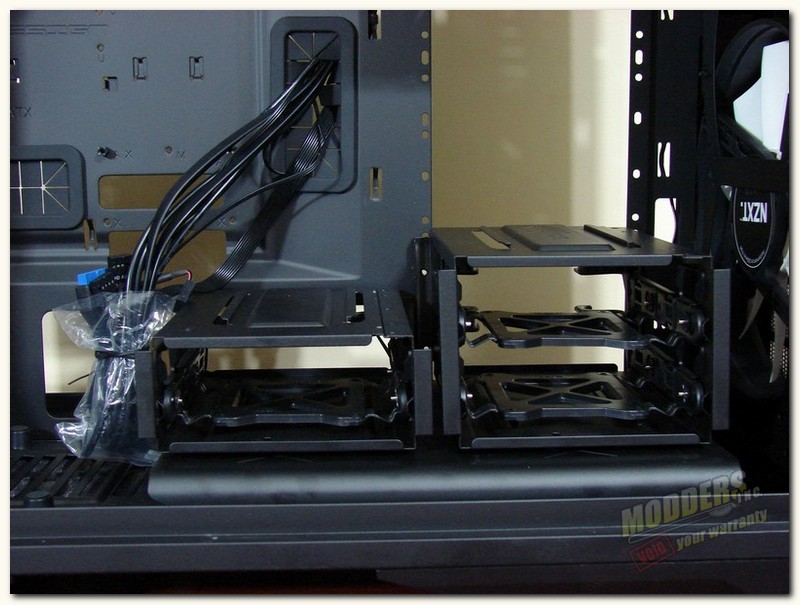
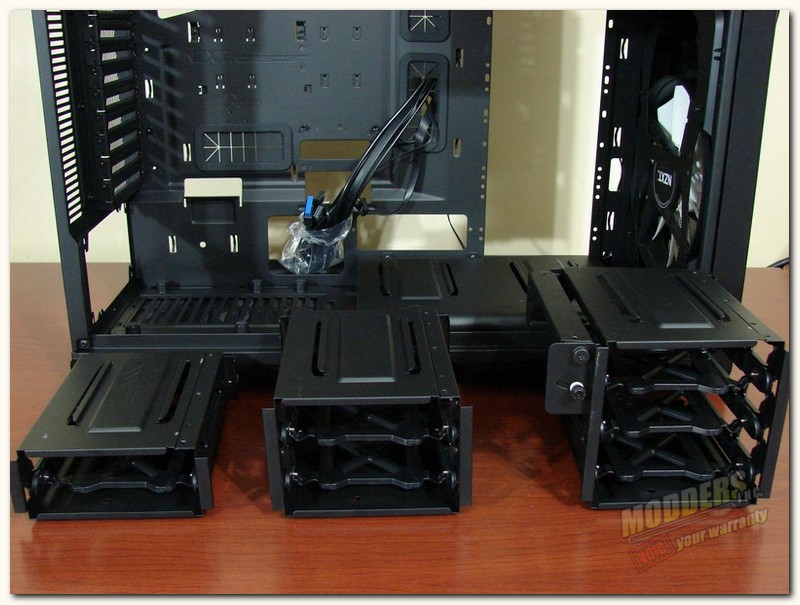
A really cool feature of the NZXT Phantom 630 is it’s modular HDD/SSD cages. In the first picture above you can see there are three cages total, 1 holding 1 hdd/ssd tray, 1 holding 2 hdd/ssd trays, and finally one holding 3 hdd/ssd trays. Each of these three hdd/ssd cages can be individually removed and swapped around etc, there is even another space beside the main cage mount to mount one of the cages beside the other. I have to tell you this was a great idea as it gives one the opportunity to use even the longest of video cards, if so desired.
To remove the cages, you must turn to the backside of the chassis and remove the corresponding thumb screws that holds each individual cage in it’s place. Simply chose which cage you wish to remove and remove the thumbs screws, be it the bottom, middle or even top cage.
Here we find the extra hdd/ssd cage slot I spoke of earlier, you simply slide one of the cages into slot put in a thumb screw and your set. The right hand picture shows one of many combos you can try.
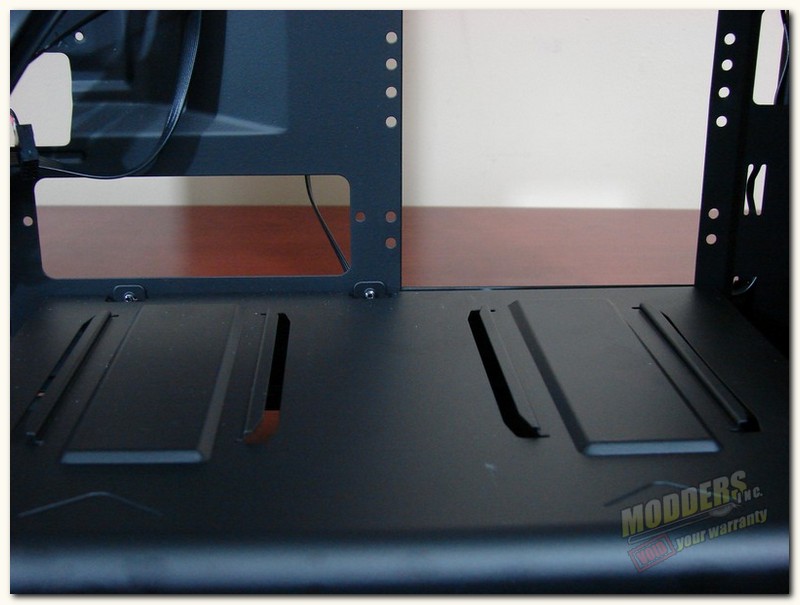
With all the hdd/ssd cages removed, you can see that there is no shortage of room in this case, if you so require it. The right pic shows the three hdd/ssd cages lined up for your inspection, to decide how to use or not to use them.
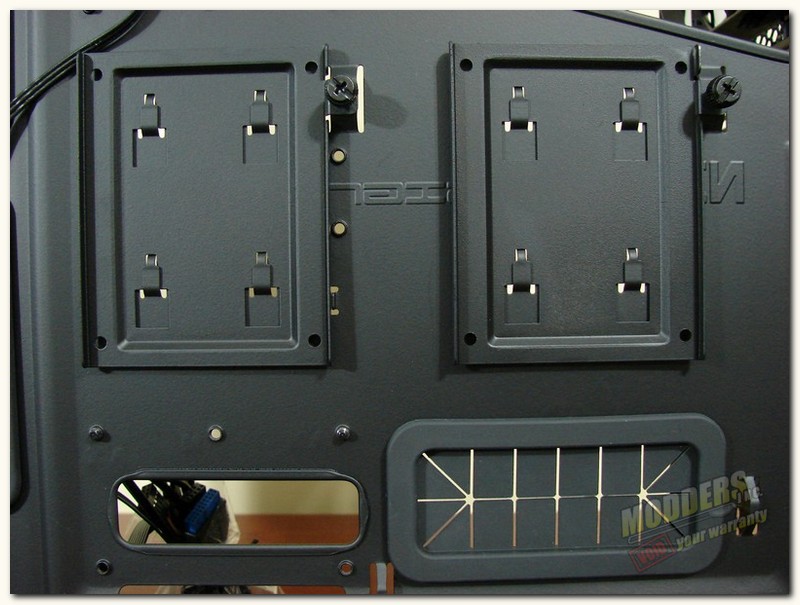
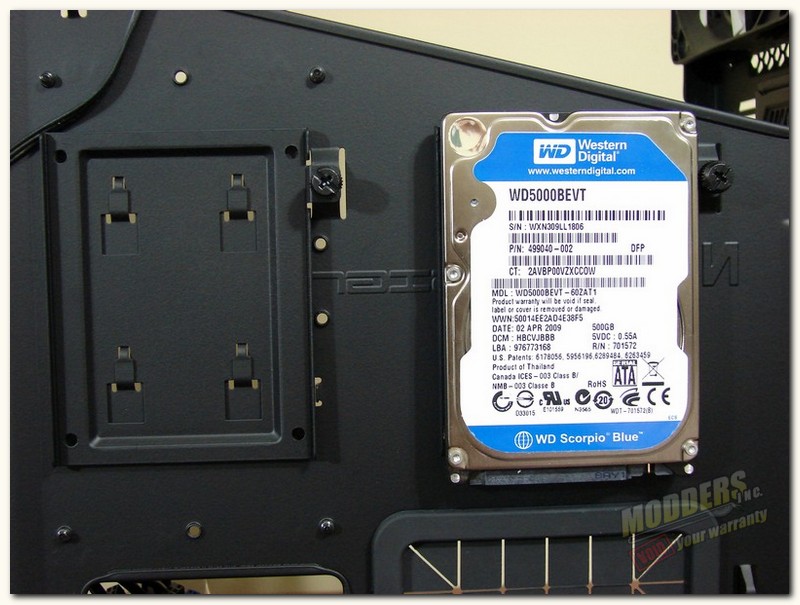
While we are on the hdd/ssd subject, NZXT has one more surprise up its sleeve in regards to the hdd/ssd 2.5″ storage options. On the rear of the motherboard tray there are two 2.5″ hdd/ssd mounting locations completely hidden from the motherboard side of the chassis. To mount a hdd/ssd here simply undo the thumb screw securing the bracket to the back of the chassis and slide the mount up and off of the chassis. Then all you have to do is mount your 2.5″ drive to the mount using the pre-drilled 2.5″ hole pattern and then slide it back in place, and finally securing it once more with the provided thumb screw.
This gives you a grand total counting the combinations of 3.5″ and or 2.5″ hdd/ssd drive options to eight possible hdd/ssd’s for your rig. While the number itself may not be impressive, as we have seen more, the way in which they can be mounted is indeed impressive.
[dhr]
