NZXT Phantom 630 High Performance Modular Ultra Tower
Exterior Impressions part 2:
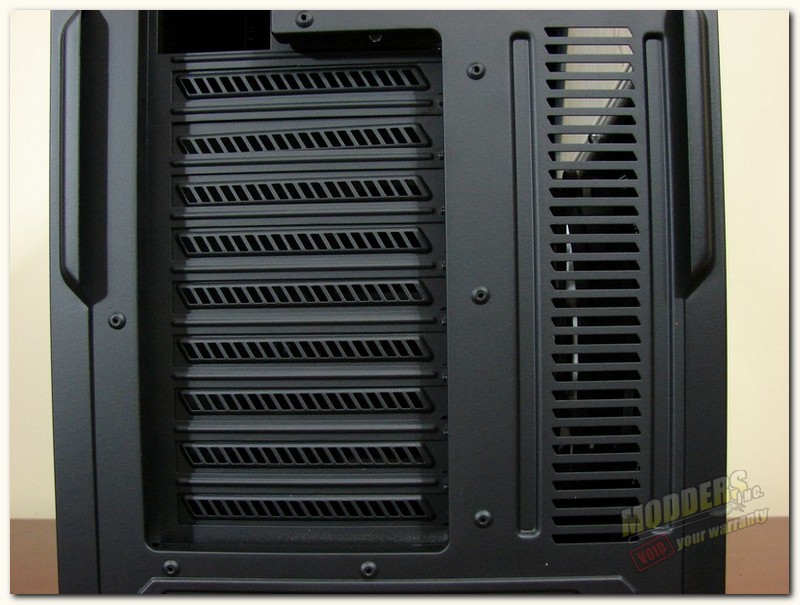
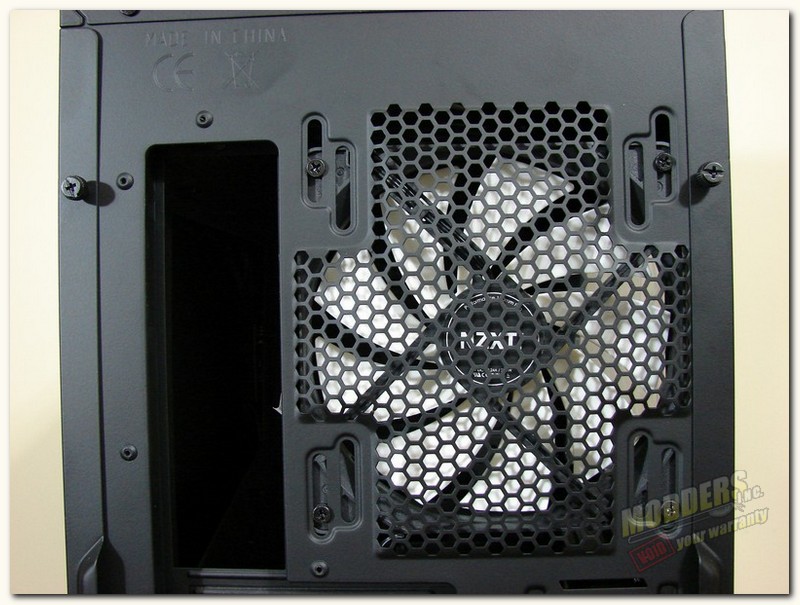
As we move down a tad to the expansion slot area, we can see that there are nine vented expansion slot covers here, giving you plenty of room for that SLI video card setup and etc. To the right of the expansion slots we find a nice large vented area to aide in the exhausting of heat from inside the case.
Last, but not least as far as the rear I/O area goes, is the ingenious addition of two clear / white LED lights to the I/O and expansion areas. One is located just above the I/O opening and the other is just above and to the right slightly of the expansion slots. This is actually a very cool little addition to have, as it gives off good light for the rear of the case. I can’t tell you how many times I have had a case in a tight area and have had to use a flashlight to see what holes were what. Bravo NZXT for this little gem of an idea.
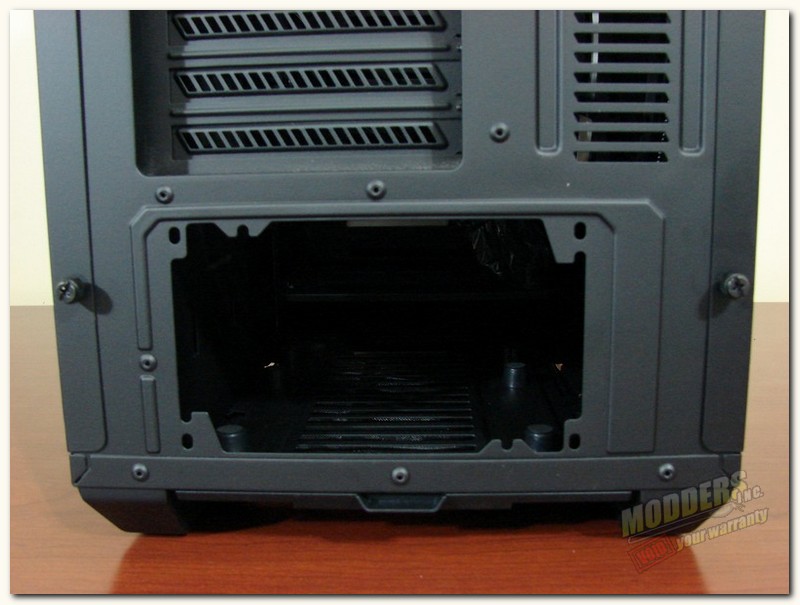
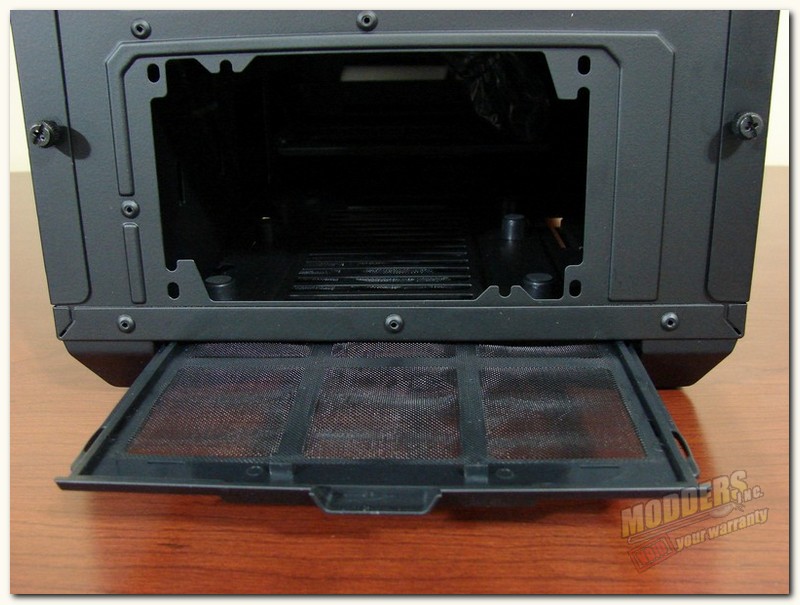
Moving on to the bottom of the rear panel, we find that the NZXT Phantom 630 has a bottom mounted PSU location. The bottom mounted PSU locations, seem to have become the norm for after gaming chassis manufacturers, especially in light of the fact that the huge PSUs now being used by gamers require a lot of support due to the weight of some of them. We also see that NZXT has not forgotten the need for dust bunny control in the PSU , as they have included a removable filter for easy cleaning.
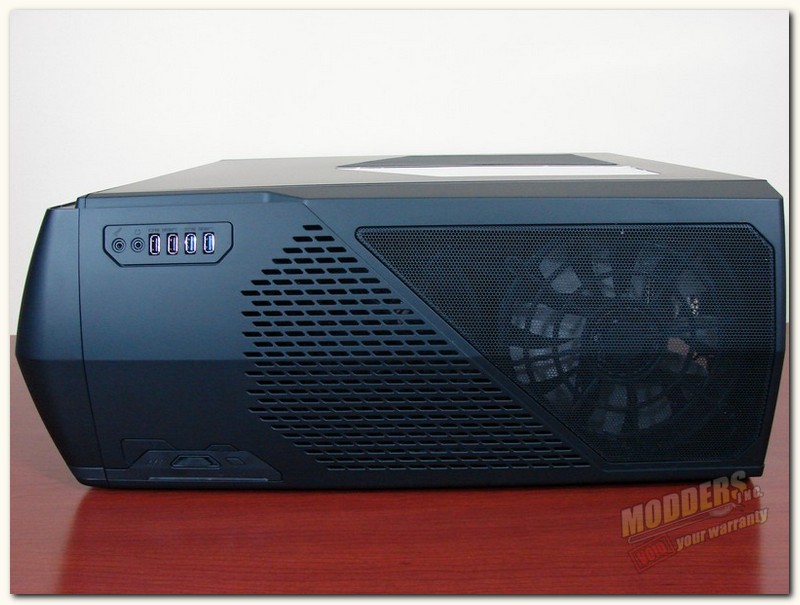
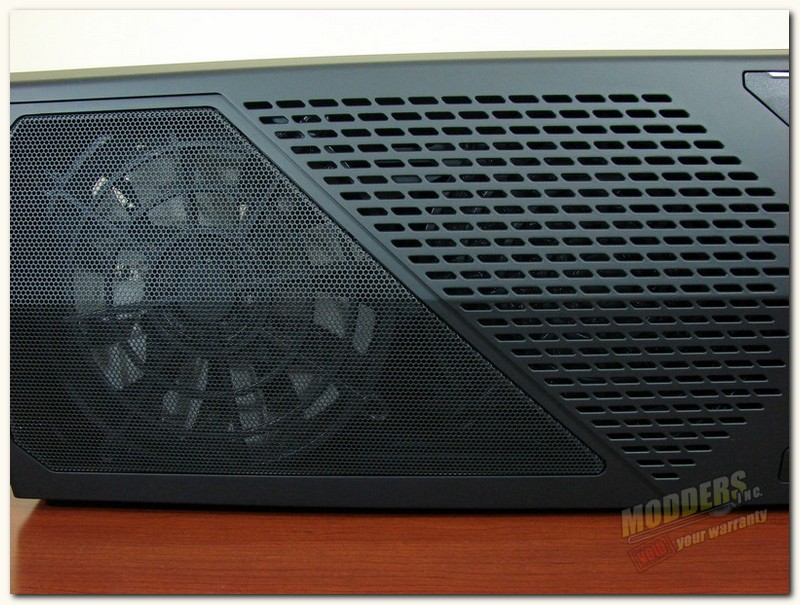
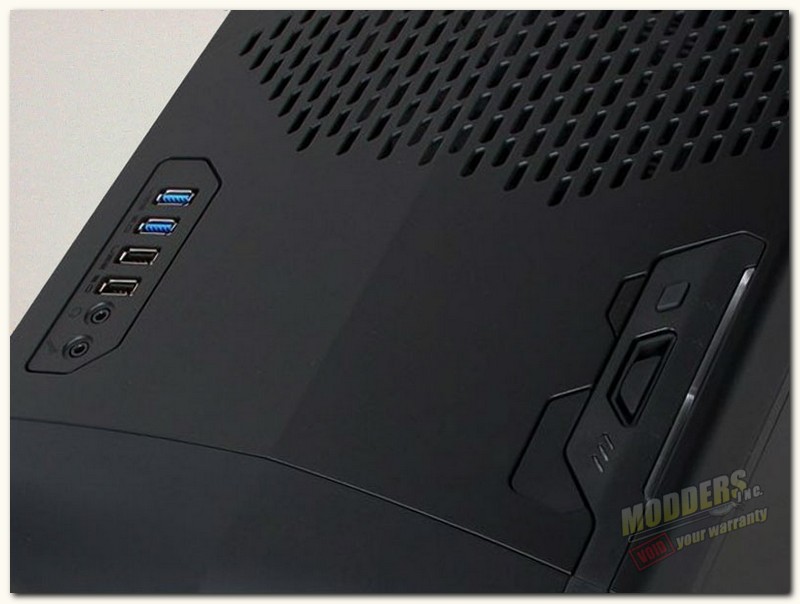
The top of the NZXT Phantom 630 is stylish as well, with a slightly angular design. Here is where we find the Power buttons and I/O ports and of course a some good exhaust venting. So, to start off let’s hit the top’s exhaust venting, which encompasses most of the top panel. At the very rear we can see, the through the black mesh enough to see the 200mm exhaust fan NZXT has included. In front of the rear mesh we have section of parallelogram shaped perforated plastic that is also used for chassis exhaust and can have up to one more 200mm fan added here, more on this later.
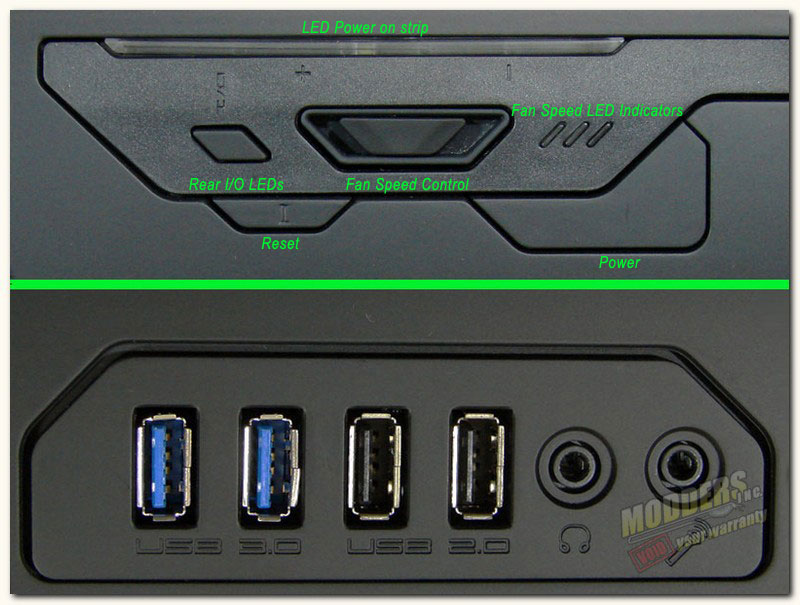
Up front on the top panel, we find the Power buttons and the chassis I/O area of the NZXT Phantom 630. The picture above on the right, shows these two sections a bit closer. Let’s start at the top of this picture with the Power area, from right to left we have the large power button and the slightly smaller reset button, fan speed LED lights (1=low, 2=med, 3=high), the sliding fan speed controller, the rear I/O panel light button and the Power on LED strip.The lower section of the picture shows the left side of the top panel’s I/O area, here you find; two USB 3.0 ports, two USB 2.0 ports and the headphone and mic audio ports.
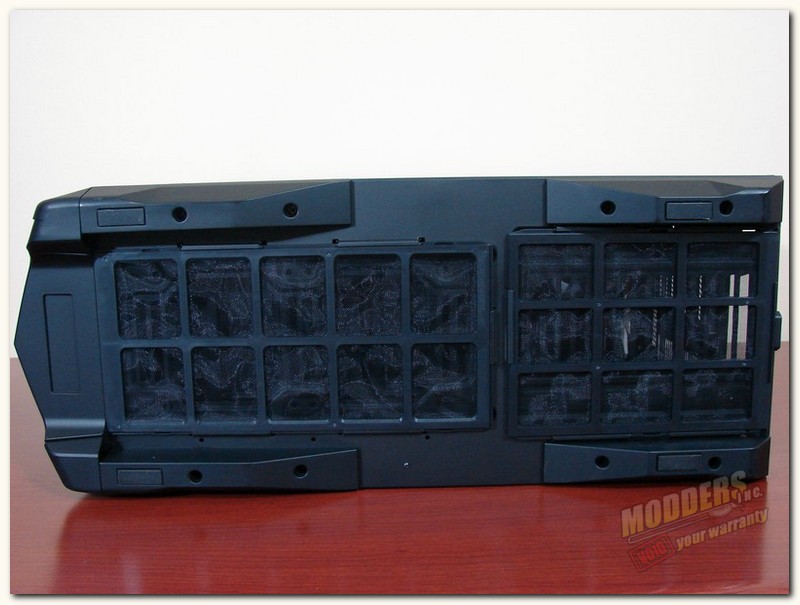
Now let us look at the bottom of the NZXT Phantom 630, and see what it has to offer. First let’s start with those huge rubber padded case feet. They do look different, but seem to go well with the outline of the case. they also create a large air space under the case, making it easier for the PSU and intake fans to suck in cool air.
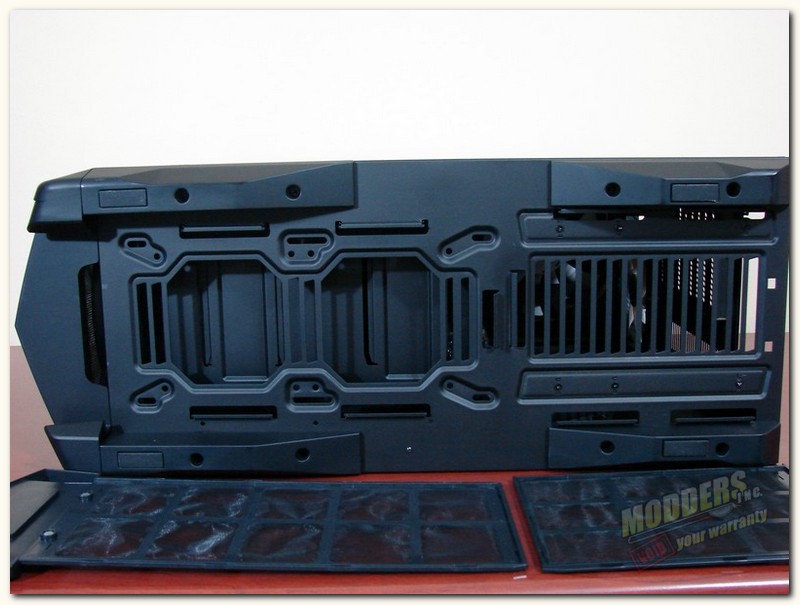
Speaking of intake fans, with the two air filters removed we can see that the NZXT Phantom 630 can take up to two 140/120mm fans, with the 140mm fans being able to slide forward if necessary. Of course we must not forget the two filters on the bottom of the case are cleanable. Also, the PSU area seems to be very well vented, even for the larger fans in the PSU.
[dhr]
