NZXT Phantom 630 High Performance Modular Ultra Tower
Exterior Impressions part 1:
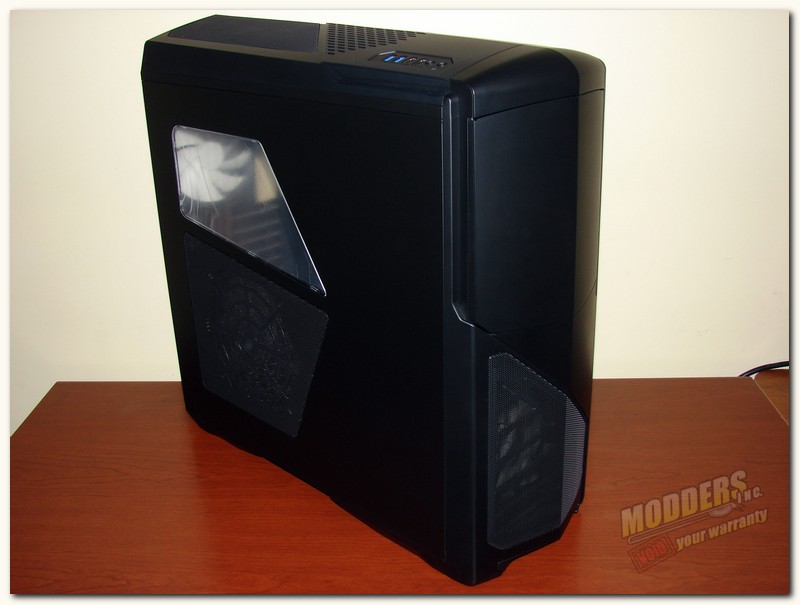
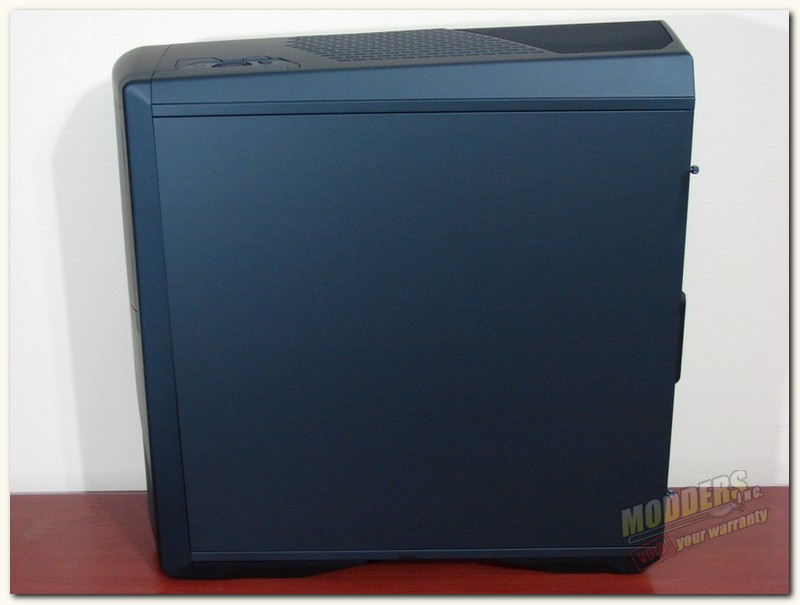
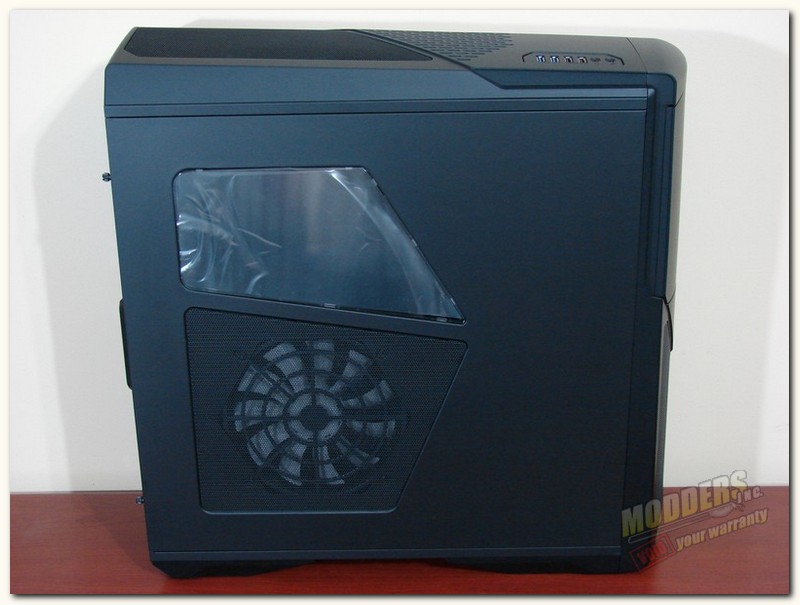
Upon removing the styrofoam and plastic sheeting, we get our first good look at the NZXT Phantom 630 High Performance Modular Ultra Tower, or full tower if you prefer. The NZXT Phantom 630 comes in three colors, Matte Black, White, and a GunMetal Grey. I received the Matte Black finish, as previously mentioned.
The NZXT Phantom 630 is indeed a large case and looks absolutely monstrous sitting upon my 48″ X 30″ review desk. However, it still maintains a very sleek design with a non-militaristic look, which some may find a bit refreshing.
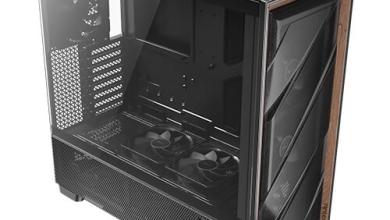
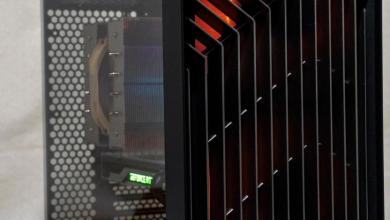
The NZXT Phantom 630 has a side panel window, however, it is not exactly a large window as it shares the panel with a mesh covered intake fan. The two items go together well and will provide cool air for your video cards and show off your cpu cooler as well. However, I would have personally rather seen just a window here, but for a modder that will be no problem to solve.
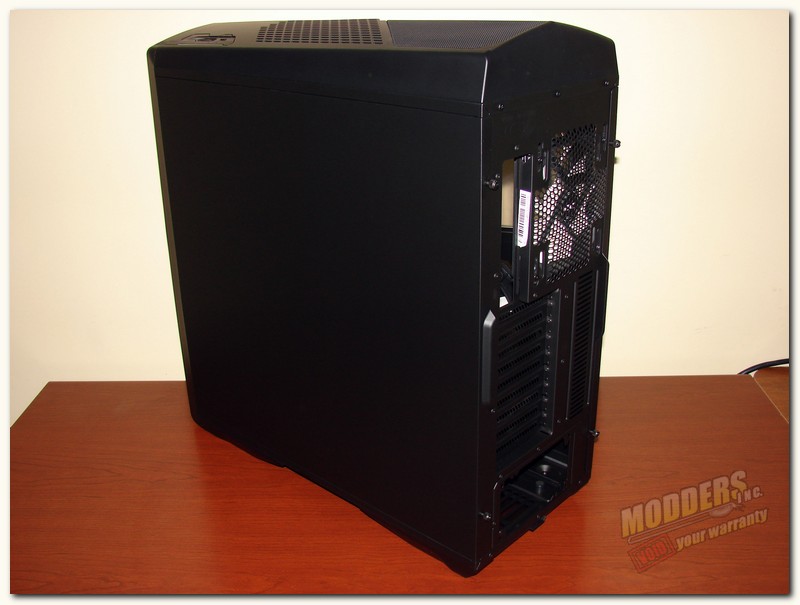
The motherboard side of the NZXT Phantom 630 is pretty much what you would expect, just a flat panel with no venting or fans.
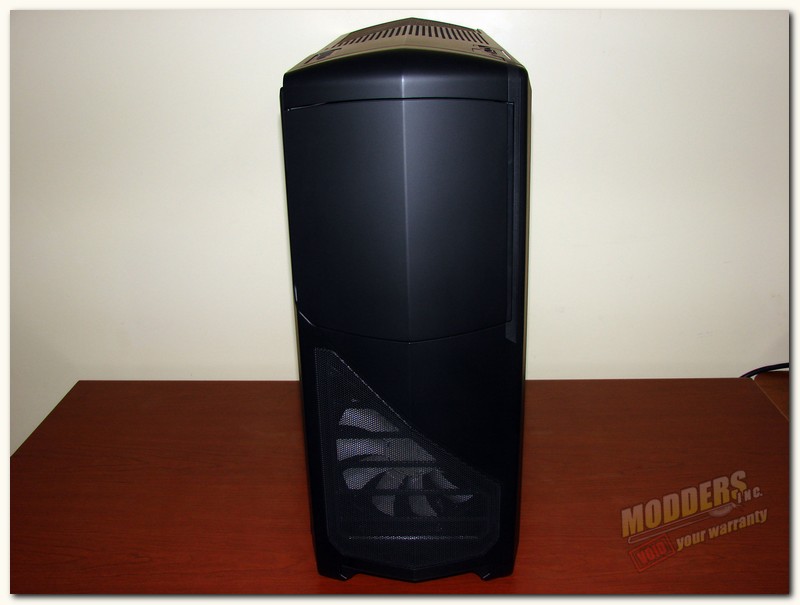
Moving quickly to the front of the case, with it’s diagonally designed front panel and front intake fan mesh opening, I can certainly see a resemblance to one of the many takes of the “Phantom” type masks. Perhaps this is where a portion of the NZXT Phantom series cases may have come from, but who knows … I could be completely wrong. At any rate it has a very stylish look to it that draws your attention. More to come on the front panels design further along in the review.
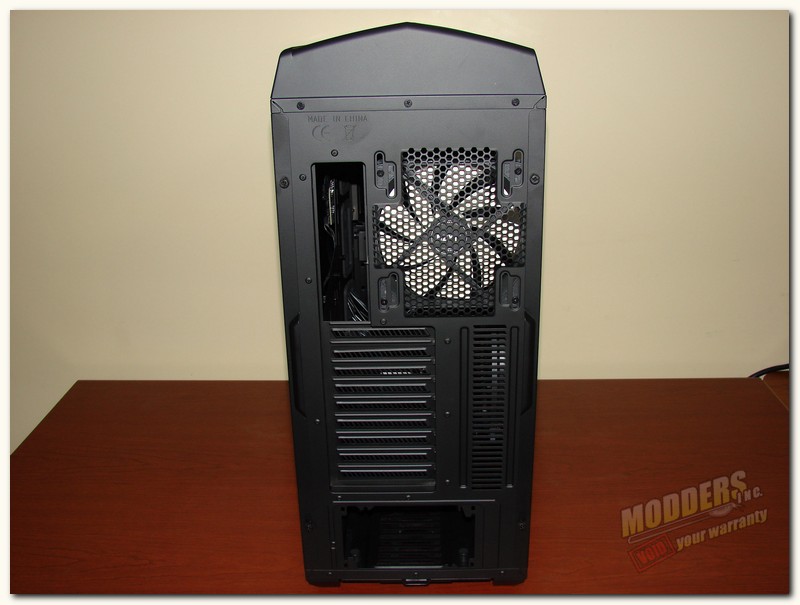
As we move around to the rear of the NZXT Phantom 630, we see what you would normally expect on full tower cases as of late. However, one thing that is not present, and was bit of a surprise to me, is liquid cooling holes on the rear panel. As of late, most cases available (and especially one of this size) have at least two liquid cooling pre-grommeted holes on the rear panel, or at the very least knock outs for the liquid cooling lines. I suppose one could cut there own liquid cooling holes, if they have the skill to do so, but some may not be too happy about this.
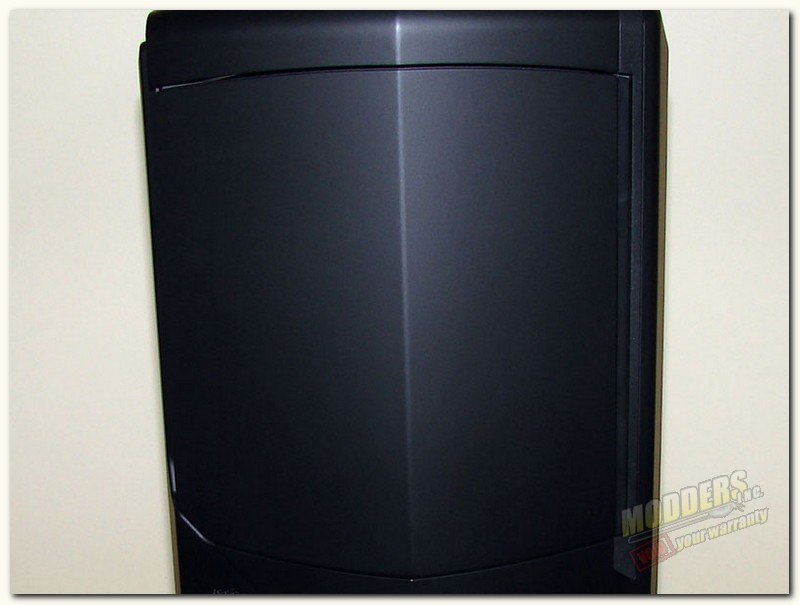
As we look towards the front of the case, we will start at the top and work down. NZXT has put a very good front panel door on the NZXT Phantom 630. Not light and flimsy, but sturdy and fastens magnetically to the front panel with ease. It is also very easy to open.
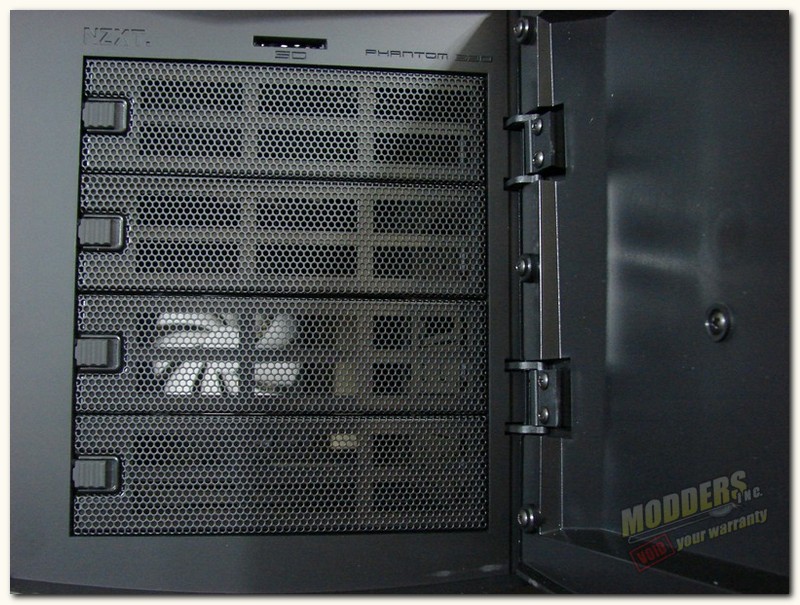
Once we open the front panel door, we are greeted by the four optical drive bay covers, which we will talk about a bit more below. NZXT has also included a built in SD card reader, a nice surprise from the norm.More about it a bit further on.
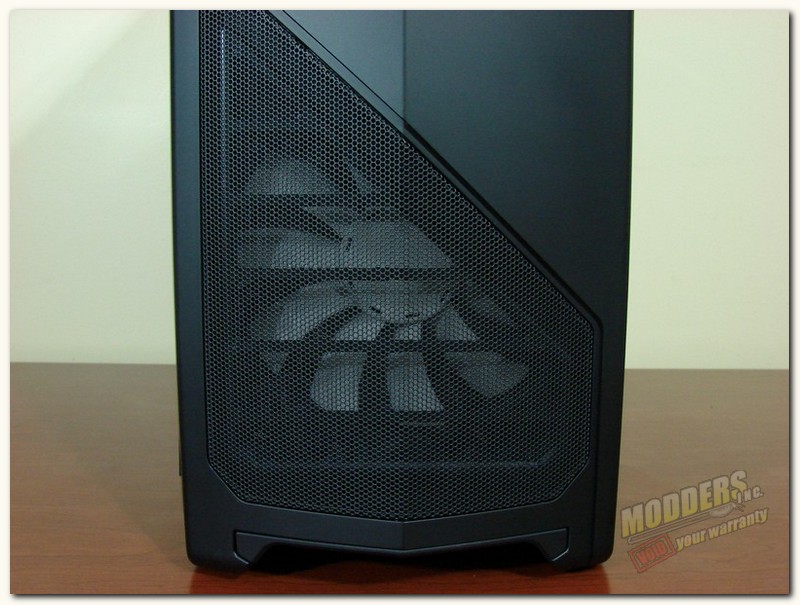
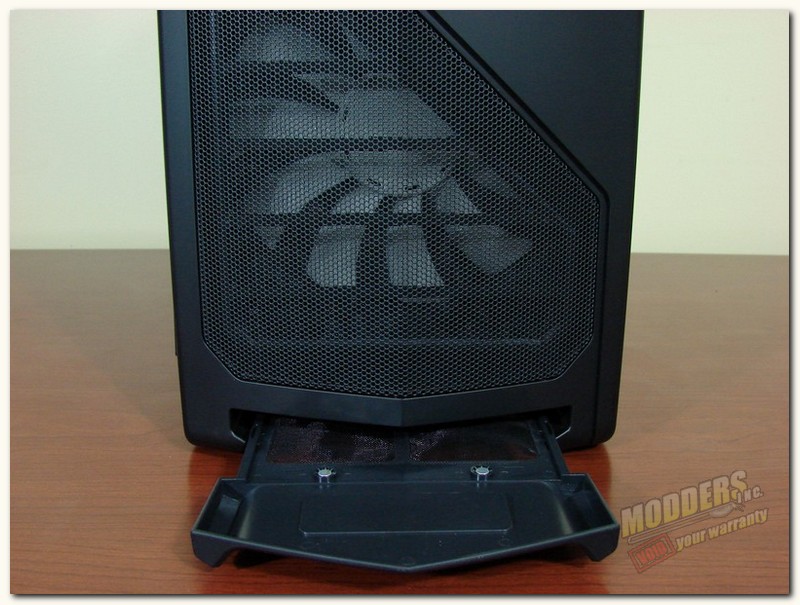
As we move to the bottom of the front panel we can see the huge 200mm white intake fan included by NZXT. Also, this will be where you access the filter for the optional Bottom: 2 x 140/120mm intake fans, which we will get to in just a bit.
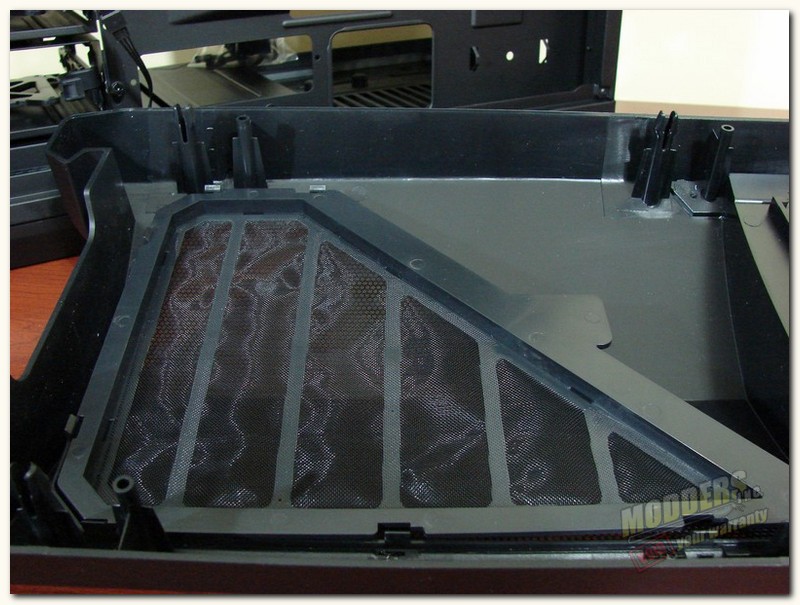
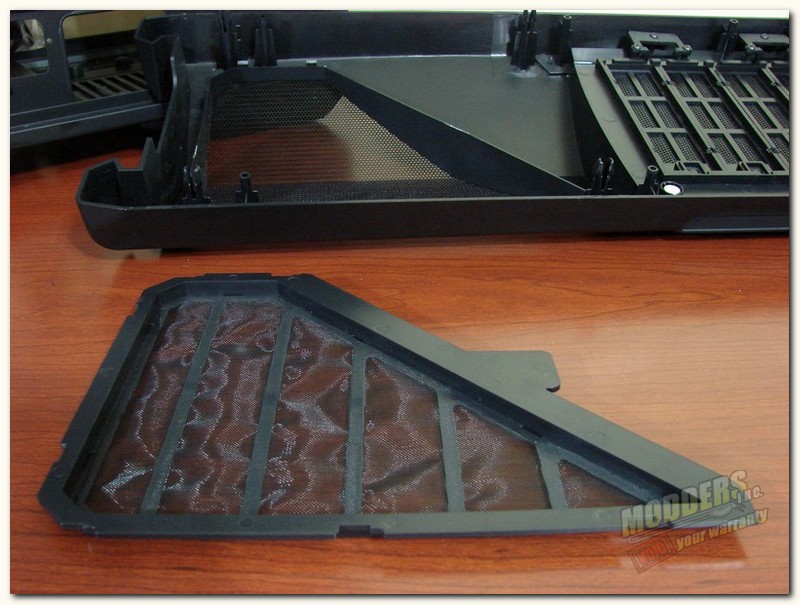
As mentioned the front 200mm intake fan does have a cleanable / removable filter. To get to it you pull out the bottom fan filter (mentioned in the picture set above this) and gently pop the front panel off. Once it is off you simply unsnap it from the panel and clean it.
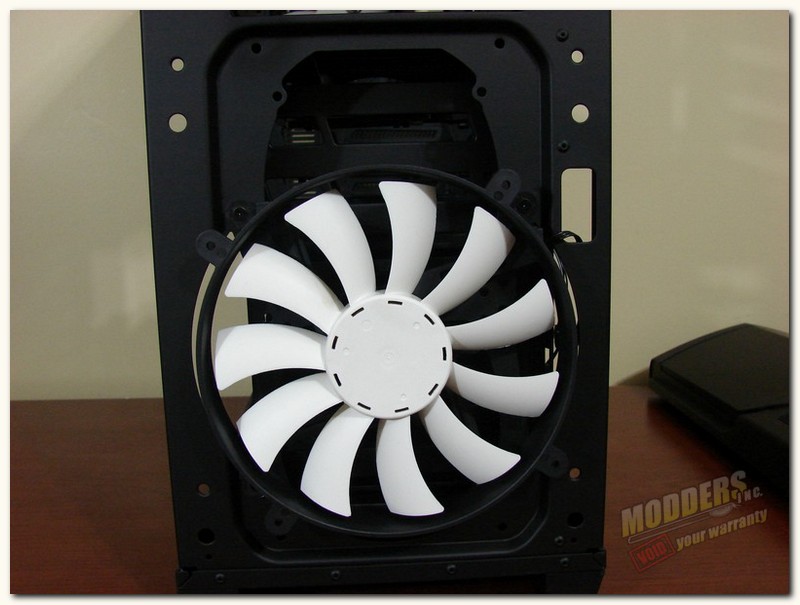
While we have the front cover off to access the front intake fans filter, we might as well look at the front intake fan itself. As you can see it comes pre-installed with a 200mm white NZXT fan. However, if you so desire you can remove that and install up to two 120/140m fans in it’s place.
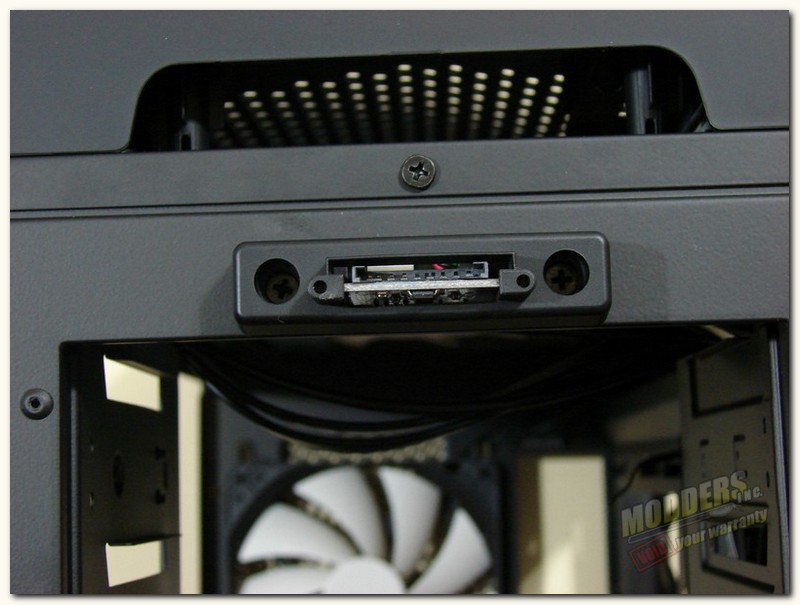
A couple more things to show you while we are in this area, first the sd reader board is located behind the front panel and if it ever needs replaced or something this is where you get to it. Also, to remove the top panel you must first remove the front one, so you can get to the hand grip area to pull it loose. be careful her as you do not want to break anything.
[dhr]
