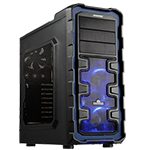
NZXT Panzerbox Mid Tower Computer Case
Installation
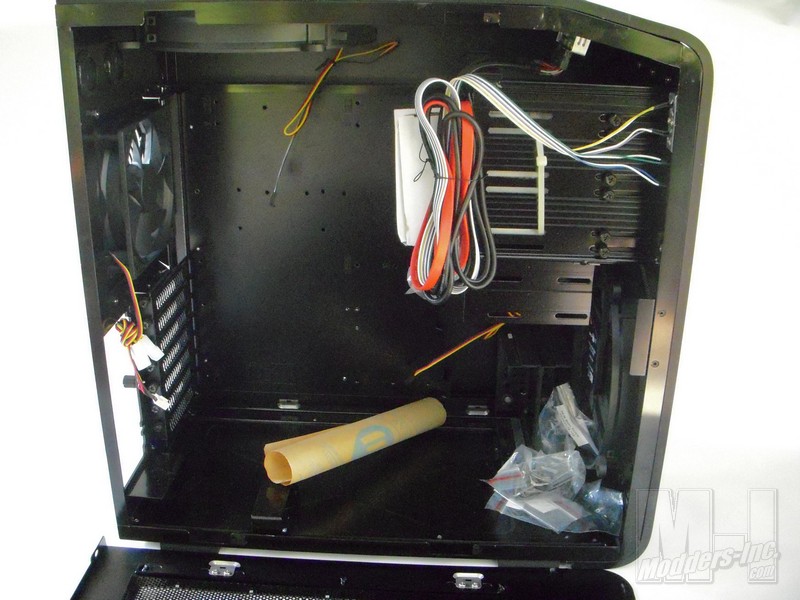
On to the installation process. I mentioned a bit about this earlier and there are in fact no tool-less features to this case. Everything has to be attached and secured with large thumb screws. Like a mentioned before this is a bit disappointing as tool-less features really make for a quick install. However, a drawback to some of the tool-less designs is they are often less secure. If you truly plan on making the Panzerbox a LAN case then really nothing is more secure than hardware that has been screwed down.
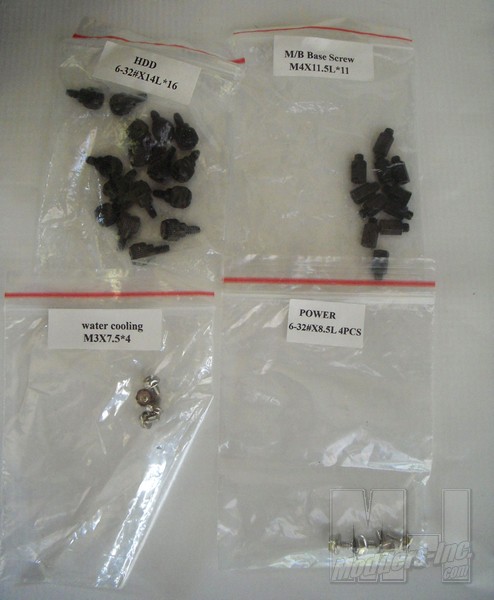
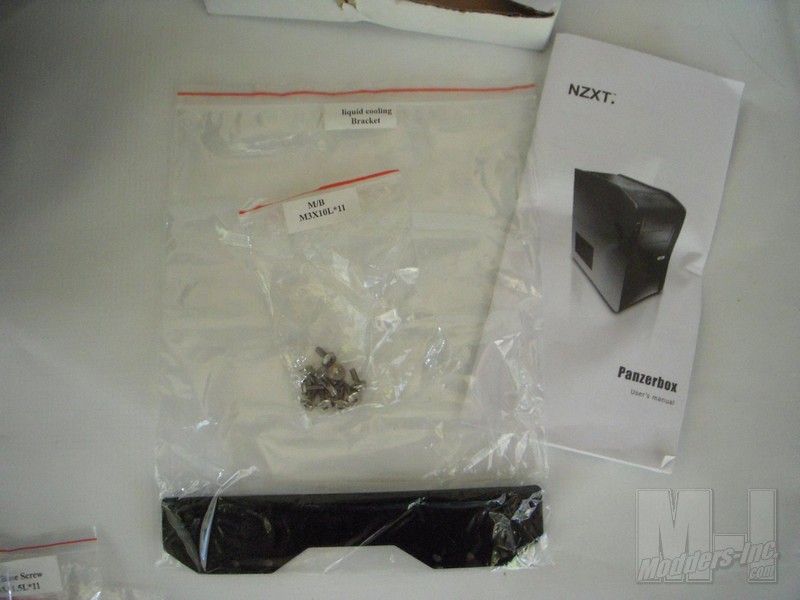
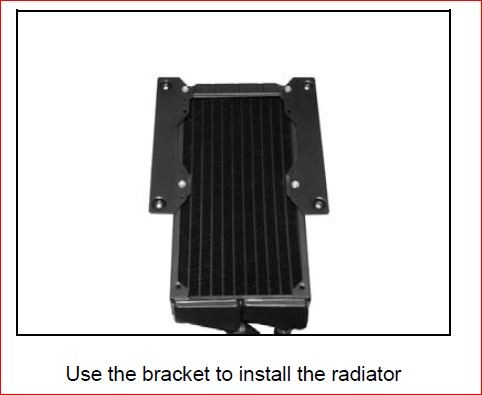
Inside the Panzerbox the install package came as several bags of neatly labeled zip lock bags, and an informative and really easy to follow manual. As you can see you are given plenty of extra Thumb screws for install. Also included in the install packet are the brackets to mount a dual radiator at the top of the case. The brackets are basically pre-drilled with holes that match up to the larger spaced holes for the 190mm fan. Then on the other sides have holes that should match up to the 120mm fan holes in a radiator.
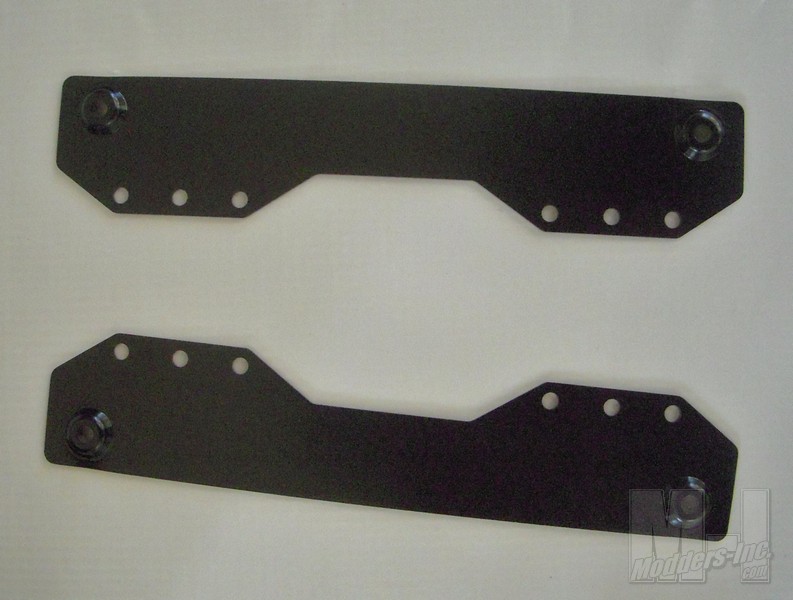
Here is a close up shot of the bracket. The three sets of holes in the middle will hopefully line up to your radiator mounts. This should then mount to the top larger fan mounts and have your radiator centered in the top mesh section of the case.
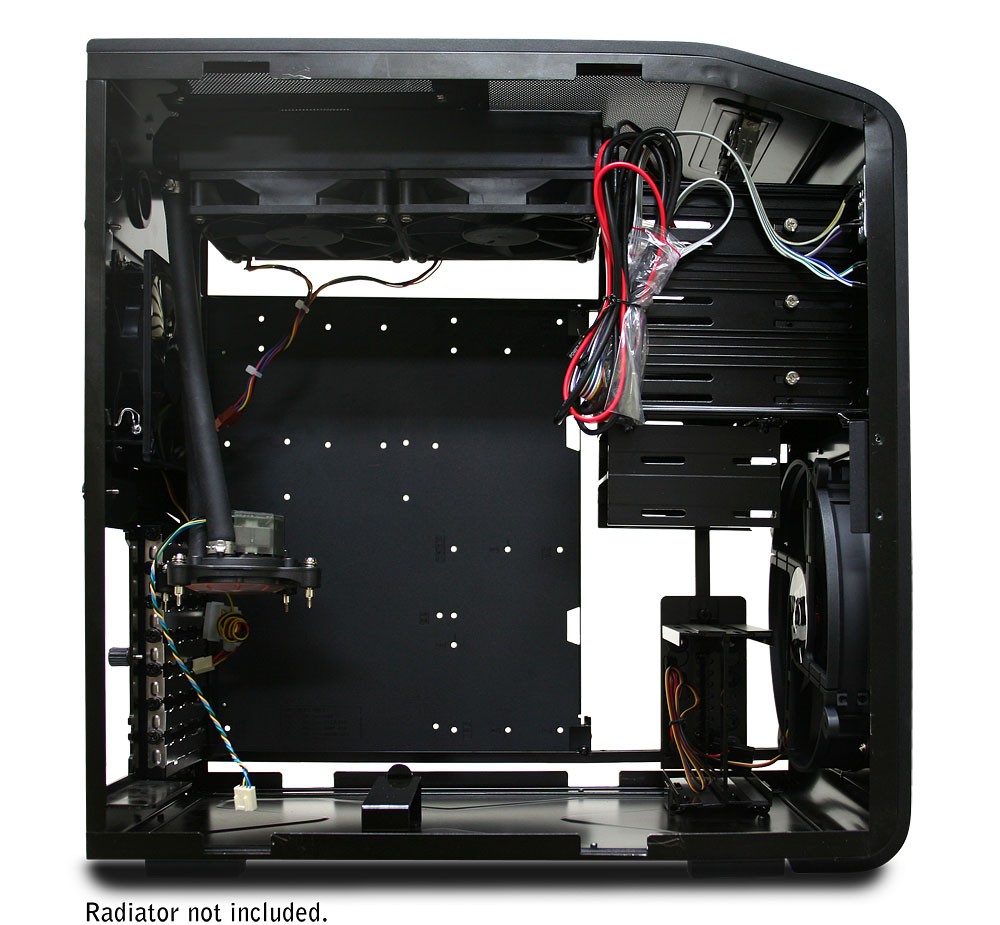
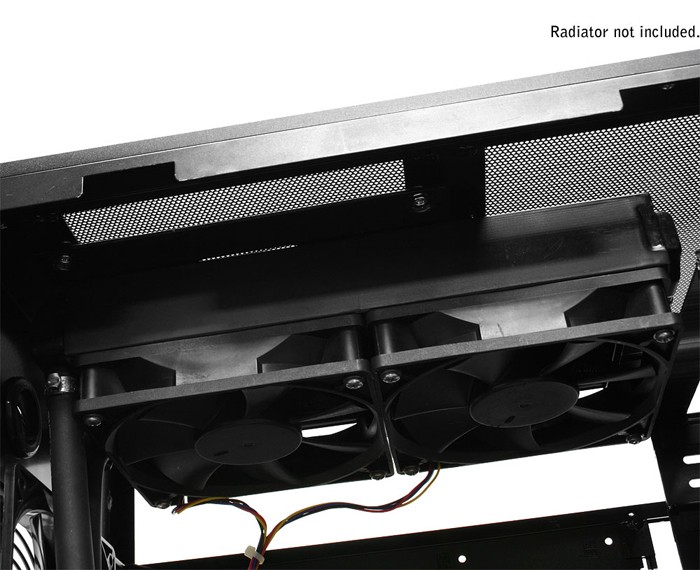
I’m not going to install a radiator in the case for my install. Instead I have several pics from NZXT that illustrate your typical dual radiator install. These two below show a duel radiator mounted with the large stock 190mm fan removed. These pics can be enlarged by clicking on them so you can see the details of the install. It’s a tight fit but it does in fact fit. The setup they are using is an all inclusive cooling kit. If you plan on using your own with separate block, pump and reservoir you are going to have to get creative on where to place everything.
Below: From the manual a pic of the bracket installed to the radiator.
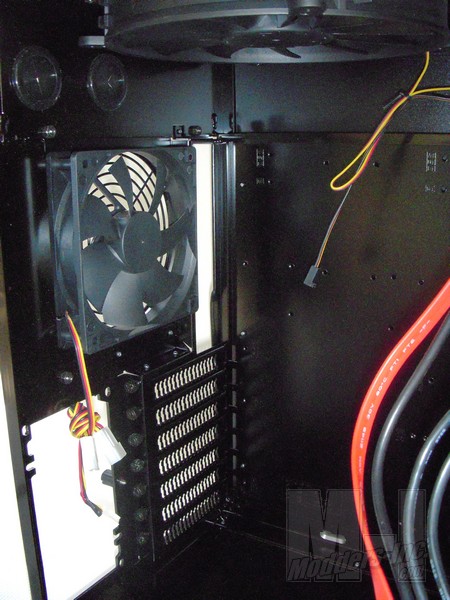
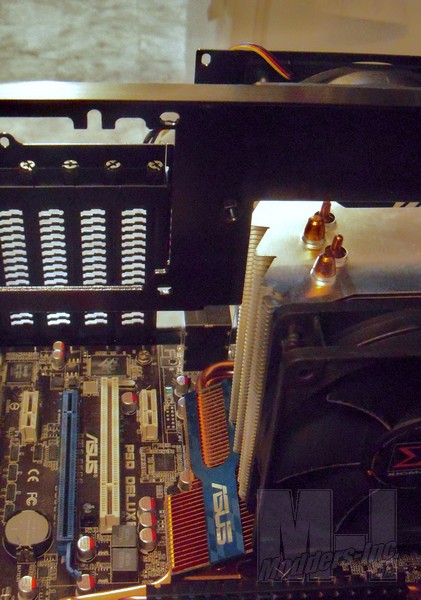
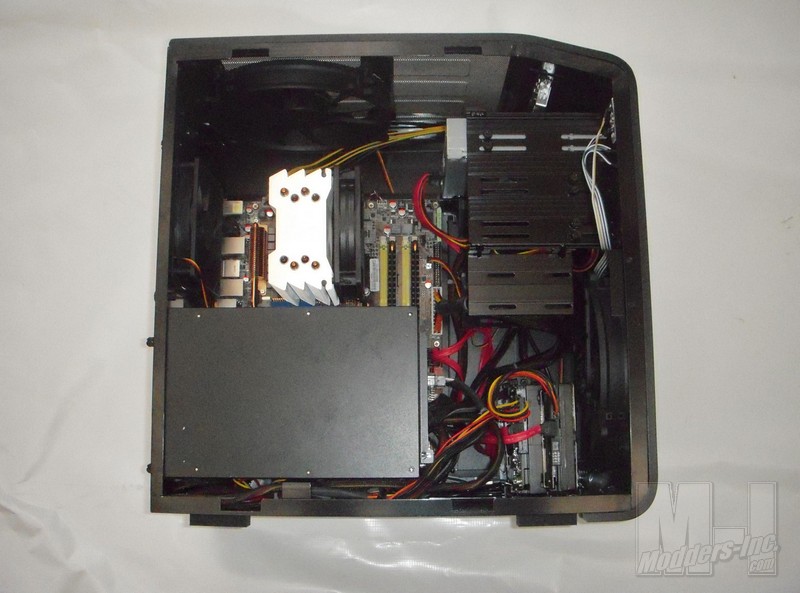
Moving on through the install I really had no problems. The removable motherboard tray was very handy and although outside the case seemed a bit thin and floppy it was quite secure and felt solid once inserted inside the case frame. The only concern you may have using the pull out tray is the space for your CPU cooler. Above in the second pic you can see my HDT-1284 barely fits through the space in back where the tray slides out. You shouldn’t have any problems with this tray sliding in and out so long as your cooler is no wider than a 120mm fan. If your cooler is any larger and you might as well just leave the tray in and do a regular install. I know Tazz has had this problem in the past and remedied it by removing a bit of the back plate to accommodate the larger coolers.
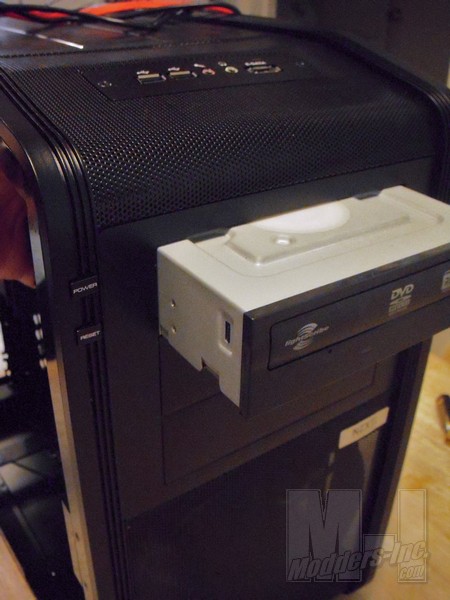
The next things I Installed were the DVD and hard drives. The DVD went in easily and slid nicely into place using the rails on the aluminum bay cage. I had to have the back door off to screw the thumb screws in on both sides but other than that there was little hassle to it. The hard drives can be installed below the main hard drive in two bays attached there or behind the front intake fan in this removable aluminum holder. This removable HD cage will hold 2 regular sized hard drives secured down on both sides with thumb screws as well. Then you simply slide this cage over bolts on the frame of the case. A single thumb screw holds the entire attachment in place. It’s actually easier than it sounds and shouldn’t have any problems slipping off unless the screw comes loose and the case is turned upside down.
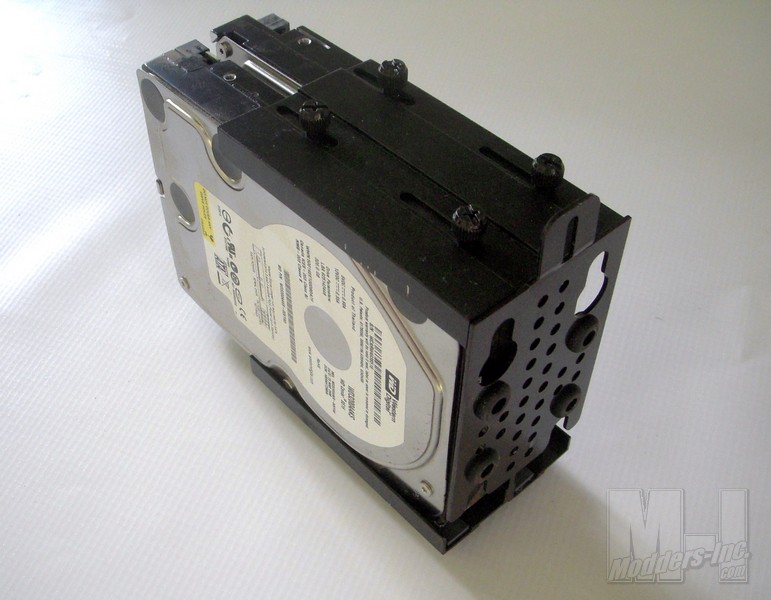
When I first though of installing the Hard drives I first wanted to install them into the top area at the bottom of the main drive cage. I wanted to do this because it seemed to me the drives installed in front of the fan disrupted the direct flow of air that would go to the Graphics card. If I could leave this out I’d have even better direct cooling of the card. The problem I found with this is the drives installed in the uppers slots is they seemed to stick out way to far and interfered where I plugged the 24 pin ATX cable from the power supply. I wish they could have tweaked the design to allow the Hard drives to be seated side ways. Add in some quick release tool-less rails and I think it’d be about perfect. This is really a major flaw in the design in my opinion.
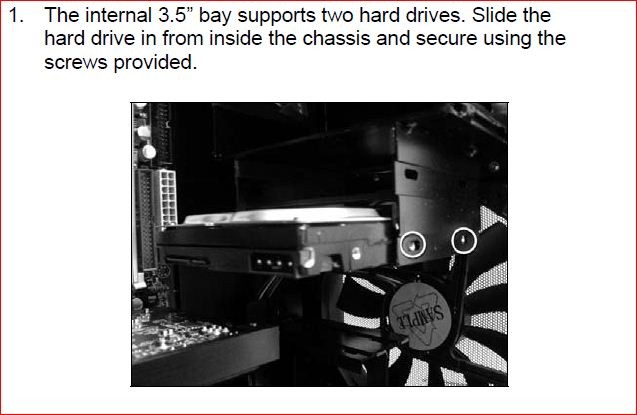
As you can see from the above pic straight from the Panzerbox manual the Hard drives stick out way too far over the motherboard. Simply rotating the lower mounts so they slid in from the side would have made a much better design. With a little modification and Dremel skills you could easily Dremel out the four spot welds for the bottom cage and rotate it and re-attach it. This isn’t something that is entirely necessary but it is an option for those who are interested.
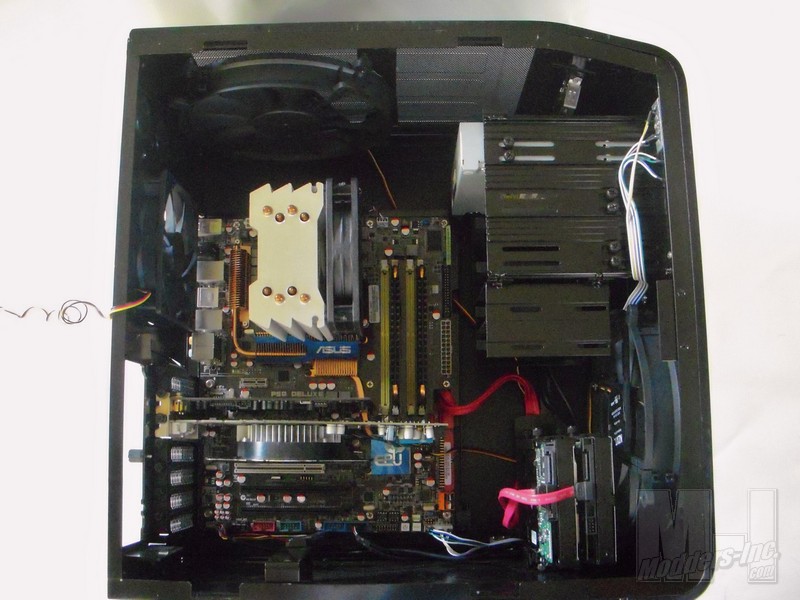
At this point I have all the hardware installed except for the Power supply. The power supply in the Panzerbox is situated in a somewhat unconventional place. Normally a PSU would sit above or below the motherboard. In this case the power supply sits side by side with it. The pro’s of this set up are that it allows for a shorter case and allows the top of the case to be entirely area for exhaust for the heat building inside. The con’s are the PSU surrounds the Graphic cards. This coupled with the hard drives blocking direct air current and added power cables running through you find a great restriction in the air flow to where you need it most, On the graphics card.
