NZXT Manta (White Edition) ITX Case Review
Hardware Installation
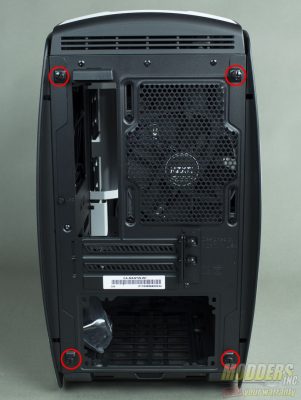
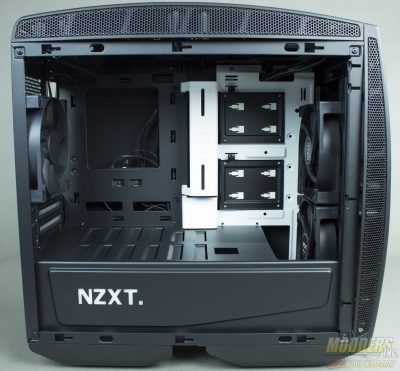
The best practice when installing hardware due to the unconventional design of the case is to remove all the panels from the case first. The side panels can be easily removed by removing two thumbscrews on each panel, located at the rear of each panel.
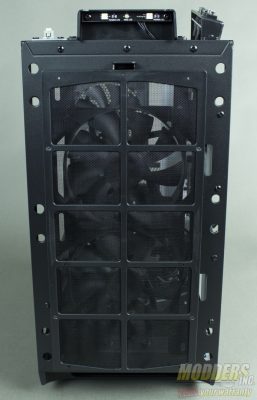
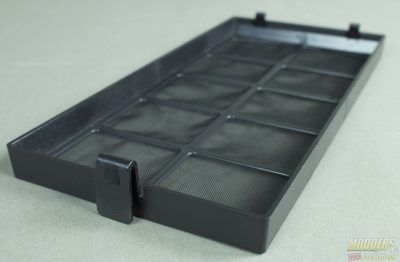
Remove the front panel before removing the top panel, as the top panel has some clips that will catch if removed first. To remove these panels, simply pull away from the case and they will will come loose. Be careful when doing this as these panels are held in place with clips that latch to the panel. Damaging this clips will result in the panel not resting flush against the inner frame. Beneath the front panel, NZXT has included a large tool-less 280mm dust filter.
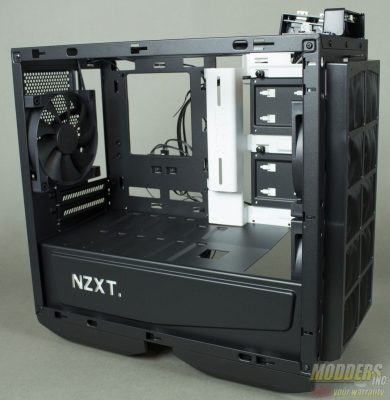
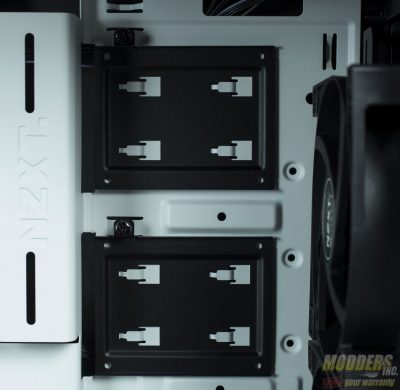
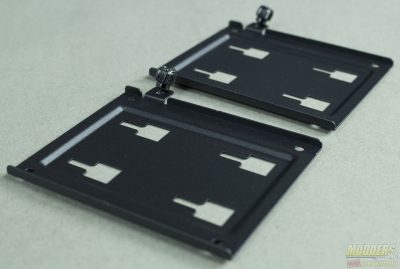
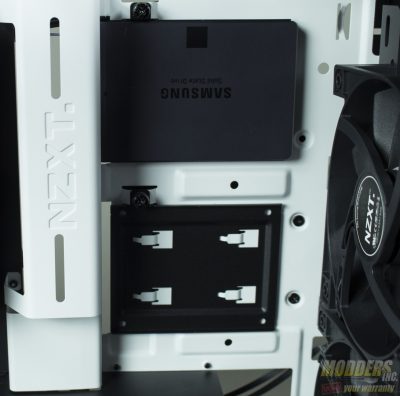
At the front of the case, two drive removable drive sleds can be found that can be removed with a single thumbscrew.
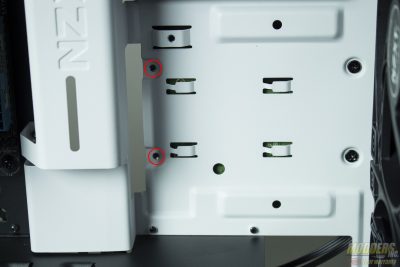
Around the two drive sleds, you can see six mounting holes, these are one 3.5″ drive that is mounted at the rear of the panel and can be mounted at a low or high position depending on your preference. Note the the two mounting holes circled in red, those will be normally blocked off by the lower 2.5″ drive sled.
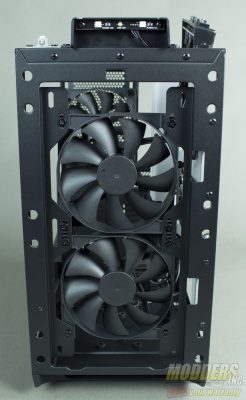
Included with the Manta are three 120mm fans: two are located at the front intake and the other one is located at the rear of the case. The front will accommodate up to dual 140mm fans and 280mm radiator, or the stock 120mm fans with a 240mm radiator. Keep in mind to install these first and run your cables to the provided NZXT fan hub.
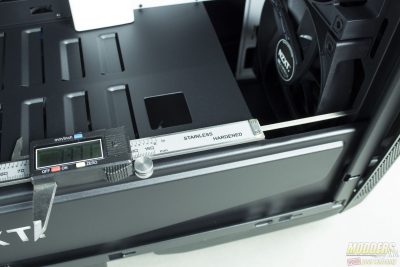
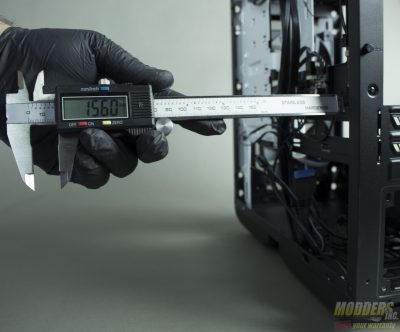
Now for those of you interested in water cooling this case, I have measured the clearance for the front intake as well as the top clearance of the case. Keep in mind that under the Manta’s curved outer panels, there is enough clearance to install a slim style radiator that is 27-30mm thick. It is recommended for the top panel to install the fans inside the chassis and to have the radiator sit externally, beneath the outer panel.
For the front panel, dual 120mm fans can be installed on the exterior of the case, beneath the provided fan filter. The internal clearance for a radiator is actually very impressive with 73.71mm. This allows for use with radiators reaching 60mm in thickness or a thinner radiator for a push pull configuration.
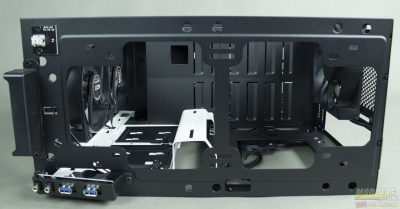
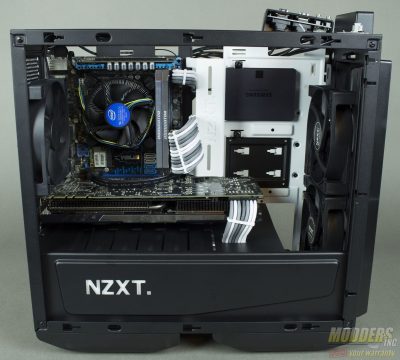
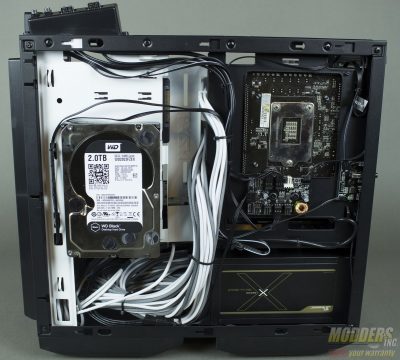
Speaking from experience, after you install the motherboard, connect the front panel cables first,This may prove almost impossible later once the GPU is installed. At this time go ahead and run all your necessary cables to their respective components. Doing this now is will save some mental strain trying to work around routing cables with the GPU in place. Although it seems that the back panel does not have proper clearance, keep in mind addition clearance can be achieved when the side panels are mounted.
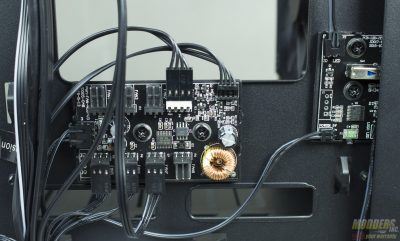
NZXT includes both a fan splitter and daughter board that controls the illuminated panel as well as the illuminated I/O features. Once thing to keep in mind with the included fan splitter, is that of the eight fan power connectors, seven of them are three pin fan connectors. This maybe an issue for PWM fans that require four pin connectors, nevertheless, it is still a nice feature to be included.
Once all your cables have been run to their respective components and you have your cable management all in check, you can now install your GPU. The GPU is held in place by two thumbscrews and a retention bracket that covers over the PCI slots. From there connector your PCIe cables. Your PCIe cables can be fed through the midplate in a hole that is pre-cut from the factory.
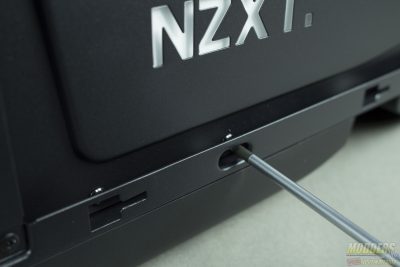
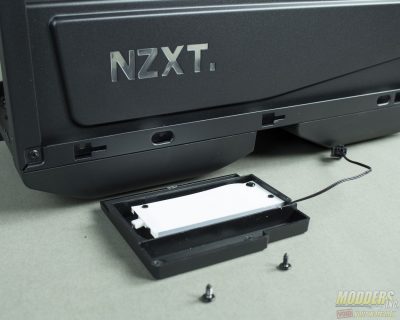
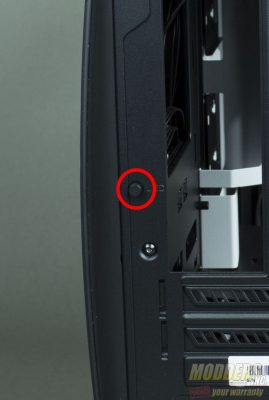
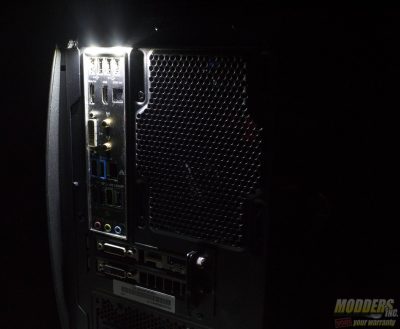
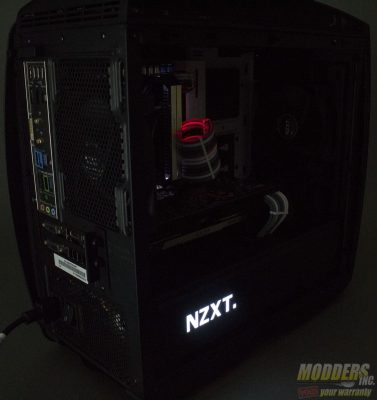
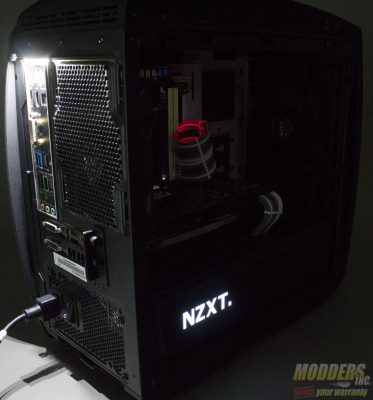
Now for the final feature that really makes this case shine (no pun intended). NZXT discretely added this small switch to the back of the case that controls the lighting for the I/O panel on the motherboard and for the illuminated NZXT logo that can be seen on the side of the case. Something to note about the illuminated panel– by default it is lit up with a white LED, but you can change the color buy applying a piece of transparent film. The panel can be accessed by removing two black, Phillips head screws.
The lights on the I/O panel and NZXT illuminated panel are controlled on the rear of the chassis by a small button, labeled “LED”
Pressing the button once will cycle through both I/O and illuminated panels turning on, only one on, or both off.
