NZXT M59 Mid Tower Gaming Chassis
Installation
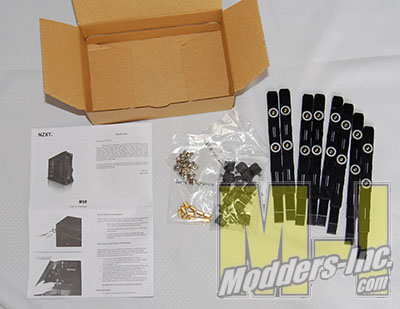
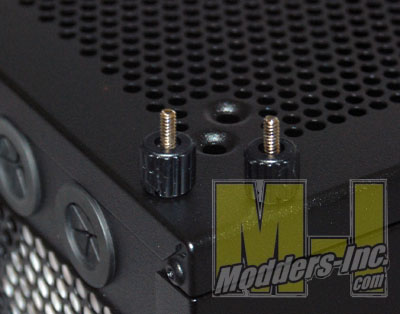
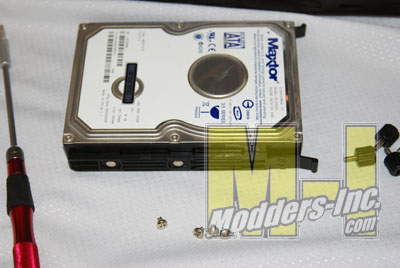
The M59 comes with a tool-less 3.5″ drive bay mounting system. It is based on slip in rails that click into the cage. All the rails you need come in the little cardboard box. Also included are a bunch of thumbscrews (for the non-railed 3.5 and 5.25 mounts), the standoffs for the motherboard, and an assortment of screws (for the anti-thumbscrew users?).
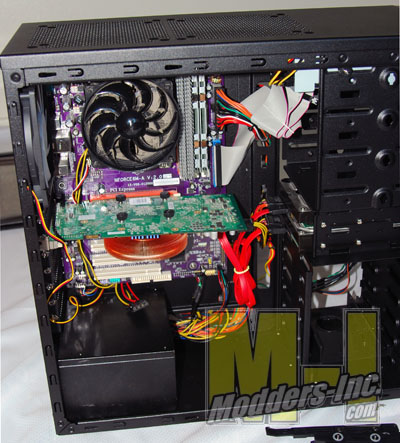
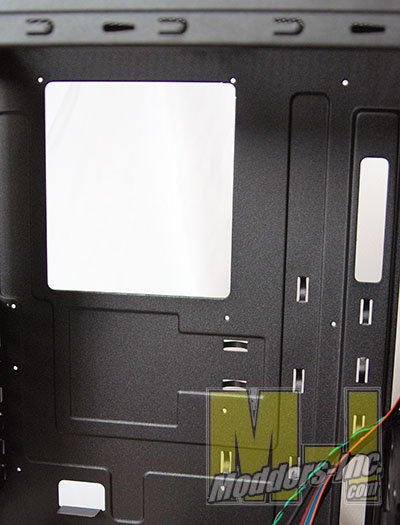
Perhaps I’m spoiled, but I wish this (and all mid-towers) had removable motherboard trays. To make up for this lack, NZXT has thought ahead and made me happy by including a large cutout to access the CPU cooler retention bracket.
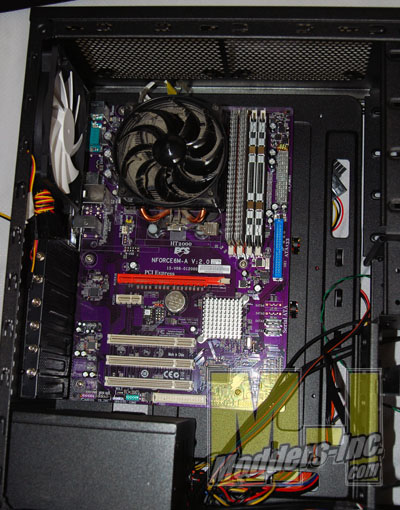
I had a bit of trouble with one of the standoffs. It appears the paint or whatever material was used to coat the interior managed to get in the threads on the motherboard tray, and I had to fight the screw before it went in. After this slight mishap, the board installed smoothly.
The hard drives clipped into their rails smoothly, looking great. I’ll need to pick up a 120mm fan for the drive bay at some point, but for now, we’ll see how things go stock.
Now, the hardest part of (most) any build: the wiring.
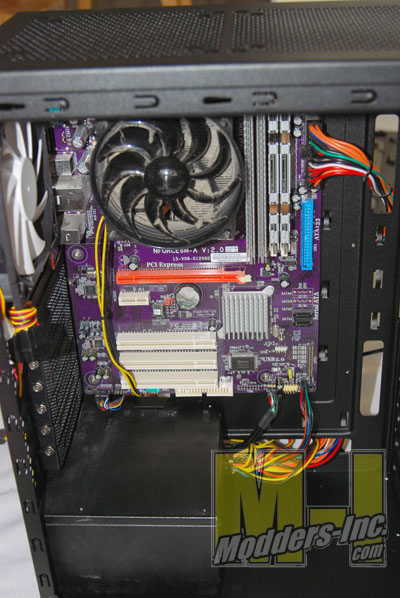
Thoughtfully, NZXT has proved a number of cable routing holes and tie down points to assist me in my task.
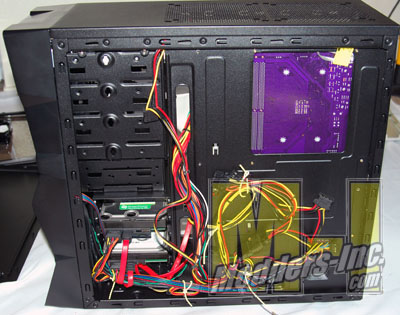
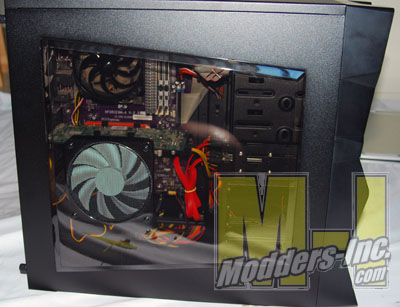
There, I think I’ve got it all worked out. I’ll just put the side panel on and we’ll head off! Oops, I guess it does not fit that way.
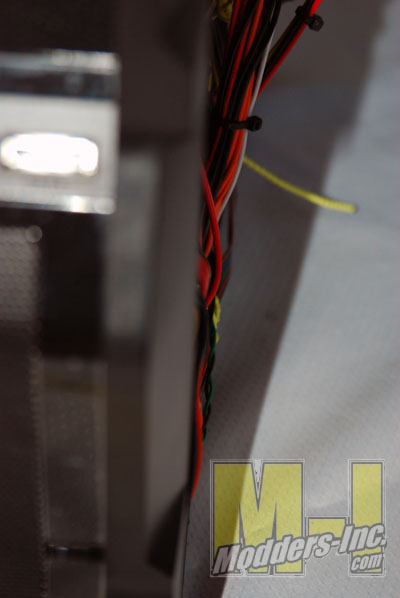
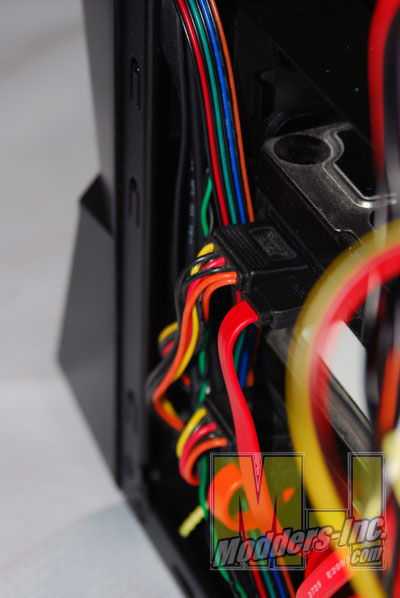
I ended up pulling the hard drives out of the quick mount section and putting them into the two alternative screw mount bays because the cables wouldn’t fit.
