NZXT Hades Mid Tower Computer Case
Installation |
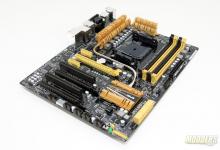
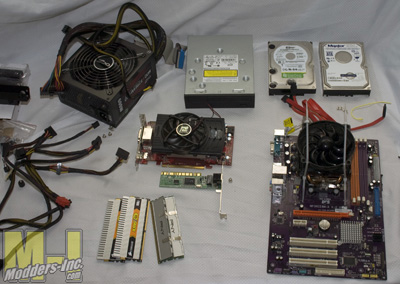
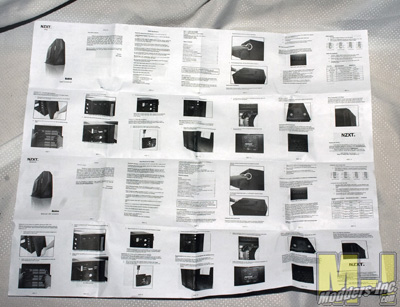
When installing hardware in to this case, I followed my relatively standardized build order:Motherboard first, then optical/hard drives, power supply and finally graphics and other expansioncards. Here’s a collection of all the bits and pieces I’m installing into the Hades. NZXT included a well documented installation manual for the case. (In several languages)
  Since I was swapping this setup pre-built from another case, installing the motherboard was quite easy, I just installed standoffs into the tray and popped it in. I’m always happy to see standoff layout instructions built it. 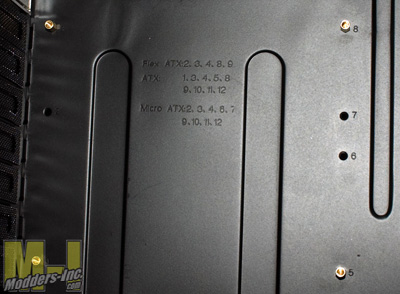 My DVD burner and fan controller also installed quite easily. I had to pop off the front of the case to remove the drive bay covers, but luckily this is a tool-less operation. After opening the appropriate bays, just slide the device in and put one of the clips on it; twist to lock and you’re good to go! 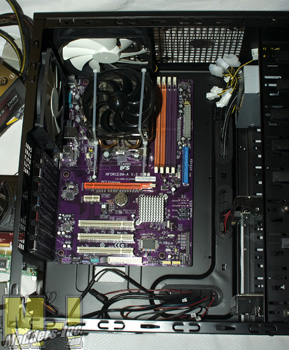 Installing my hard drives on the other hand was quite a pain. Because the Hades does not include any dedicated 3.5 inch bays, you have to install two adapter rails to each drive. This operation is NOT tool-less, and rather finicky to boot. A magnetic screwdriver* is a handy thing to keep around.*I know that a lot of people say that you shouldn’t use magnetized screw drivers in computers, but I’ve used a large variety of both magnetized and neutral drivers with no problems. Static is a much larger worry to me. 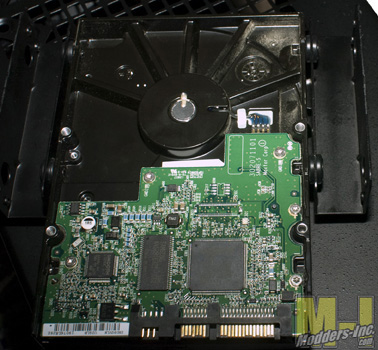 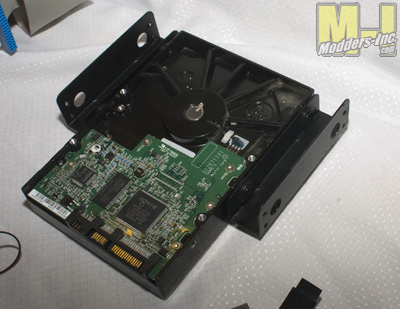 Next I popped in my power supply. I chose to mount mine with the intake fan facing upward for three reasons. First, the intake on my power supply is a bit larger than the open area allowed by NZXT. Second, I had a similar design in the previous case, and I always forgot to clean the filter. Third, my case usually sits directly on the carpet, meaning that the power supply would be trying to suck air through the carpet. My previous case did not provide the “upside down” mounting option, so I had to build a platform for the case to ride on. With NZXT’s inclusion of this feature, I can go back to my preferred case positioning. 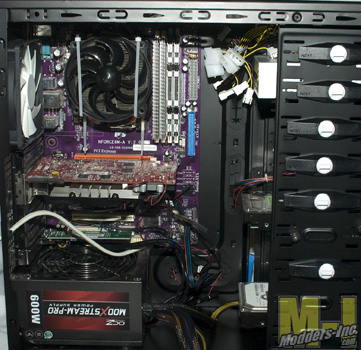 Next up I had to install all the wiring. Included in the Hades is a three position temperature sensor. The sensors are thin black wires that end in a non-conductive plastic type pad with two wires in it. I fastened these to the back of my mother board directly behind the CPU socket, on my primary hard drive, and on one of the memory chips of my graphics card. The tape provided by NZXT is non-conductive, but I ran into a few problems with my slightly dusty components. Make sure you carefully clean the contact spot where you mount these temperature sensors. 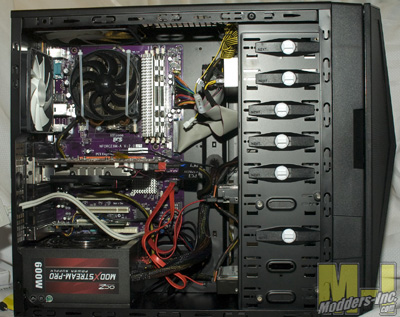 I put the pass through holes in the motherboard tray to good use, though I’m sure my wiring job looks very messy to a lot of you (its unusually good for me!). The front 200mm LED fan came pre-wired up to one knob of the front panel fan controller, and the two included 140mm fans were wired to the second knob. The side 200mm fan (no LEDs included, though the mounting holes are there) has a standard 3 pin connector which I plugged into my motherboard. |
