NZXT Hades Mid Tower Computer Case
A Closer Look |
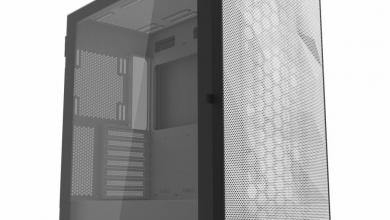
The Hades is a steel mid-tower, so its not the lightest case to build with, but the massive quantities of mesh make it quite manageable. It is also quite sturdy because of the steel construction.
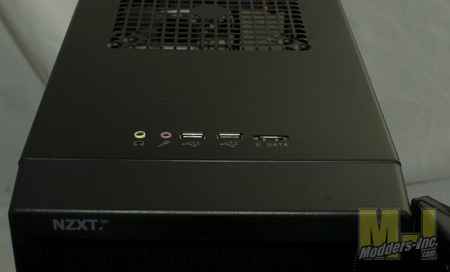
 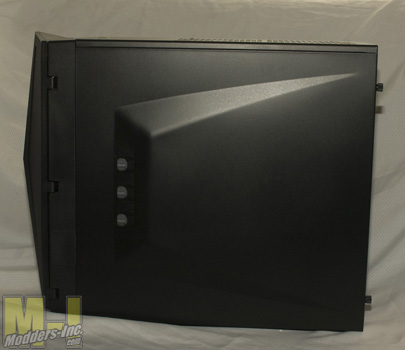 When I popped open the side panel of the case I discovered that the side 200mm fan had separated from its motor, so I had to unscrew it from the door panel and press the 2 pieces back together. This seems was a bit of a pain, and I hope that it was a sign of exceptionally bad shipping as opposed to a design flaw with the fan. The huge bank of 5.25 inch drive bays is equipped with 6 sets of quick release mounts, and included with the spare parts kit are plenty of thumbscrews for those of you who are skeptical of little plastic clips. Noticeably absent however are the 3.5 inch drive bays for your hard drives. These unfortunately have to be mounted to adapter rails (4 sets included) before then being installed into a 5.25 bay. One perk that NZXT decided to include with the Hades is the SSD mounting kit. A small plastic tray came mounted (with one of the four hard drive adapters) in my case that allowed 2 SSDs (or laptop hard drives) to be mounted in a single 5.25″ bay. This inclusion is nice for people who might like to run an ultra-fast gaming system or a low power server. 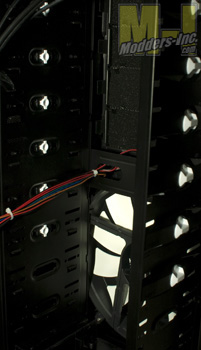 The back panel is liberally perforated; a square mesh for the grating and fan grille and a smaller hexagonal shape for the expansion slot covers. This means that there is plenty of space for air to escape the case. Also note the rubber grommet-ed water cooling holes in the right side mesh. 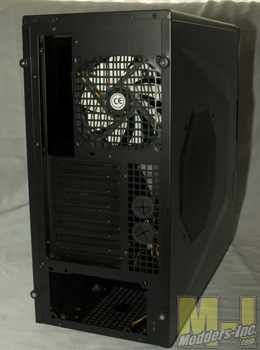 Moving to the top of the case, we see a pair of large gratings; these are two 140mm fan mounting positions (one left open by NZXT). Each mount is drilled to also accommodate the more common120mm fans. Here is where you could mount a 2x120mm radiator, if you wanted. You would likely have to mount the radiator completely outside the case or perhaps do a “sandwich” configuration with the fans inside and the radiator outside. Towards the front of the case you’ll find a pair of USB ports, an eSata port, and your headphone/microphone pair. This is perfect for your flash drives and headset. 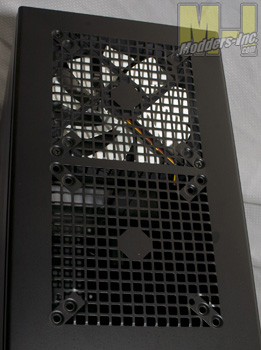
The motherboard tray has a huge cutout to access the back of the CPU socket — this lets you install almost all aftermarket CPU coolers without taking the motherboard out of the case. Also included are several large cutouts between the motherboard and drive bays. These are presumably included to provide an easy cable management solution and have rubber grommets to protect whatever wires you decide to run through there. 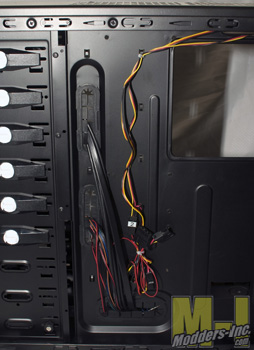 On the bottom of the case, we have the power supply mounting area which allows the power supply to be mounted in either orientation. There is a filter on the case outside of the case to provide some dust reduction for supplies that have intake fans on the bottom. In the center you can see the wire bundle for the fan controller, the temperature sensors, and the motherboard headers. 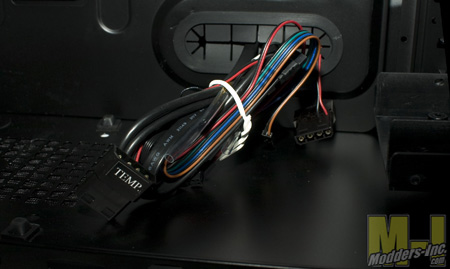 Looking at the front of the case, there is a large meshed door with a small display and a couple LED’s. The door leaves a bunch of open space at the bottom, through which you can see the molded plastic and mesh grill for one of the 200mm fans included with the chassis. Flip open the door, and you find 4 mesh drive-bay covers, two black plastic fan control knobs, and a shiny silver button. 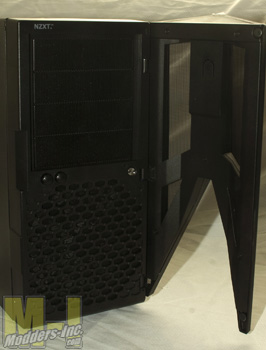
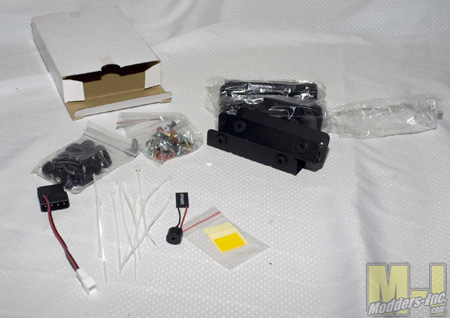
Finally, we get a look at what I like to call the “goody bag”. In reality, NZXT packs it spare parts in a box, but I’ll just call it the bag. Included is a small case speaker so you can listen for diagnostic codes, a molex to 3-pin fan adapter, extra sets of drive rails, a bag of thumbscrews (presumable to replace the tool-less clips), a standard bag of motherboard mounting screws and standoffs, and 3 pieces of special tape to mount the temperature sensors.
 |
