NZXT H440 Silent Mid-tower Case Review
A Closer Look at the NZXT H440
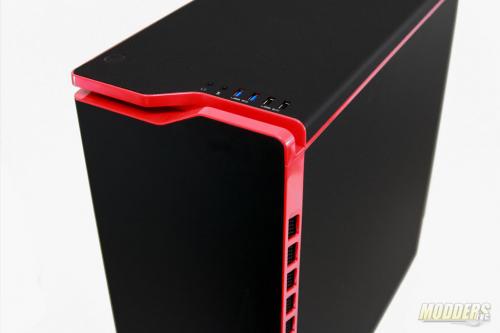
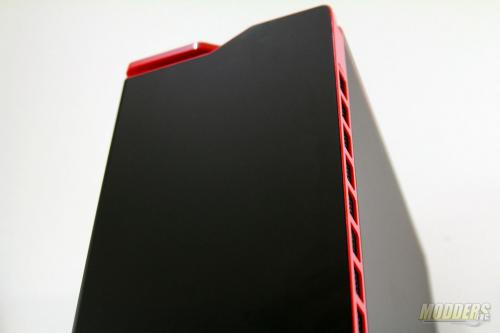
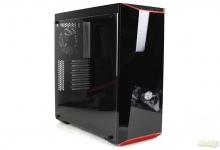
Other than color differences, the two color options are also texturally different. The black version has a flat matte color while the white H440 on the other hand has a very glossy surface that is more resistive to smudges and is easier to clean, although it does reflect light a lot more. Unlike typical matte black finishes, the H440 is surprisingly resistant to oily finger tips and does not leave marks easily although compared to the glossy white version, there will be finger prints when handled for long periods of time.
The front has a very plain design with a notable absence of external 5.25-inch drive bays with only a small NZXT logo at the bottom to break the plainness of the design. The case itself is very “boxy” in comparison to the Phantom series but there is a slight dash of the Phantom’s asymmetrical signature at the top front corner edges of the top and front face bezels. These are not only simple aesthetic choices but also act as functional handles for when users need to conveniently remove these covers. This look was of course, first seen in the H440’s full-tower sibling, the NZXT H630 and has now been streamlined further in mid-tower form.
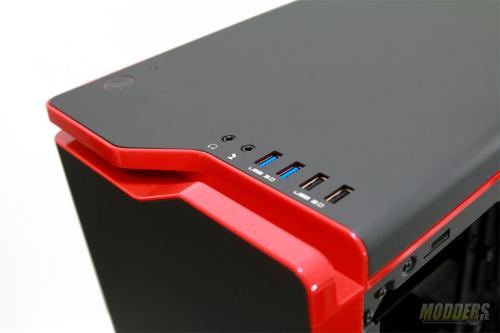
The power and reset switch with the built-in activity LED is located on the left side of the top panel (larger button is power and smaller button is the reset). The front I/O is curiously located on the right side front edge and sports a pair of USB 2.0, audio jacks for a microphone and a headphone, and a pair of USB 3.0 with a 19-pin motherboard header.
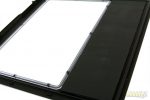
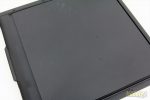
The H440 side panels are also devoid of any cosmetic markings and the side facing the internal chambers are lined with a 4mm thick sound absorbing material. The left side panel is windowed with the remaining non-windowed area lined with the material. These side panels have a convenient pull-out handle and are secured onto the main chassis via thumbscrews. These thumbscrews stay in place on the side panel once loosened so there is no chance to misplace them later on.
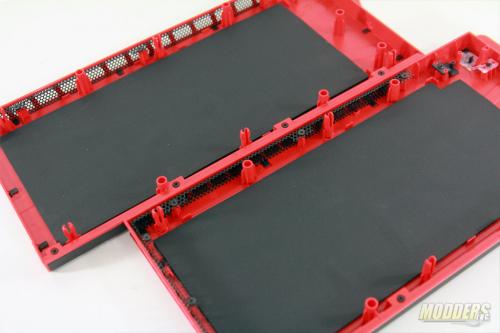
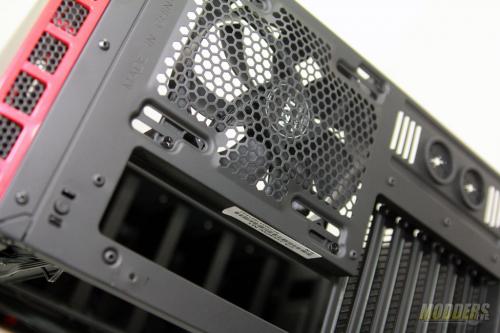
The front and top panels are also lined with noise dampening material but the ventilation areas are located on the sides, similar to the H630. The part that attaches to the main chassis is ABS plastic which is durable enough for several removals, although a metal claw latch would have been preferable just to completely avoid the chance of not being able to place the cover again once the locking area is chipped by accident.
The button on the top left corner is the LED toggle for the rear I/O and PCI-E expansion slot that was first seen in the Phantom 410/Switch 810 and carries onto the H440. There are also two 30mm-diameter holes, grometted for water-cooling purposes. There are seven expansion slots in total, standard for an ATX mid-tower case and it has re-useable high-airflow covers held in place by thumbscrews which is good indicator for quality, since a lot of manufacturers consider expansion slot covers an after-thought.
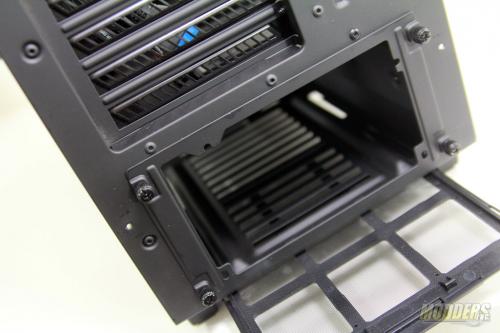
The power supply is mounted at the bottom with an easily removable dust filter for the bottom intake. Since the power supply chamber is separate from the main motherboard chamber, the rear housing guard plate is completely removable to allow for PSU installation. Similar to the side panels, the thumbscrews do not need to come off completely when detaching the plate so they are not misplaced.
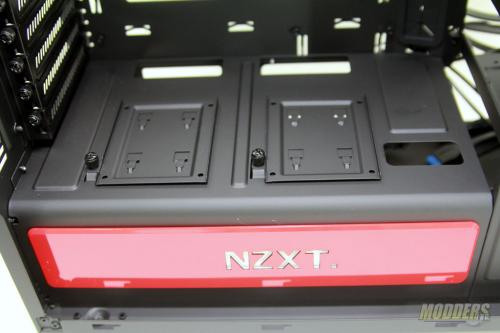
There are three service holes connecting the power supply chamber from the main motherboard chamber from where the power supply cables can be routed from. Also, NZXT did not waste space and utilized the extra surface area on top of the PSU chamber cover as mounting spots for a pair of 2.5″ or SSD drives.
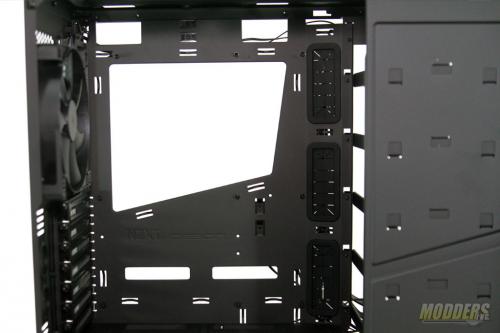
The NZXT H440 supports ITX, micro-ATX and ATX form factor mainboards with a generous backplate cutout at the center. Three cable routing holes are grometted on the side facing the motherboard’s 24-pin connector area and SATA drive connector area. An additional pair of cable routing holes are available at the top for routing the 4/8-pin EPS12V power connector and for fan cables, while two more cable routing holes are available for ITX and micro-ATX motherboard users right along the 5th expansion slot level. Although these extra cable routing holes are not grometted, the edges have been rolled so there is no issue with getting nicks and cuts on the wires or the user’s fingers.
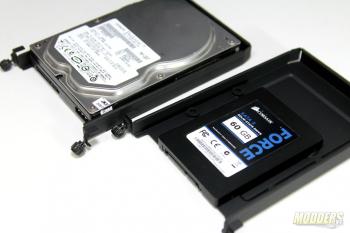
The cables are mostly stacked behind the right side panel where the HDD/SSD installation is also accessed. NZXT bids adieu to plastic caddies entirely (and whatever those annoying metal knobs with grommets are called) and outfits the H440 with five metal HDD caddies, generously spaced and held in place by the same idiot-proof thumbscrews used on the PSU plate and side-panels. These metal HDD caddies support either 3.5″ or 2.5″ drives. An additional drive can be installed at the base of the H440, and NZXT has cleverly angled it slightly so that plugging in the cable is not a hassle. Very simple yet effective. I have seen other manufacturers place similar mounting at the floor of their cases but nobody had the foresight to tilt it like NZXT has so it is useful. The surprisingly brilliant thing is that from a designer’s perspective, it thematically matches the asymmetrical and angular look of NZXT’s case designs while it raises the functional value of the whole unit.
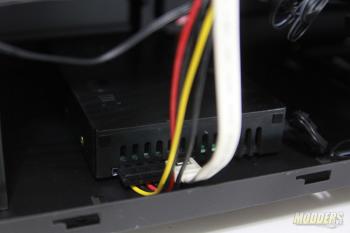
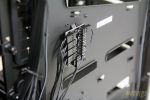
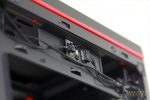
Behind the motherboard tray is a 30-watt 10-fan hub where all the pre-installed fans are already linked to. This has been a staple since the Switch 810 in high-end NZXT cases and is an indispensable tool for keeping cables organized. NZXT used to include built-in fan controllers on their cases but a fan-hub is much more useful when connecting multiple fans for radiators. A smaller PCB is also located at the top which is for the LED lighting of the H440.


hej,
I have G skill Ripsaw ram that measures 40mm high and hopre to use the phanteks ph tc14pe heatsink which it appears you have done.
However you are not mounting the front fan (over the RAM) . I believe the fan can be put on higher up the heatsink to allow for clearance, but by it’s absence in the build I am assuming that the heatsink and fan is toooooo tall for this case?
thanks for the review btw
Hi, I actually did not put in the front fan because I could not find the little plastic fan holder thingies that go with the TC14PE when I was taking a photo. Total spec clearance is 180mm for the CPU cooler. Going by Phanteks’ measurements on their product page, with dead on center, CPU cooler total height is 171mm with 32.92mm clearance for RAM at the bottom. 40mm less 32.92mm leaves 7.08mm, add that to 171mm height you get 178.08mm. Also you can measure with RAM height 40mm + Phanteks 140mm fan height so that is still equal 180, although RAM height measurements include the connector so that is a few mm less. It might be tight but it should fit.
I traded the case for a keyboard so I don’t have it anymore unfortunately, lemme ask around to verify. I f@c#!N hate these damn heatspreaders ruining standard RAM heights. They are not even necessary on DDR3 considering the voltages used.
Thanks Ron …..that would be appreciated.