NZXT H230 Computer Case Review
Hardware Install of the H230
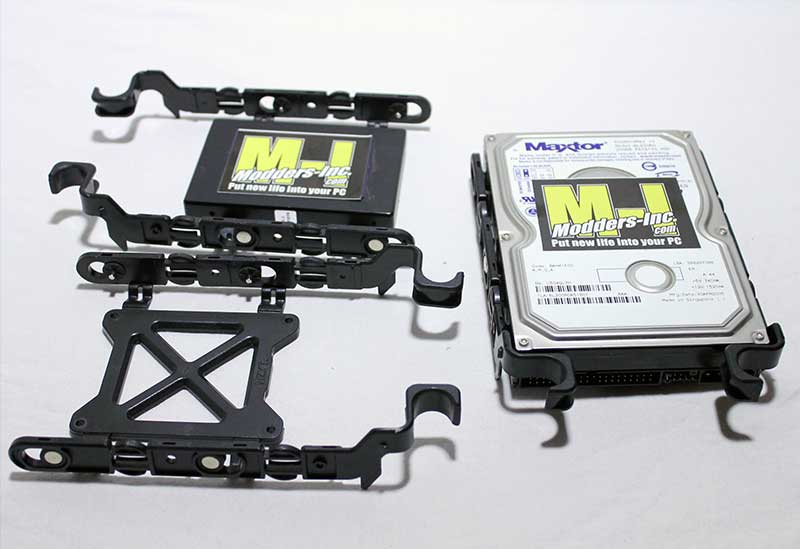
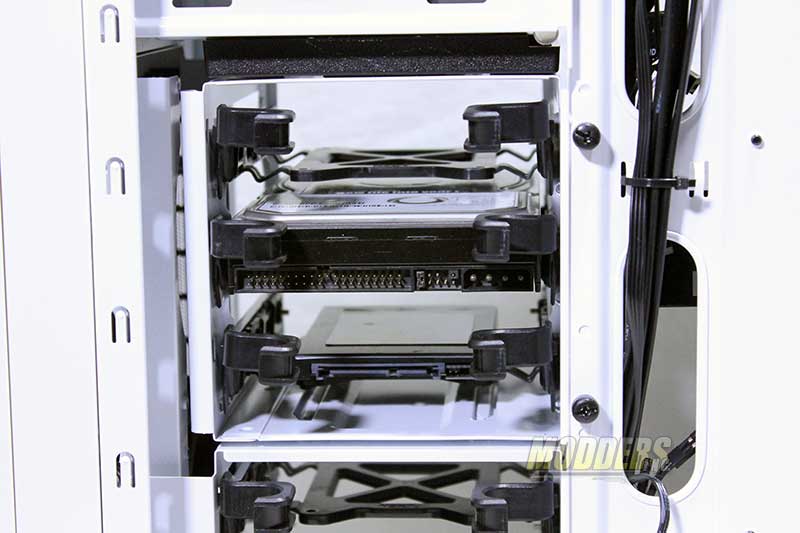
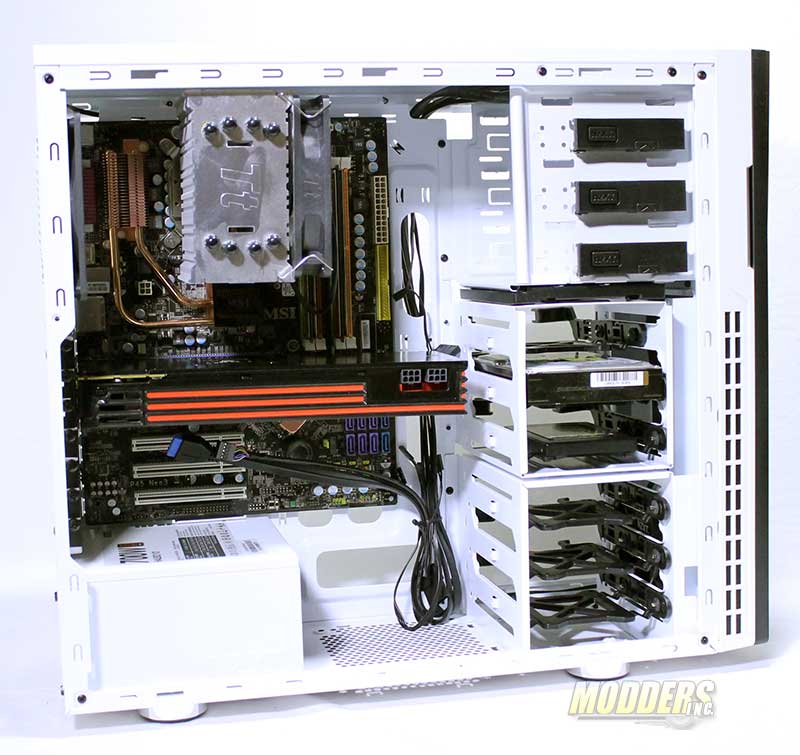
The drive holders are simple to use to install your drives. A standard drive goes right in by flexing the carrier, lining up the pins and allowing the carrier to snap back in shape. SSD’s must use the included screws to mount the drives. When using a full size drive the carrier is forced back into shape, but when using the smaller SSD and removing and installing it several time the plastic carrier lost its spring and would not always lock the carrier in place. Fortunately when the right side panel is installed it does help keep the holder in place.
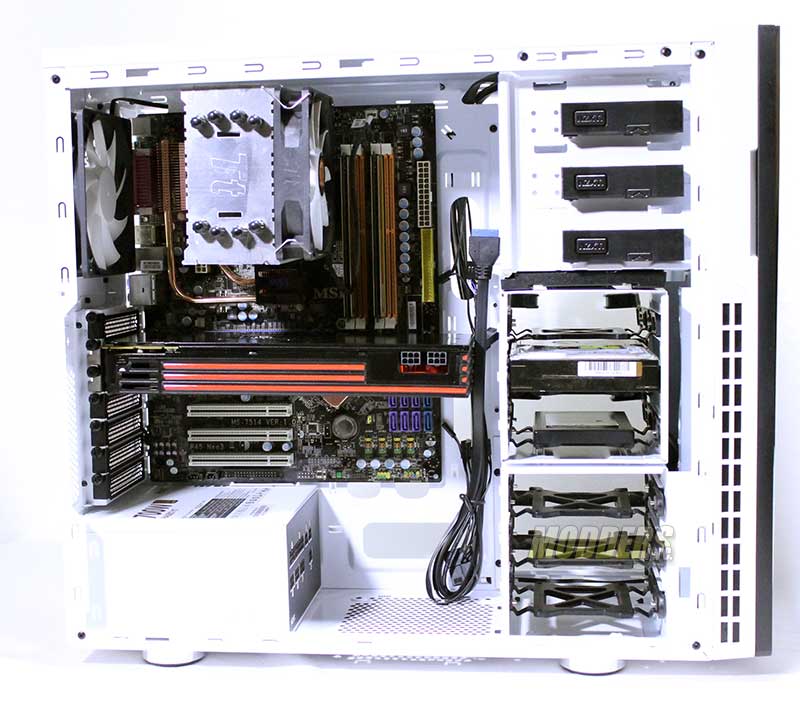
Once the drives are installed the connections ports of the drive face towards the right side of the case thus all the cables will be routed on this side giving the open section of the case a much cleaner look. From this viewpoint we can see that there are two black thumb screws to the right of the top hard drive cage. By removing these screws you can take out the drive cage if needed.
The install of the hardware was typical and straight forward and everything fit in the case pretty easy. The power supply used is the NZXT HALE82 v2 700 watt modular unit, which is a great fit for this case as it was white and you can use as little or as many cables you need to get your system running. What I really wanted to stress with this install was that a over-sized CPU cooler and Graphic Card can be used in the case. Just because it a so called budget case doesn’t mean that you have to down size your hardware. I would make sure though that your CPU cooler is within the recommended size of 158mm tall as the one I used must have been 160mm as it just barely touched the sound damping padding on the side panel.



For low-mid end it seems alright, but I would never put high-end gear in that due to heat constraints, especially if relying on cpu water cooler hybrids while the rest is cooled by fans.