NZXT H230 Computer Case Review
A Closer Look at the NZXT H230
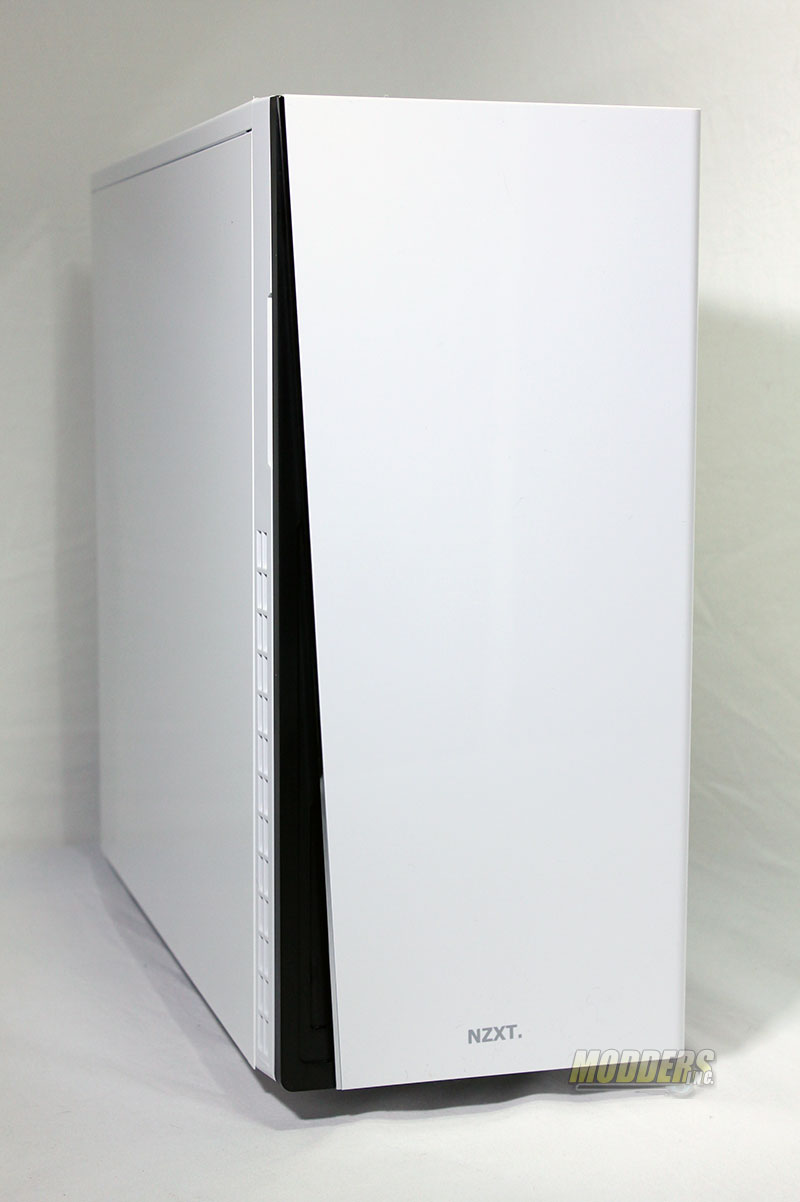
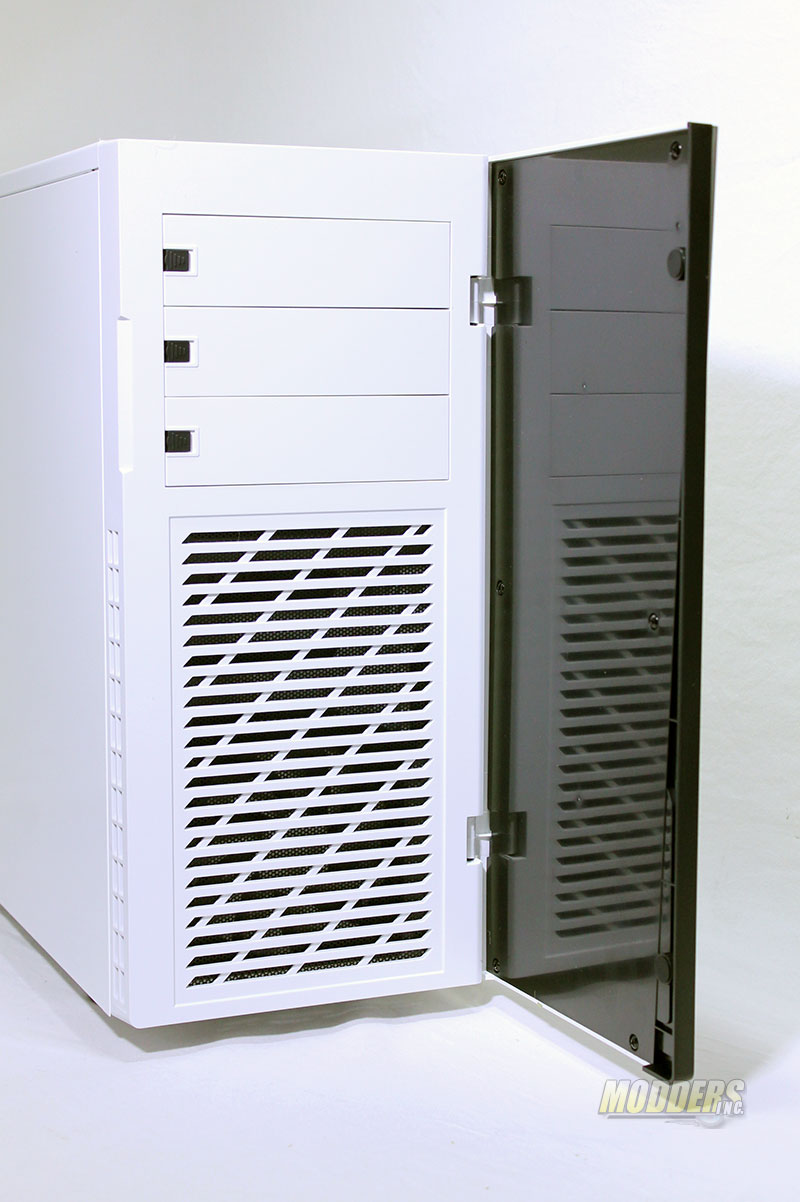
Out of the case and protective stuff we get our first look at the H230. NZXT says “Classic design. Minimal hassle. The new H230 is the perfect silent chassis for users looking for the bare essentials.” Well I don’t know about the bare essentials but from what I read on the box this case is definitely above that level. Looking at the front door that covers the access to the ROM drive bays we see a large black streak that graces the left side, which is where you would grab the door to open it. Smart move NZXT this will help hide any dirty finger prints and any scratches that may happen. The door is made of plastic which helps cut down on weight and on manufacturing costs and allows for the current design.
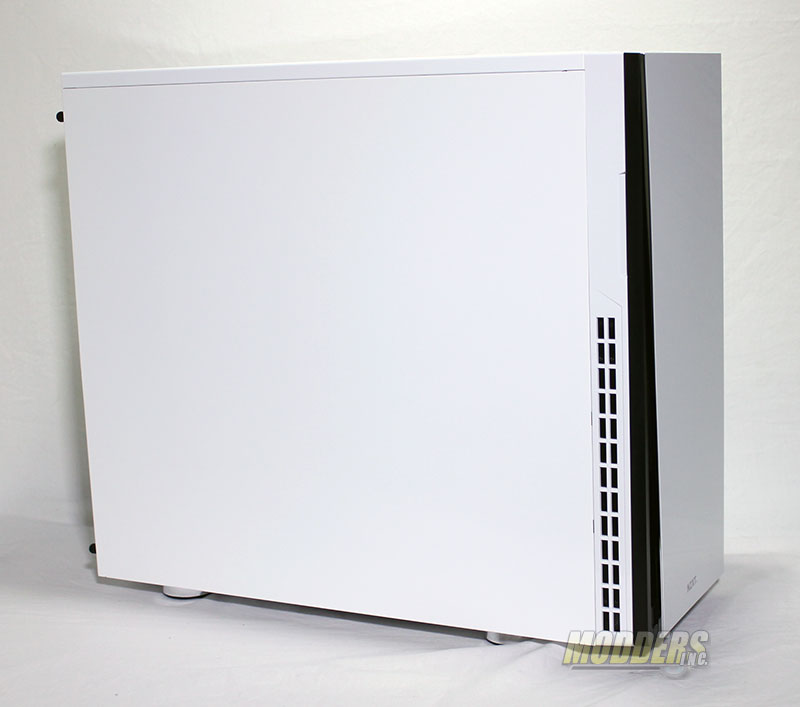
Moving to the left side of the case we can see that the black section of the front door does extend around the edge. The entire front bezel is make of plastic and it tinted white that does a fairly good job of matching the paint on the case. Our lighting makes the color look more different than it really is. A series of twenty 5/8 x 1/4 inch vent are placed in the bezel to help with the air flow into the case. The side panel is made of mild steal and has a nice gloss white painted finish on it. With the vents and the black on the door this is all the color you get on this side.
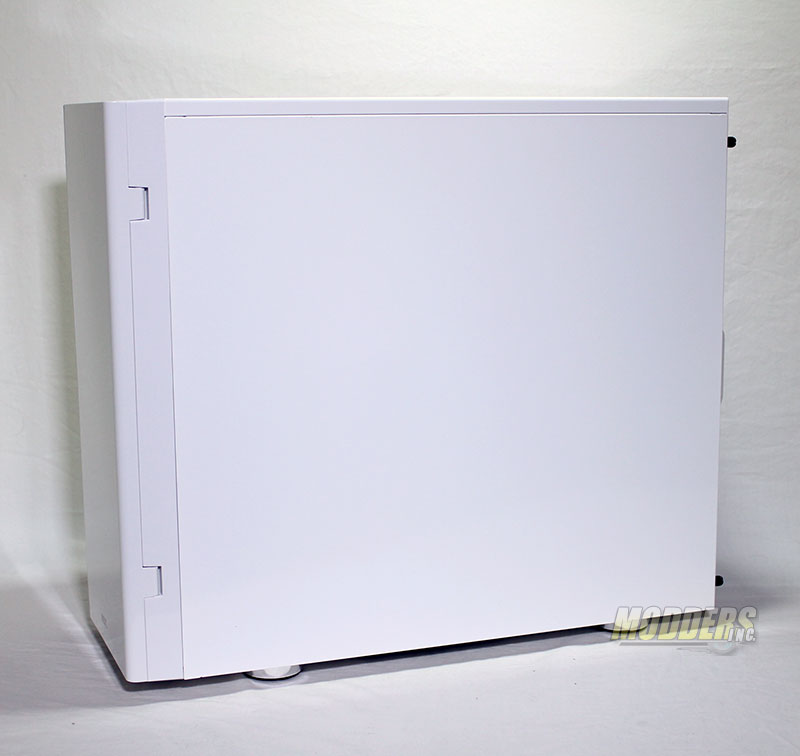
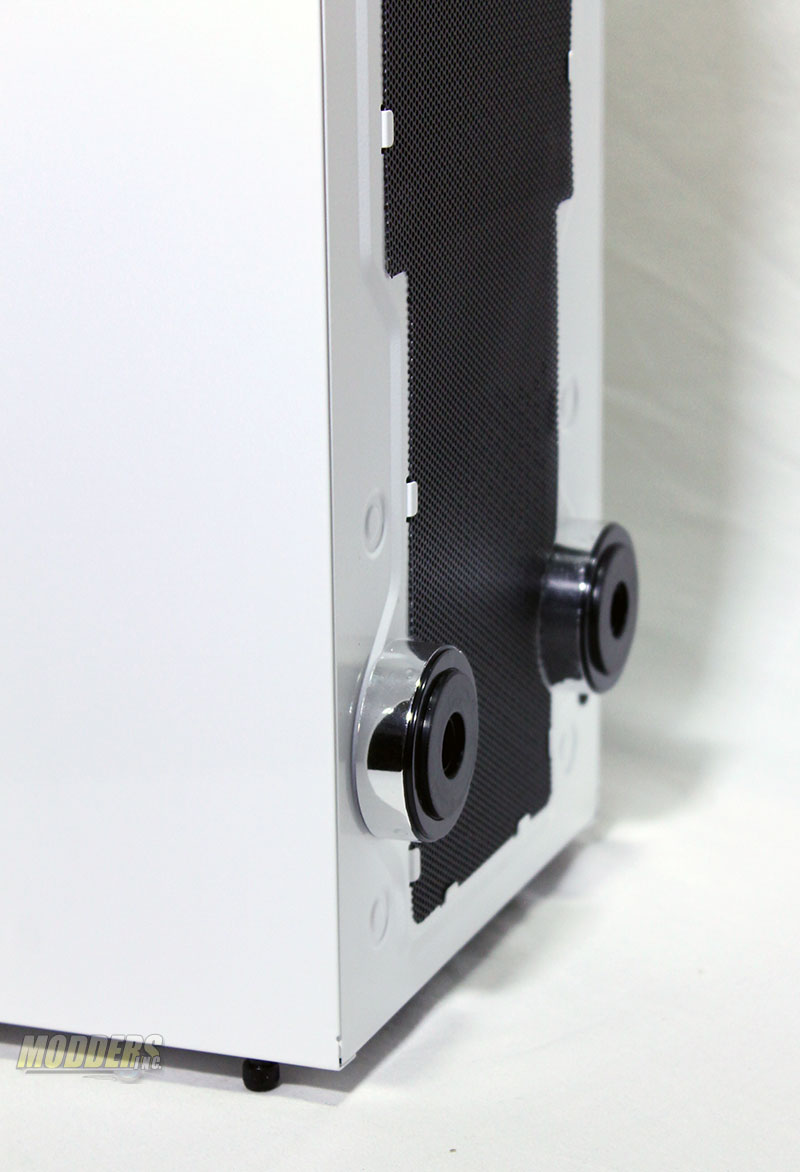
If you like white and a very basic case design then this case is a must for you. The ONLY splashes of color on this side are the black thumb screws on the back side of the door panel and the very little glimpse of the chrome case feet.
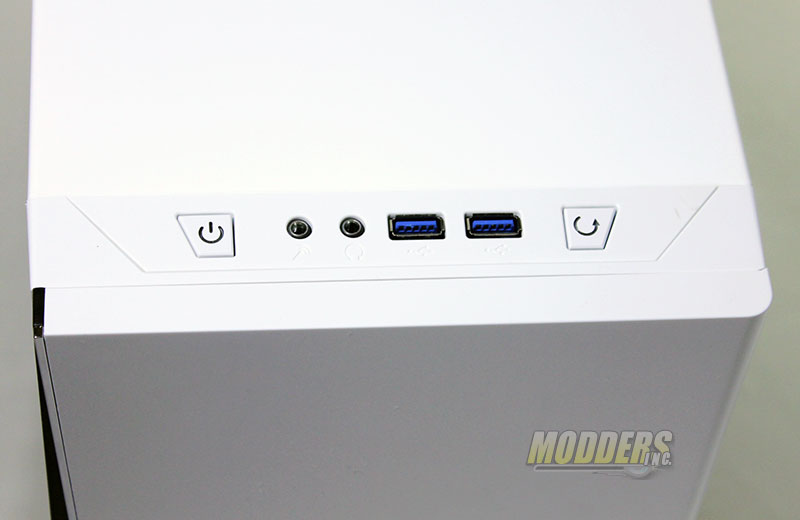
The top of the front bezel shows us the Power and Reset buttons located on each end with the audio and USB 3.0 ports in the middle.
The front door is hinged on the right hand side and it cannot be changed to the other side, but I think most people do place their PC on their right. A small gap at the bottom of the door allows some more air in but nowhere near the amount that the front panel air intake would allow.
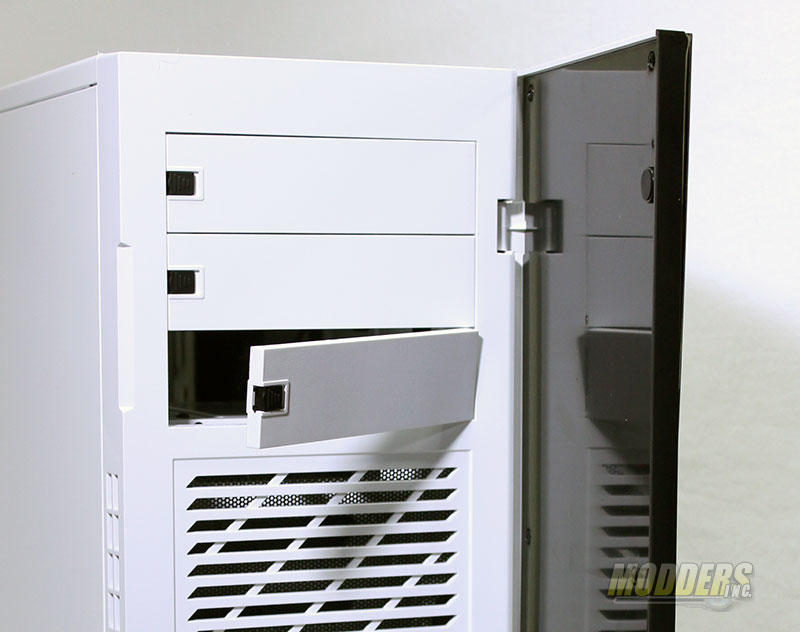
Three ROM drive bays are located at the top of the front face behind the door. A simple to use latching system is located on the left side of the drive bay doors. A slight push to the right and the cover comes out.
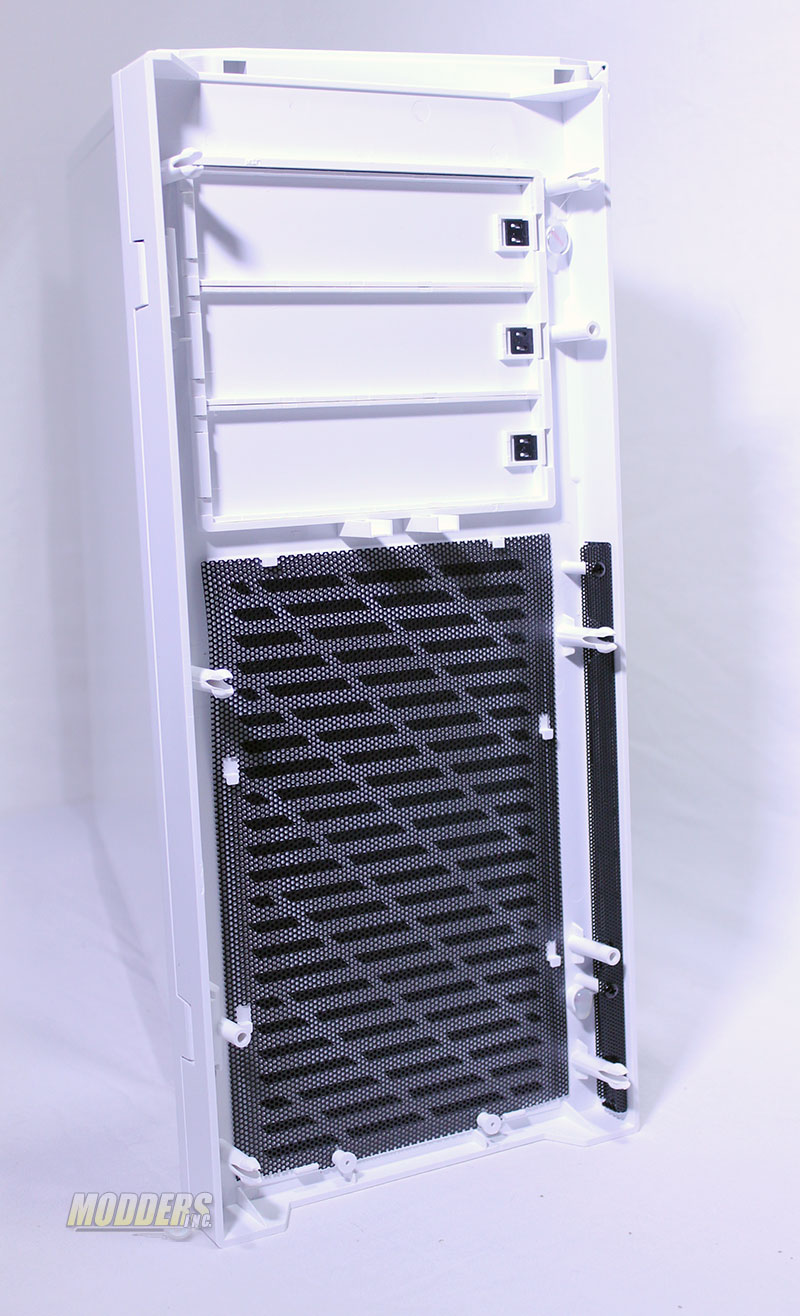
The front bezel is very easy to remove with a tug at the bottom so that you can gain access to the air intake filter screens. The main screen is easy to remove by taking it off the tabs but the side screen will require a phillips screw driver to completely take it out. I don’t think you will ever have to do that as a can of air will more than likely clean the screen completely. Six compression post are used to hold the front panel to the case. A 1/2 inch by 5 inch notch is located at the bottom that allows you to insert your fingers and pull the front panel off, but this same notch also allows more of the air to enter the front of the case and by-pass the filters.
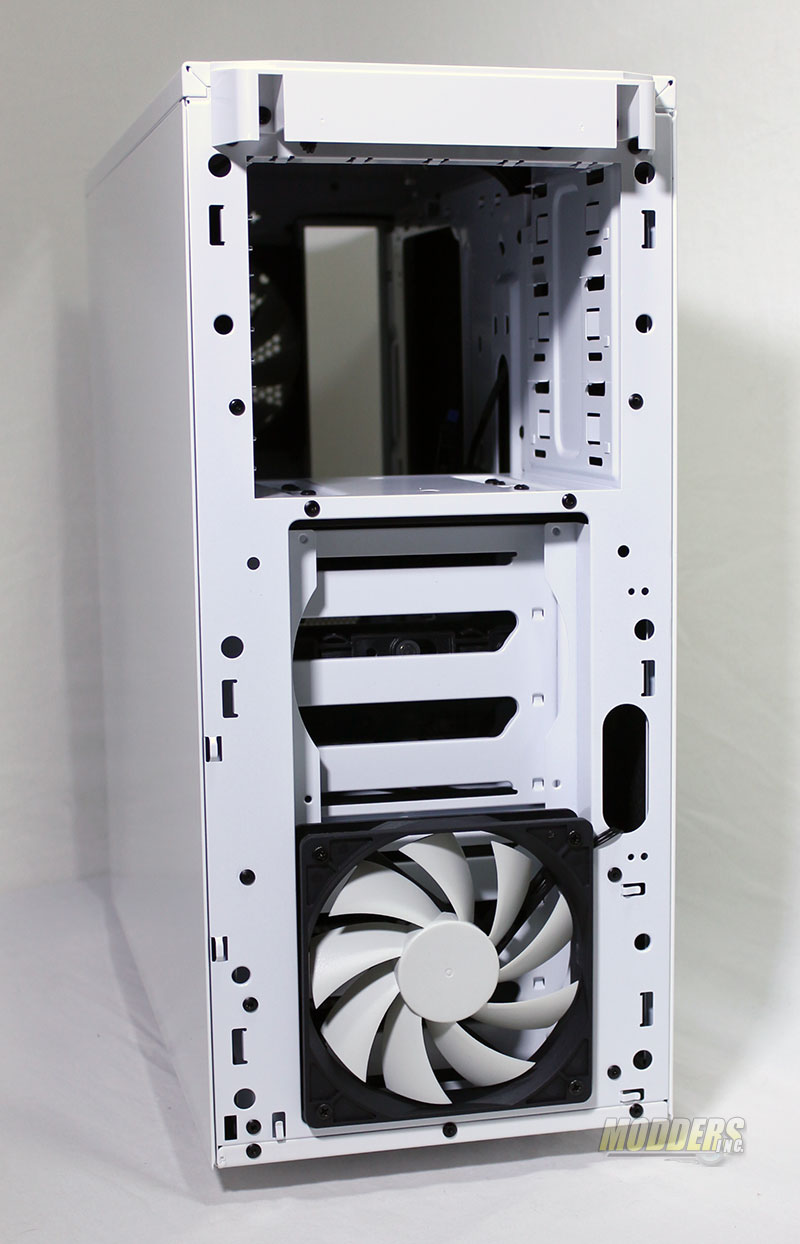
When you remove the front panel the front power and I/O stuff stays attached to the case. One 120mm is included with the H230 with a space available for a second one to be installed.
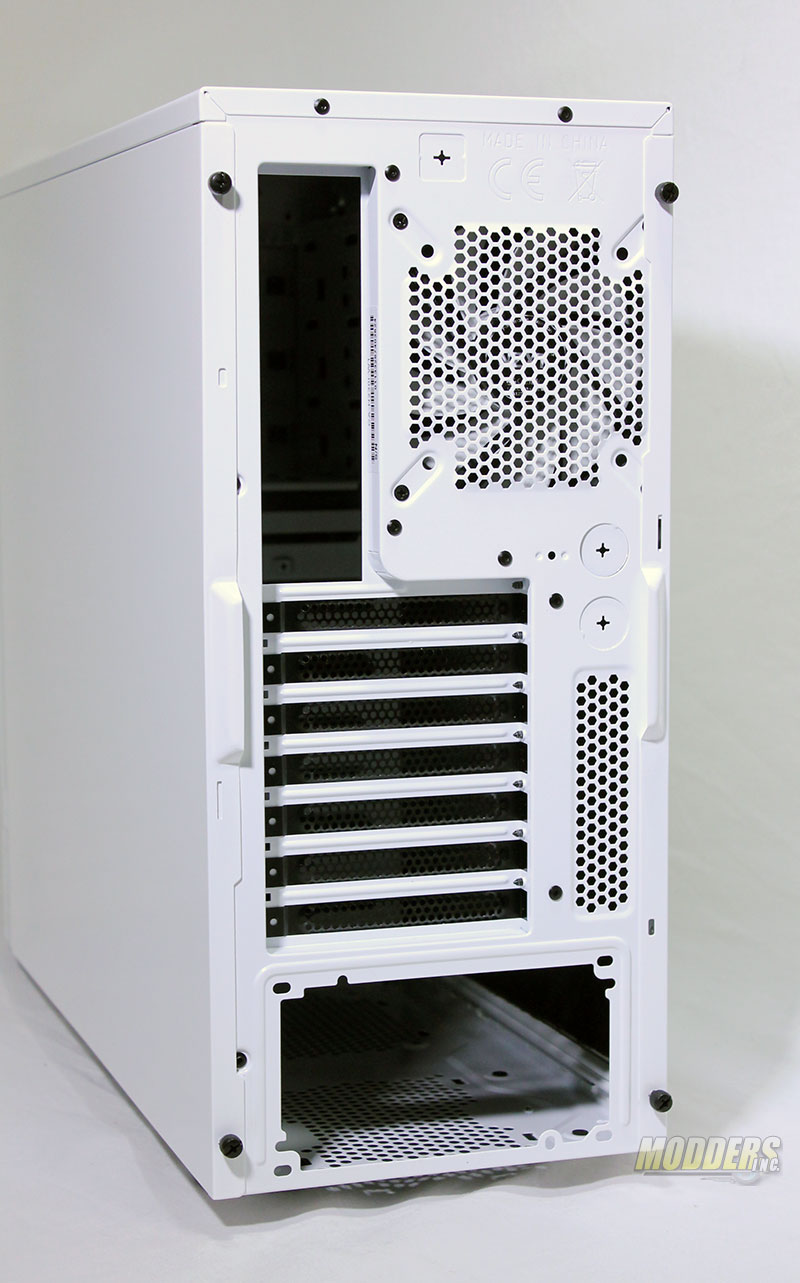
The rear of the case looks pretty basic with the powers supply located at the bottom, seven slots for expansion cards, the I/O opening and air flow sections. Two 3/4 inch round punched-out holes are also provided for running cables or hose through.
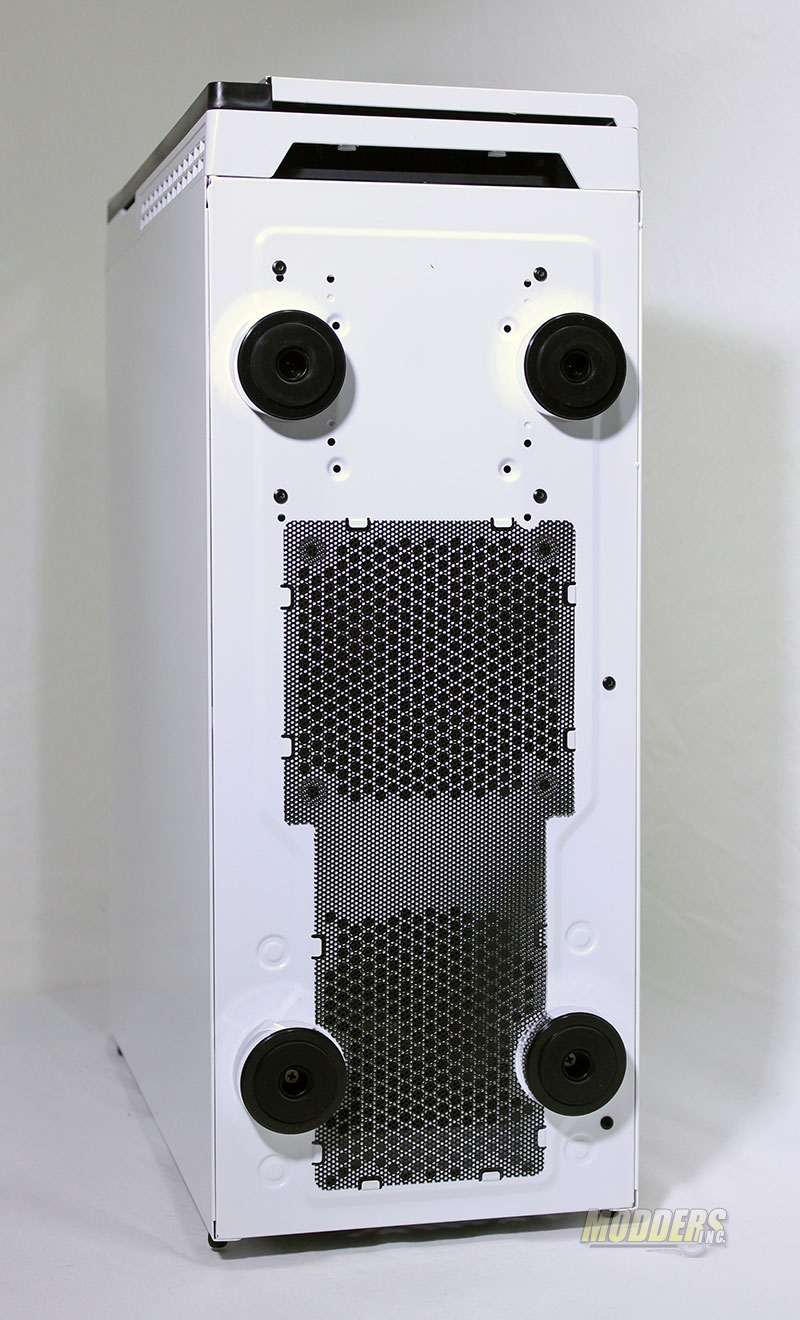
Another filter is provided on the base of the case and is once again easy to remove. From this look we can see that there is a location to install a 120mm fan inside the case.
Four 1/2 inch tall by 1 7/8 inch wide chrome feet with a rubber base look great as a contrast to the white and black colors of the case. The 1/2 inch height of the feet will work well on hard surfaces or low pile carpet.



For low-mid end it seems alright, but I would never put high-end gear in that due to heat constraints, especially if relying on cpu water cooler hybrids while the rest is cooled by fans.