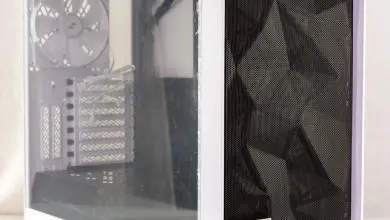
NZXT BETA Mid Tower Case
Installation
When you are ready to begin the install of the hardware you will find that a box it placed in the hard drive cage and in the box you will have everything you need to do the job.
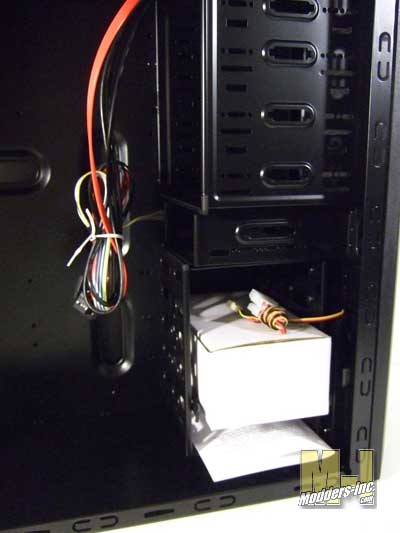
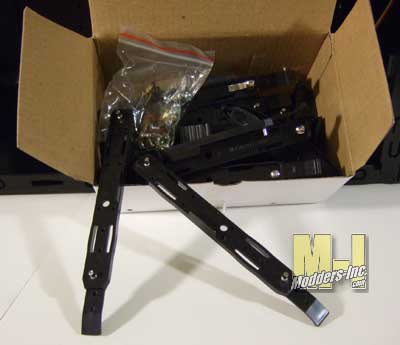
Inside the box you will find the latching mechanisms for the 5.25 drive bays and mounting rails for your 3.5 hard drives.
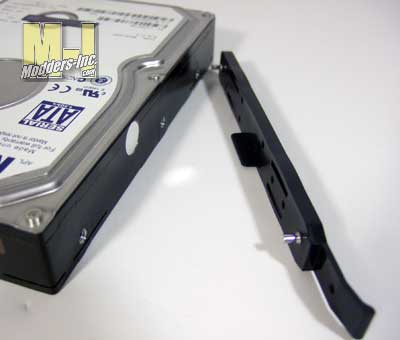
No tools or screws are required to install your hard drive or ROM drives. All you need to do to install your hard drive is to place one rail guide on each side, each rail has pins that go into the hole where screws normally go, and slide it into case assembly until it locks into place. To remove the drive all you do is push in on the two latches the extend out of the face of the drive cage and pull. All of this is done in a matter of seconds
|
Where we see how you secure any 5.25 drive bay device. This plastic fastener is very simple to use and it requires no tools or screws. Two pins protrude out of each end of the latch and those pins goes into the screw holes on the 5.25 device. In the middle the larger latch is a simple thumb screw latch. Once placed into the correct position in slot on the cage all you have to do is turn it and it secures itself and you device.
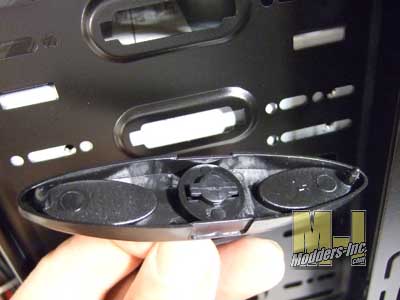
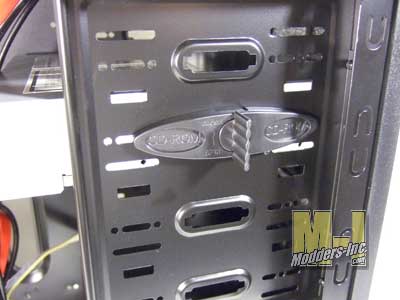
Push, twist, lock and you are all done.
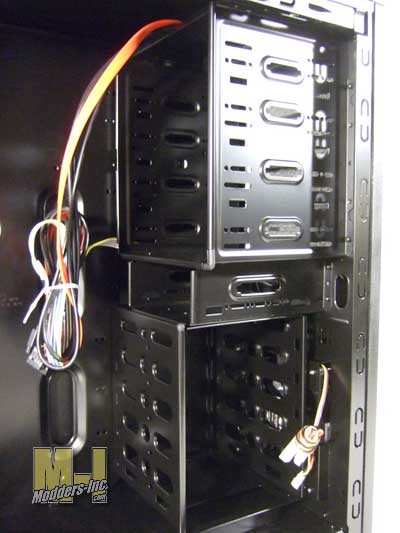
The bay drive cages are nicely setup and give you plenty of pace to put you stuff.
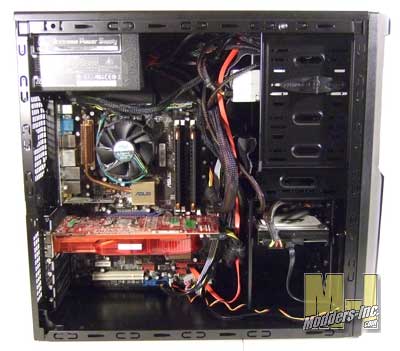
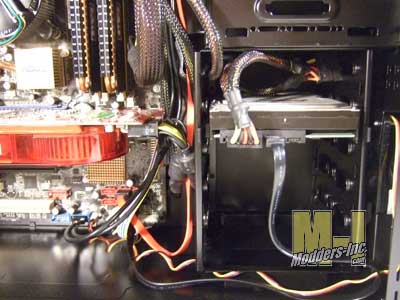
With all he hardware installed we can see that it is rather crammed pack with wires. Unfortunately this is what you get when you decide to go with a mid-tower case so it is not the fault of the NZXT Beta. There is not any fancy holes ducts to run you wiring through so it is up to you make is look as nice as it can be.
Typical install of hardware in the NZXT Beta with any wire management done.
