Noctua NH-U14S CPU Cooler Review: An Exercise in Efficiency
Installation of the Noctua NH-U14S
AMD Installation
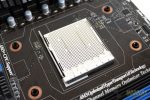
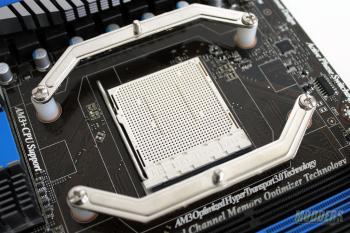
AMD installation is universal since the mounting holes remain unchanged for several years now since AM2 all the way to AM3+ and FM2+ except with the new AM1 socket. The motherboard’s backplate is utilized but the plastic brackets and screws have to be removed. Simply place the white plastic spacers on the small protruding piece of the backplate, then place the mounting bars and secure them with the four long screws. It is easy to do with the motherboard outside of the case horizontally, although installing with the motherboard already installed vertically on a case will take a bit of effort as the spacers can fall off. The NH-U14S can only be installed in a standard horizontal push (or push-pull) configuration on AMD systems.
Intel Installation
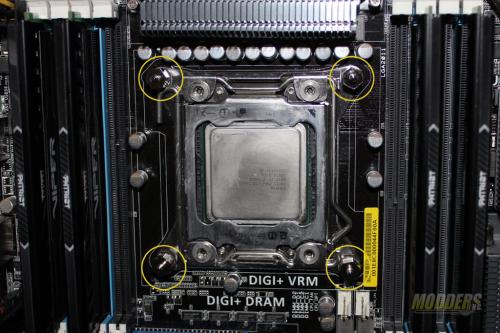
Installation on LGA2011 motherboards with integrated locking mechanism does not require a backplate or spacers but requires the NM-IB2T bolts to be hand-screwed in place first. Installation on older LGA775 and LGA1366 is not supported, but mounting kits for these are available free of charge from Noctua with a valid proof of purchase (such as a receipt).
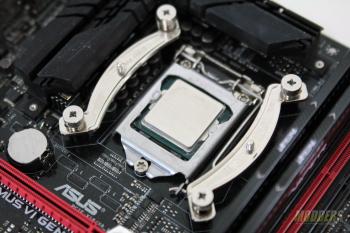
Installation on LGA115x first requires the backplate to be positioned through the mounting hole, now made simpler since the posts are integrated into the plate itself unlike in previous generation Noctua coolers. The spacers can be placed next with the mounting bar pair going on top to be secured with the four thumbscrews. This last part with the mounting bar is identical to the LGA2011 installation. Make sure to position the mounting bar with the curve facing away from the CPU area. Use the outer holes for LGA2011 mounting and use the inner holes for LGA115x mounting. Unlike the AMD mounting system, users can orient the mounting bars for either horizontal or vertical heatsink mounting since Intel mounting holes are equidistant from each other.
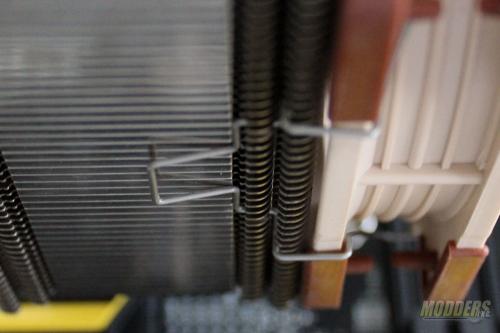
Apply the desired thermal compound quantity then simply align the NH-U14S screws to the mounting bar’s center male protrusion. The center screw holding the pre-installed bracket can be loosened by dropping the screw driver in the center hole and unseating the screw in the middle which should aid some users who may not be able to screw the bracket normally, although personally, I did not have to do that and was able to secure the NH-U14S directly on the two posts. The last step is re-attaching the fan with the wire clips and plugging in the 4-pin connector to the header. Make sure to change the settings in the BIOS/UEFI to a lower fan speed alarm setting or to set it to “ignore” completely as Noctua fans run at a very low speed and will trigger the fan speed alarm upon boot-up.
Compatibility and Clearance Issues
RAM, motherboard and video card clearance is dependent on your motherboard’s design. Thankfully, Noctua keeps a comprehensive list on each heatsink’s product page for reference: http://www.noctua.at/main.php?show=compatibility_gen&products_id=64&lng=en
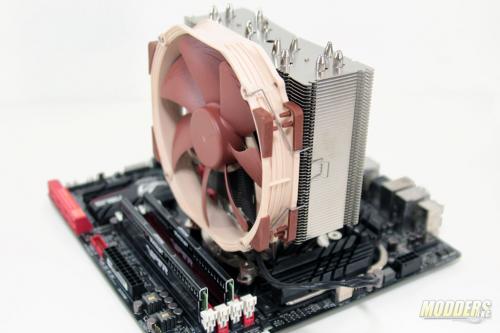
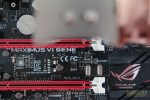
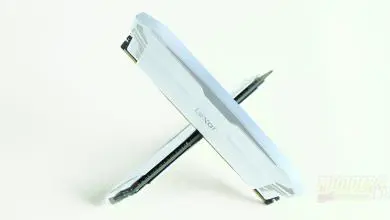
Most new motherboards provide an extra 5mm gap between the CPU area and the first DIMM slot for CPU cooler and RAM compatibility but on motherboards that do not have this allowance, the NH-U14S with a fan will have issues fitting a thicker RAM module on the first DIMM slot. This was observed on the MSI Z87 MPOWER MAX mainboard with a Corsair Dominator Platinum module. Installing the fan after or raising the fan height solves the issue since the gap is minimal. On our ASUS Z87 Maximus VI Gene test motherboard, the additional gap between the CPU socket and the first DIMM slot provided comfortable clearance.
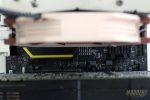
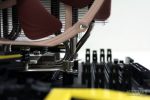
Horizontal push-pull installation prevents installation on the top-most expansion slot which can be an issue on mini-ITX, micro-ATX or Quad-SLI/CFX mainboards which have a PCI-E x16 slot close to the CPU area. As a solution for micro-ATX or Quad-SLI/CFX mainboards, it is advised that the next PCI-E x16 expansion slot be used. On standard ATX mainboards, the first PCI-E x16 is often the second expansion slot which should not be an issue when installing a graphics card. On ASUS Mini-ITX mainboards with a VRM daughterboard on top, it is recommended that the NH-U14S be installed vertically with the fan on top or bottom although this limits RAM module height installation to 31mm. When mounted vertically, the first DIMM slot (through the second and third) was obscured on both boards since the NH-U14S has a 150mm wide body. Standard height modules can be installed on the first DIMM slot but tall memory module installation is possible only on the second DIMM slot (with the heatpipe touching the module).
