Noctua Case Fans
Installation |
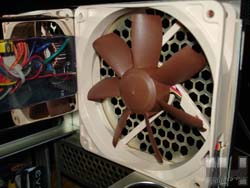 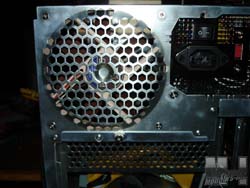
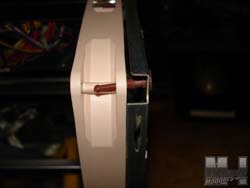
Installation of the fans is like any other with one exception. The Noctua fans come with a second mounting solution. Above we show the standard method using the four supplied screws.
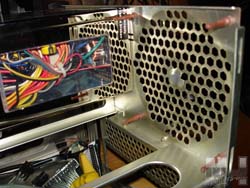 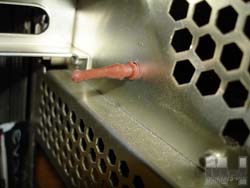
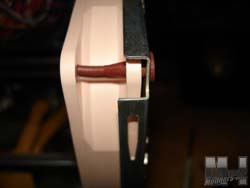
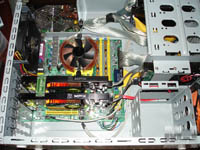
Here we see the second solution Noctua offers. Included are four Vibration Compensator’s to mount the fan with. Using the silicone/rubber mounts allow you to keep the fan from making physical contact to the chassis. This will stop most of the vibrations the fan makes from transferring to the chassis, which will result in even less noise emissions from the fan. They are simple to install providing you can get to all four corners of the fan. Simply slip them into the four mounting holes and align your fan over them. Once the fan is in place grab the end sticking though the fan and give it a pull, while pressing the fan towards the mounting surface. In this example I am using my Ultra Micro-Fly case, the power supply is installed and makes getting to the lower left mount a little tough. I could not mount the Noctua fans this way in the rig I tested with due to the CPU Heatsink and hard drive cage being in the way.
Testing Method: I was glad that Noctua sent me enough of each model to cover the case’s cooling. Mounting one fan in a case that uses two for its cooling can show a result, but it will not be 100% accurate. Depending on the other fan(s) in the case, they could hurt the performance of the Noctua fan or vise versa. I will be using the same system configuration that I used in the Ultra X-Blaster reviewminus the X-Wind 120MM cooler. I currently have one of Ultra’s ChillTec coolers installed.
The Ultra X-Blaster came stock with a 120MM sleeved fan for the exhaust. I added a second sleeved fan for the front intake to get my stock temperature readings. I would let the system idle for a couple of hours to get my baseline temperatures. To achieve a load temperature reading I would run Prime95 Torture Test with “In-place large FFTs (maximum heat, power consumption, some RAM tested)” selected, and I would startup an instance of Super PI mod 1.5 on 8M calculations. This has proven to be the best and quickest way for me to heat this rig up with my current cooling solutions. I normally can’t get my temperatures up past the mid 30 degree Celsius mark with any games or benchmarks unless I turn the heat up in the house. U.L.N.A. and L.N.A.: 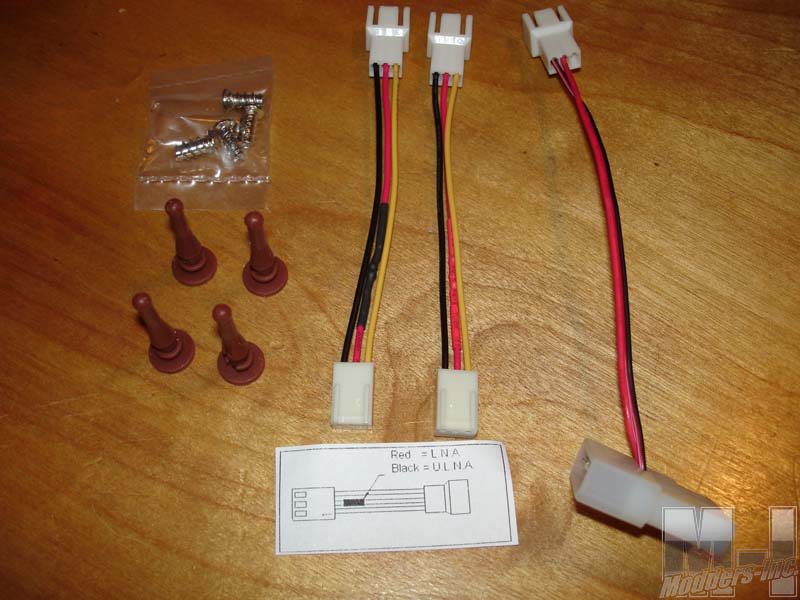 As seen in the images of the hardware included with the Noctua fans. The NF-R8 comes with two 3-pin adapters, while both the NF-S12 800 and 1200 comes with one adapter. The L.N.A. stands for Low Noise Adapter and the U.L.N.A. stands for Ultra Low Noise Adapter. The purpose of these adapters is to achieve the desired fan RPM. Using the NF-R8 as an example. The stock fan is rated at 1800RPM and with the L.N.A. connected its rated at 1300RPM, while with the U.L.N.A. connected it drops the fan to 800RPM. The Noctua fans are designed to run at the lower RPM ratings while still producing adequate cooling power. The use of the adapters is one of the main features I like about the Noctua fans. I hate having extra wires in the case due to fan controllers. These adapters do away with the need for a controller. There is one problem that does come with the adapters though, which the same problem can be seen with fan controllers as well. Once you drop a fans RPM so far it will stop registering in software applications and monitors. This normally is not an issue with the standard conventional fans simply because they can not handle cooling a case at the lower RPM. The Noctua’s on the other hand are designed to provide adequate cooling at those RPM. |
