MSI Z97M Gaming Motherboard Review
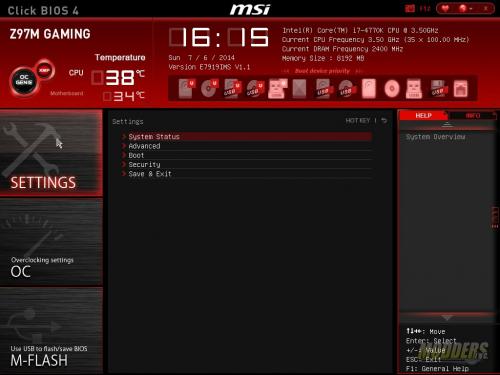
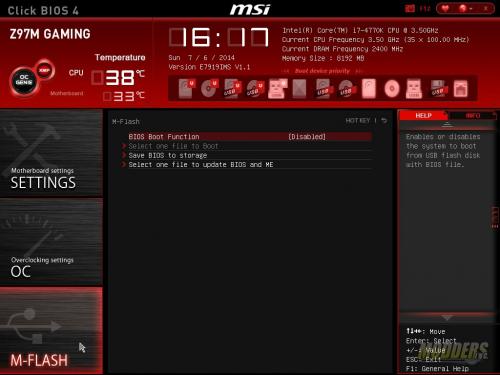
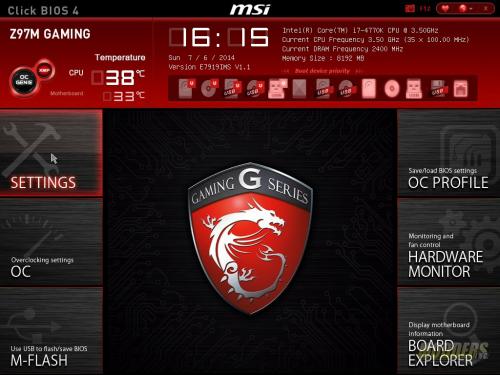
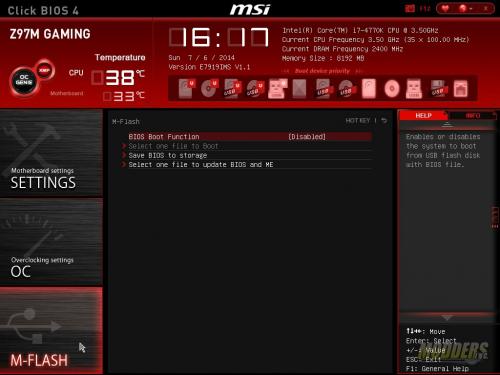
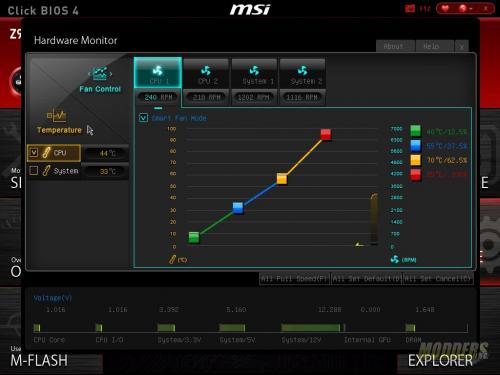
MSI has been using a similar UEFI on all their motherboards for a little while now. The colors may change but overall it is pretty much the same layout between them.
 |
 |
 |
 |
 |
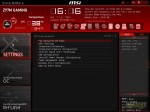
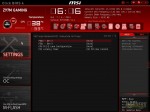
| System Status | Advanced settings menu | PCI Subsystem Settings | Integrated Peripherals | Windows 8 Configuration/Fast Boot |
 |
 |
 |
 |
 |
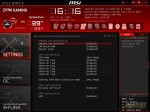
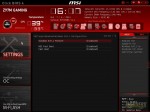
| Wake up Event | USB Configuration | Boot Configuration | Security | Save and Exit |
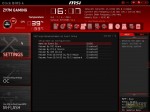
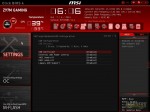
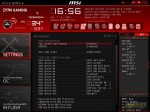
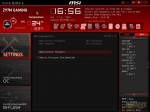
Most of the motherboard settings are in the settings menu; items such as power management, peripherals, booting and security are all configured under this menu.
 |
 |
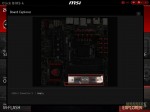 |
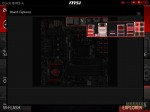
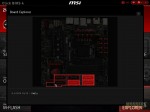
MSI’s board explorer is the final menu item on the right side. This gives the user a graphical based snapshot of what is plugged into the motherboard. Hovering the mouse cursor over the items will display the information about them, clicking on items such as the I/O panel shows more detail.
 |
 |
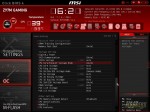 |
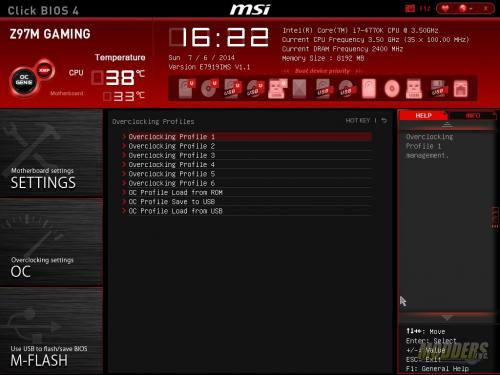
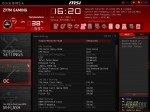
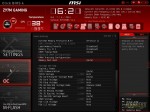
The overclocking menu is where all the advanced settings for the CPU are housed that allow the CPU and memory to be overclocked. Two menus are available; advanced and simple. Voltages for both memory and CPU can be adjusted here. I don’t overclock much, typically I get a 4.5 GHz overclock on my retail Intel i7-4770K at 2.48 v. I typically disable EIST and turbo boost when I run overclocked benchmarks.
