MSI Z97 MPower MAX AC Motherboard Review
UEFI Overview and Overclocking
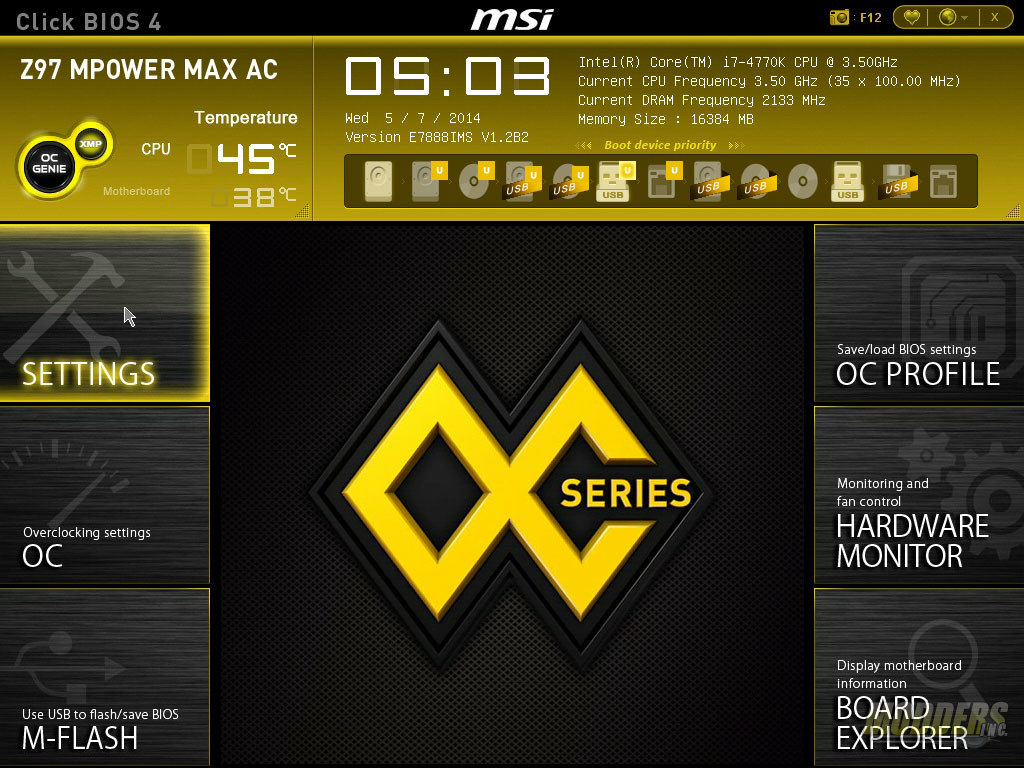
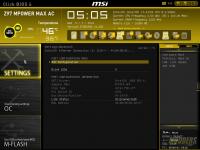
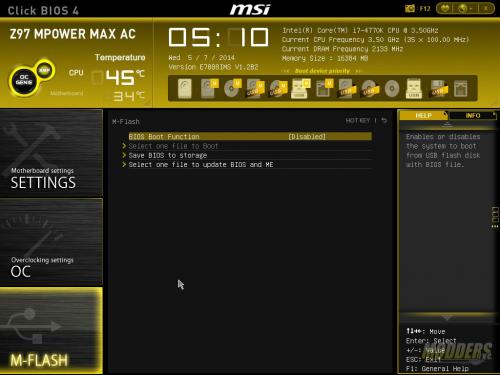
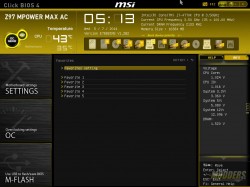
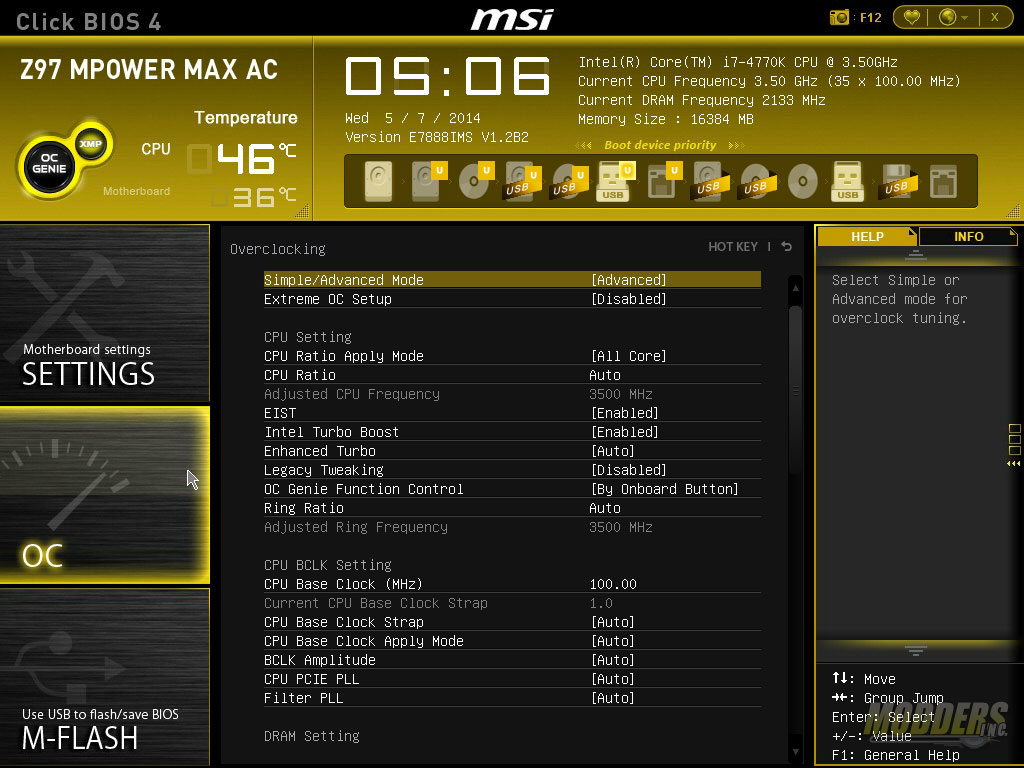
Before we dive into the UEFI’s overclocking features, let’s see the rest of the settings available. The main screen layout is similar to the one introduced with the Z87 Mpower MAX and has the same color theme. The center now has the OC series logo and several new features are visible such as the addition of the single-click XMP on the OC Genie button and Favorites button on the upper right hand. The boot device priority can be changed by dragging and dropping the icon in descending order with the highest priority on the left side. At any time, users can hit F12 to take a screenshot and save it to a plugged-in FAT16 or FAT32 USB drive.
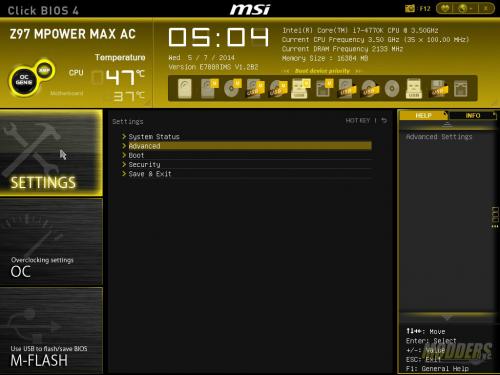
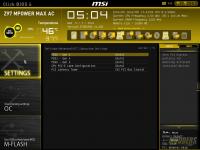
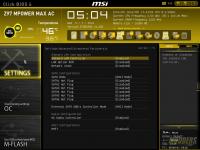
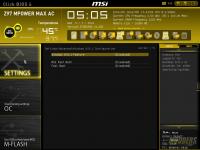
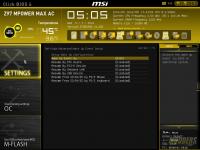
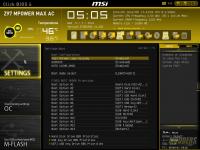
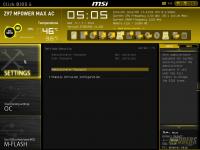
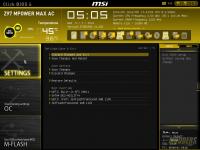
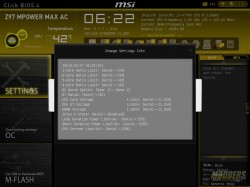
The first group of options is the Settings menu which contain the bulk of the motherboard’s functions including control for peripherals, subsystems, booting, security, and power management. A useful newly added feature when saving is the “Change Settings Info” that displays what changes were made before saving. There is also a new Last Known Good Config feature which sets the system settings automatically to the last successful boot state and also displays a failure analysis window to inform the user what settings caused the failure.
A built-in BIOS flashing utility is also available in the UEFI allowing users to not only update their BIOS from a USB drive, but save the current BIOS to disk as well. The update file must be placed on the root of the USB drive or else M-Flash will not be able to read it.
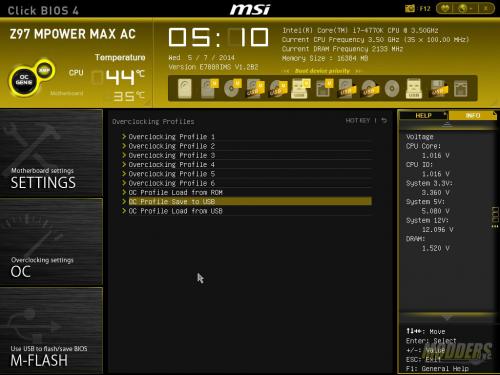
On the other side of the screen are three more sets of functions, beginning with the OC Profile which allows users to save up to six different profile settings on the board itself while profiles can be saved to a USB and loaded from ROM or USB as well. A new feature added to the Mpower MAX’s Click BIOS 4 is the info tab beside the help tab on the right side which displays core and essential voltages while browsing the UEFI.
Under the Overclocking Profile is the Hardware Monitor where users can access comprehensive fan control options, set fan curves, and monitor voltages. There is also a new OC Profile preview under the Overclocking profile setting accessoible by pressing F8/F9.
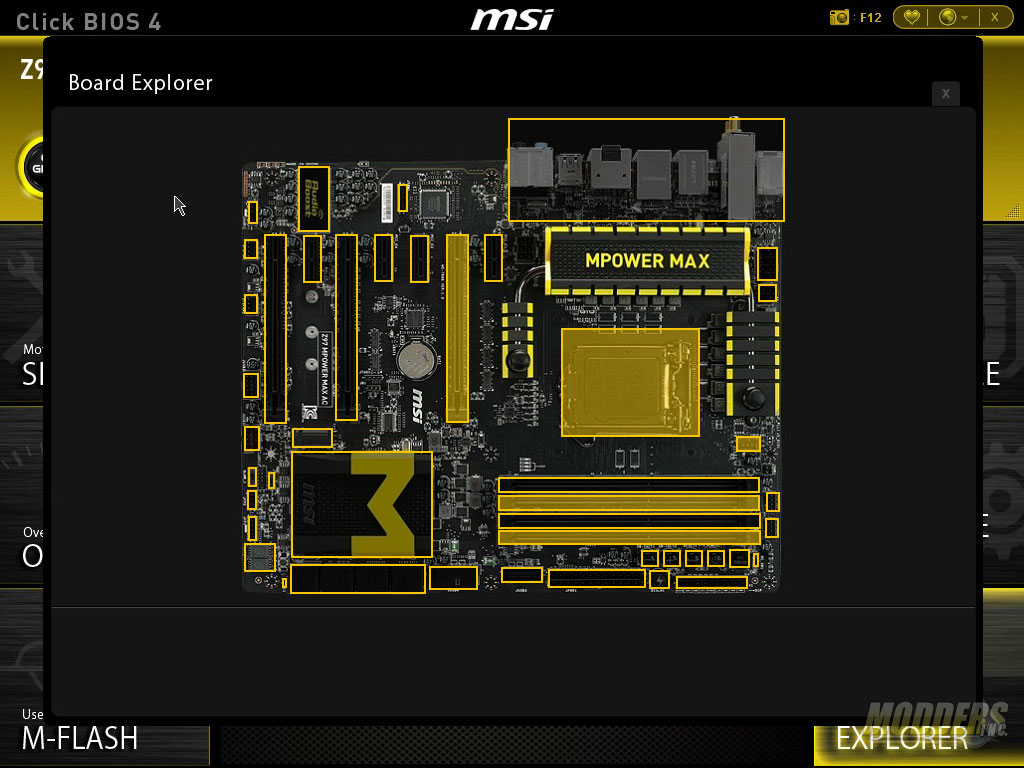
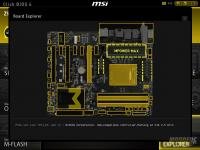
The last option is the Board Explorer which provides a graphical overview of what components of the motherboard is plugged in and being used.
Since things can get complicated with trying to navigate the UEFI nested options, especially when you start overclocking, MSI has added a favorites function which allows users to save a set of their favorite option in multiple profiles. This is different from the OC Profile section in that users can change the options.
Now on to overclocking…a few notes about the Intel Core i7-4770K CPU before proceeding, just in case you are not familiar with Intel Haswell CPUs:
- A retail Intel Core i7-4770K CPU was used for this review. Unlike engineering samples which are handpicked and overclock further with less voltage, a retail Intel Core i7-4770K shows a more realistic overclocking experience.
- Voltages over 1.3V when pushing the frequency to 4.5GHz is usually too hot for normal air coolers. If you can hit 4.5GHz before needing 1.3Vcore, then you have a good chip. If you can’t, you will most likely need a custom water loop or better to get a higher OC.
- Each retail i7-4770K is WILDLY varying in their overclocking success and voltage requirements. Much more so than any other previous Intel processor. On air, most motherboards will pretty much reach that CPU’s thermal limit before it can realize its OC potential. Unless a motherboard’s VR is really inadequate, the same chip will OC on air on a budget Z87/Z97 LGA1150 board as it would on a high-end one. The CPU lottery is really crucial when it comes to getting a successful high overclock on air with an unlocked Haswell processsor.
Overclocking is possible through the UEFI, through XTU or through Command Center. It is completely up to the user. XTU and Command Center have the advantage of having all the overclocking options right on the desktop but Command Center is the more comprehensive of the two. OC Genie is also a time saving auto-overclocking feature for those who want to get a good overclock without wanting to spend hours trying to find which settings works. Gear 1 is basically worthless to anyone but those who have an entry level cooler and are too afraid to adjust any setting, but Gear 2 OC Genie is very capable as we saw with the Command Center. Here are the settings which Gear 2 OC Genie used:
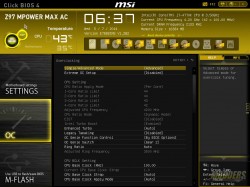
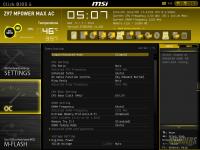
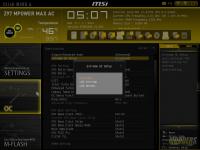
To manually overclock, simply go to the OC option page which contains every single overclocking option for the Z97 MPower MAX AC motherboard board. A new tweak that MSI did was to provide an option for “simple” and “advanced” OC page. Simple mode removes functions set under the nested CPU settings but Advanced gives overclockers the option to adjust these on the same page without moving out of the main OC section. There is also an Extreme OC setup which is disabled by default but optimizes the BIOS settings for sub-zero overclockers.
The page displays the CPU frequency OC settings first at the top, then the CPU BCLK setting then the DRAM setting, then the Voltage setting and at the very bottom you can find the CPU features sub-menu for disabling or enabling key CPU features that could affect overclocking.
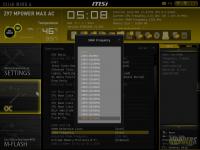
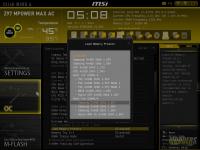
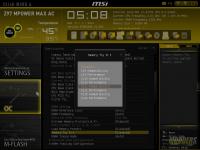
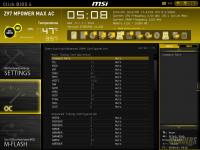
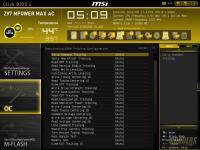
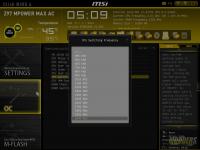
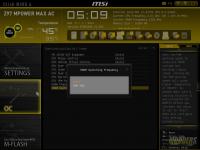
DRAM Frequency range goes as high as 3200MHz. XMP profile can be loaded as well. Two new features added to the DRAM section is the Load Memory Preset and “Memory Try It!” function. Load Memory Preset has several settings tailored for popular DDR3 overclocking such as PSC and Hynix MFR memory chip-based modules. Memory Try It! is an auto-overclock semi-preset that detects which OC setting your installed memory module can run
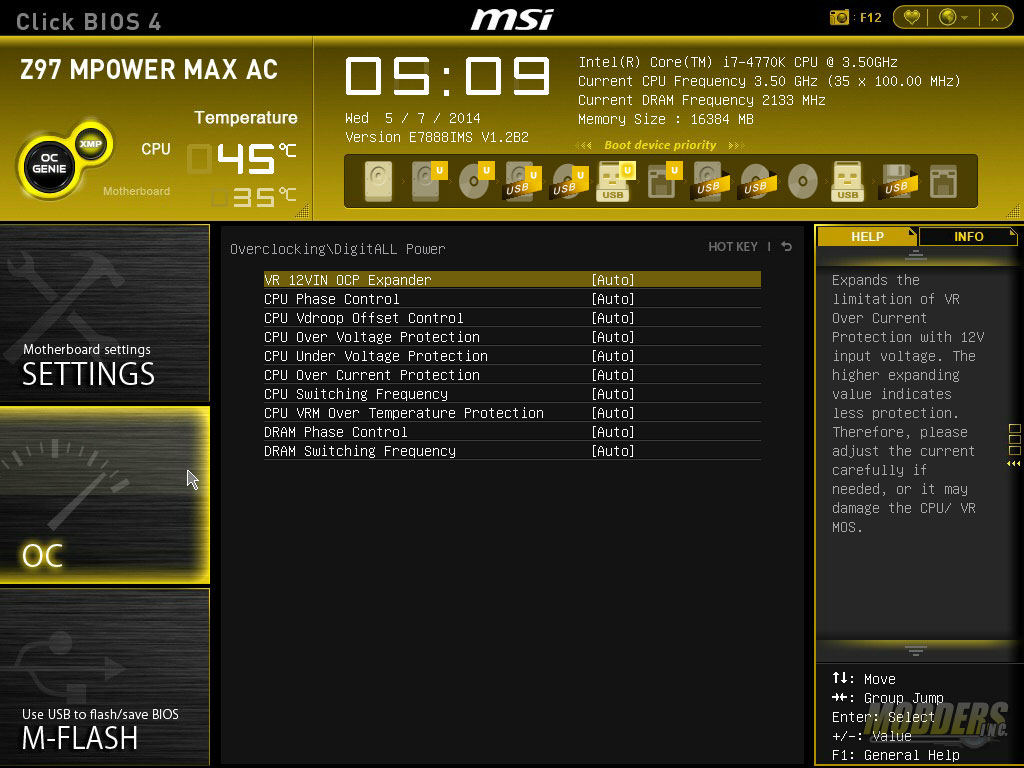
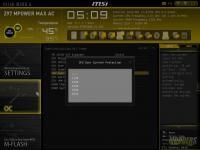
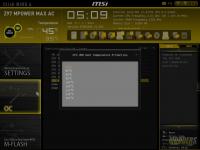
Load Line Calibration and Phase control is classified under DigitALL Power sub-menu. Here users can adjust protection settings, Vdroop offset, CPU and DRAM phase control, and switching frequencies.


Good job, liked the attention to detail in your review like the electronic components used, allost noone is doing that these days they are most show off marketing than proper reviews. Thx
Thank you very much for reading. We are always trying to improve our reviews so reader feedback is always welcome. Cheers, –Ron
Great review!, love that you put time into looking what the power delivery system is on this board. They downgraded from the 20 to 12 and changed the components of it, my question is; Is this worse or better than the old power delivery system of the Z87 MPOWER (MAX)?
Hello, thanks for reading. I am fairly conservative when it comes to economics and design so I don’t fault them completely for doing that. Also, MSI is not the only one who scaled back with the design on their boards, which I think is much efficient anyway given current and upcoming CPUs. Hybrid plus less capacitors understandably is harder to accept after seeing the last model but I have a feeling we will see less and less monster VRMs from all manufacturers. I am not an LN2 overclocker so unfortunately I cannot speak with authority on how grossly this is affected but on air, I don’t think it is an issue IMO. The Z87 Mpower MAX AC is still the better deal of the two currently ($239 on NewEgg) hence I did not give the Z97 version an Editor’s Choice award.
Technically is a kinda of an upgrade since previous generation used a 5 true phases design with quadruples (5×4=20 hybrid phase design) and it was controlled by a digital high quality IR3563B PWM, now they use 6 true phases with doublers/drivers package (6×2=12 hybrid phase design) but with a ISL6388 PWM witch is a new product with no much info about it and products from ISL usually are hybrid analog/digital controler witch is not better than fully digital and for that is also a kinda of downgrade but still needs confirmation. The rest of the components mosfets and inductors seems to be as equal quality as from previous generation. In real world this only appears to affect price that seems pretty good for the features and power delivery is more efficient no doubt on that. MSI is pretty solid manufacturer and a lot bigger than most people think.
It seems to be that ISL6388 is Intersil’s first fully digital controller. I have no clue if it is in indeed an upgrade.
Is there any difference on mpower and mpower max? For a average game/media use? maybe some slight overclocking too? Hows the PWM or such compared to each other?
The PWM design is the same, judging by photos from XFastest’s Review: http://www.xfastest.com/thread-135126-1-1.html
Looks like the difference is just a few features: fewer USB 2.0 and 3.0, lack of fixed MOSFET heatsink barbs, WiFi, e-SATA and additional HDMI for Intel graphics.
I hope this won’t go unnoticed
On the Intel Chipset heatsink, with the big M, is that thermal paste? Or is it some kind of thermal compound?
It is solid (albeit soft), flat and very thin tape at room temperature. It is closer to thermal compound in terms of moisture than the drier pink thermal tape used on other chipset heatsinks which leaves harder to remove residue (ASUS Z87 RoG chipsets).
Oh, good. If i take off the heatsink, do i have to replace or change it? I intend to paint the heatsink, but i dont know what to do with the thermal compound/pads.
You can scrape it off completely and just replace it with thermal paste or a thin thermal pad. The chipset itself has a very low TDP ~5W so cooling it is not really going to be difficult.