MSI Z170A MPOWER Gaming Titanium Review: Heavy Metal Magnificence
UEFI Overview and Overclocking
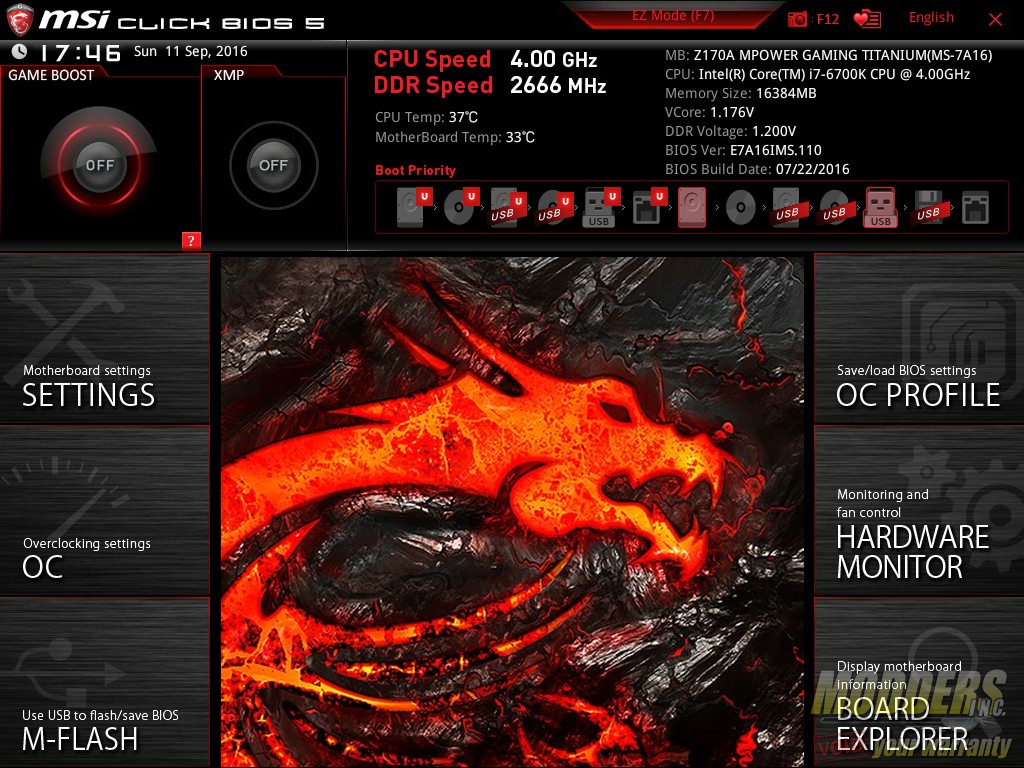
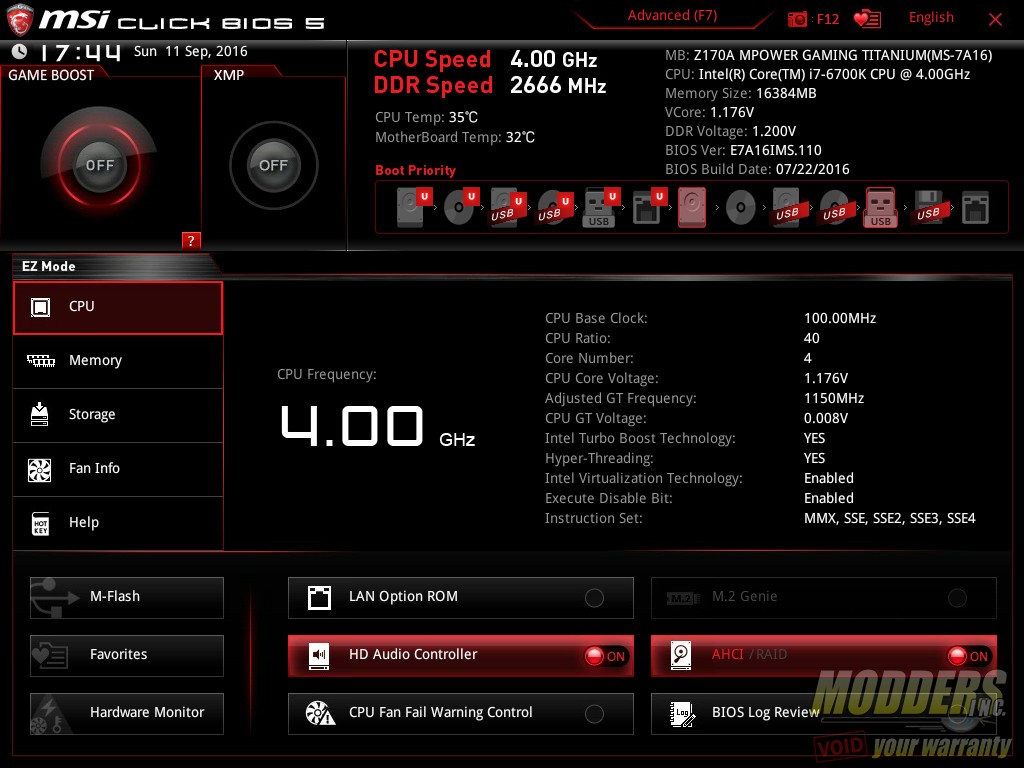
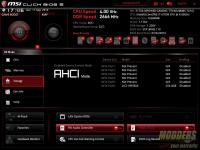
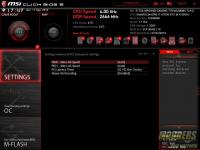
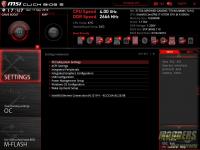
As with all of MSI’s recent mainboards with Click BIOS 4, the UEFI matches the color scheme and background image of the board with a red, black and white UEFI for the gaming series. From here, features such as enabling XMP and changing boot order are accessible with full mouse control. Users can drag and drop the boot order icons to the priority of their choosing while XMP and OC Genie can be togged with a single click. Temperatures, time, date and basic system info is displayed permanently on the top status bar. At any time, users can hit F12 to take a screenshot and save it to a plugged-in FAT16 or FAT32 USB drive. Language options and favorites can also be easily accessed on the upper right hand corner. This is the advanced mode view however and there is now also an easy mode view on MSI’s Click BIOS 5 which looks like this (F7 to toggle back and forth):
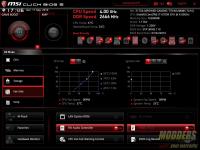
EZ Mode gives a 5-page summary keeping the top shortcut features and system status option static as it was in Advanced mode. Here, the five pages are under CPU, Memory, Storage, Fan Info and Help. The hardware feature shortcuts can be accessed at the bottom as well as the M-Flash, Favorites and Hardware Monitor feature.
Now back to the Advanced mode default, there are six main sections to the MSI UEFI which is similarly laid out in every single one of their mainboards using Click BIOS 5. It is completely “idiot proof” and easy to navigate with both keyboard and mouse and has become easily my favorite UEFI layout out of every motherboard out there. The first section is the Settings folder which provides access to all the other features which are non-overclocking related, while the second OC folder provides access to all overclocking related functions. This keeps everything extremely simple and very easy to navigate. The third section is a link to the M-Flash BIOS update program which is a stand-alone program that can be launched.
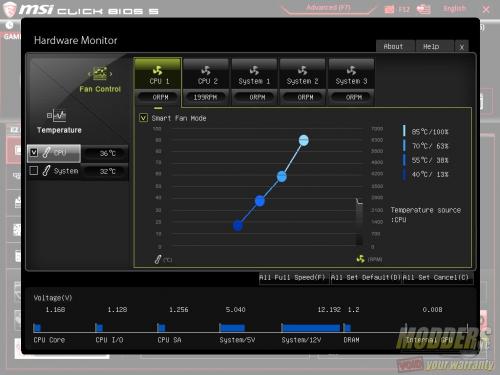
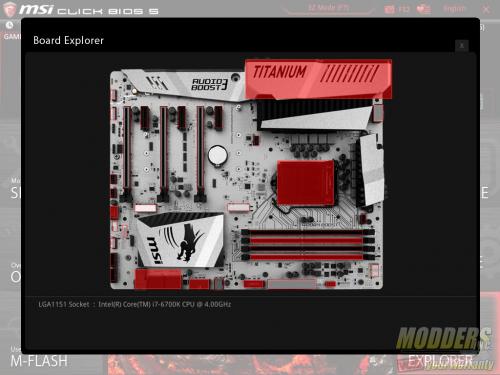
On the right side, the topmost link provides access to settings profile management. The hardware monitor section below that takes users to a pop-up window where users can monitor and control their temperatures with fan control functions in graphical form. The board explorer at the bottom provides a graphical overview of which motherboard section is being used or has a component plugged in. The right side settings area also double as a floating info or status window for when navigating the left side Settings and OC section options.
Overclocking is possible through the UEFI, through XTU or through Command Center. It is completely up to the user. XTU and Command Center have the advantage of having all the overclocking options right on the desktop but Command Center is the more MSI-specific of the two. Game Boost and the Gaming App are also time saving auto-overclocking features for those who want to get a good overclock without wanting to spend hours trying to find which settings works. It is not as comprehensive as manually overclocking but it is useful for beginner users who do not want to bother learning anything about overclocking.
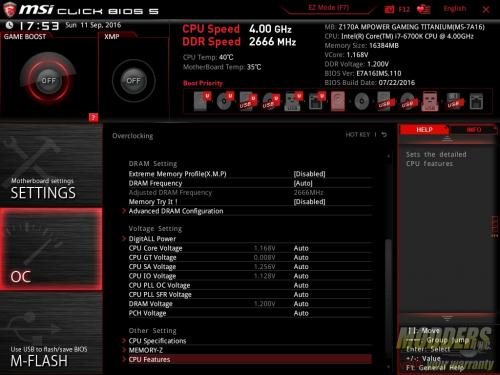
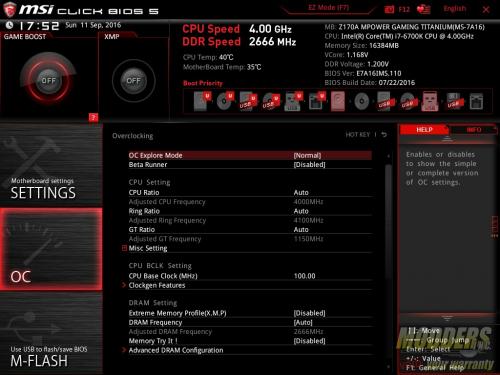
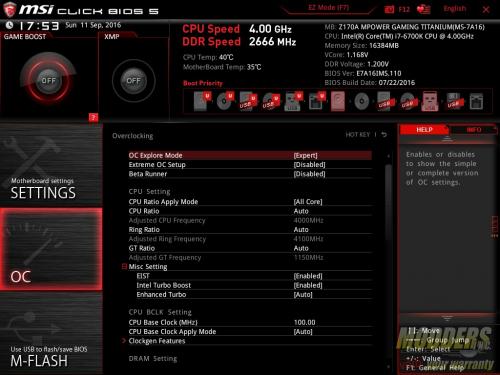
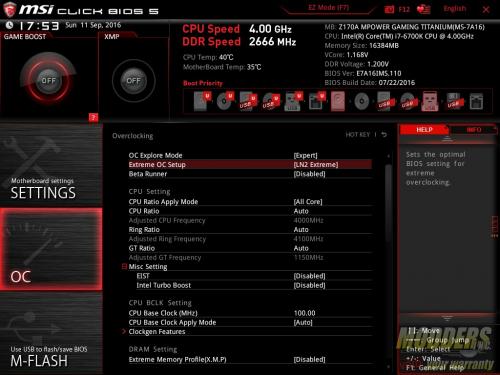
The Z170A MPower Gaming Titanium is an overclocking motherboard as much as it is a gaming motherboard hence, it has a lot more overclocking-centric features under the UEFI than a typical mainboard. To manually overclock, simply go to the OC option page which contains every single overclocking option for the Z170 MPOWER Gaming Titanium motherboard. A new tweak that MSI did was to provide an option for “Normal” and “Expert” OC page (formerly simple and Advanced in Click BIOS 4). Normal is recommended for standard air or liquid cooling but for more advanced users, Expert mode opens up more features that are useful for LN2 extreme overclocking.
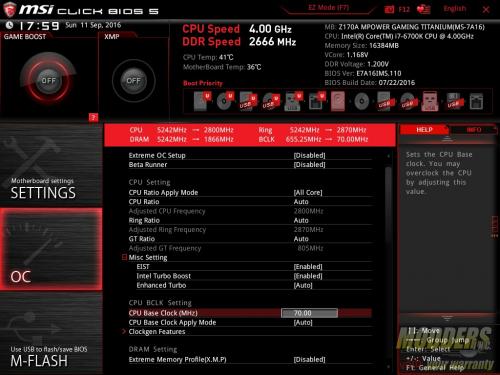
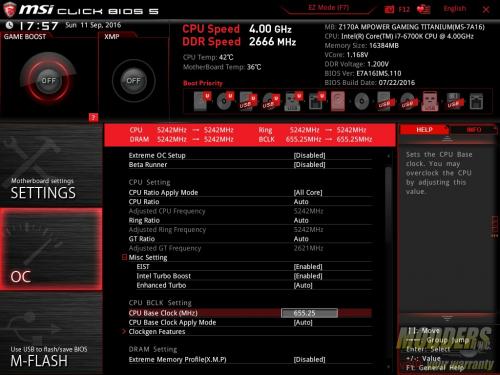
With the secondary clock generator, MSI provides greater range and more refined BCLK adjustment and options. The range begins at 70.00 and can be adjusted up to 655.25. A summary of the resulting OC pops up at the top as this is adjusted and users can also choose how these changes are applied.
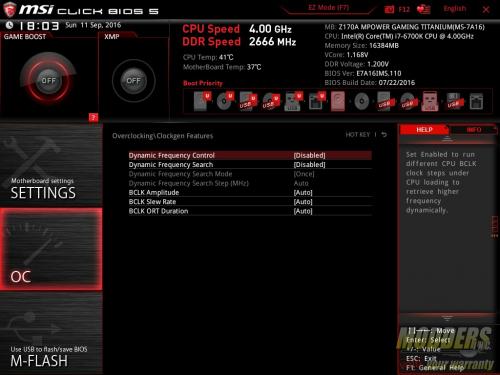
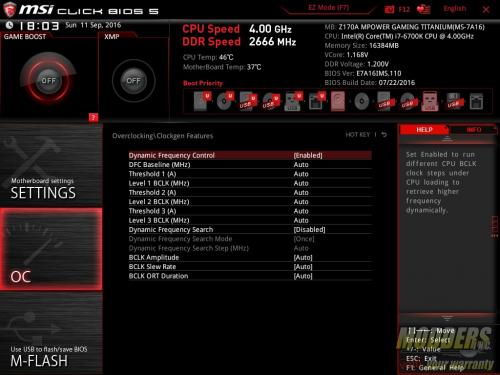
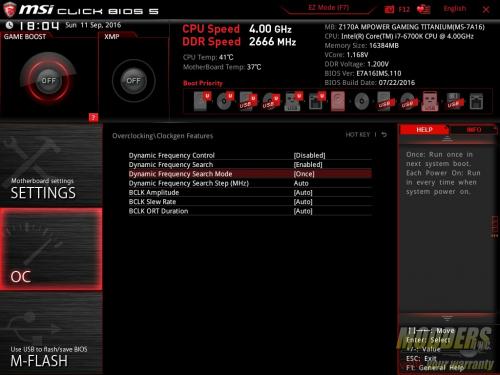
Additional BCLK options are nested inside the ClockGen Features section, including Dynamic Frequency control, Dynamic frequency search modes, slew rate, amplitude and ORT duration.
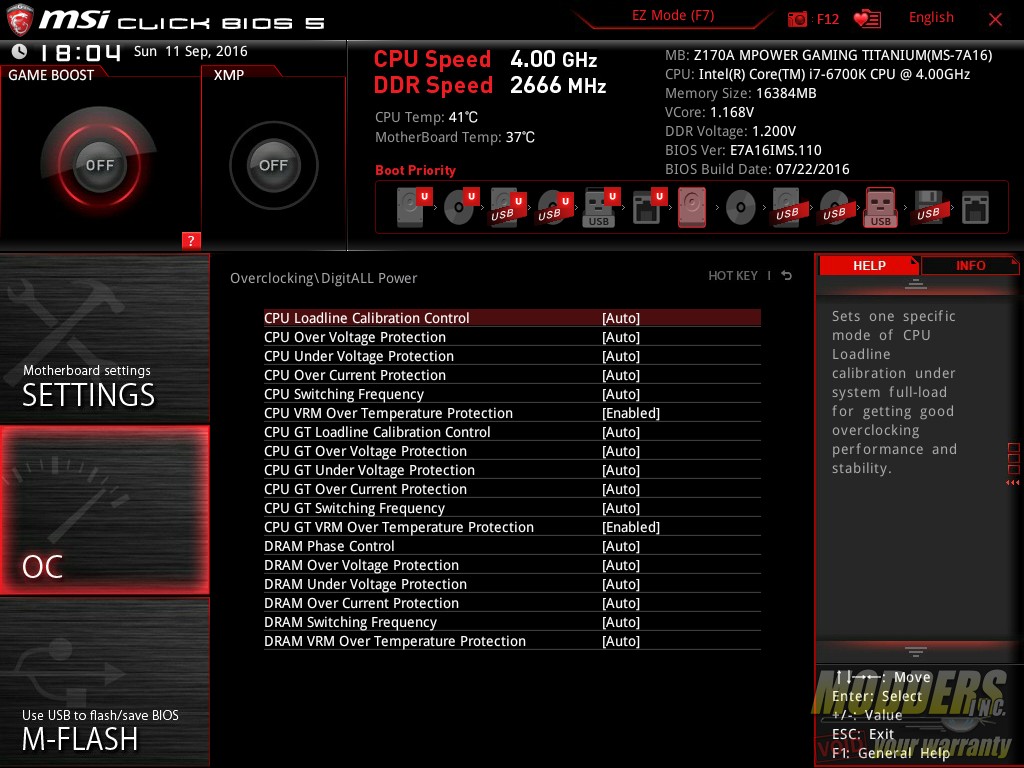
The DigitALL nested option is where the Load Line Calibration options reside and all other power control options. There are 8 modes available for LLC plus the auto mode default.
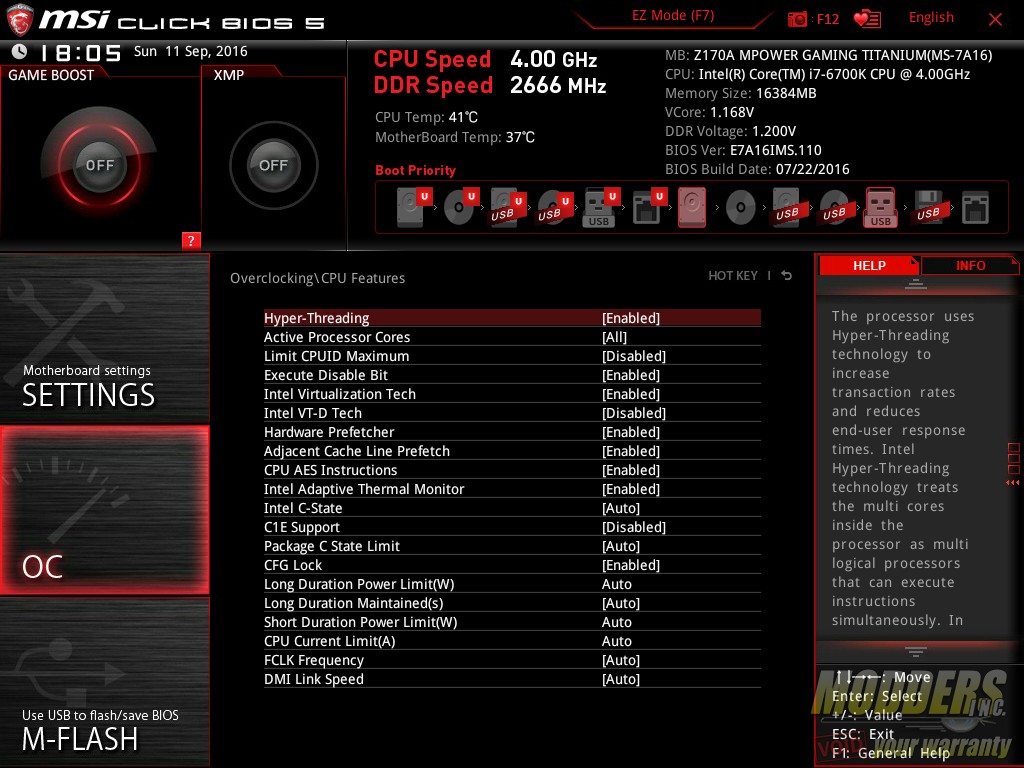
All other CPU features are under its own nested menu where users can toggle C-state, Hyper-Threading, and more.
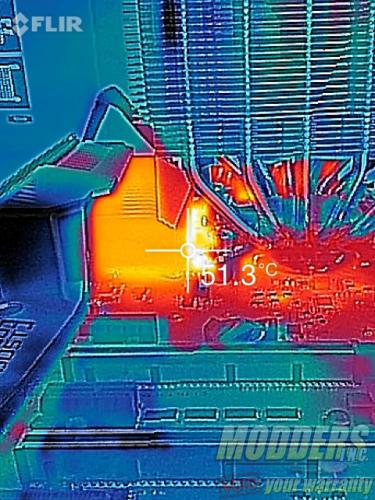
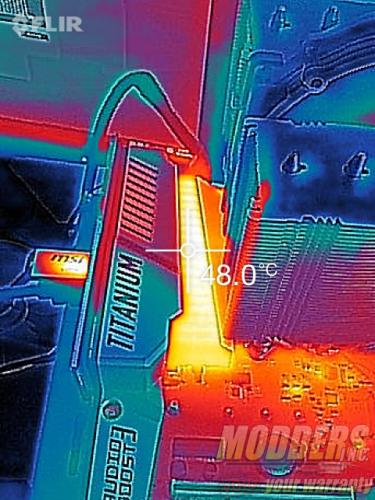
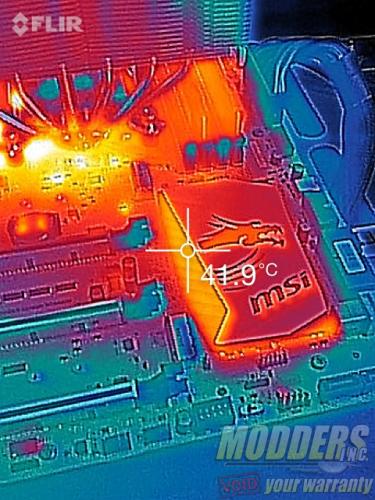
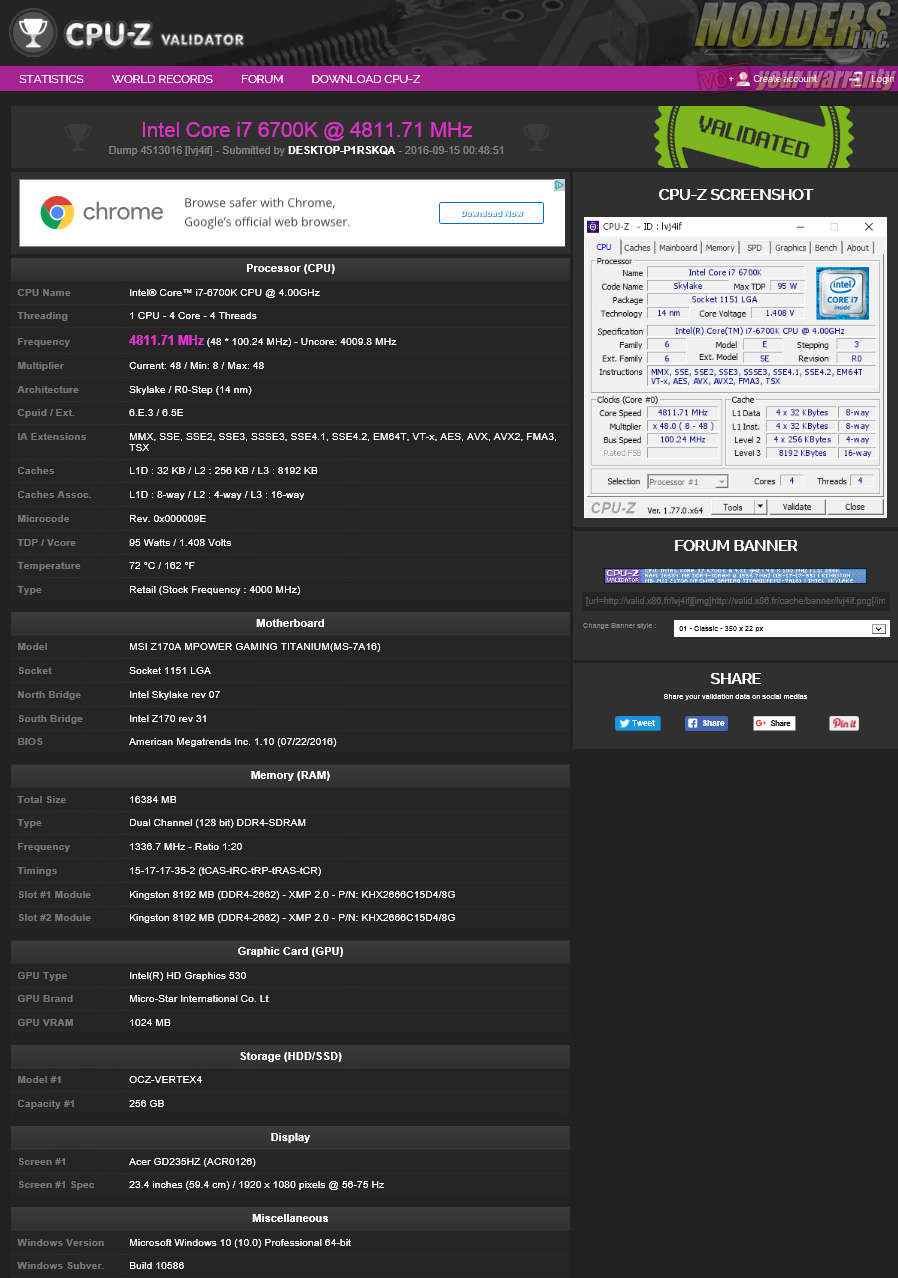
Reaching the usual 4.8GHz with 1.4Vcore air-cooling target I use in reviews was not a problem with a simple multiplier adjustment. MSI auto-rules were left default for the DigitALL settings and was stable enough even for AIDA64 load test.
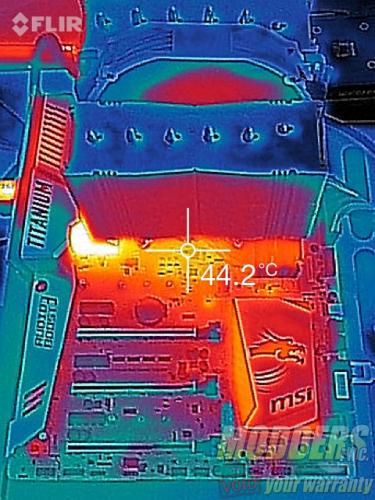
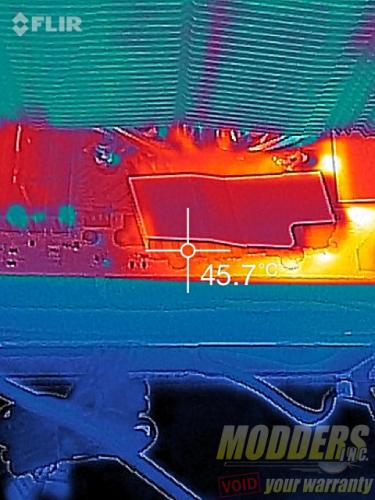
Infrared thermal images under 4.8GHz overclock AIDA64 load after 10 minutes:
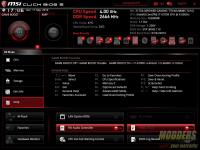
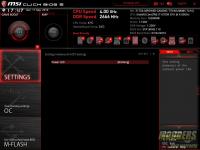
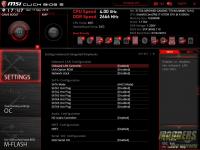
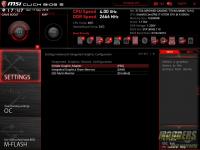
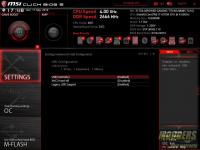
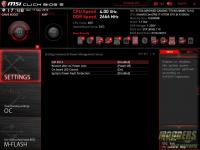
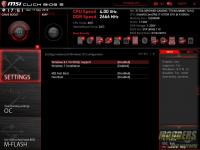
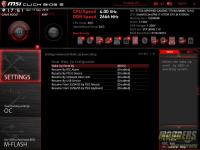
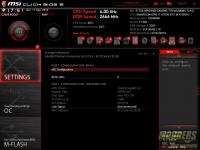
The rest of the options under settings are for the non-OC functions. Unfortunately, there does not seem to be any way to control the RGB extension header under here so users would have to install the software and adjust it on the desktop:
